Cayenne front lower control arm replacement - DIY
#1
Cayenne front lower control arm replacement - DIY
Tried to explain what I think was good to know about this process, as I went in the pics.
Please read entire process before you begin. Understanding what you are doing is always a good idea.
If you have questions, let me know.
Follow pics in a sequential order to complete this job.
Please read entire process before you begin. Understanding what you are doing is always a good idea.
If you have questions, let me know.
Follow pics in a sequential order to complete this job.
#5
Thank you for the instructions
Ciaka: This evening I managed to remove and install the right control arm on my 2004 Cayenne S. Tomorrow I'll tackle the left.
I relied upon your instructions and everything went very well. I used our car hoist and a pine 2X4 played the role of your third jack. The trick with the 21 mm socket, the rag and the sledge hammer to free ball joints will join my permanent collection of shop hacks.
The only problem was the pair of bargain control arms sold on Amazon.com. Their price and shipping speed are admirable, but I needed to remove a substantial bump on the casting above the ball and cut 1/2" of extra threads off the thing before it would fit into the hole for the ball joint. On a table the cheapie stood almost 3/4" taller than the French-made control arm it replaced.
The parts reminded me of a few Taiwanese woodworking tools I've encountered over the years: they're strong and durable, but some owner-fitting of parts may be necessary at first.
Last edited by Rod Croskery; 09-01-2016 at 07:14 PM. Reason: Added instructor's name.
#7
Hard for me to say how much just for swap of lower control arms as I was doing few other suspension items along the way.. I would estimate looking at about 3-4 hours one side from time you step into garage to time you clean up tools. I like leisurely pace with plenty of beer to keep things interesting. Hope this helps.
Trending Topics
#8
Wheels down or car suspended?
Hello everyone.
Sorry to bump up the topic so late, great DIY, but I have one question: the final tightening of the screws is done with the car suspended on jacks or with the car staying on the ground on its wheels?
Sorry to bump up the topic so late, great DIY, but I have one question: the final tightening of the screws is done with the car suspended on jacks or with the car staying on the ground on its wheels?
#9
I did them on the hoist. Remember that the guy at the front end shop has the final tightening on this, as you'll need to have the alignment done immediately after the job.
#10
Yes, if you separate any suspension components, not doing alignment will likely mean you replacing front tires very shortly afterwards.
So do suspension work, change the components, put back together, and already have a plan to drive to alignment asap after that.
I purchase lifetime alignment from a shop Firestone. Costs 100 bucks more than regular alignment cost, but i can do no charge alignment on my car for as long as I own the car. It pays off within 1 trip.
So whenever i play with suspension, I go there next morning first thing, get alignment done and do not pay a dime.
#11
Extra info

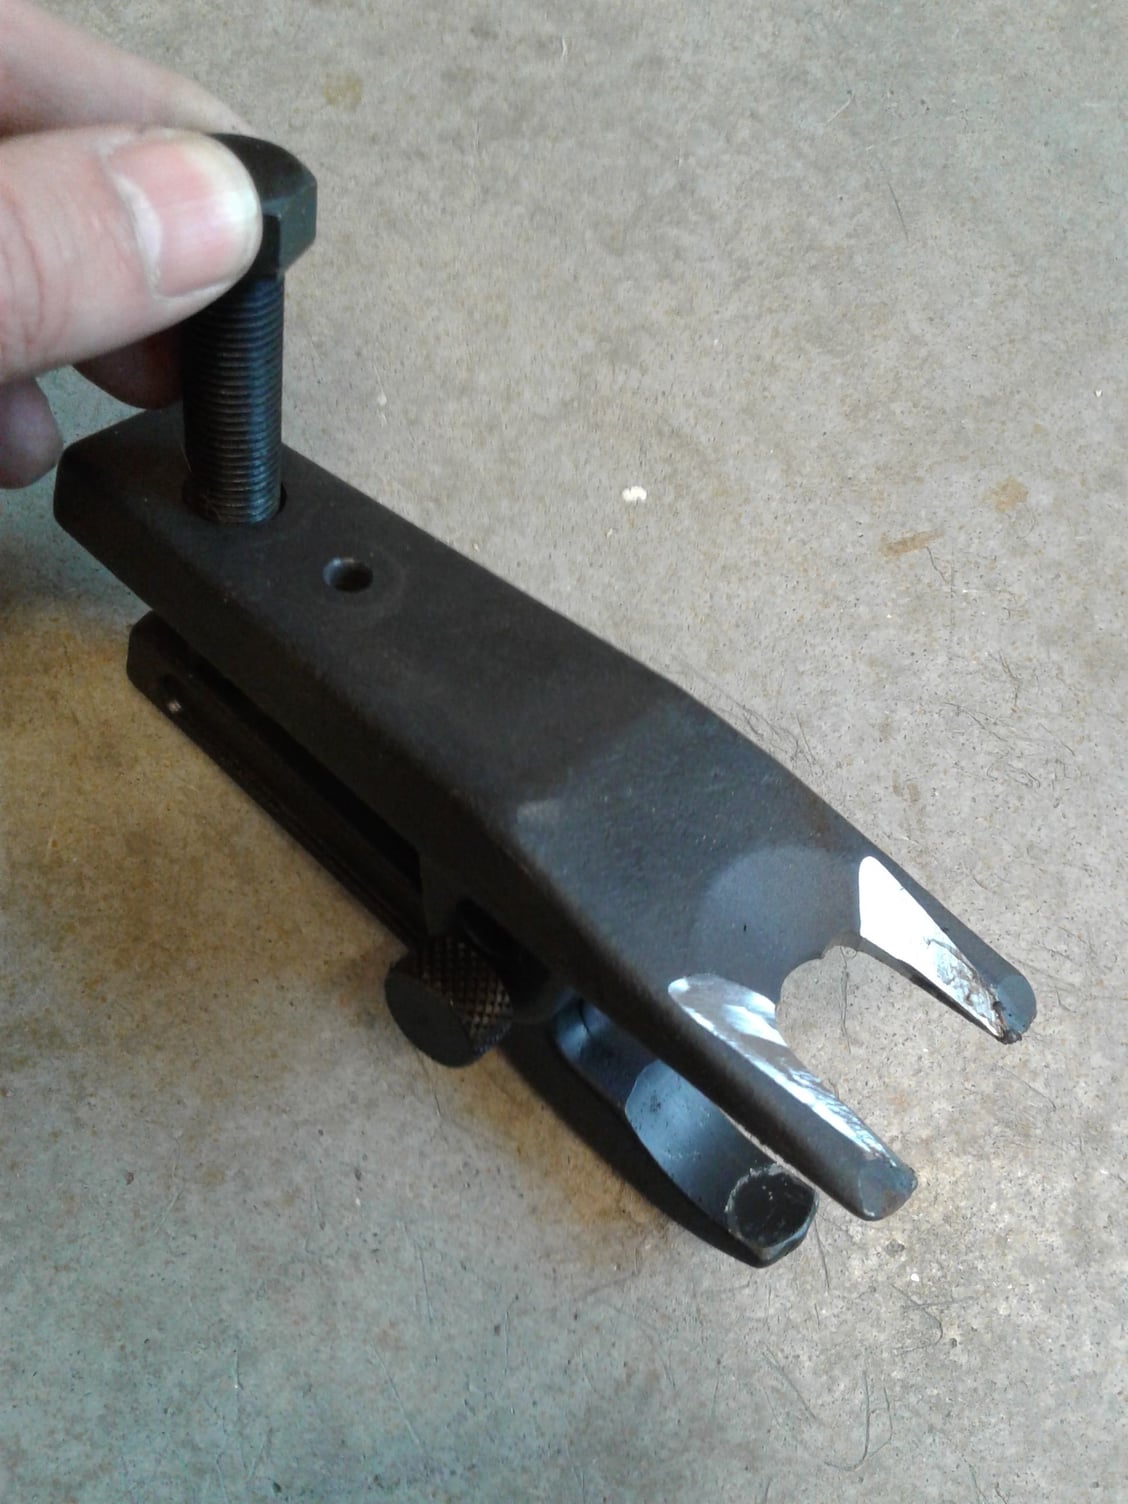
HF Ball Joint Separator
Well done! In lieu of the 21mm socket trick, I opted to purchase the Harbor Freight 3/4" Ball Joint Separator which required some grinding to widen the opening slightly (see pic). Since removal I'm going to replace just the rear bushings and found my ebay purchase from Tom's Auto Parts does not fit our
Last edited by newtowny; 03-24-2019 at 09:04 AM. Reason: spelling
#12
Sorry for late reply. Although many do tighten while car is on the hoist, Porsche FSM says to lightly tighten on hoist, then lower the car down to ground and tighten to spec. It is like that in the Cayenne FSM and my Panamera FSM too. Once in Panamera, I had vibration after tightening on hoist, then I lifted up, retightened as FSM says, on ground, then vibration went away.
Thread
Thread Starter
Forum
Replies
Last Post


