997 Center Console Detailed Installation Guide
#1
 05-06-2009, 08:31 AM


Join Date: Nov 2007
Location: San Carlos, CA
Posts: 135
Rep Power: 0 

997 Center Console Detailed Installation Guide
We had a local customer come by last week to get a carbon center console for his Cayman. We took the time to put together an installation guide for the center console, the shift boot trim surround, and the front console extension piece.
We had been looking to do an install guide for quite a while since none of the guides out on the net were detailed enough. So with the permission of the owner, we took the time to document each step. There turned out to be quite a few of them but it is actually straight forward and something pretty much any owner can do themselves.
A few things turned out to be crucial.
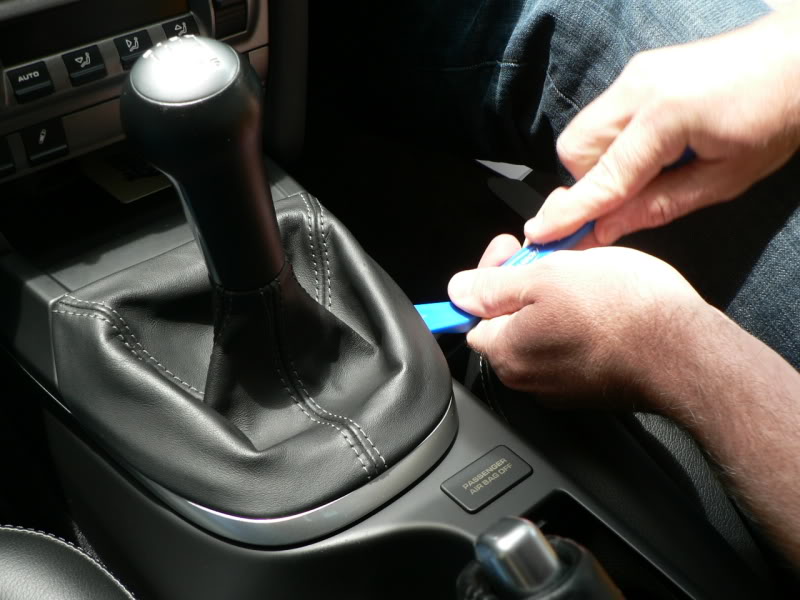
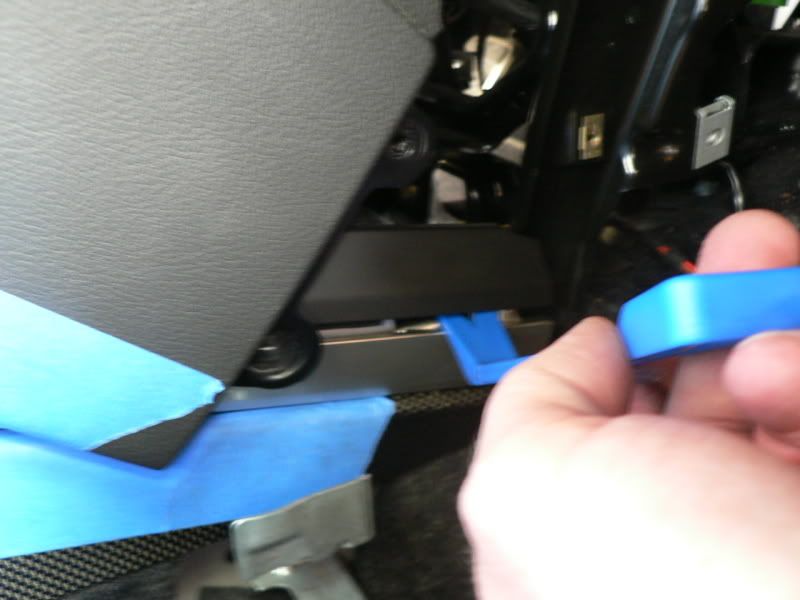
First, having a set of plastic interior trim pulling tools is very important. The tools keep you from scratching stuff and are made to deal with modern fasteners and clips Of course we sell these but� they really make things easier.
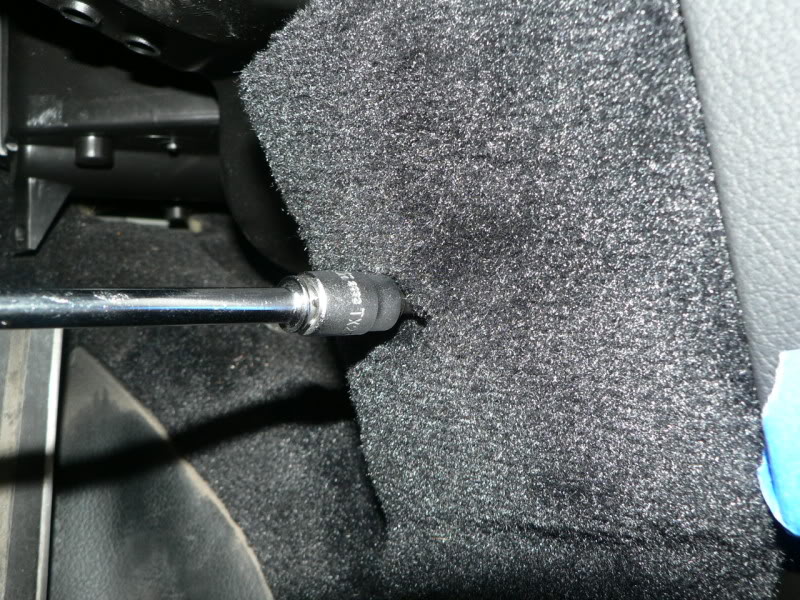
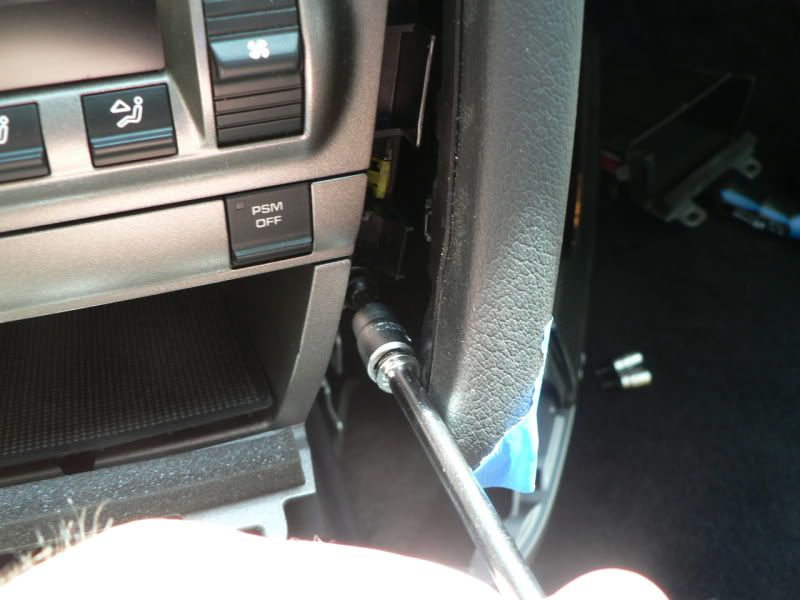
Second, we found removing/loosening the side panels from the dash to make a big difference. We�ve seen a few install guides where the person did not do this and instead try to bend things to get access to the �hidden� screws. Our way is a lot easier.
Last, we left the shift **** in place during the install. It did not take much effort to get the parts off around it and it saved us the time of having to remove it. (Ohhh, we didn�t have much of a choice since we couldn�t get it to come off!) We covered the **** and the boot with low tack painters tape to prevent any damage. That worked well.
We�ve included a few photos of the install here but you can download the entire guide on our center console product page. Click on 'View the install instructions'. http://www.macarbon.com/store/997-ce...nsole-133.html
We also created install guides for the shift boot trim surround and the piece that forms the bottom of the center storage area. This page has all the console parts we sell with their install guides.
http://www.macarbon.com/store/997-ce...sole-area-155/
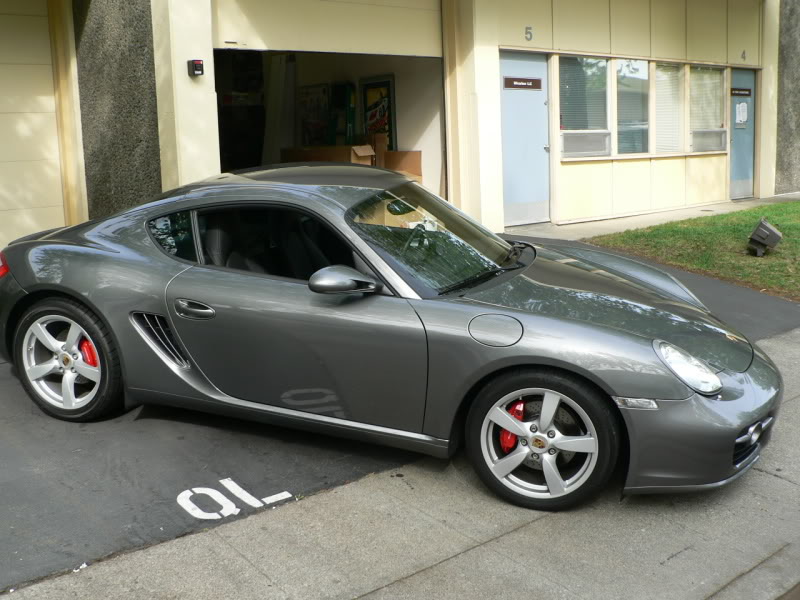
Here is the customer's car upon arrival. A very nice Cayman S.
First be sure to disconnect the battery. This will eliminate any risk of the airbag warning light going off due to disconnecting the passenger wanring light
Now remove the shift boot.
If your car has a Bose System, you need to remove the subwoffer. There is a screw in the outlet port and then once that out, one bolt secures the unit.
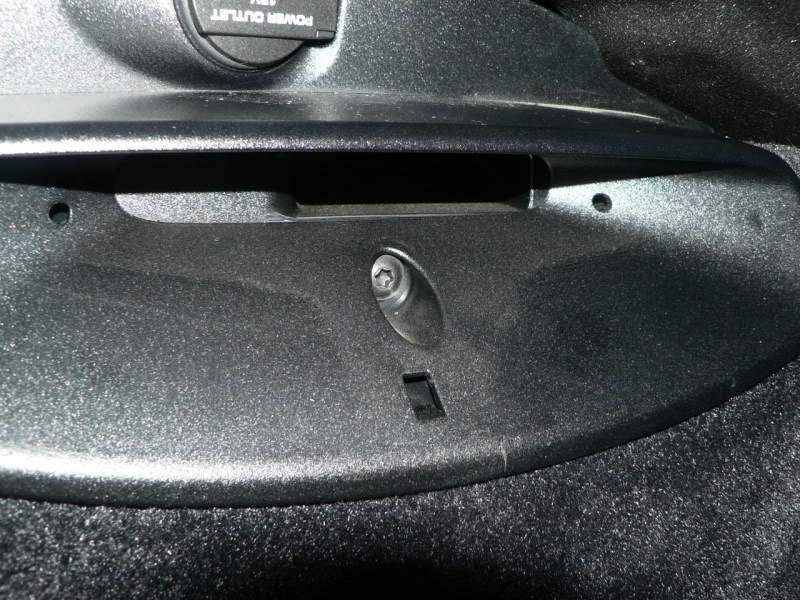
To release the large trim panels around the PCM, remove the two small carpeted panels at the back of the dash. There is a screw hidden in the pile.
With the trim panel loose, pry up the trim panel that is between the shift boot and the storage bin. This piece can be broken if you are not careful.
Next, remove the shift boot surround trim.
With the trim panel loose, remove the storage bin to get access to the screw located underneath.
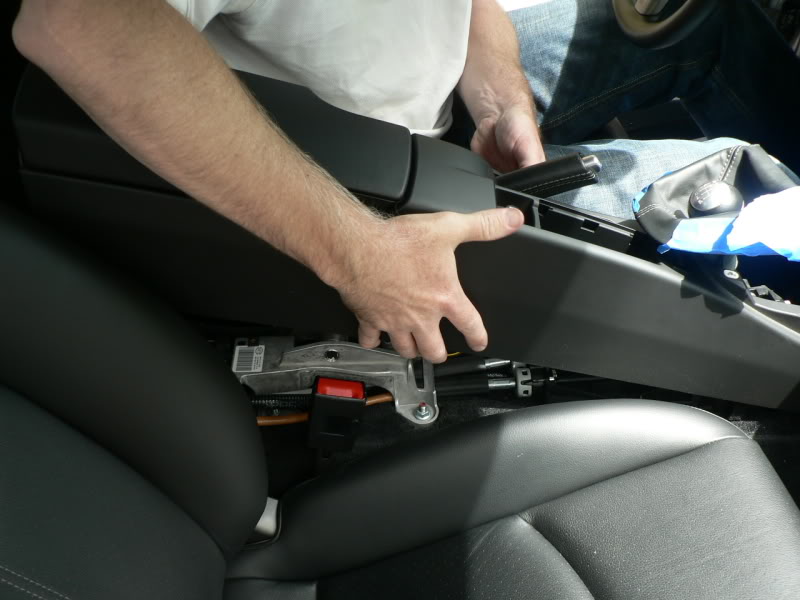
There are several more screws (six more in fact) to remove. See the guide for the list. Once that's done, remove the console form the car.
Transfer the lid and wiring harness from the original console to the new carbon cosnole.
Now place the carbon console in the car. Be sure to test that all of the plugs and lights work before screwing everything back together.
We'd estimate total install time at about 3 hours for a guy at home doing it for the first time.
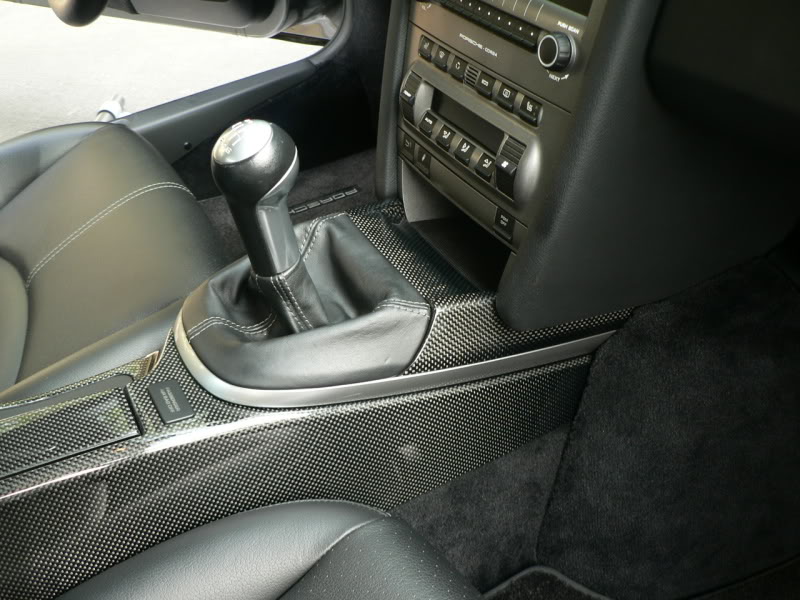
When you are done, you have a high impact carbon interior piece in your car! And the satisfaction of having done it yourself!

We had been looking to do an install guide for quite a while since none of the guides out on the net were detailed enough. So with the permission of the owner, we took the time to document each step. There turned out to be quite a few of them but it is actually straight forward and something pretty much any owner can do themselves.
A few things turned out to be crucial.
First, having a set of plastic interior trim pulling tools is very important. The tools keep you from scratching stuff and are made to deal with modern fasteners and clips Of course we sell these but� they really make things easier.
Second, we found removing/loosening the side panels from the dash to make a big difference. We�ve seen a few install guides where the person did not do this and instead try to bend things to get access to the �hidden� screws. Our way is a lot easier.
Last, we left the shift **** in place during the install. It did not take much effort to get the parts off around it and it saved us the time of having to remove it. (Ohhh, we didn�t have much of a choice since we couldn�t get it to come off!) We covered the **** and the boot with low tack painters tape to prevent any damage. That worked well.
We�ve included a few photos of the install here but you can download the entire guide on our center console product page. Click on 'View the install instructions'. http://www.macarbon.com/store/997-ce...nsole-133.html
We also created install guides for the shift boot trim surround and the piece that forms the bottom of the center storage area. This page has all the console parts we sell with their install guides.
http://www.macarbon.com/store/997-ce...sole-area-155/
Here is the customer's car upon arrival. A very nice Cayman S.
First be sure to disconnect the battery. This will eliminate any risk of the airbag warning light going off due to disconnecting the passenger wanring light
Now remove the shift boot.
If your car has a Bose System, you need to remove the subwoffer. There is a screw in the outlet port and then once that out, one bolt secures the unit.
To release the large trim panels around the PCM, remove the two small carpeted panels at the back of the dash. There is a screw hidden in the pile.
With the trim panel loose, pry up the trim panel that is between the shift boot and the storage bin. This piece can be broken if you are not careful.
Next, remove the shift boot surround trim.
With the trim panel loose, remove the storage bin to get access to the screw located underneath.
There are several more screws (six more in fact) to remove. See the guide for the list. Once that's done, remove the console form the car.
Transfer the lid and wiring harness from the original console to the new carbon cosnole.
Now place the carbon console in the car. Be sure to test that all of the plugs and lights work before screwing everything back together.
We'd estimate total install time at about 3 hours for a guy at home doing it for the first time.
When you are done, you have a high impact carbon interior piece in your car! And the satisfaction of having done it yourself!

#3
05-06-2009, 08:48 AM
Join Date: Nov 2007
Location: San Carlos, CA
Posts: 135
Rep Power: 0
Get the actual PDF
Thanks!
These were just some 'highlights'. Be sure to download the actual PDF. It works regardless of wether you are installing a CF console, painted, or leather.
http://www.macarbon.com/store/997-ce...nsole-133.html
These were just some 'highlights'. Be sure to download the actual PDF. It works regardless of wether you are installing a CF console, painted, or leather.
http://www.macarbon.com/store/997-ce...nsole-133.html
#4
05-08-2009, 02:59 PM

Former Vendor
Join Date: May 2009
Location: Houston, Texas
Posts: 77
Rep Power: 0
Nice post. That carbon looks great!
Last edited by david@autodynamica; 05-08-2009 at 03:22 PM.


Thread
Thread Starter
Forum
Replies
Last Post
PelicanParts.com
997 Vendor Classifieds
0
08-20-2015 02:39 PM
PelicanParts.com
997 Turbo Vendor Classifieds
0
08-20-2015 02:38 PM
PelicanParts.com
GT3/GT2/GT Vendor Classifieds
0
08-20-2015 02:37 PM