When you click on links to various merchants on this site and make a purchase, this can result in this site earning a commission. Affiliate programs and affiliations include, but are not limited to, the eBay Partner Network.
Hey guys, it took 5 years but I finally was able to realize my dream of owning an Agate Grey C4S.
07/14/2018
Finalized transaction
07/16/2018
Led Sidemarkers.
07/19/2018
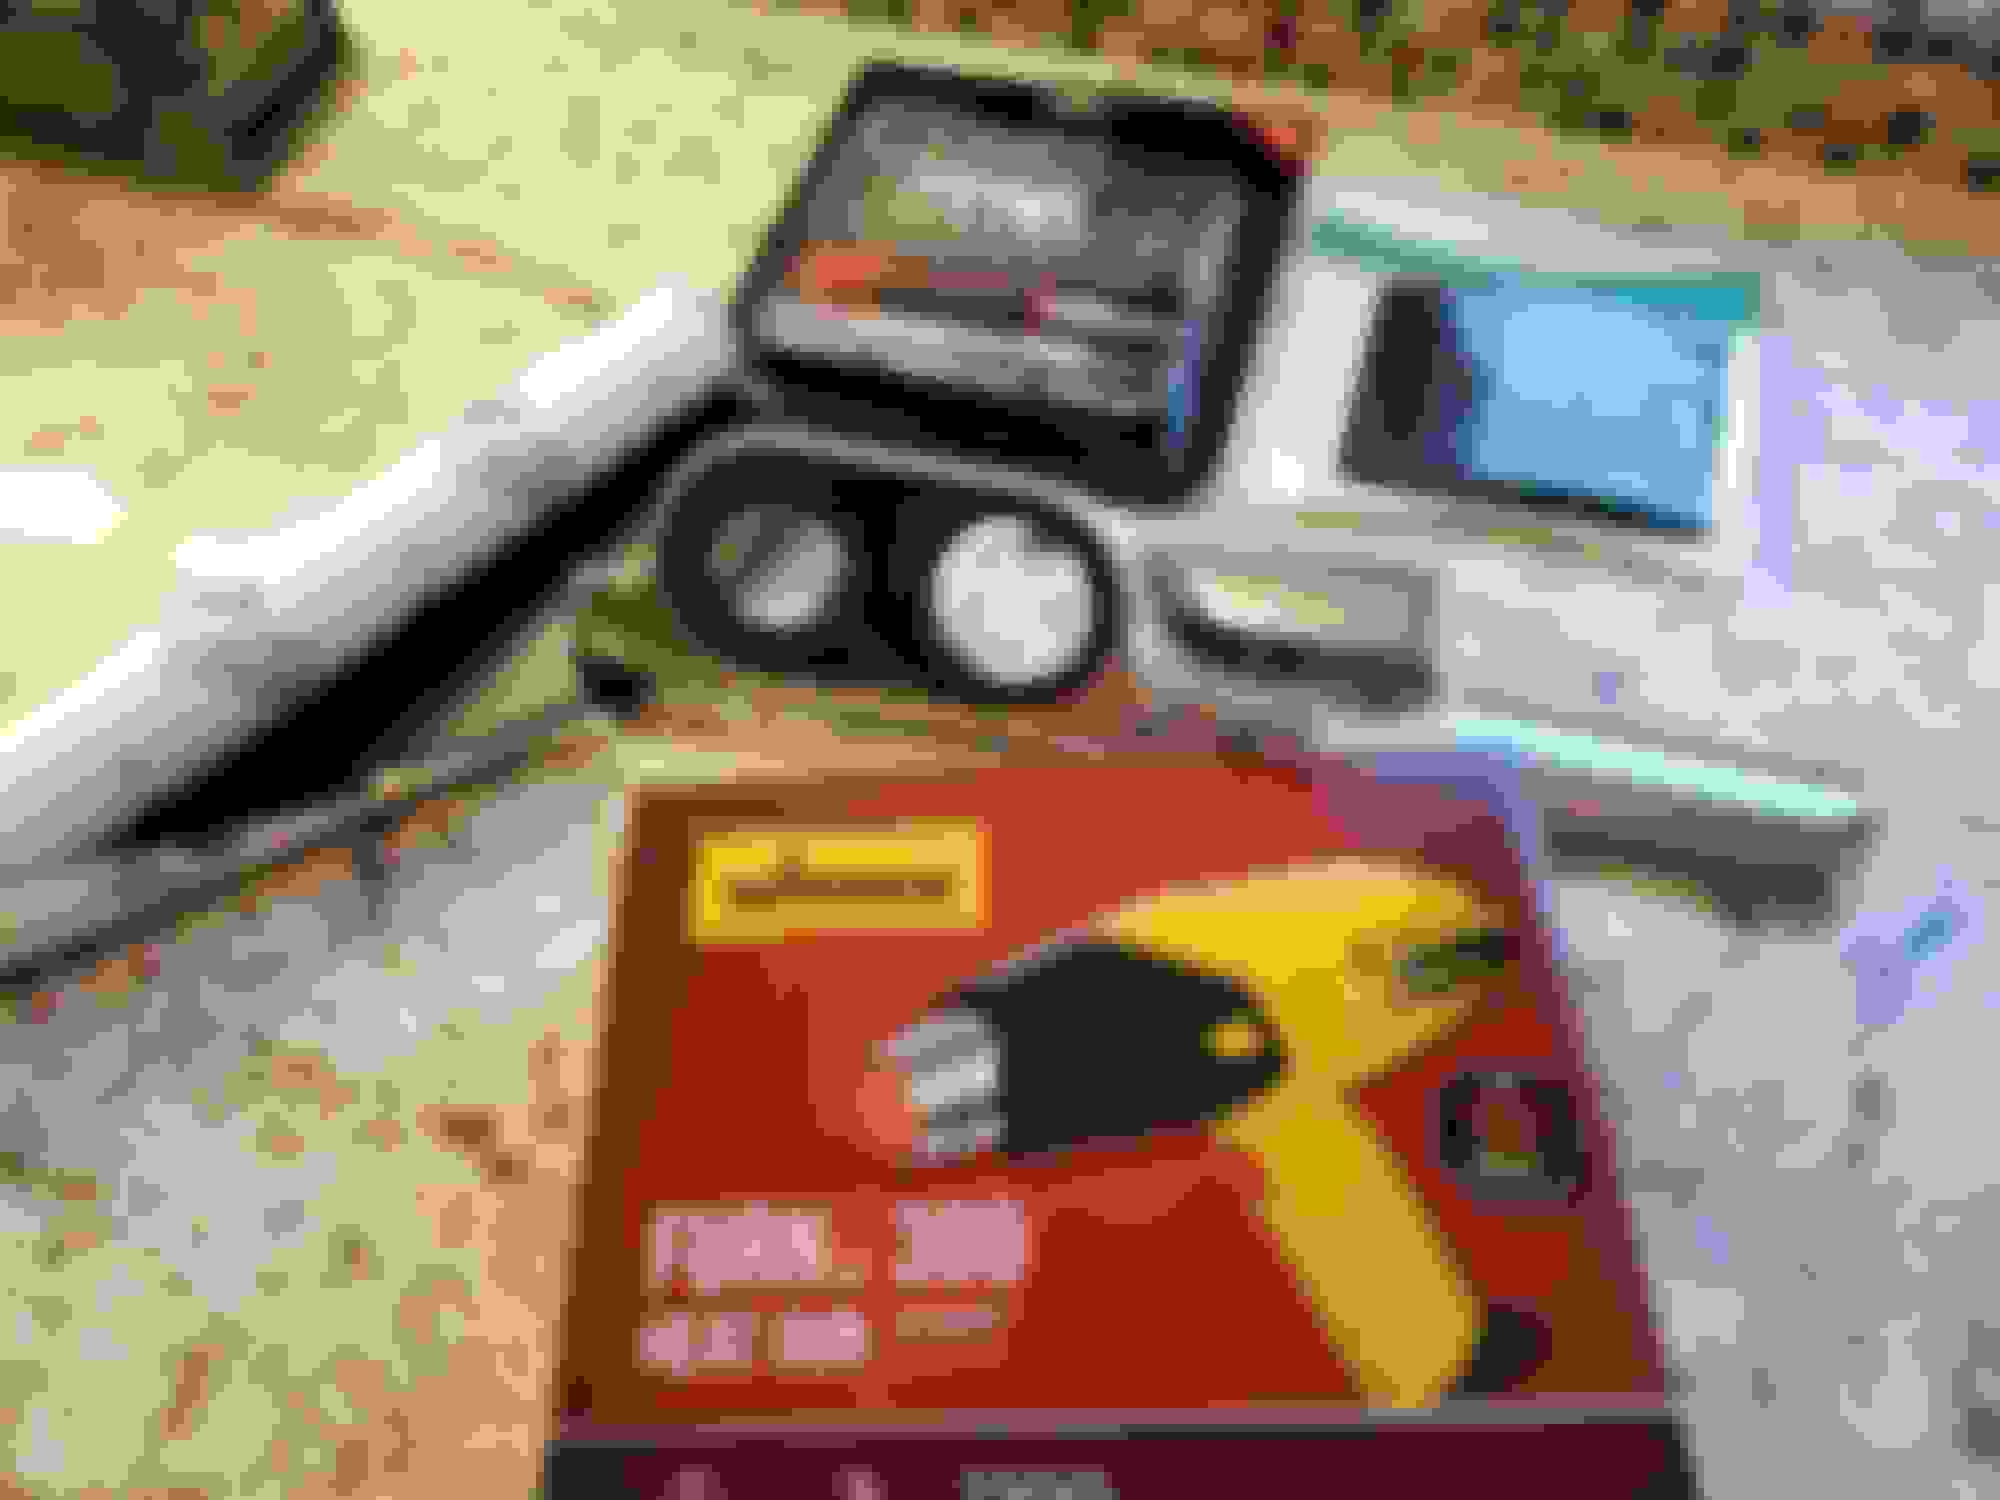
Tag Motorsports changed the price of it's painted reflectors by 40% overnight while the items were in my cart. Turned me off so I thought this would be a nice DIY. Bought the cheapest Vinyl Wrap w/ Prime from Amazon. Like $10 or something.
07/23/2018
Graco Affix Youth Booster Seat with Latch System, Grapeade was $37 on Prime Day...
07/24/2018
Can't believe I had to remove the entire rear bumper just for the center reflector strip. As a quick run-through, all you need is a wrench, T25 bit, and a 8MM socket. 3 screws under each the wheel wells. 4 screws under diffuser. I think 3(?) screws under the wing.Remove the tail light (one screw) and there will be another silver screw to remove. So around 17 screws including tail lights to remove rear bumper. Then use the 8MM socket wrench to remove the ridiculous 6 nuts holding down the center reflector from the bottom. Also, my grey key cover and keychain arrived.
07/25/2018
Went to the Post Office and my PASM Front Lip arrived. Just installed it in the parking lot. It snaps right off, no tools necessary.
07/27/2018
This took much longer than removing the rear bumper for the clear tail lights. Went through two bottles of diluted ONR as clay lube. So exhausting I fumbled the last 5 yards and just stuck it on and now it's off-center forever lmao
4/10/22
991.1 to 991.2 steering wheel
PDK Boot Installation 991.1 Steering / Before Pic Retrofit Wiring Installation Dash Bluetooth and PDK Boot Installation Finished
Nice work. I remember when you modded your white Porsche a few years back.
Your reflector mod does not come close to matching body color. Sorry, but it just doesn't look right. Agree that Tag increasing price is a big letdown and don't blame you for not buying from them.
I nice DIY for the reflectors is to buy body matching spray paint from the dealer or some other internet paint copy that can match the body color. Goggle it, they are easy to find.
Take off the vinyl and spray paint the reflectors and I think it will look 100% better. You may have to spray a primer on first to make sure the body color paint adheres properly. You will probably have to wet sand and polish to get a nice shine after you spray paint it a couple of coats. Look on the internet - am sure there are instructions on how to do it.
Nice stable btw.
Thanks! It looks a off, I agree! Thank you for all the DIY tips and guidance, when I'm feeling adventurous or when Tag Motorsports/Bumper Plugs has a sale then I'll make my move--whichever comes first!
Originally Posted by 991C4s
The white taillights look really good on your car.
Thank you!
Originally Posted by af330i
Your car looks great, nice job also loving your beautiful Ferrari !!
Thank you very much for the kind words!
Originally Posted by Sizzle Chest
Great diary of mods! Love the before/after pics! Car looks great!
Thank you very much! Sharing the journey is part of the fun, because the end result is often a mixed bag, for me too especially, haha!
Originally Posted by ///M Kevin
Congratulations on finding the color you want. It makes a good daily driver next to your 458.
Yessir! I've lusted after Agate Grey for the longest time and I'm enjoying the car so much!
First time vinyl wrapping interior trim pieces. Inexperience really showed hahaha. Didn't end up opening the knife set or squeegee so get to return those items and get my money back, haha. Come up!
I was hoping the CF Vinyl would look more matte and "dry carbon" than it did. Oh well. And I initially I wanted a vinyl faux leather look that also had a textured, soft, felt touch, I know that type of vinyl exists since I have that skin for my phone, but it wasn't available for Prime so I was like F it.
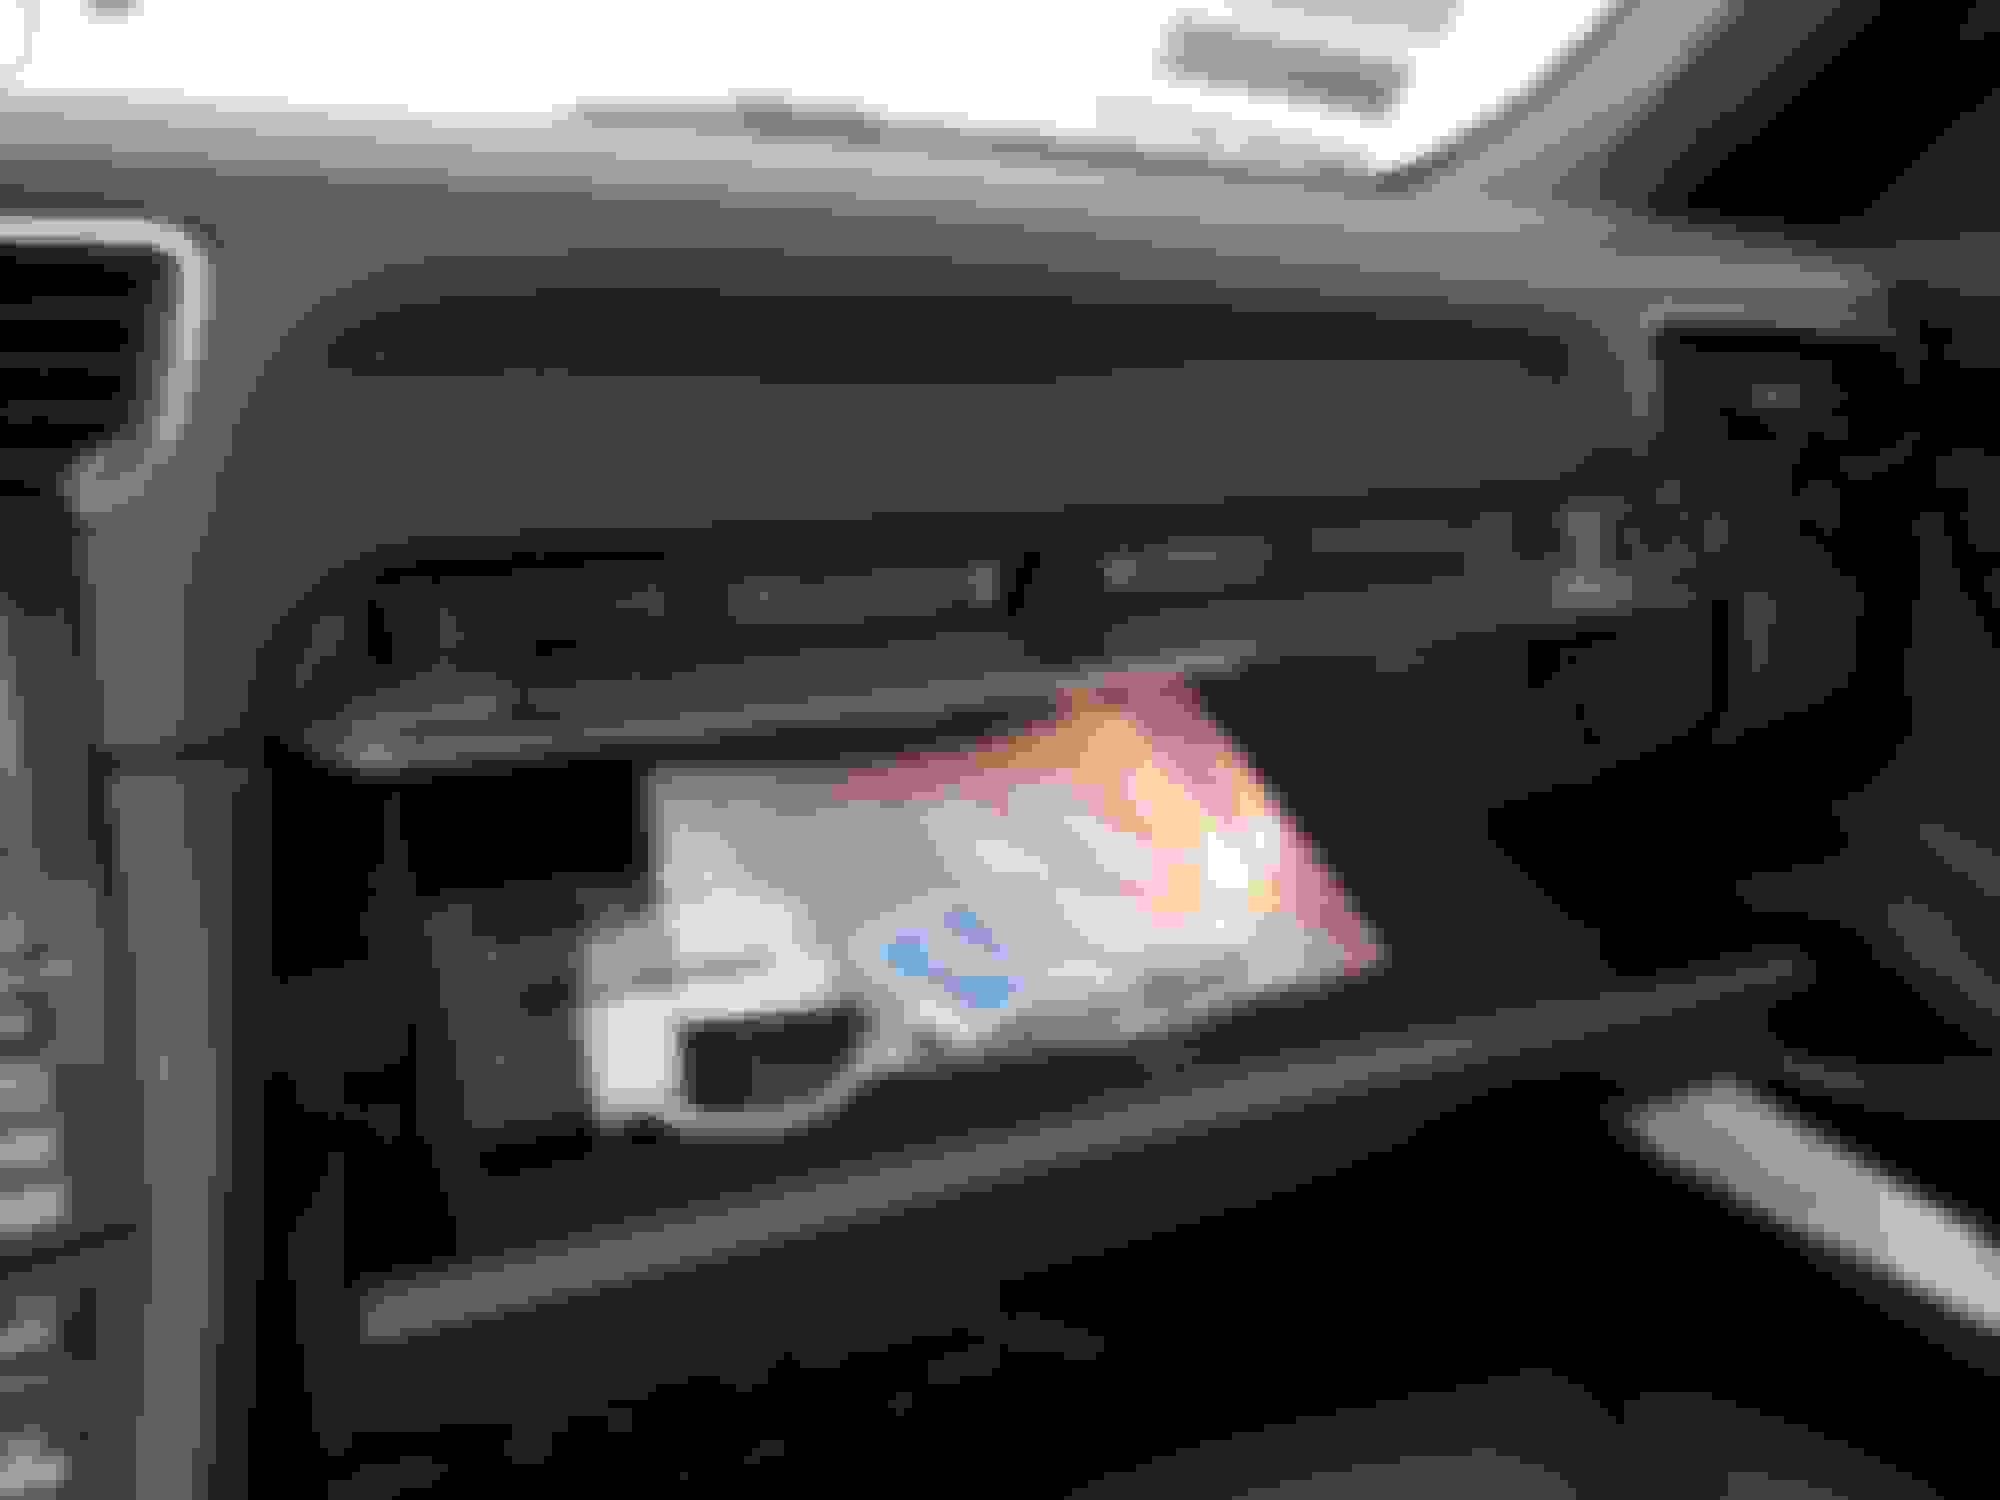
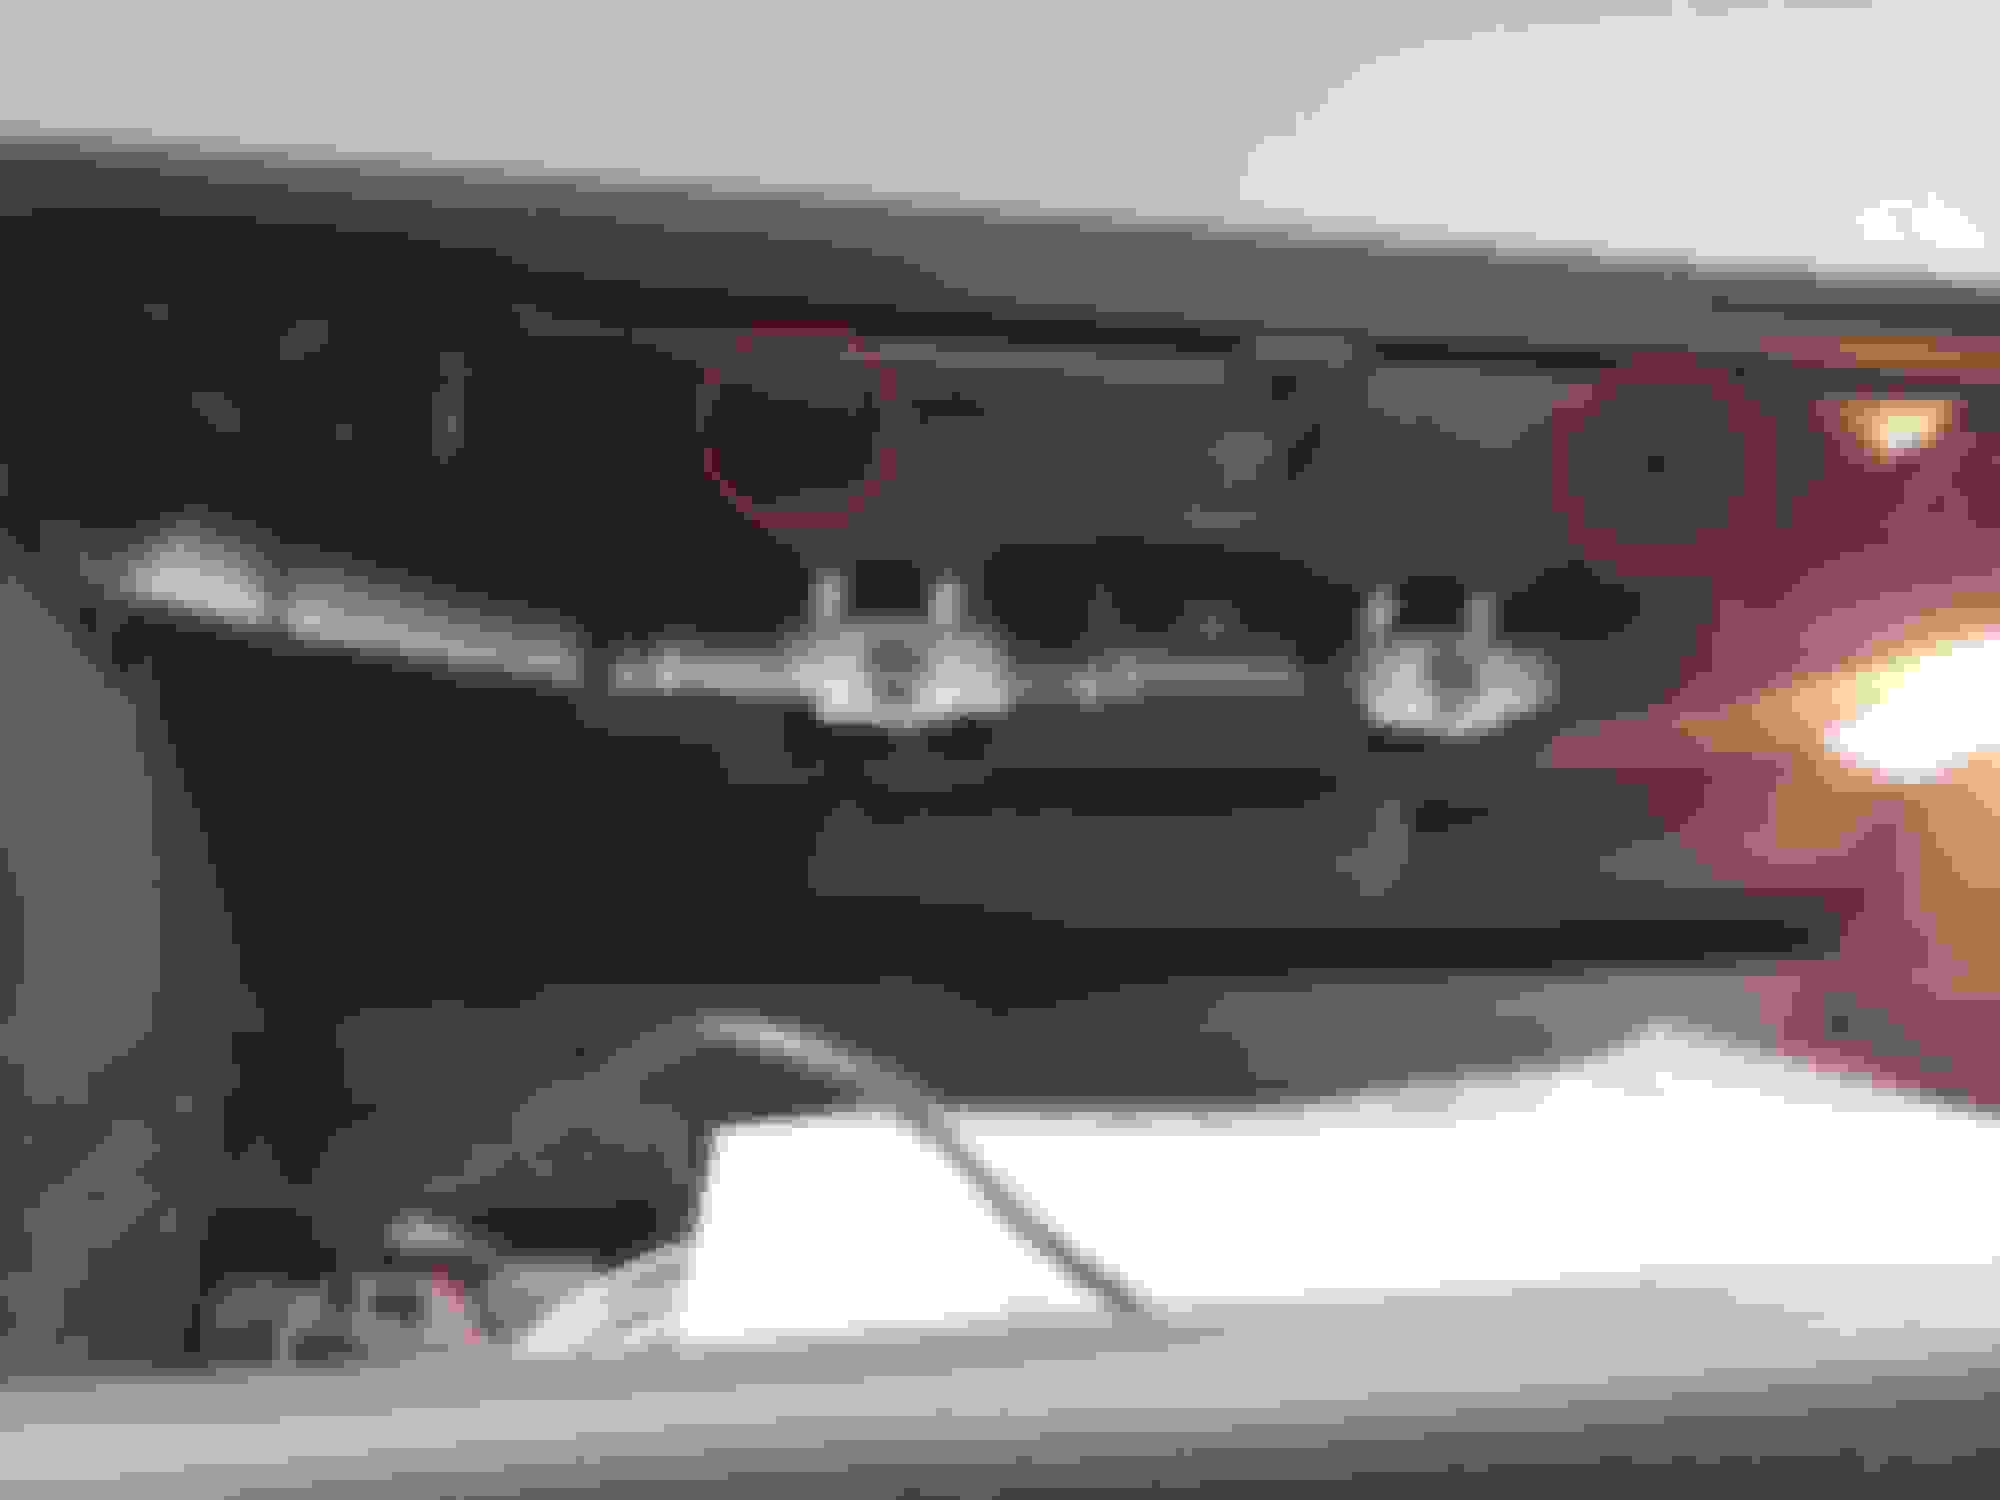
The trim all popped up extremely easily with a trim removal tool with the exception of the Cup Holder Trim. Don't yank it out like the MAcarbon directions advise. There are two clips you have to remove and then it will slide out super easy. Just slip in a thin, flat plastic pry tool to each of the clips. You can reference my pictures for more details, pretty self-explanatory.
Finished result at the end. My job was like a 5/10. If a professional did it, I would prefer the look to the CF in my 458.
Open cup holder. Open glove box.
A slightly thinner, flat, plastic pry tool would be perfect than the one shown.
Left side slides right out. Repeat for Right Side.
I need to change my interior trim pieces sooner than later. My wife hates the glare she gets from the aluminum trim in the 991. Probably wrap mine for now then convert to OEM carbon fiber later on.
Have a shop or use touch up paint and paint those rear reflectors body color to match properly. They look awful.
Hahaha once the BumperPlugs or Tag Motorsports go on sale I'll pick them up. Once I know the sale price I can't go back to MSRP.
Originally Posted by Taiwanese
nicely done
Thank you!
Originally Posted by ///M Kevin
Yeah, I prefer the CF in the Ferrari.
Good to know about pulling the cup holder out. I listened to MA and used brute force. LOL.
Haha right on and yo! whatever works man!!
Originally Posted by 2010Panny4S
I need to change my interior trim pieces sooner than later. My wife hates the glare she gets from the aluminum trim in the 991. Probably wrap mine for now then convert to OEM carbon fiber later on.
I hate the glare too! and the smudges, oh the smudges!
--
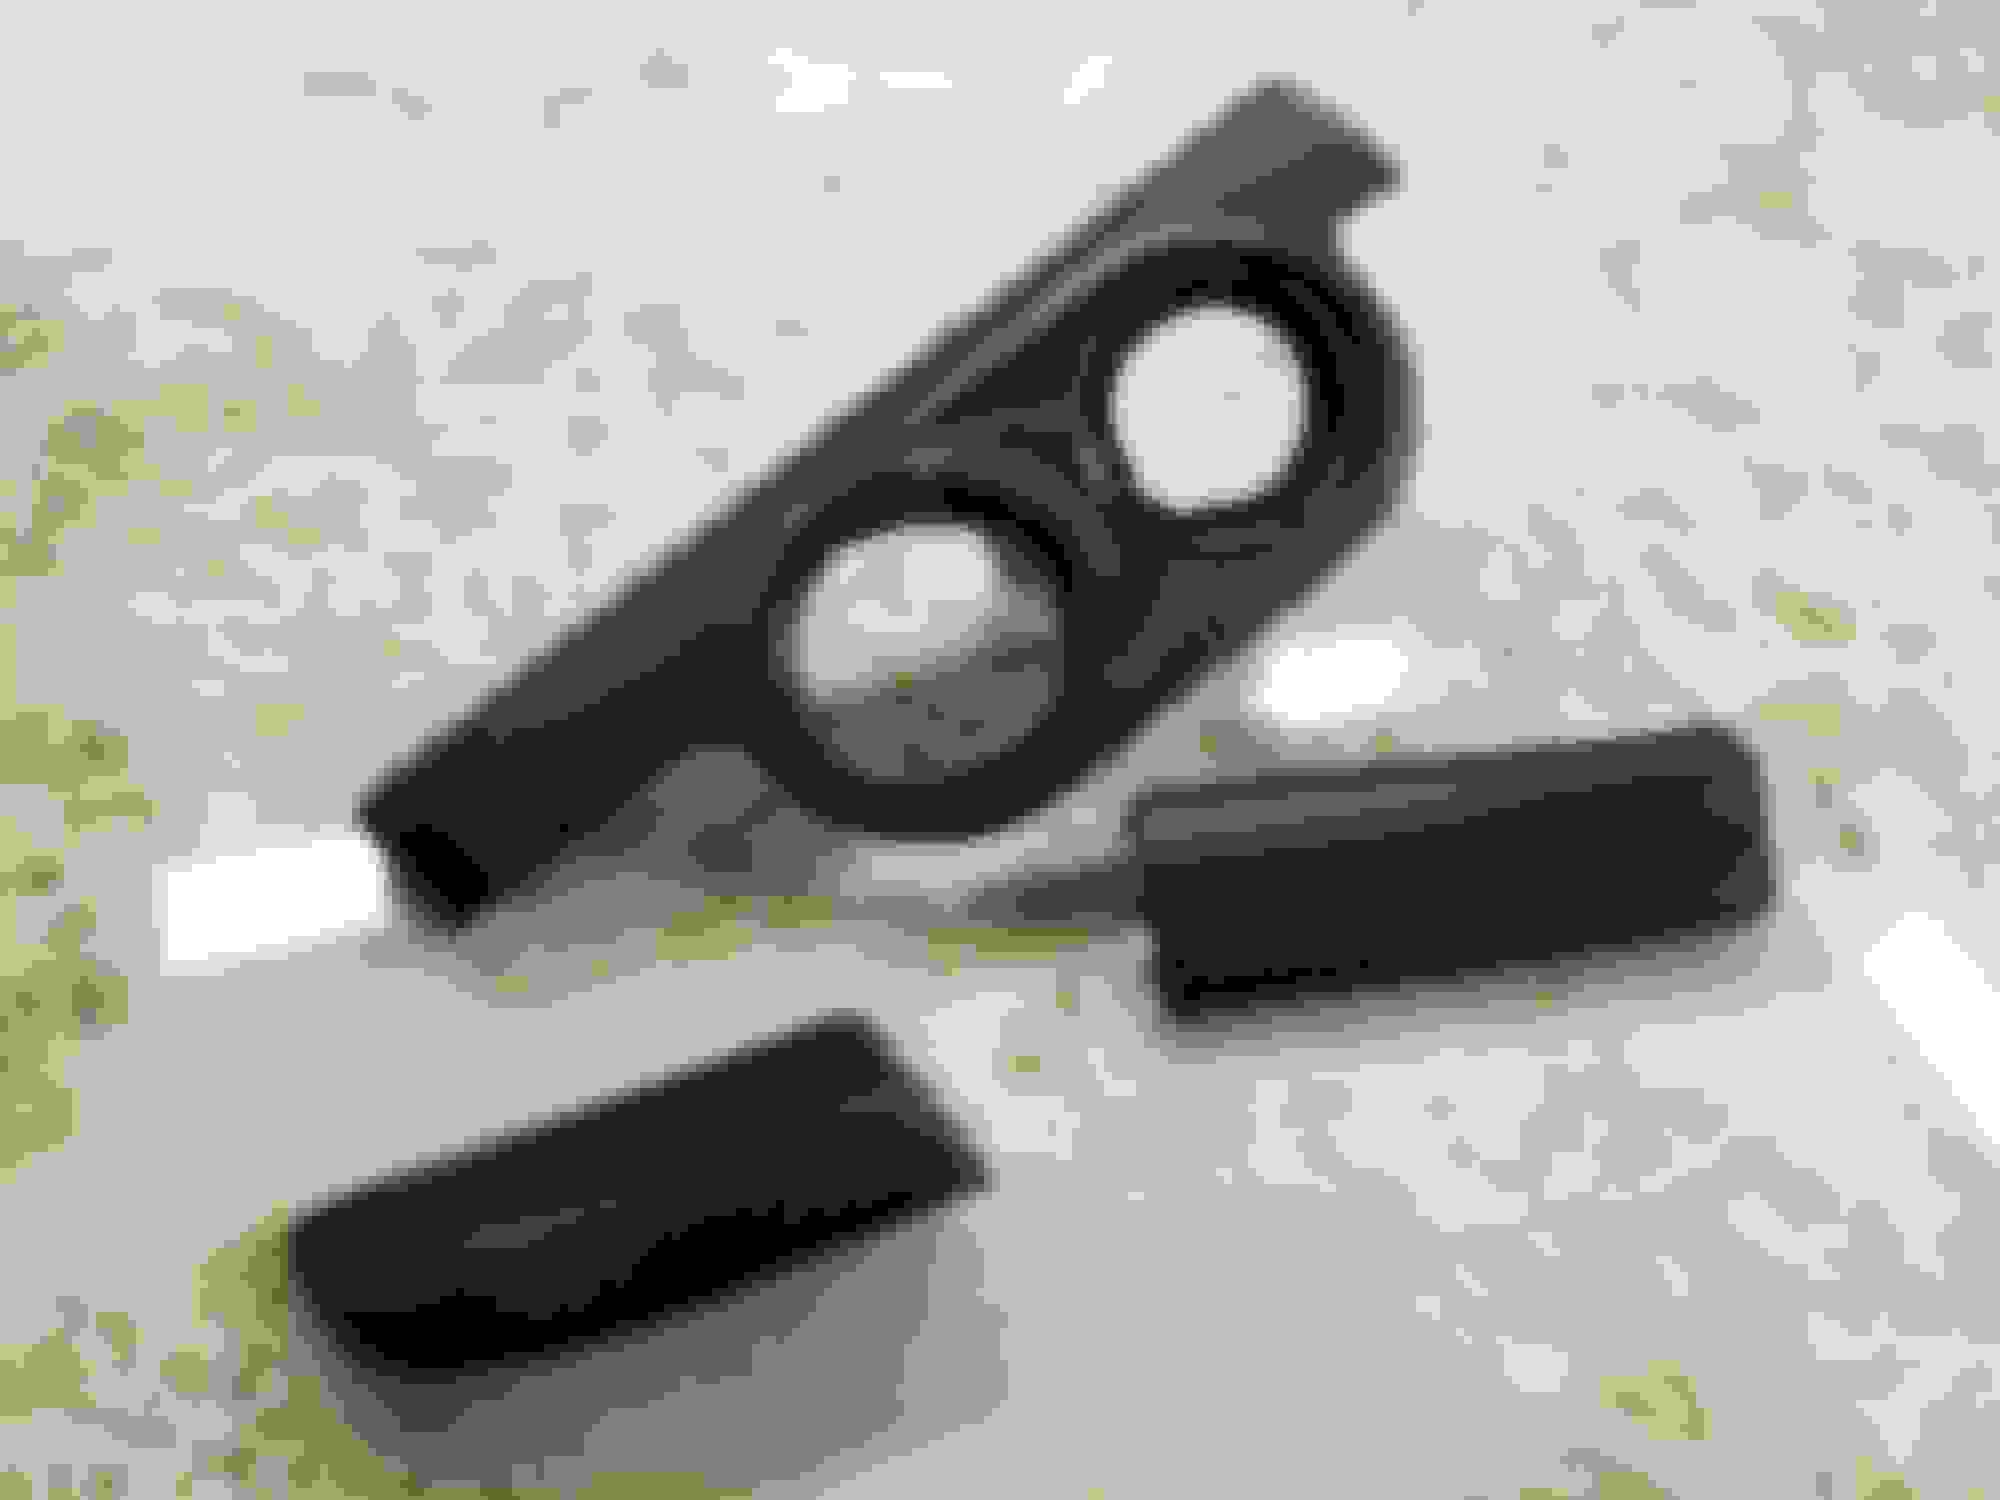
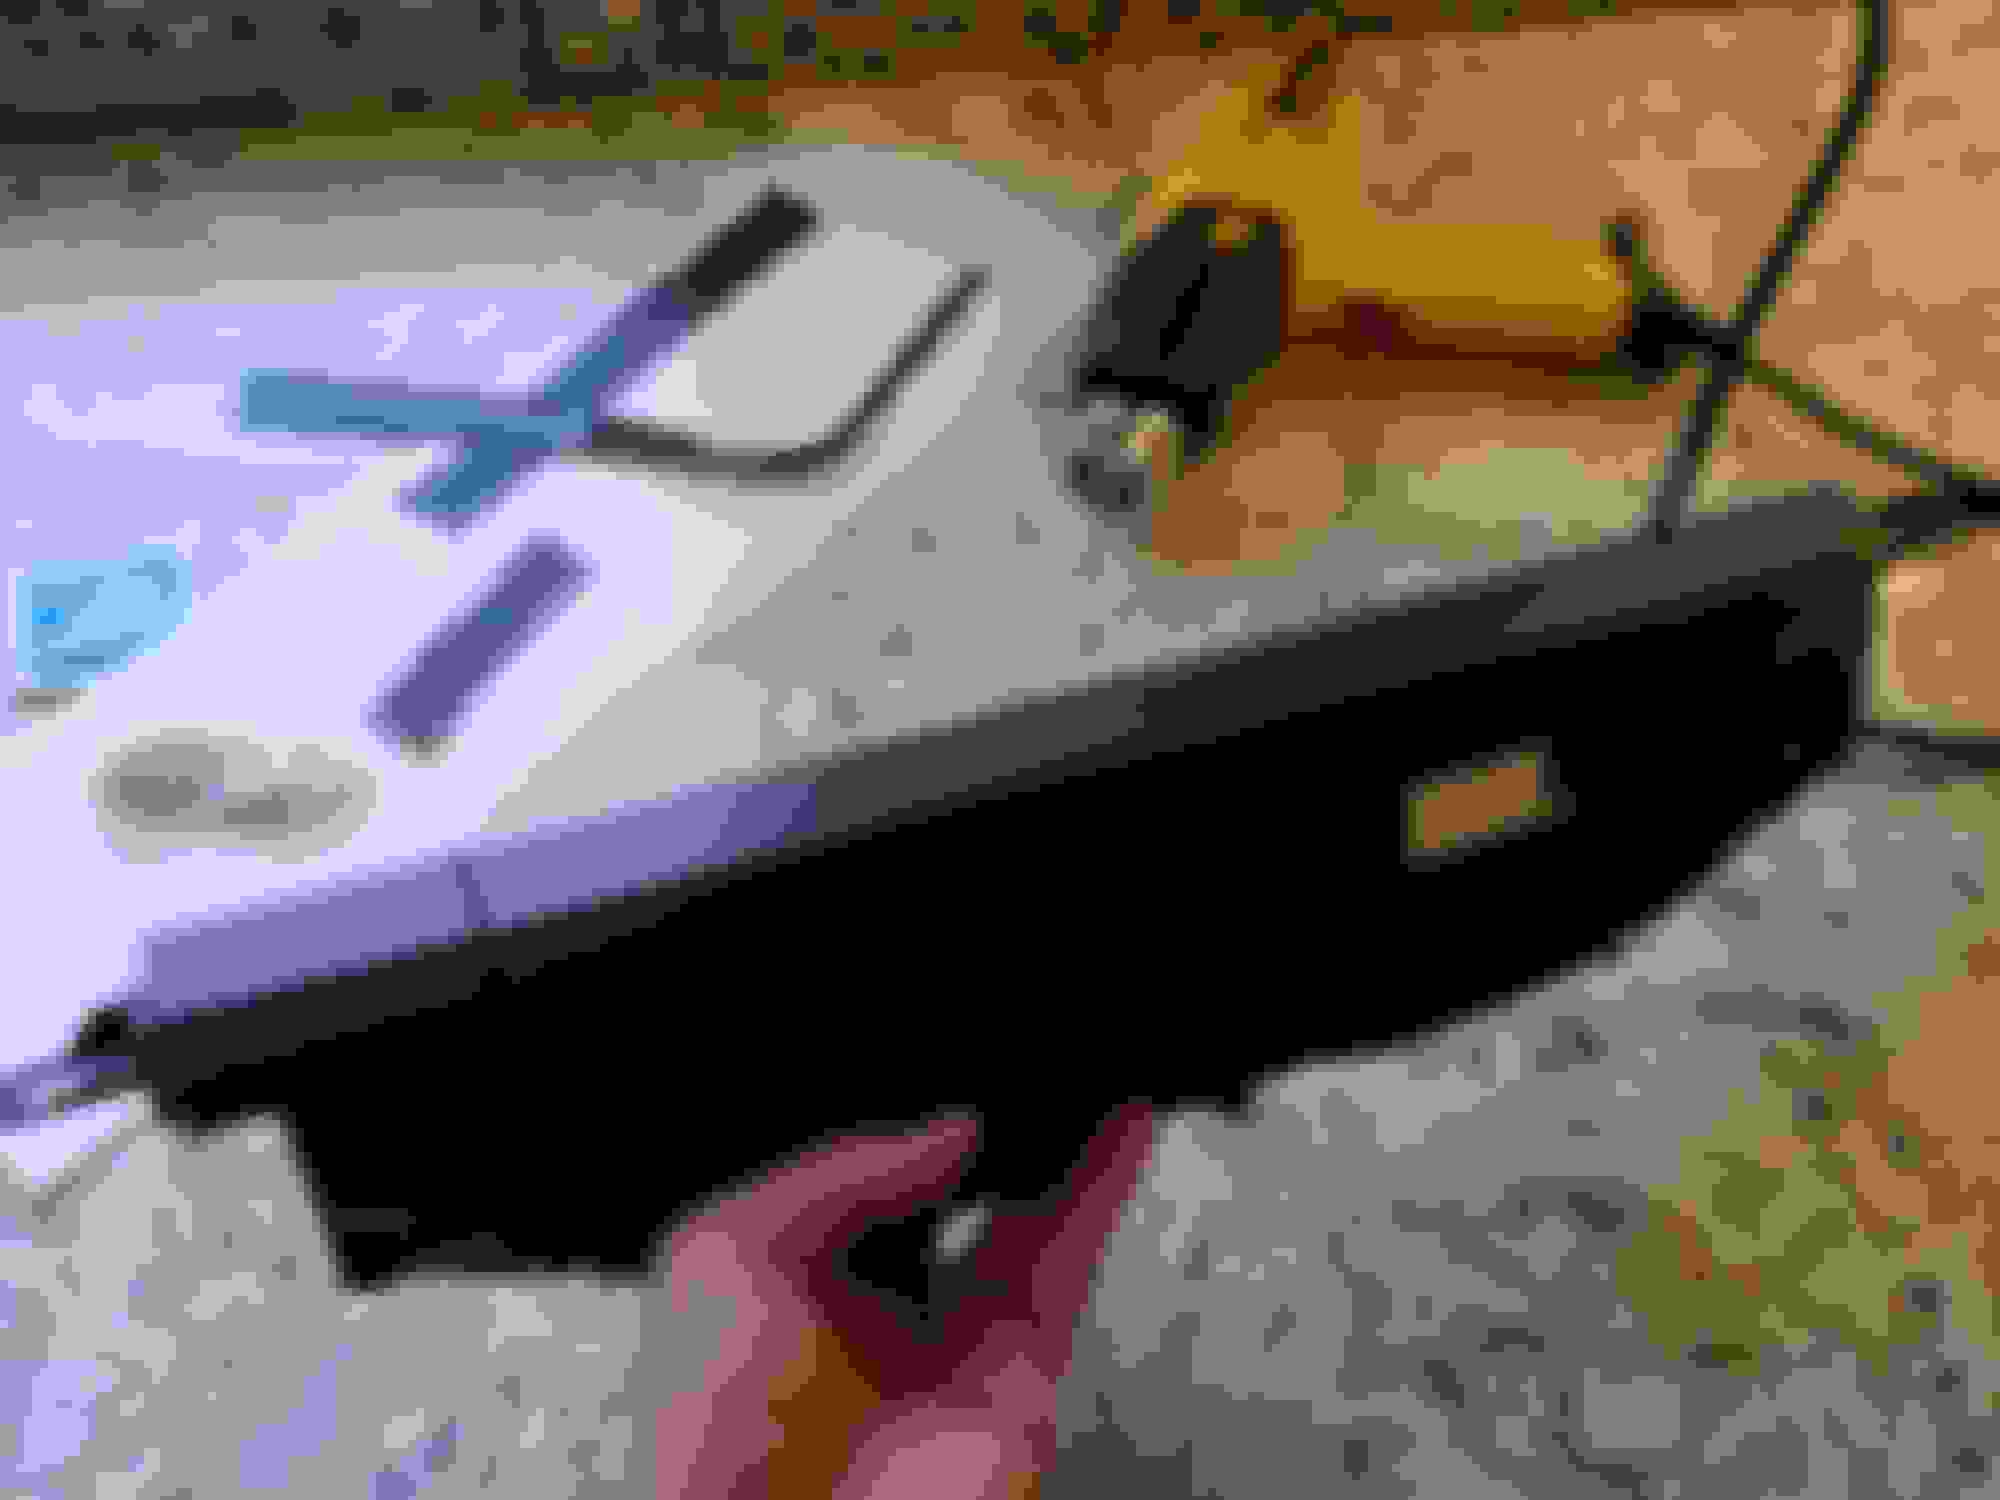
Took a gamble and ordered a set of Exhaust Tips from Taiwan. I think these are the rebranded NHP Exhaust Tips. I was hoping these new Tips would have more of a push-up bra effect--make the tips look tighter, closer, and fuller under the diffuser. Instead, I think I just got a brighter bra. Should have looked into the actual diameter of the OEM tips vs these new ones.
Fresh from Taiwan. Listed for $399, frequently on sale for $359, offered $300, they countered, I just decided to come up to $340 and they accepted.

 07-28-2018, 12:46 AM