When you click on links to various merchants on this site and make a purchase, this can result in this site earning a commission. Affiliate programs and affiliations include, but are not limited to, the eBay Partner Network.
Ah okay, I was looking and they offered two different durometers and I thought the stiffer than stock one would be a good upgrade while avoiding potential harshness from monoballs..
If this works out, it could be a very nice option. You get the advantage of the monoball, with the fitment of the stock hat. It's also about 60% of the cost aftermarket or stock camber plates.
For sure! I may have given them a shot at that price (had I known about it, lol). Worst case scenario, if not happy sell the "rebuilt" plates. I'm guessing you will likely be happy with them since from what I've read the diff in nvh is minimal. Keep us posted!
Originally Posted by Steve Jarvis
If this works out, it could be a very nice option. You get the advantage of the monoball, with the fitment of the stock hat. It's also about 60% of the cost aftermarket or stock camber plates.
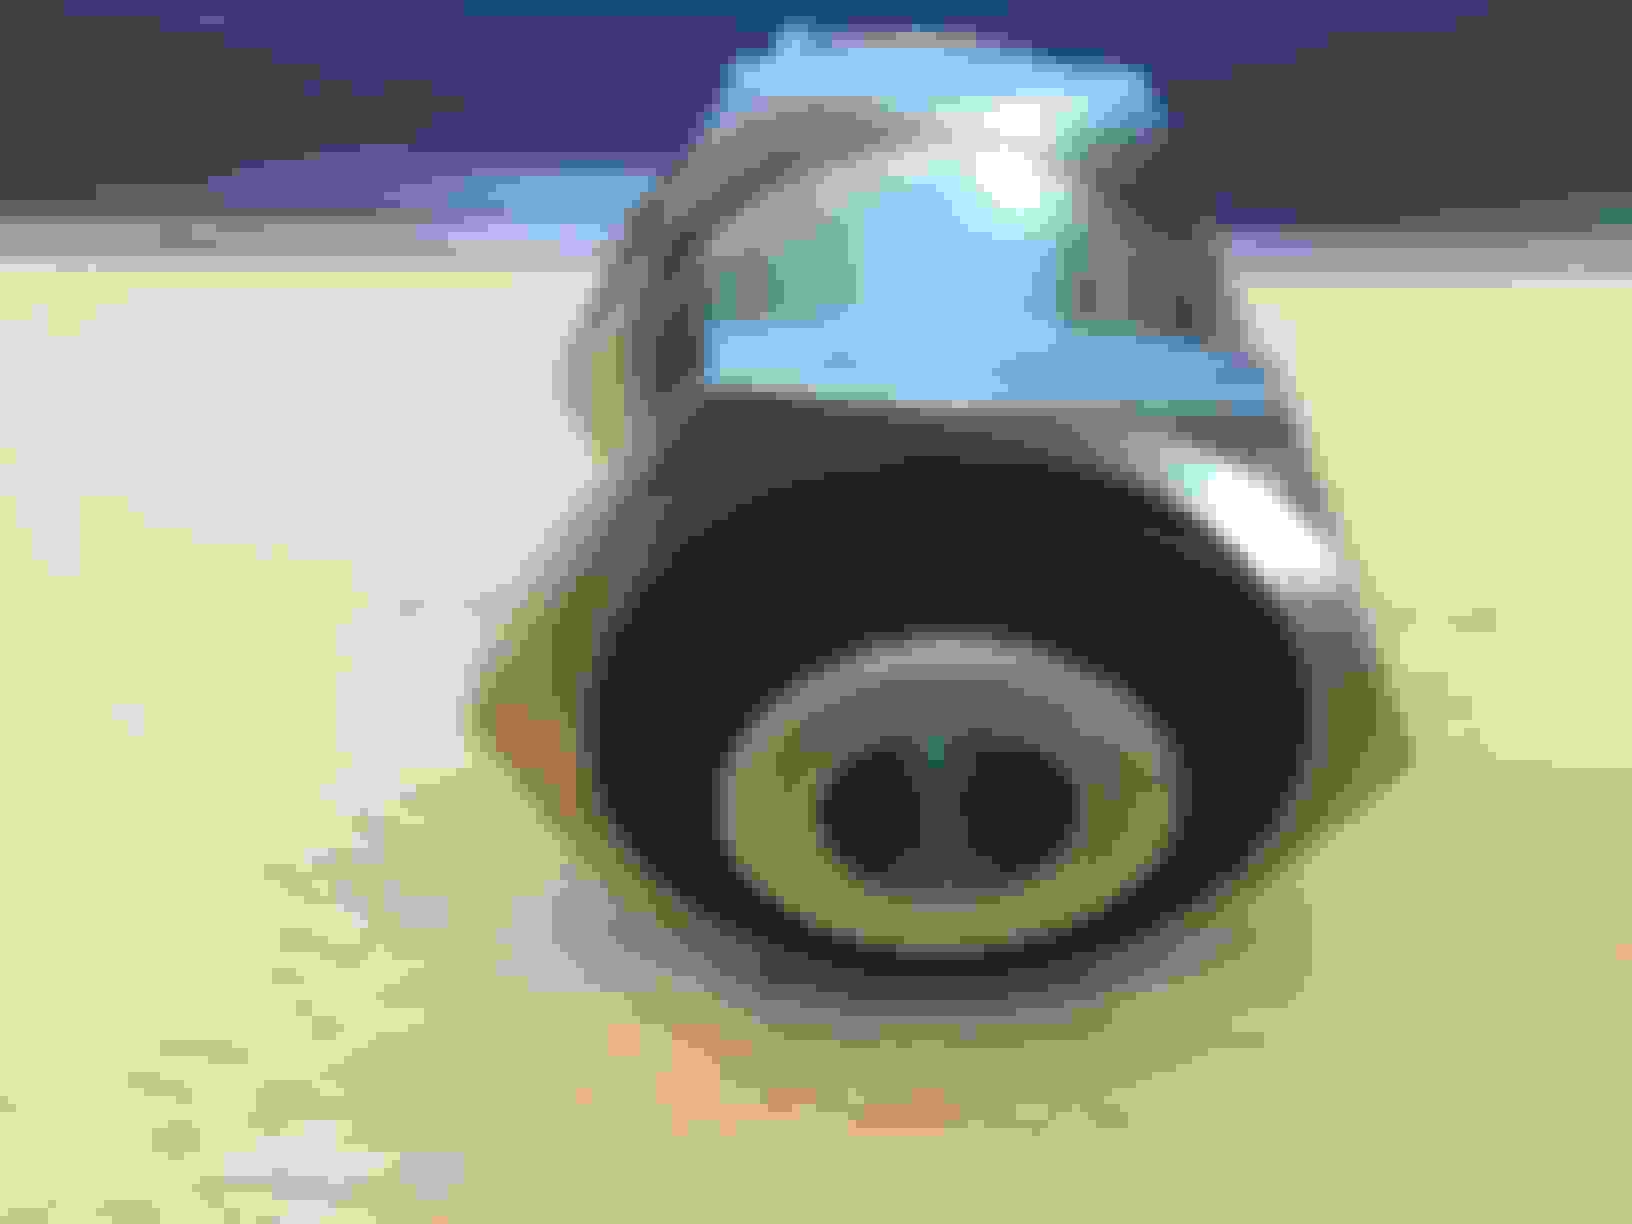
I received the monoball cartridges today. They are very nice quality.
There's a threaded nut to allow for installation and to get everything tight. There is also a snap-ring (which I assume is a safety measure), that is nice and tight and shouldn't give any issue with rattling. The ball is also sealed on both sides.
I'll let everyone know how the installation goes, but here a few pictures of the parts.
I never even held an OEM top mount in my hand yet but I assume you need to use a press to push out the old rubber center and use a press to push these in, right?
You cut out the old rubber center with a hole saw. I believe I'll be able to get the bushing in with my vise. The hex nuts on top and bottom are really what's holding the bushing in place.
When are you doing the install? Make sure to take pics, share the process with us, and obviously your impressions of how the car feels after the install
When are you doing the install? Make sure to take pics, share the process with us, and obviously your impressions of how the car feels after the install
I won't go into removing the camber plates, it's already been documented.
The center of my camber plates were completely worn out, so it was easy to push the center out by hand.
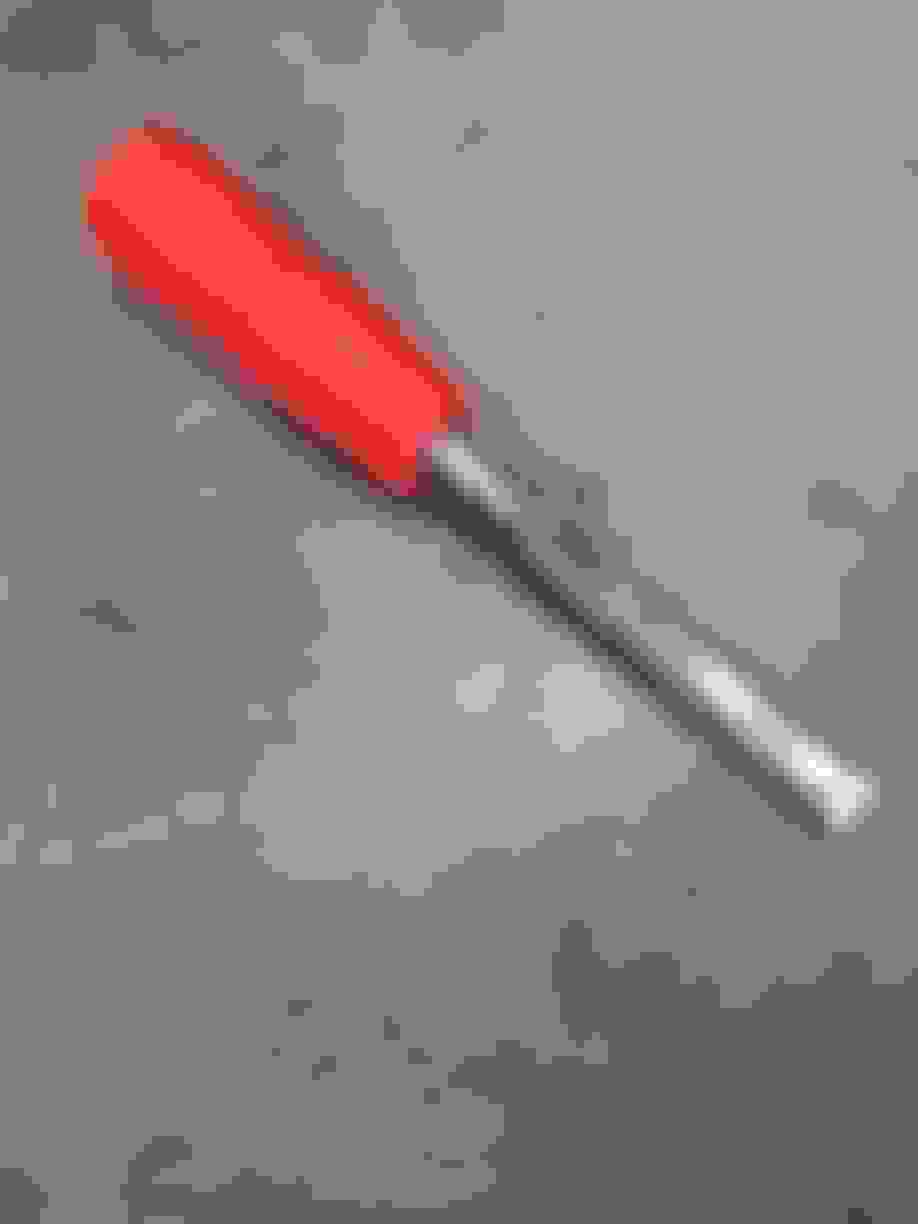
I drilled out the center with a 1 5/8' hole saw.
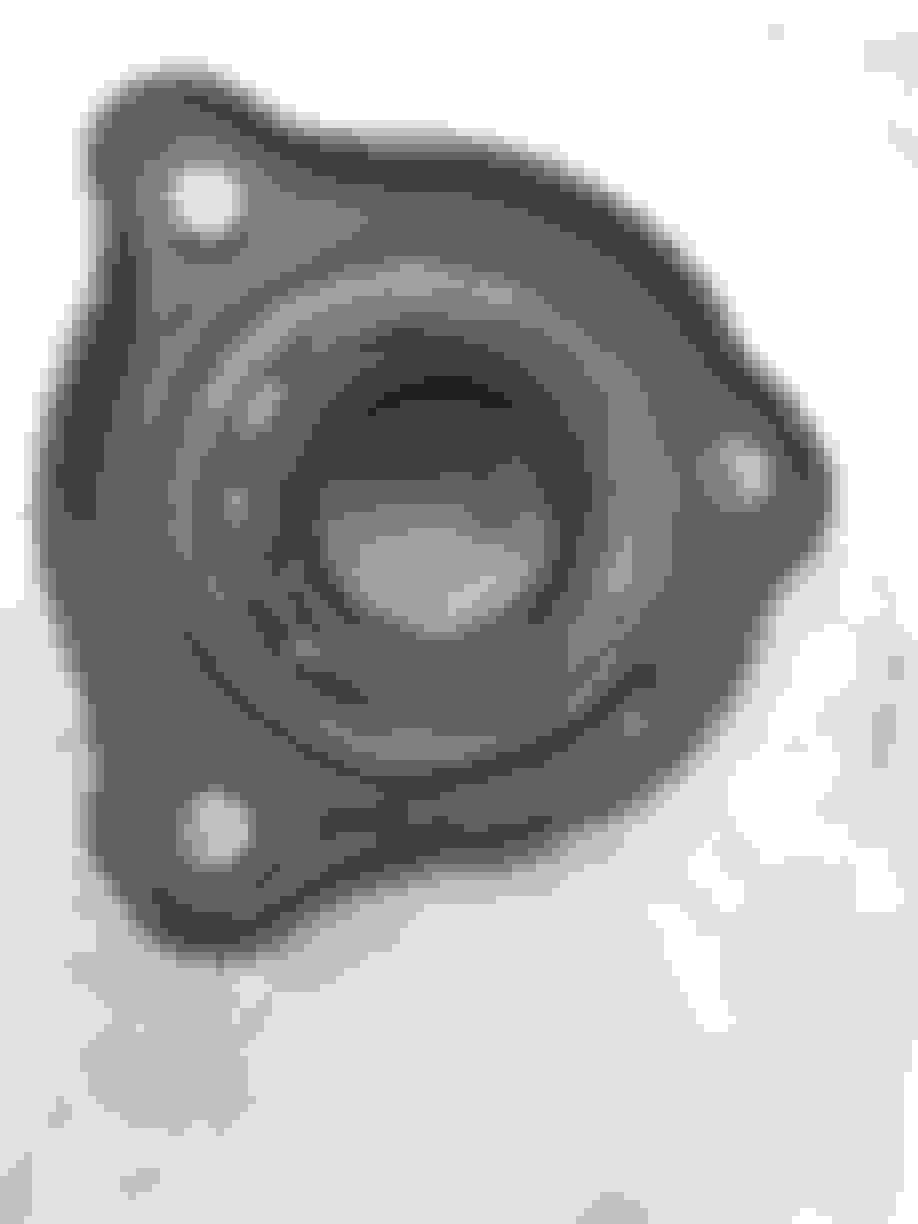
Here's the part after drilling out the rubber.
Afterwards, I took a small chisel and cut out a little more rubber from the center. Trust me, if you don't do this, you won't get the monoball cartridge in without a press.
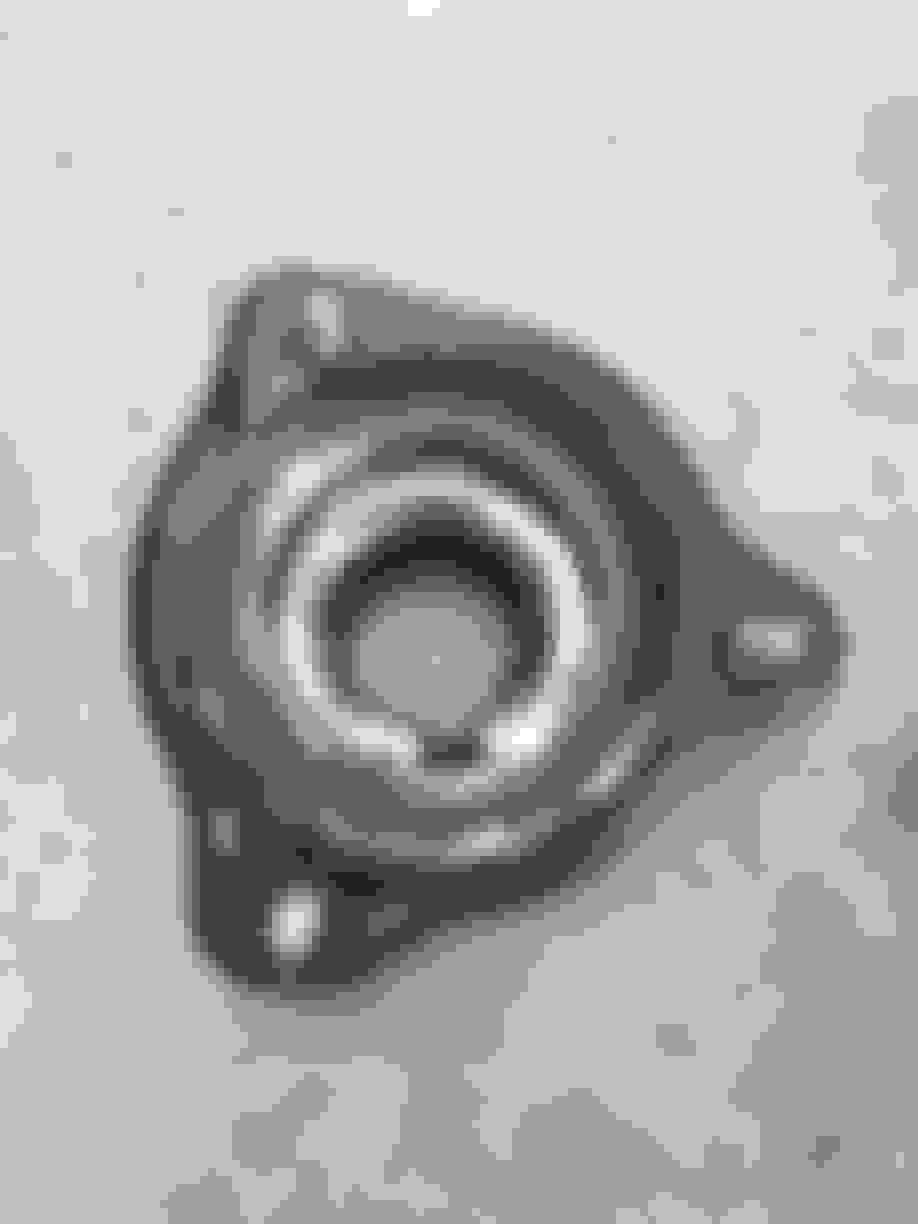
You could probably complete the install at this point, but I wanted it to look more finished. I used a wire brush to clean out the remaining rubber. FYI the wires were a lot longer when I started.
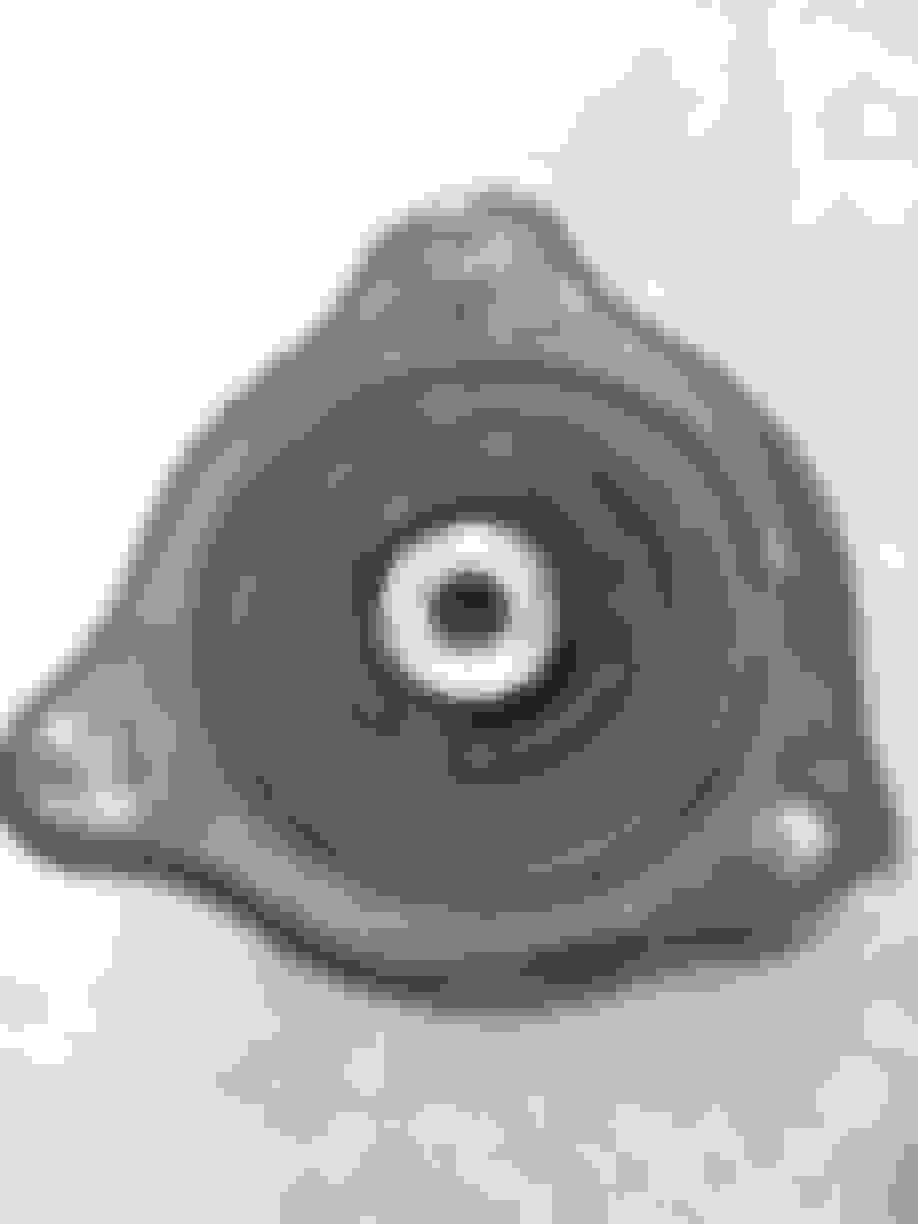
Here's a camber plate after removing the rubber.
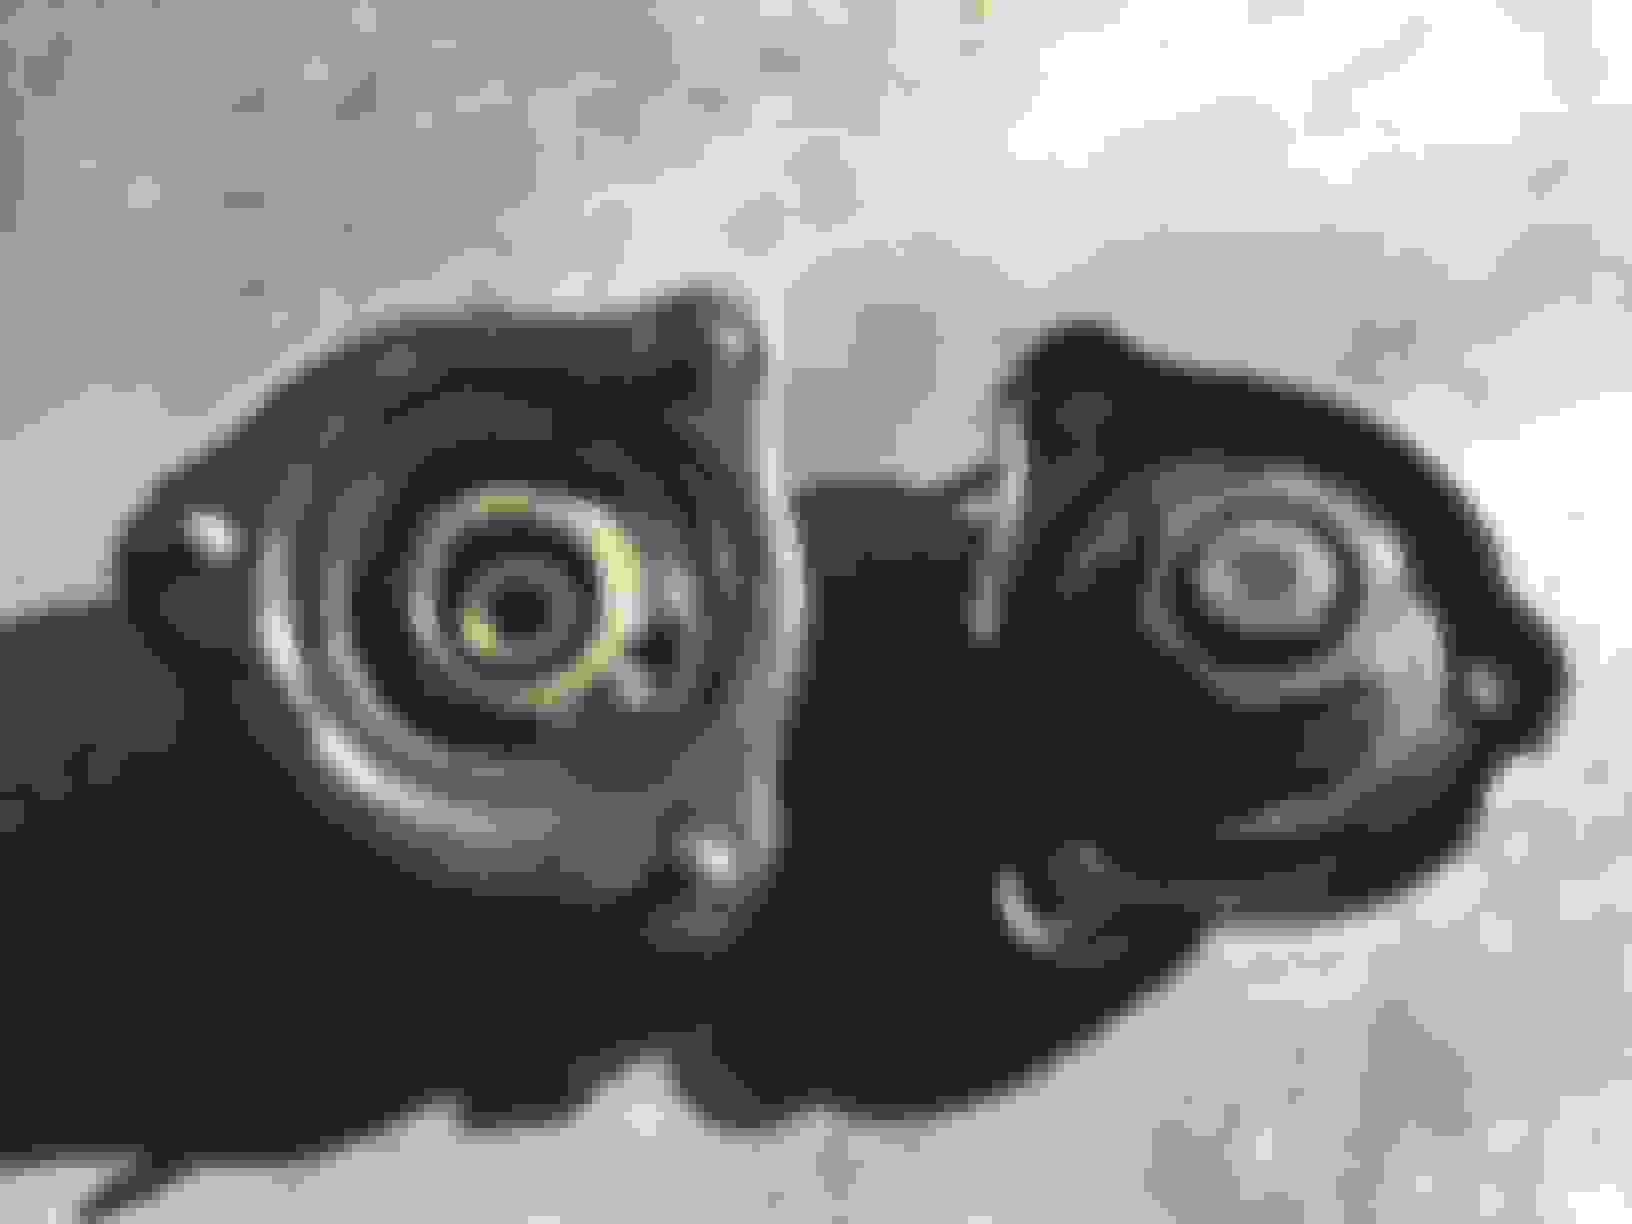
A little bit a paint and they were ready for the monoball cartridge install.
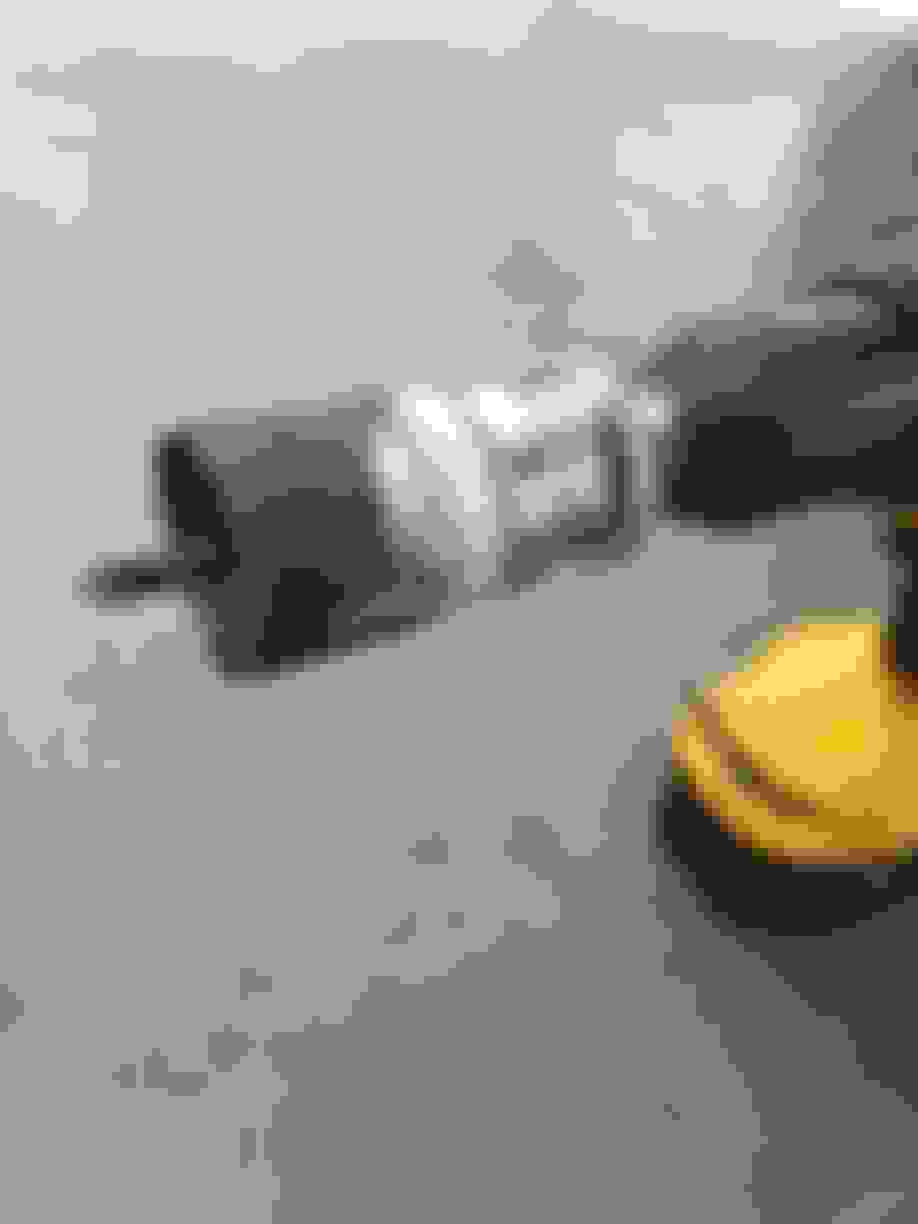
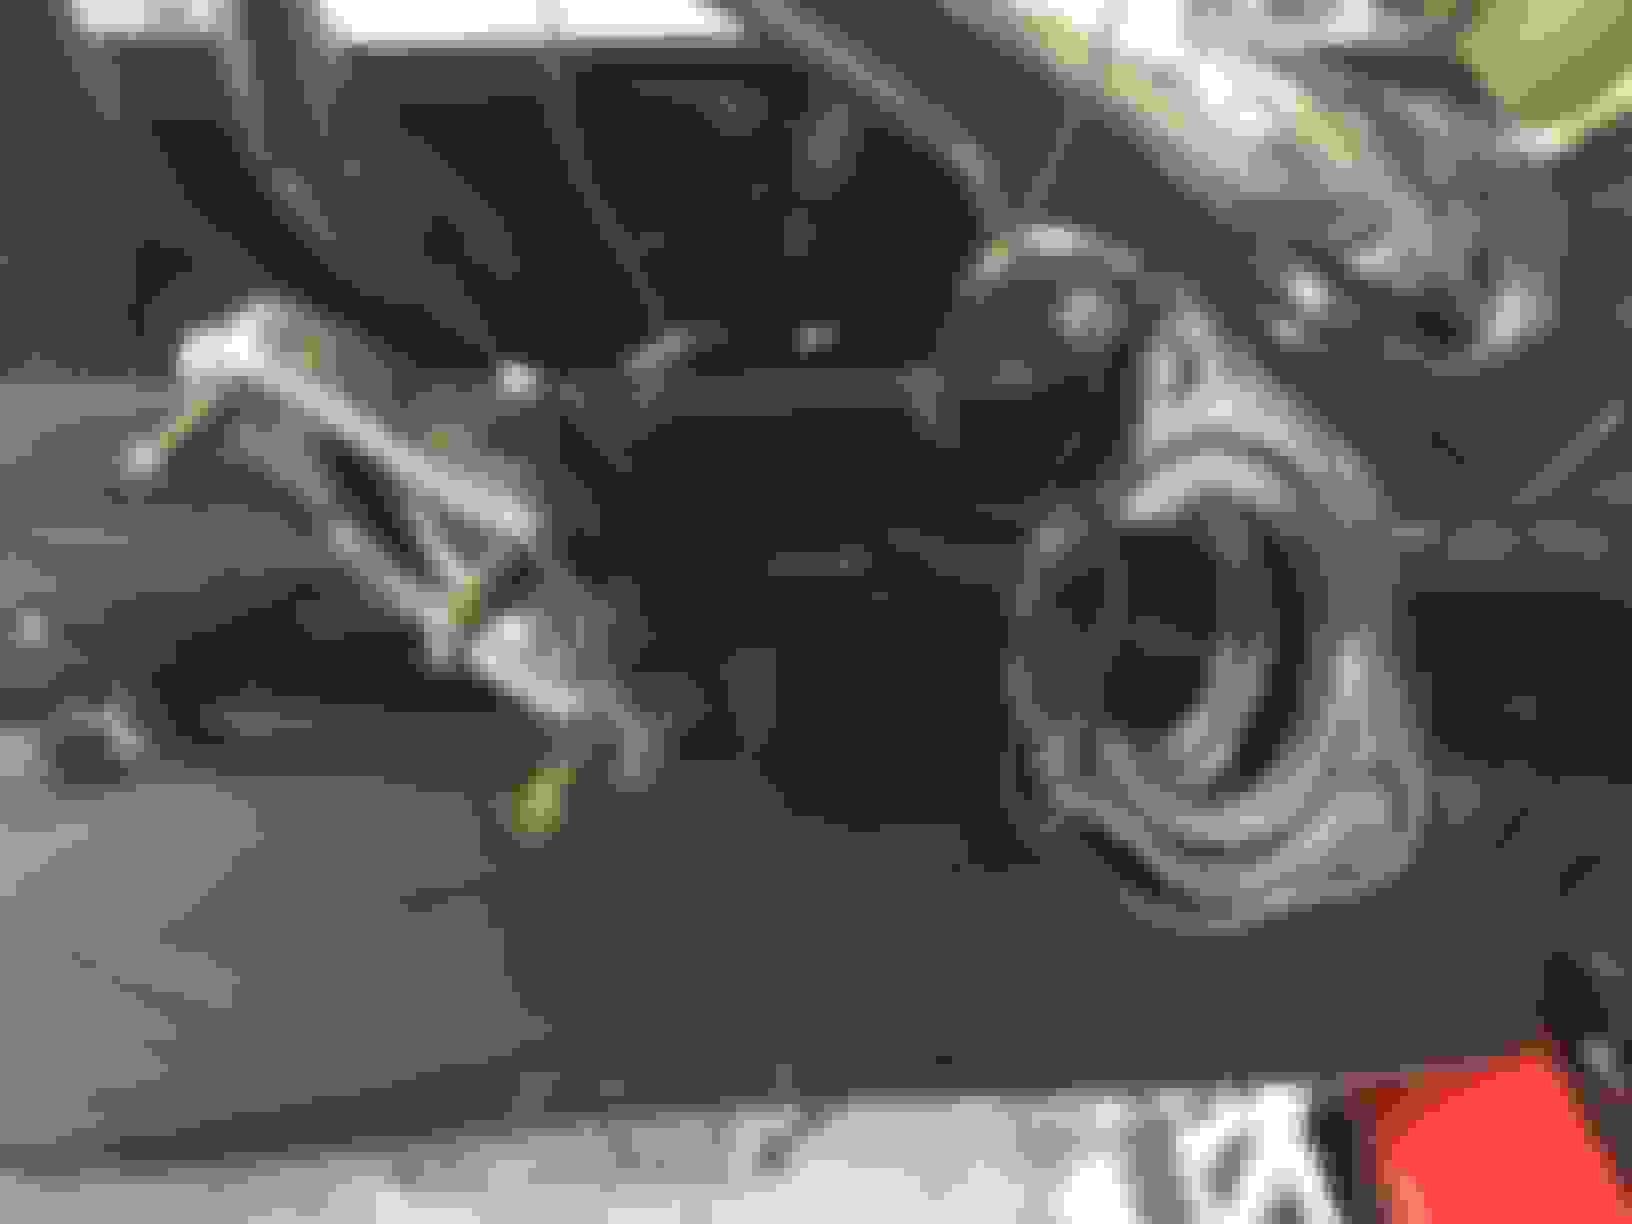
Finally I used some sockets and a vice to push the cartridges into the camber plates (sorry for the poor lighting).
I'm out of town this weekend, but hopefully I get everything back together next weekend.
Later, Steve
Last edited by Steve Jarvis; 03-30-2016 at 05:45 AM.
Very nice. I like that you kept going and removed all the rubber, not just the center. The finished product looks very professional. Can't wait for the install and first impressions.
I on the other hand, decided to go with OEM top mounts after many weeks of going back and forth.

 03-10-2016, 03:14 PM