When you click on links to various merchants on this site and make a purchase, this can result in this site earning a commission. Affiliate programs and affiliations include, but are not limited to, the eBay Partner Network.
I posted this over on Rennlist but I though I would post it over here as well.
I have used this forum and all of its information to my advantage over the past year and decided that it is time I hopefully contribute something that will benefit other forum members as well as document some of my cars history and future. A special thanks to members such as Jay, Alex, Ed, Xavier, and Sam for their contributions and willingness to encourage and assist.
Background I wonder if it was my father's love for his 944 Turbo that eventually led me here or if it was the repeated watching of the first two Fast & The Furious movies and my personal literal need for speed, not just the video games I often played. Regardless, I have always been interested in anything with an engine and making it faster.
Automotive History 1992 Acura Integra GS-R - What began as a simple naturally aspirated set-up making 170whp 140wtq ended with a full build to include sleeved block and massive fuel system. I never ended up pushing that engine to anywhere near its capacity but my final tune made 515whp 367wtq which ran a 11.9 at 133mph�.on 205/55 all-season tires. Which I still think is pretty impressive.
2004 Honda S2000 - I purchased this car while I had the Integra and I had plans to make it an Auto-x car and leave it naturally aspirated. A street legal go-kart. The first modification I bought for it was a Sheepey Turbo Manifold, crap, that didn�t last long. On E85 the car made 664whp 430wtq and was scary fast with ET Streets on the back.
My 997.1 Originally a corporate car in Georgia used from 2007 to 2011. In 2011 to 2012 the car floated between dealerships and auction houses until it was picked up by its next owner in 2012, The Doctor.
The Doctor owned the car from 2012 until 2018 and did various upgrades such as a Fabspeed Exhaust, Intake Filter, Cobb Pro-tune, and upgraded sway bars. The Doctor often drove Auto-x in the car and eventually sold it to a friend�s family member. Who just so happened for me, to be a friend of a friend.
The Friend of a Friend owned the car from 2018 until 2019 and did very little to the car. And when I say very little, I mean, very very little, like nothing. He purchased the car and put tags on it but never even had emissions completed.
When I saw the Friend of a Friend selling this 997 in late 2018 I blew it off even though I was interested. In early 2019 when the 997 was relisted and I was in a better financial position I decided to inquire and wanted to see the car in person. I saw the car in person and although in cosmetic rough shape, I knew my OCD would take over and assist with cleaning the car up. I quickly listed and sold my S2000 (cheaper than I should have) and my 2012 CBR1000RR in order to be in an even better position.
When looking over the car I was TOLD it had the following: -Cobb Pro-Tune (555whp 560wtq) -Intake Filter -Catted Fab Speed Exhaust -H&R Sway Bars -"Upgraded Metal Coolant Pipes� (No Sharkwerks, No Pinning/Welding) -GT2 Slave Cylinder (FALSE)
I began purchasing parts to get the car back up to road worthy before it was even in my possession. I am a DIY type of guy but the previous owner was not. He made sure to tell me not to drive the car before doing an oil change because it was overdue. Once I took possession of the car I changed all of the fluids, did a brake job, and replaced the windshield. The car passed inspection with flying colors.
The first order of business was getting the car back to showroom quality. I installed some of the missing pieces and had it detailed by Reflected Images Detailing as well as PPF on the headlights/rear hips by A+ Auto Styling. I am friends with owners of both shops and highly recommend them if you�re in the area of Harford County, MD.
Along with getting the car up to par. I removed my Fabspeed exhaust, sold it, and had my good friend and fabricator (Instagram @Jchutch) make me a new catless exhaust.
As time went on and I noticed a slow coolant drip underneath of the car I decided to begin doing research on the forums. I soon realized that common issues on the 997.1 include coolant elbows, coolant pipes, stock slave cylinder, and camshafts rotating on them-self. Wanting to believe the history of the car but being the skeptical person I am decided to investigate. I found that NONE of the common failure points had been addressed on my car even though I was led to believe they were (other than the cams). Lucky me. I also felt that even though the car was reportedly making good power, it did not feel fast. I found an instagram picture of my car on the dyno from years prior and the reported numbers being posted by said shop, but the 997 felt much slower than a 555whp car. So just like my previous behavior, I started hoarding parts again.
Through my shopping and research I witnessed first hand �Porsche Tax.� And although in some categories it is unavoidable, I refuse to give in to it where money can be saved. Maybe it's the �Honda Kid� in me, but being financially savvy has allowed me to own this car.
My S2000 and CBR1000RR
"The Doctor" at an Auto-X event Said shop reporting 568whp & 526wtq.... yes, these numbers differ from what I was told. Just like many other discrepancies I was told.
Reflected Images Detailing resurrecting the neglected paint
Exhaust made by my good friend (@Jchutch on Instragram)
My workspace. I swear I pulled my 997 out for two minutes and my wife turned it into her project area.
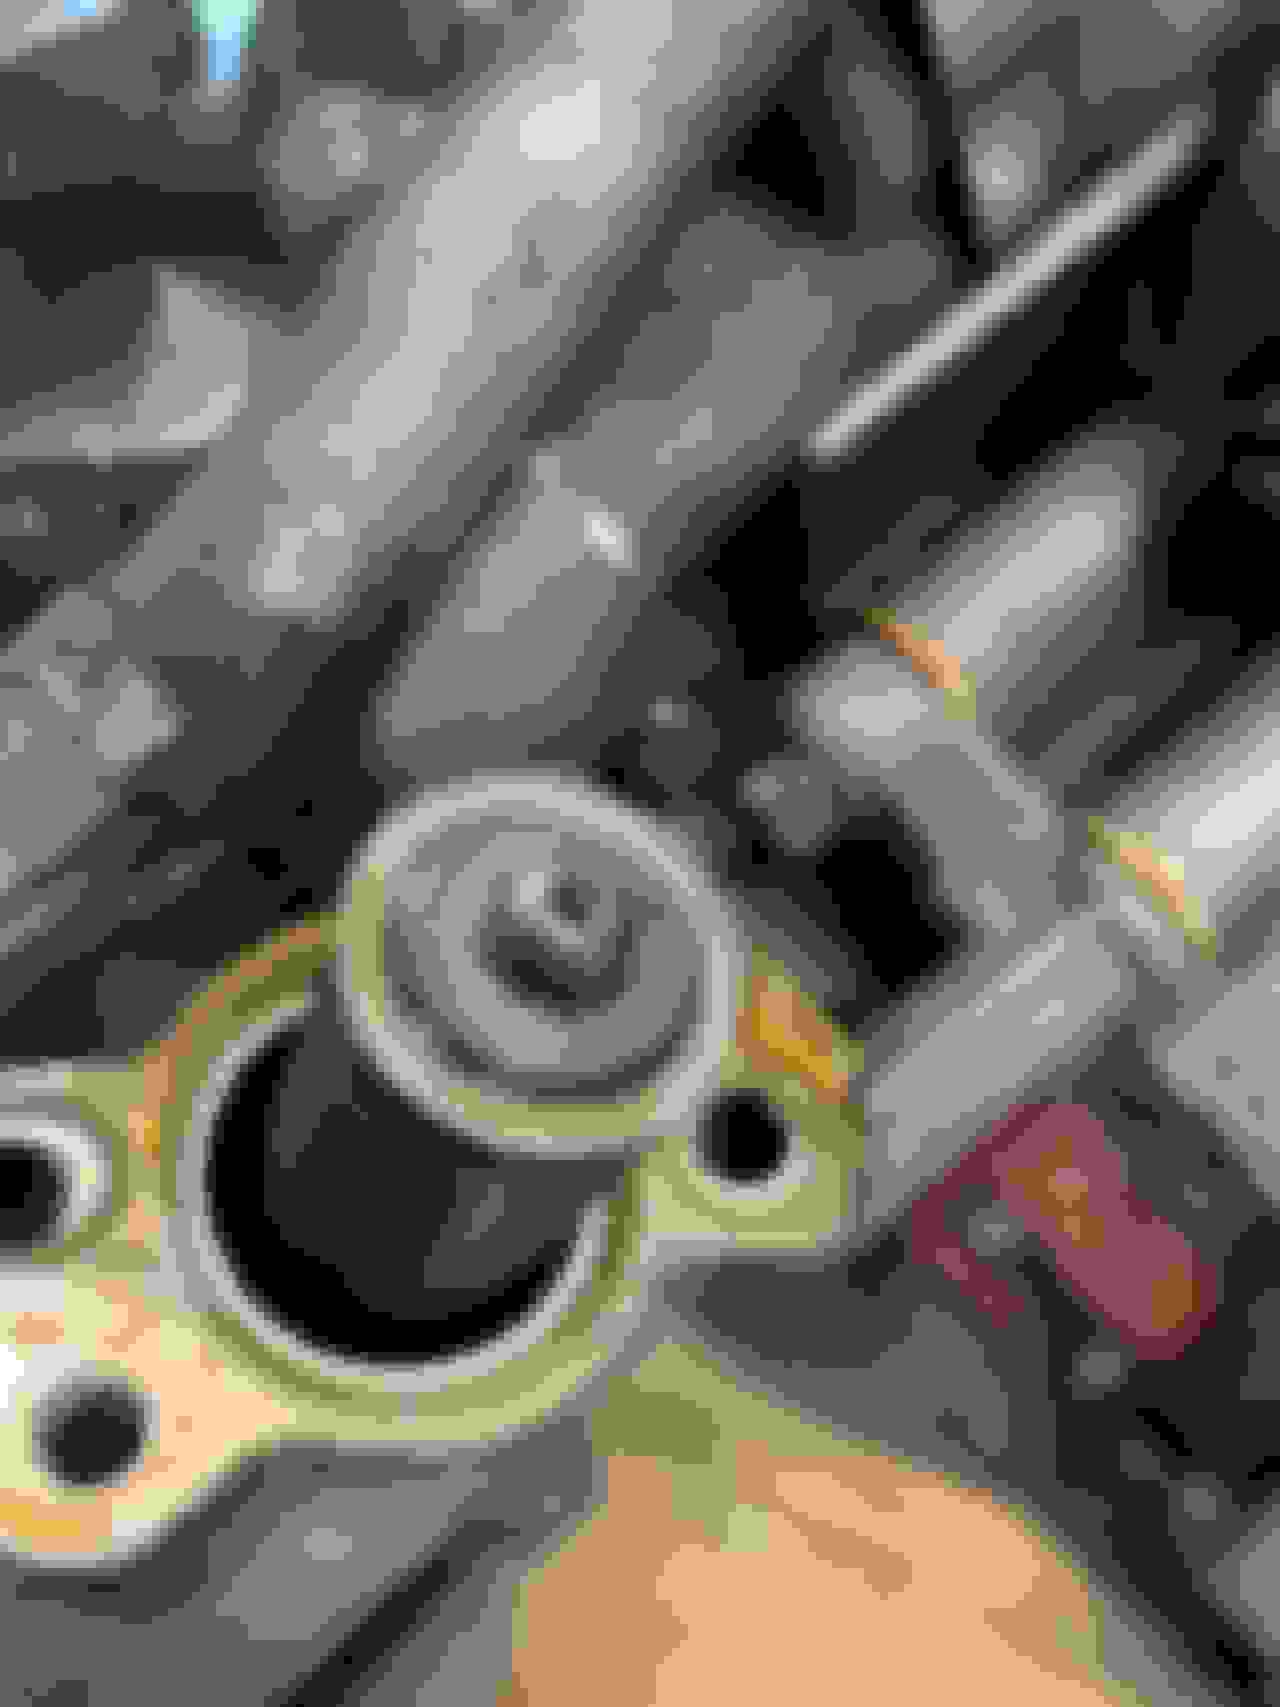
One of the factory plastic coolant elbows with two nice sized cracks in it. It made me happy to find a potential and probable cause for the coolant leak.
This is where my "Honda Kid" comes in. Spent $80 on similar sized hoses rather than buying once Porsche one for $60.
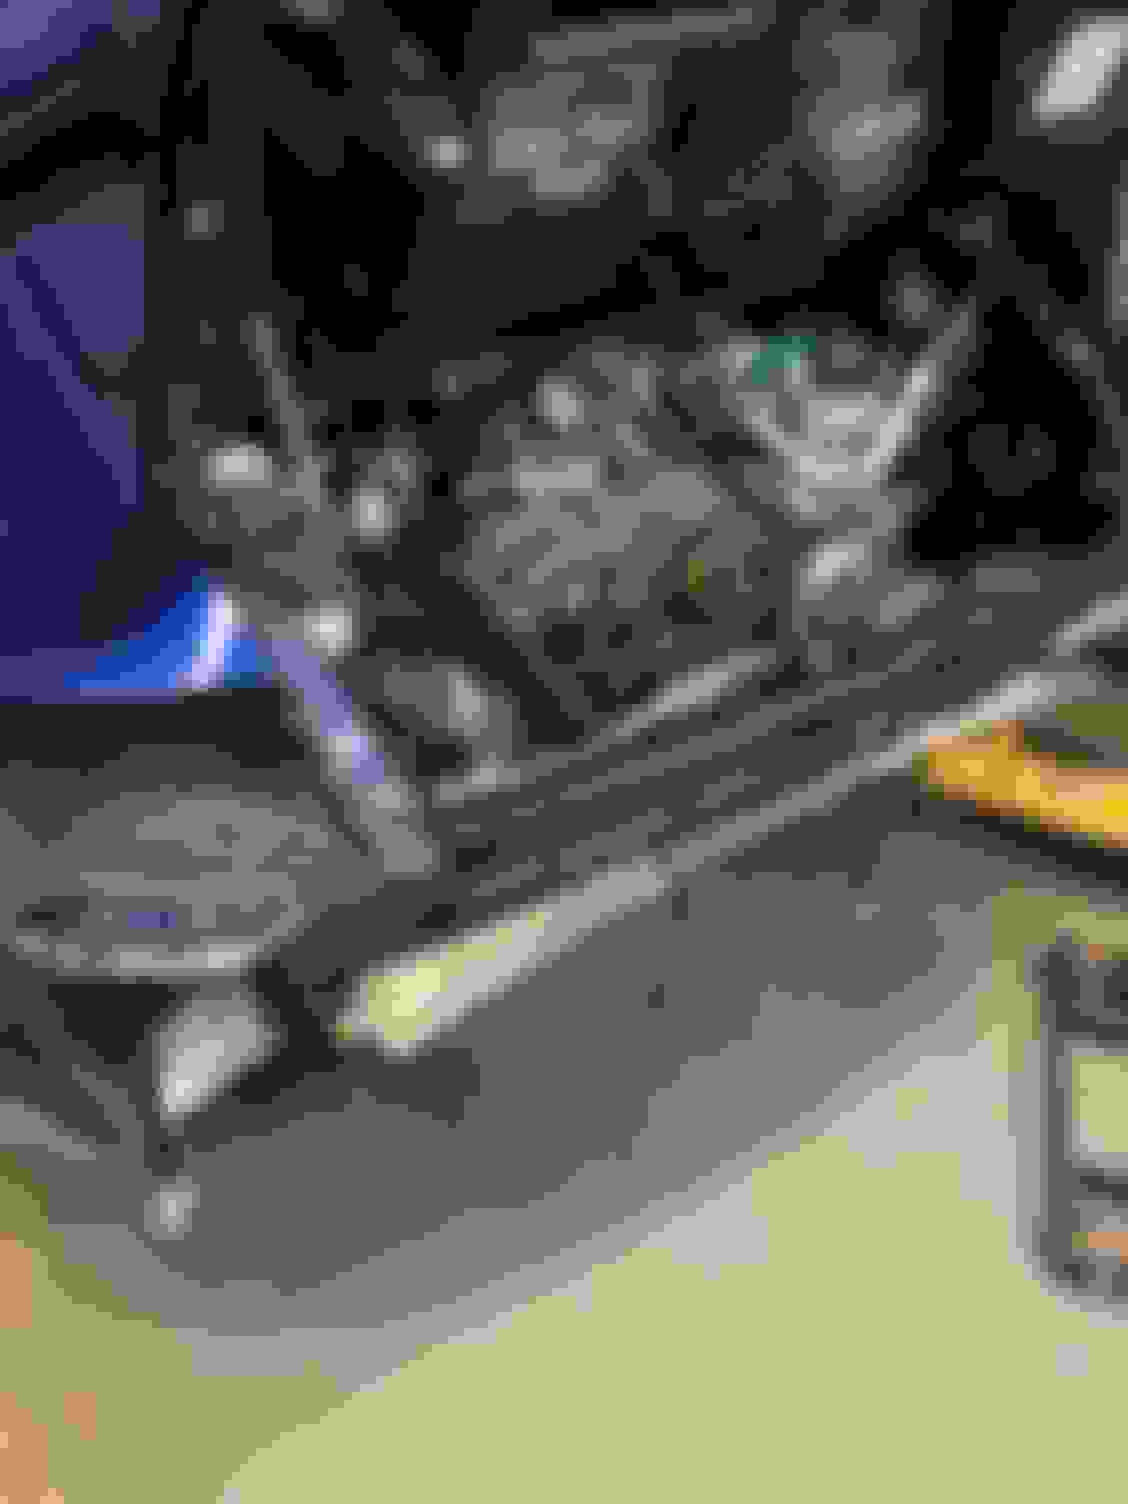
As you can tell from my picture in the previous post, I have a single car garage. This was one of the main factors that stalled me from dropping my engine earlier. I knew that I wanted to do the work but I wasn't too keen on leaving the car on stilts and working on the engine under the car in my tiny garage. What it led to was taking my car to my fabricator friends house (knowing that if a part needed to be made it would end up there anyways) and we dropped the engine there and brought it back to my garage. Leaving my car parked outside during all of this isn't my favorite thing to do, but I know the car wasn't purely garage kept before my ownership.
The engine drop took about 7 hours from start until loading it up into the truck. Overall it went smoothly. The only things to note are removing the A/C compressor & power steering reservoir from the engine before starting the actual drop in order to retain the freon. The starter was also removed in order to get the transmission dropped past the axles. Other than that it was just a matter of safely lowering the engine using a ATV jack and a single automotive jack. I considered purchasing a quick jack, max jack, or two post, But I didn't want to waste my somewhat limited build funds on the lift.
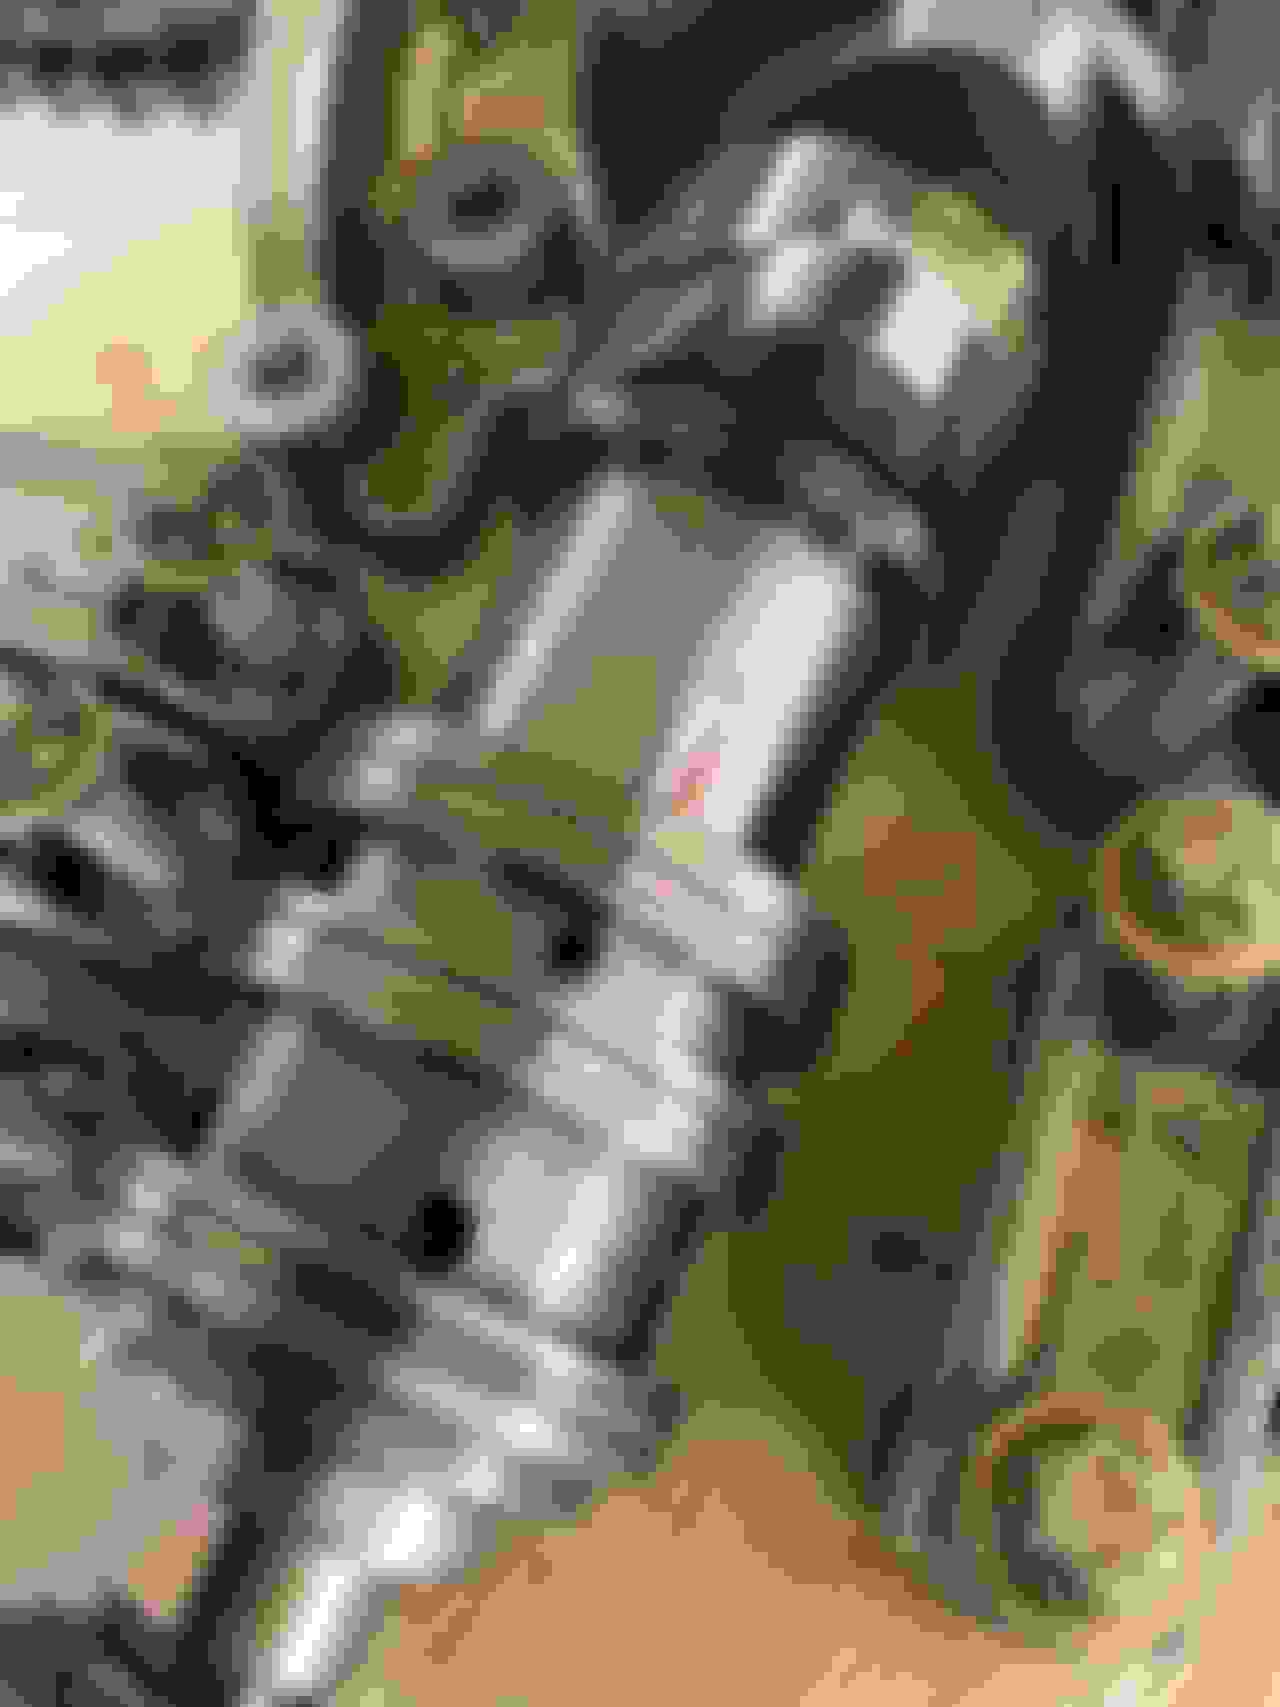
Once the engine was out and disassembly began I for the most part followed the workshop manual. In my opinion it helped some but ultimately I think I would have been better off just removing what was needed in order to get to the coolant pipes, elbows, and cams. I think I took off more than what was needed but lesson learned.
While removing some bolts I found that some felt looser than others, some didn't appear to be OEM, and the camshaft caps were two different colors. These few things led me to believe that someone at some point had touched the engine. As I dove deeper I found that the coolant pipes had been resealed and it was only six of them and a poor job at that. The coolant pipe found near the PS pump slid out of the cast without any heat. One of the pipes was really in there but since it wasn't my work I didn't trust it... so that one got a little bent on the way out. Luckily I was able to find a set of Torque Solutions Coolant Pipes for $70, win! I did reuse two of the factory odd shaped pipes (the tiny one and the long skinny one).
Once the engine was stripped down, Jay asked me to look at my timing chain tensioner in order to check install direction... that's when I found that my driver side tensioner was supposed to be my passenger side tensioner and my passenger side tensioner was the correct part number for that part. The funny thing is the driver side tensioner is about three times the cost of the passenger side tensioner. It makes me think someone wanted to do some maintenance but save a few dollars while they were at it.
I reviewed all the posts and videos and decided it was time to pin the camshafts. I removed the valve covers and had the cam timing tool in hand thanks to Jay and Alex. Although the WM says to do it differently, I thought if before loosening or removing any parts, if I lined the 1-3 cams up into the cam timing tool I could just mark where TDC was for that side. Then repeat on side 4-6. Once I had both cylinder 1 & 4 TDC marked I would line the 1-3 cams back up and secure the crank in that exact position, not letting it move. I would remove the intake cam, pin it, reinstall it, and with the crank never having moved my deviations would be that exact same as before... hypothetically. Well once 1-3 valve cover was off I began turning the crank.... and *POP* I watched as the chain skipped a gear. Great. I know Jay had the same issue and eventually had to use a special tensioner tool in order to keep proper tension on the chain while doing timing. So, my loophole easy way of guaranteeing timing went out the window and I will be timing the engine using the standard method.
Tasks that have been completed so far consist of: -Resealed and Pinned Coolant Pipes -Sharkwerks Coolant Elbows -Pinned Intake Cam Shafts
Can you tell I like Rock Auto?
Before staking the pin into place
Dreaming of 997 Turbo before I knew one was in my future
SRM K24+'s waiting for install.
I believe I found TDC correctly but some verification would be great haha
Yesterday I received a plethora of tools in the mail from Jay. The tools included manual timing chain tensioners, a degree wheel, and a custom base to hold my depth gauge. I reviewed other posts and instructions but obviously wording can be misinterpreted and I want to make sure I did this correctly. So this is what I did. Attached the degree wheel. Rotated the crank until cylinder 1 was on its way towards compression (towards the spark plug hole). Due to me having a mechanical dial indicator I zeroed it before the tip of the indicator made contact with the piston. I slowly rotated the crank and as the piston made contact I stopped it once it reached �30� (I used 30 so that Once it moved from �0� I could reaaaaaaally slow down) on the indicator gauge. I then looked at the degree wheel and that was the degree I used for cylinder 1 on its compression stroke. I then slowly rotated the crank until the piston passed being at its highest point and on its way away from the spark plug hole I then stopped it on the same �30� again. I then recorded the number on the degree wheel. I did this multiple times to insure my findings were accurate and then took the average of the two numbers found on the degree wheel. That�s how I reached my TDC degree.
I am positive that my method used shows when the piston is in the middle of its dwell. I just want to confirm that�s exactly where I want it to be while timing the engine. I appreciate the help and guidance.
The timing wheel before I put my own tape on it
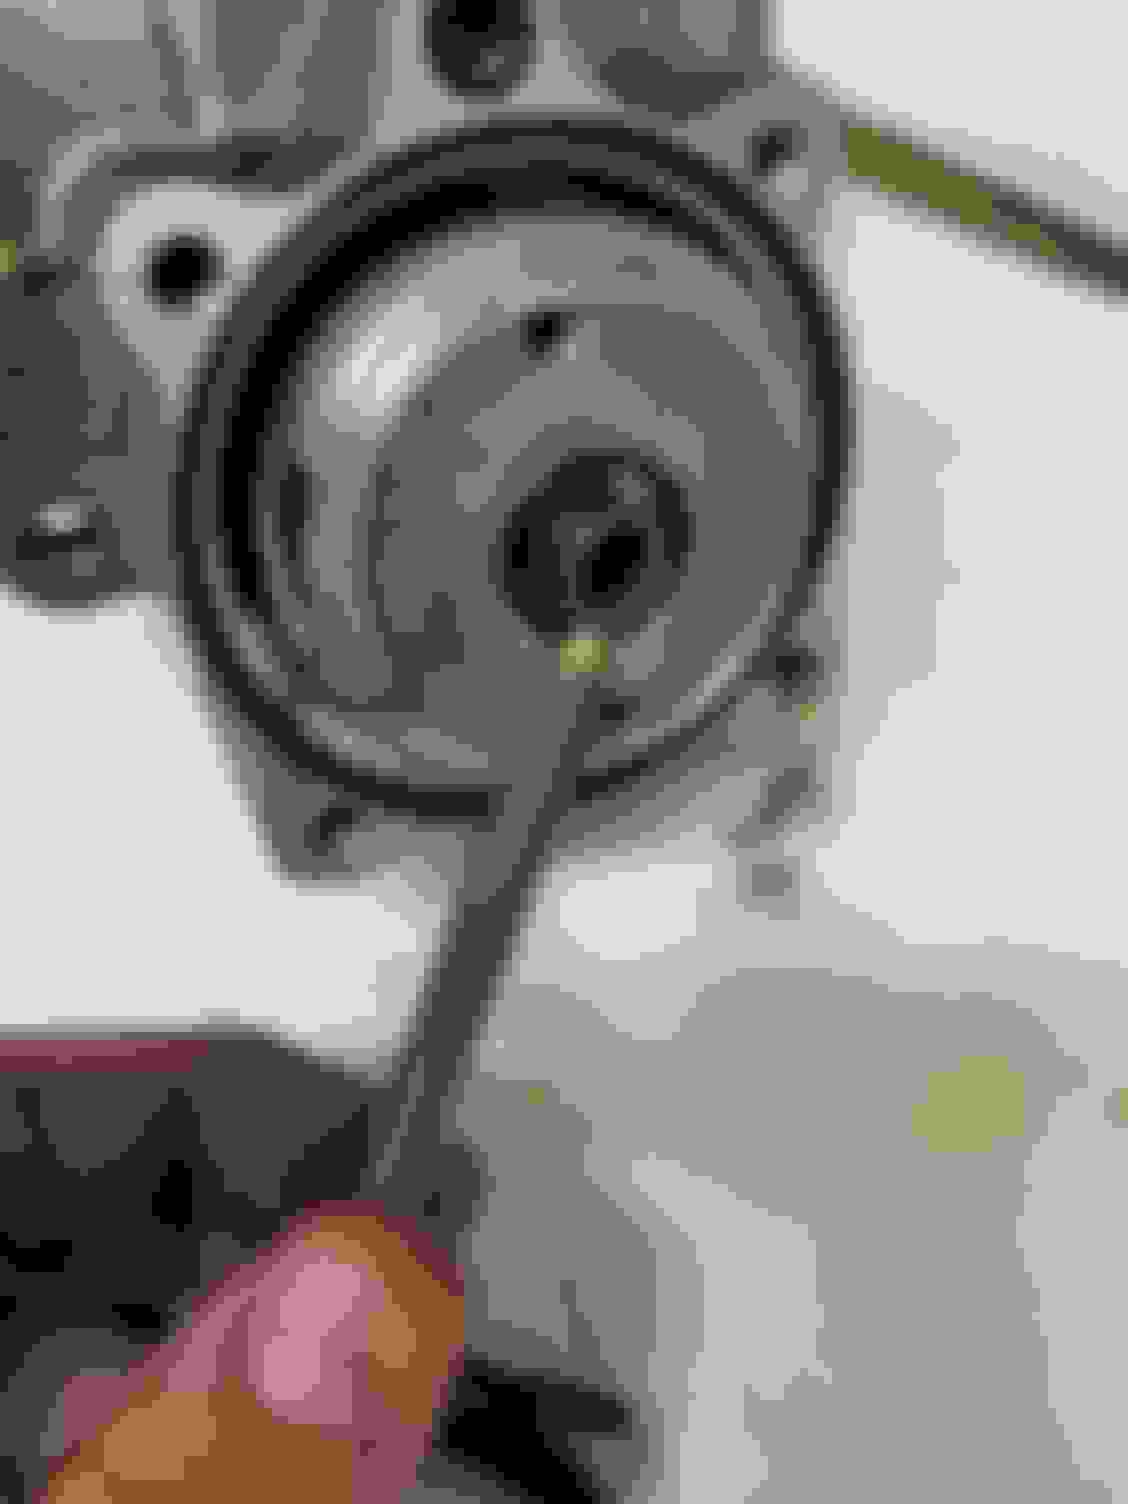
The depth gauge set up and dial indicator on cylinder 1
Overall engine view. It was very tedious having to slowly rotate the crank but I think my OCD helped me on this one
Engine is timed and valve covers are back on. I am at this point only waiting for two o-rings and the two tensioners. I waited on ordering them but decided it just makes sense to take care of them now.
I decided that I wanted to mock up the driver side turbo with the oil tank and see how things lined up.. after some yoking out the screw holes they managed to line up on the SRM K24s. I will mount the passenger side tomorrow so I can see exactly what hard lines can disappear and the others I need the rubber from.
Yoked out the screw hole to allow for alignment
SRM K24+ loosely mounted
Oil tank hanging on before the �yoking.� Some of the lines before being ran
Have been slowly but surely getting the engine reassembled. At this point I�m waiting on the EVOMS GT2 Slave Kit, passenger side tensioner, some vacuum lines, need to tighten a few bolts, and wire up the HKS Boost Controller.
Reassembly has gone as expected to far. I have added my IPD Plenum, GT3 TB, Intake Pipes, ID1300s, SRM K24+ and some other newer preventative maintenance parts.
The SRM 997 line kit that comes with/can be purchased really made install of the turbos easy. The kit came with 3 braided lines for each turbo. 2 coolant and 1 oil. I also liked this because as we know some of the hard lines are extinct.
Also, I ended up using some of my new off brand coolant hoses but had to use some of the factory ones. I made sure they looked healthy so I feel confident in them.
Didn�t run this intake pipe yet due to needing to tighten some of the turbo lines.
Almost there!
I ended up taking my power steering pump off and splitting it in order to disconnect the front pump shaft from the rear pump shaft (picture below). I did this because I plugged most of the feeds/returns on the pump and after speaking to Ed and Xavier it made sense. I also realized that my throw-out bearing assembly wasn't installed correctly and I had to flip the spring washer in order to keep the needed tension holding the throw-out bearing in place.
Tasks accomplished: -Resealed & pinnned coolant pipes -Metal coolant elbows -Pinned camshafts -Some new coolant hoses (some of the off brand ones worked) -SRM K24+'s -ID1300's -Waterpump & Thermostat -SACHS 2.5 & DMFW -IPD 82mm Plenum & Throttle Body -Torque Solutions Intake Pipes -Spark Plugs
Tasks Left -Once I receive GT2 Slave Conversion...install it -Oil, Coolant, Pentosin bleeds -Fabricate Intercoolers & Y-pipe -Wire HKS EVC
The piece that connects the front and rear pump shafts
So as of my last update the engine was reassembled and I am just needing to rewire my injector plugs in order to fit the ID injectors. I have ran most of the vacuum line and will finish that probably tomorrow.
I haven't been in much of a rush because I was waiting on my GT2 Slave Conversion Kit. BUT. Being in my typical fashion, while I waited for the kit to be built, I found a more affordable way that in my opinion seems like the best bang for the buck. I found a GT2 Slave mounting bracket (https://motowheels.com/i-18695503-po...r-bracket.html) and found this DIY using a very similar bracket (https://www.6speedonline.com/forums/...tructions.html). Its actually pretty awesome (and comical) how similar this GT2 Slave bracket looks compared to the kit that I was waiting on. So using the DIY and the bracket listed I was able to purchase all of the parts to do the GT2 Slave Conversion for under $500 other than the new hydraulic hose. Which I plan to go to my local shop once the GT2 Slave arrives. I did have to trim the transmission case some in order to accommodate the bracket, but a little bit of grinding never stopped me before.. so I am currently waiting on the rest of the conversion parts and the engine and transmission should be back together once they come. The best news of all is with the $500 saved I will be able to use those funds to purchase engine mounts. I am considering Torque Solutions or RSS.
Top View of the GT2 Bracket Side View showing where the bracket gets snagged Some of my great grinding work. Bracket is now able to sit flush.
Just checking in this morning. When I started this process I told myself to expect for the car to be down for around 2 months and we have arrived. haha I'm not surprised the car will be down for a little while longer due to some delays from having to wait on parts, busy work hours due to the crazy world we are living in, only have the engine and transmission in my garage while the car is at my friend's garage, and honestly not really being in a rush to get it done. Although I am excited to get the engine back in and hope I did good, I am also enjoying the process.
I am currently waiting on a few more parts to help with the GT2 conversion due to the hydraulic line shop not wanting to mess with a line for a vehicle. Although the cost of the GT2 DIY with the bracket is nearly half the cost of a GT2 kit, there is some things that I had to figure out, such as how to have the GT2 line made/extended and what the appropriate length of the slave cylinder push-rod so that it doesn't over extend the slave and engages the clutch correctly. From what I can tell different people are running different lengths which effects the clutch pedal engagement point. I believe that the EVOMS kit rod is 120mm but the rod that the guy who makes the bracket is measured at 96mm, so we will see what the research shows as I dive deeper. But the parts should be here this week and then its just a matter of getting my schedule to line up with my friends.
Checking clearances
Things left to do before engine install: -wire injectors -put transmission back on engine -flush the pentosin out of the system -hook up the GT2 parts
And then obviously everything once the engine is back in..
Nice job, nothing wrong with being nimble and adjusting as you encounter things.
Best part is the satisfaction of getting it accomplished.
Keep up the good work!
Ed
Thanks Ed. Your post on Rennlist really gave me the confidence to do this myself. I appreciate all of your contributions and support on the forum and through email.
Originally Posted by 3pedalsplease
Great attitude about finding and fixing these little challenges with your car!
Did the folks at motowheels tell you that you would have to grind? Makes me wonder if that bracket was originally intended for a 996TT trans case.
Thank you! When I spoke with them over the phone they mentioned they have only used it on a 996 trans case. When I found the DIY using a similar bracket I found that most everyone following the write up was doing the conversion on a 996 so I was not surprised when I found that I had to shave the case down some.
Just some advice regarding the GT2 slave upgrade. Since your engine is out, due to age of the vehicle, pentosin will have impregnated itself into the master cylinder, clutch lines etc. No amount of flushing the pentosin out will eliminate this. I learned the HARD way. Over the course of a year, had to replace every single clutch line, pentosin reservoir line, pentosin reservoir, master clutch cylinder, and clutch fittings before I could stop the leaks, and rubber lines breaking down.
My car is a 997.1 that I owned since new and didn't go the GT2 slave route until 2019, so my advice is....change out everything to do with the clutch if you can. The pentosin has imbedded itself after so many years and there is no way to flush that out. Once you put brake fluid into the system, it will break things down and you will end up with lots of clutch problems.
Also, the updated factory main clutch line breaks down from Brake fluid. Make sure you use a stainless steel braided line from Evoms. Also the reservoir hose should be changed out to one that is rated for brake fluid. This was my experience anyways.
Thanks for the info! My plan is to hook a valve stem to the current pentosin cap in the frunk of the car and force air through the system while the slave cylinder is not hooked up. This will hopefully clean out some of pentosin. Then I plan to fill the reservoir with DOT4 and repeat x3. Once I�ve done this I plan to hook up the brand new master and assist spring. Then hook up the brand new slave and brand new slave hydraulic line and bleed the system with the DOT4.
What failure points did you see? I�ve seen people speak of the master and slave failing due to pentosin residue being in the system. But I haven�t seen anyone mentioning the lines actually breaking down.
You and I were late to the GT2 clutch game, so ou cars have had pentosin impregnate the entire clutch system for over 12 years. No amount of flushing will clear out the pentosin already impregnated.
Any old rubber lines will deteriorate no matter how many times you flush brake fluid through it - we must have bled the clutch over 10 times in the course of the year. When they deteriorate, fluid will slowly seep out to be replaced by air. Once enough air is in your system, the clutch pedal will no longer engage.
You need to replace the following:
1. Main clutch line - preferably one rated for DOT4, and braided stainless steel like the one from EVOMS.
2. Reservoir hose - also preferably DOT 4. We made a custom line out of brake hose from a GT4
3. New Reservoir
4. New Master
****5***** There are a total of 4 small rubber o-rings that are inside the couplings between the 3 clutch lines - 1 black rubber and 2 blue or green hard lines. These also get impregnated with pentosin.
****We found 2 of them seeping fluid out***** They WILL break down as well. We ended up just replacing both the hard clutch lines just to be safe.
Good luck. Lots of guys didn't have the issues I had but they changed out to a GT2 clutch early on the cars life. With ours being +10 years old, the pentosin IS IMPREGNATED. I cannot tell you how important it is to replace all those items. It will only be a matter of time before fluid leaks out somewhere. Once air starts to accumulate inside, you will start to have driveability issues and eventually, you won't be able to engage the clutch as the pedal will be stuck to the floor.
I suppose that makes sense. Like I mentioned I will
be replacing the moving parts along with the line going to the slave but I don�t think I�m going to spring for all of the other goodies you mentioned. I just looked up the part numbers and ran the prices and I think I�m willing to take the chance and just monitor pedal feel.
Im willing to take the chance not just because of overall cost, but because there are many people that within the last two years converted to a GT2 slave whether they went with a kit or mounted the slave directly to the case and they have not reported issues. And the kits that are sold on the market don�t come with all of those lines and O-rings but just the bare essentials.
either way I will do my best to keep the thread updated with any failures or concerns. I truly appreciate your insight and now I will make sure to
monitor.
I know it�s been a while, but I�m finally back with some updates!
The engine/trans and chassis have finally been reunited haha. It wasn�t too bad raising the engine/trans back in, but it definitely helped having two sets of eyes and hands. But, it�s in there and loosely bolted up.
As different things were being connected I checked vacuum in the coolant system and found that it was holding. Or so I thought. I vacuum filled the system and let it sit for some time. After checking below the car I found a few drops and found that there was a leak at the �coolant crossover pipe to drive belt tensioner� at the coupler. So I drained the coolant using the nifty drain plug located right next to the leak and removed the coupler to find it must have been smooshed in the past. So I ordered a new one and rubber grommet and that should be here this week.
The engine has also been filled with oil and pentosin and I haven�t seen any issues as of yet.
The slave has been bleed using DOT4 and man that gt2 slave clutch pedal feel reminds me of how my integra felt with a heavy PP.
The only other snag I hit was the drive belt. According to the part number I have the correct part but it WILL NOT go on. Trust me. We tried all options haha so I ended up ordering another one and I�m hoping it was just a part mix up.
HKS EVC is wired, just have to figure out where I would like to mount it for easy use as well as set up.
Torque solution engine mounts are in along with the new coolant overflow tank and fuel filter.
I am really looking forward to and honestly nervous about the initial start up. Mostly because if timing is not within spec.... then well, it�s going to be another month haha So fingers crossed!
Worlds sketchiest engine/trans lift set up haha used a normal jack on the trans paired with an ATV lift for the engine. 10/10 would recommend just buying a lift cart. Sorting out this mess. She�s in there!
Yeah I was scared silly too thinking about the initial fire up. My biggest fear wasn't it starting per se, but ending up with the cam timing off. Just have a plan and stick to it. Double check EVERYTHING. That applies more to the first trip out more than just firing it up for the first time.
Lacking confidence I did not take the car down or hook up any of the axles the first time firing it up after getting it back in. i wanted to be ready to drop the engine again if I needed to.

 08-13-2020 | 12:00 PM