
Smarttop - video & install tips
#1
 04-14-2009, 01:03 PM

Join Date: Apr 2009
Location: California
Posts: 81
Rep Power: 24 

Smarttop - video & install tips
SMARTTOP - SMART-TOP VIDEO & INSTALL TIPS
I just installed my first mod. The Smarttop. Looking through the forum I heard positive reviews about this product. I thought I would try it out. I was cursious to see how the features would work and how difficult the install was.
First step. Order item, ST997. Did a search on google and found the GMP website. About 5 days later and $470 w/ shipping it arrived.
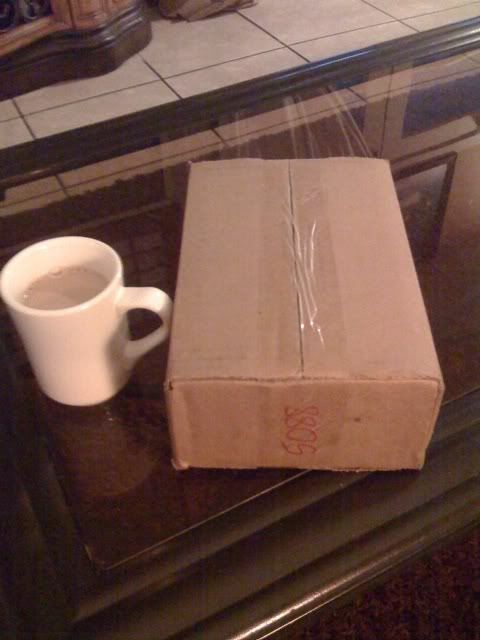
A small and very light box arrived.
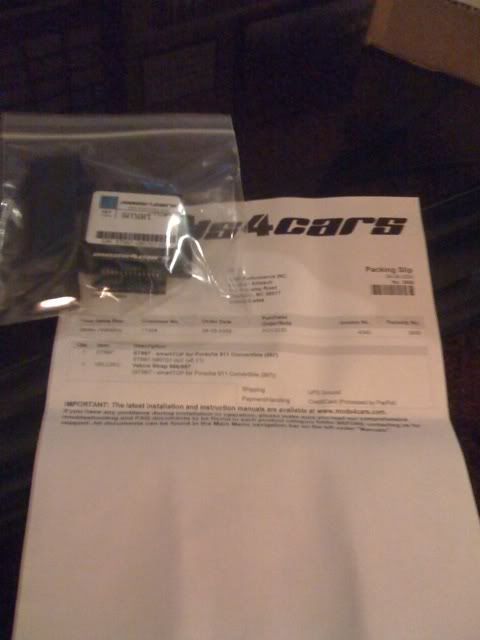
In this box, there was a packing slip and a small plastic bag with the module and a Velcro strao.
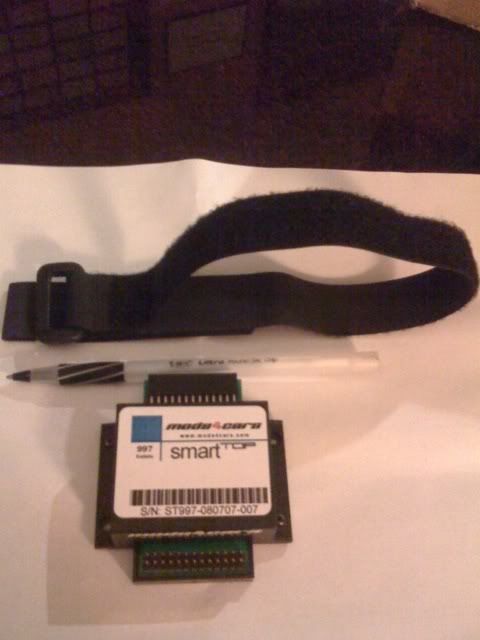
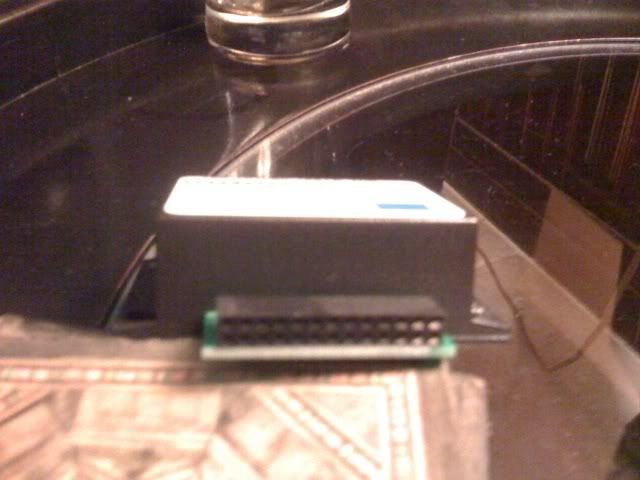
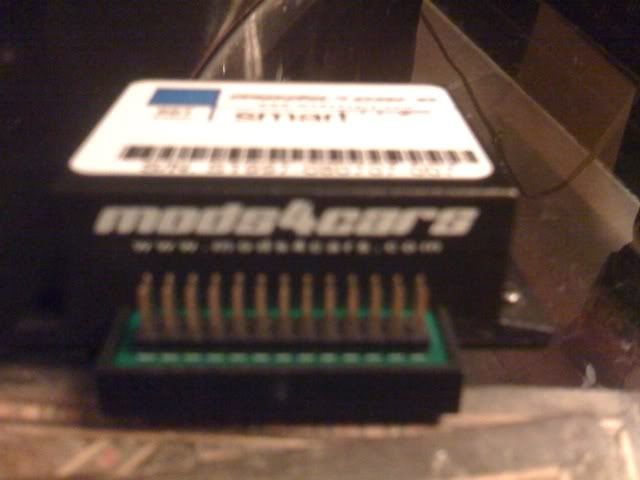
Looking at the module, it appears that it would be an easy plug and play install. There are two sides where the electrical/electronic adapters would plug in.
I realized the install should be simple but there was no instructions. According the package, the instructions are available online at www.mods4cars.com. I found the instructions online listed as;
Installation and Operation Manual
Current Version (v5.1) with park assist and LHD/RHD select
http://www.witusa.com/sms/db/smartto...97_v5.1/en.php
I went through the instructions and there were pictures and good instructions.
The next morning I get started on my first mod. I open the top half way.
With the top in that position I had access to the rear area.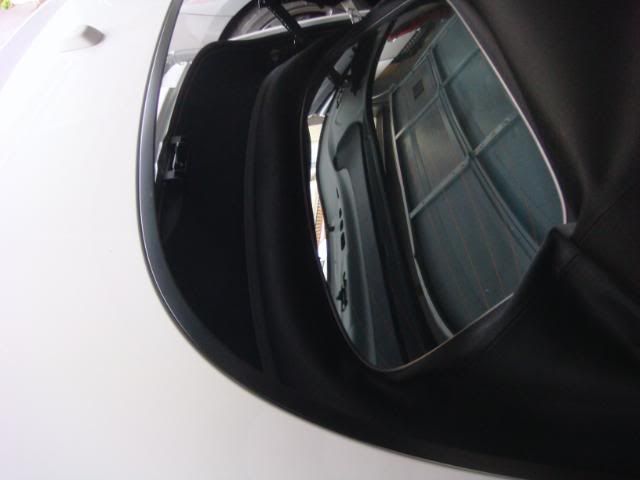
I lifted the rear window that was able to move about 6 inches up. Enough room to put my hand underneath and located the two metal ropes that lock the window from coming up.
I slowly/lightly tugged on them toward the center of the car until they came out.
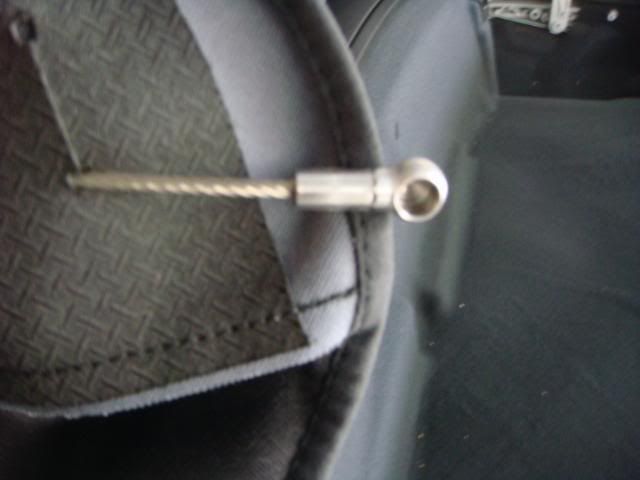

With the two locking mechanism removed, I was able to lift the rear windown all the way up.
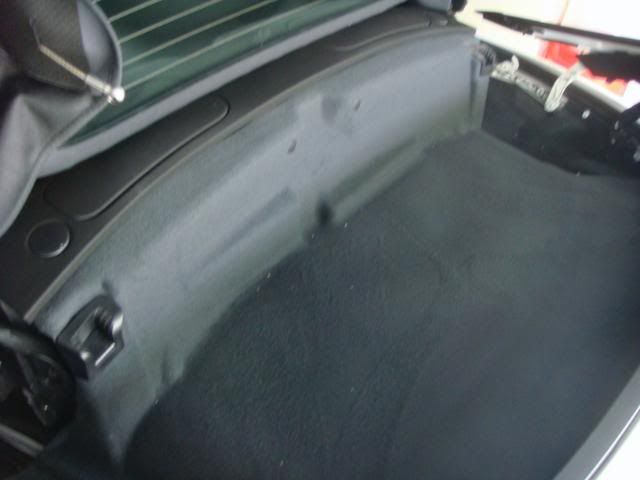
The next step is to remove the carpet. On the instructions it say�s there are 4 plugs that hold the carpet in. My car only had two. So I proceded to remove the two.
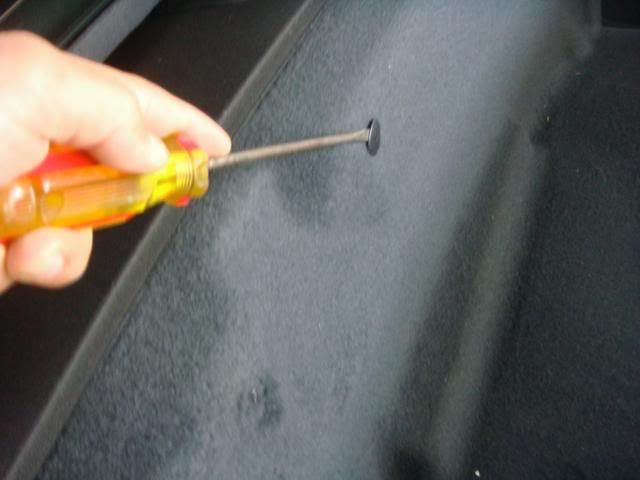
Then I slowly pulled out the carpet around the plastic mounts.
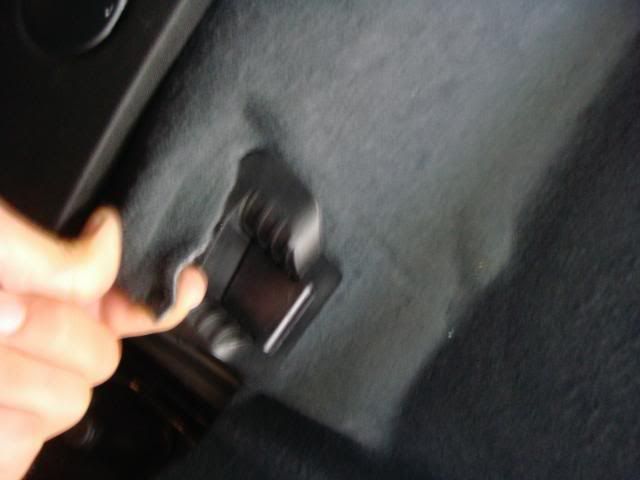
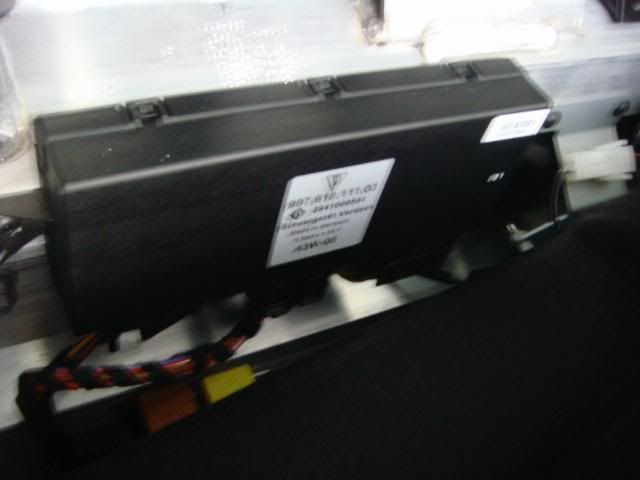
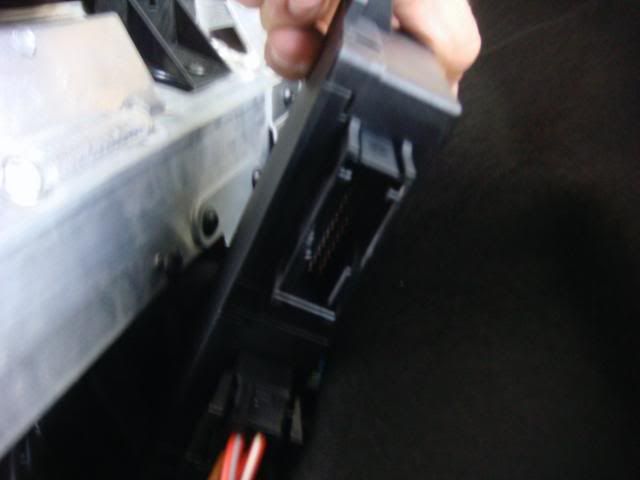
With the carpet pulled back. I could access the black box that I needed to get to. It�s the big black box on the driver�s side. The box has three plugs going into it. The plug that we need is on the very left side.
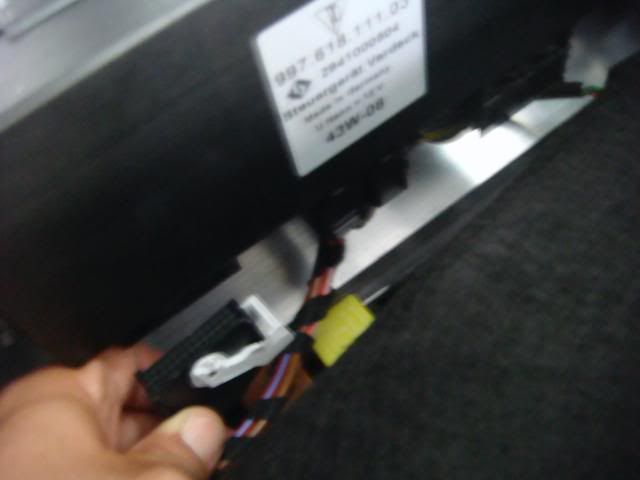
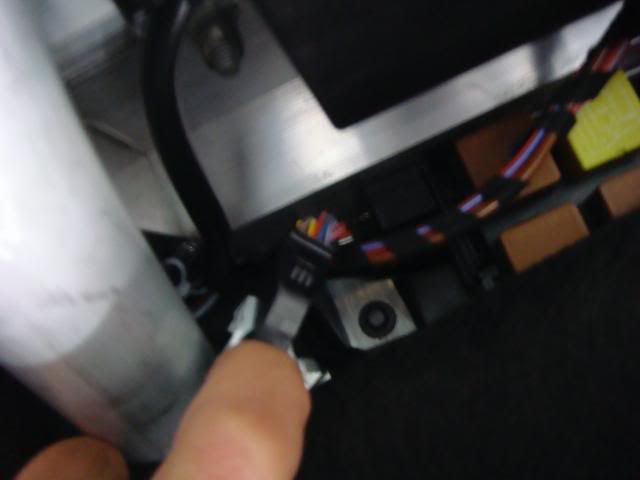
Removing the plug for the first time might be tricky. There is a white faster on the plug that needs to be pulled back. You can�t just pull it back because the plug has a black button/or design that needs to be pushed in before the faster can be released.
The next step is to place the plug into the module. This step is simple since only one side of the module will accept the plug.
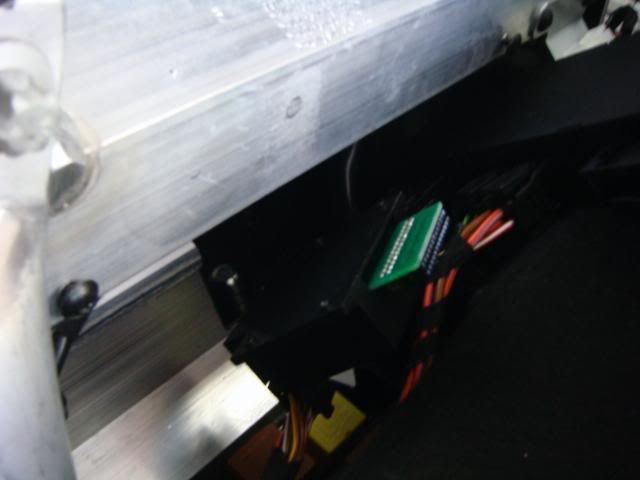
The next step is tricky because they want you to plug the module into the black box. The working space is very small and there is a chance you can damage the pins putting the module in.
Simple solution. Remove the black box. There are two screws that hold it in place. Remove those screws and the box easily comes out and you can rotate the box to easily plug in the module.

Before screwing the black box onto the car. Place the Velcro around the box to prevent the plug from becoming loose. After that I brought the rear window down and locked it in with the two rope locks.
This whole process took me about 15 minutes to do.
Now I was ready for the fun part, testing and programming the module.
I first noticed that most of the functions/features were already programmed.
For example, the one touch roof open and close. No longer would I have to hold the button until the roof was completely done.
The second thing I noticed was the windows feature was on. Where you can hold down the window button for 1-2 seconds and it automatically opens or closes the rear window in addition to the main window. I no longer need to flick the window switch to close the rear window.
The third think I noticed was the unlocking and locking horn chirp. The sound is not loud where it�s annoying but loud enough for you to be aware the car is unlocked or locked without looking at the cars lights.
The fourth thing I noticed that was already programmed was the remote roof operation. Just hold on to the lock or unlock button for about one sec and it operates the roof.
The headlight feature was not programmed. I did that so you can operate the headlights of the car by remote. This is a great feature when you need the light at night.
I just installed my first mod. The Smarttop. Looking through the forum I heard positive reviews about this product. I thought I would try it out. I was cursious to see how the features would work and how difficult the install was.
First step. Order item, ST997. Did a search on google and found the GMP website. About 5 days later and $470 w/ shipping it arrived.
A small and very light box arrived.
In this box, there was a packing slip and a small plastic bag with the module and a Velcro strao.
Looking at the module, it appears that it would be an easy plug and play install. There are two sides where the electrical/electronic adapters would plug in.
I realized the install should be simple but there was no instructions. According the package, the instructions are available online at www.mods4cars.com. I found the instructions online listed as;
Installation and Operation Manual
Current Version (v5.1) with park assist and LHD/RHD select
http://www.witusa.com/sms/db/smartto...97_v5.1/en.php
I went through the instructions and there were pictures and good instructions.
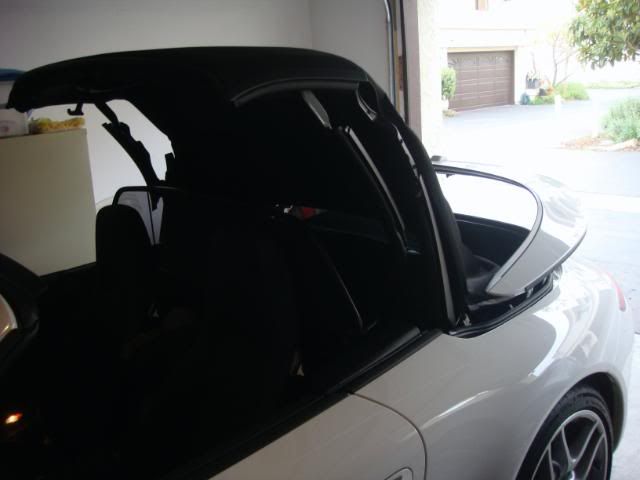
The next morning I get started on my first mod. I open the top half way.
With the top in that position I had access to the rear area.
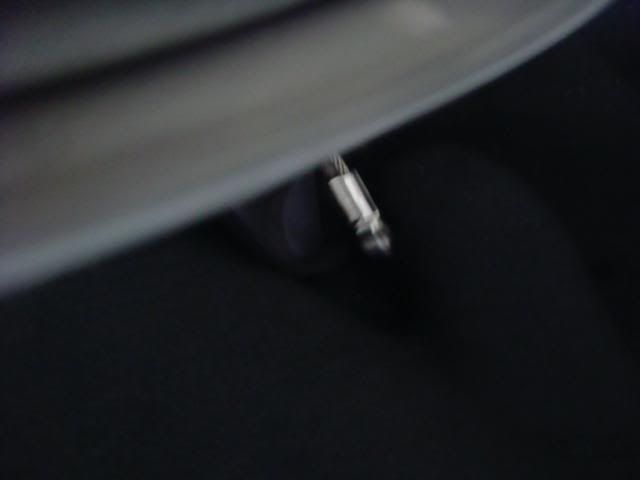
I lifted the rear window that was able to move about 6 inches up. Enough room to put my hand underneath and located the two metal ropes that lock the window from coming up.
I slowly/lightly tugged on them toward the center of the car until they came out.
With the two locking mechanism removed, I was able to lift the rear windown all the way up.
The next step is to remove the carpet. On the instructions it say�s there are 4 plugs that hold the carpet in. My car only had two. So I proceded to remove the two.
Then I slowly pulled out the carpet around the plastic mounts.
With the carpet pulled back. I could access the black box that I needed to get to. It�s the big black box on the driver�s side. The box has three plugs going into it. The plug that we need is on the very left side.
Removing the plug for the first time might be tricky. There is a white faster on the plug that needs to be pulled back. You can�t just pull it back because the plug has a black button/or design that needs to be pushed in before the faster can be released.
The next step is to place the plug into the module. This step is simple since only one side of the module will accept the plug.
The next step is tricky because they want you to plug the module into the black box. The working space is very small and there is a chance you can damage the pins putting the module in.
Simple solution. Remove the black box. There are two screws that hold it in place. Remove those screws and the box easily comes out and you can rotate the box to easily plug in the module.
Before screwing the black box onto the car. Place the Velcro around the box to prevent the plug from becoming loose. After that I brought the rear window down and locked it in with the two rope locks.
This whole process took me about 15 minutes to do.
Now I was ready for the fun part, testing and programming the module.
I first noticed that most of the functions/features were already programmed.
For example, the one touch roof open and close. No longer would I have to hold the button until the roof was completely done.
The second thing I noticed was the windows feature was on. Where you can hold down the window button for 1-2 seconds and it automatically opens or closes the rear window in addition to the main window. I no longer need to flick the window switch to close the rear window.
The third think I noticed was the unlocking and locking horn chirp. The sound is not loud where it�s annoying but loud enough for you to be aware the car is unlocked or locked without looking at the cars lights.
The fourth thing I noticed that was already programmed was the remote roof operation. Just hold on to the lock or unlock button for about one sec and it operates the roof.
The headlight feature was not programmed. I did that so you can operate the headlights of the car by remote. This is a great feature when you need the light at night.
#2
04-14-2009, 01:03 PM
Join Date: Apr 2009
Location: California
Posts: 81
Rep Power: 24
Video time.
Here is a clip showing the chirp feature.
Here is a clip showing the remote roof operations. Just make sure you don�t hold down the button too long or the roof will open in manual mode. A good second holding on the lock/unlock feature should put the roof operation in automatic mode.

Here is a clip of the headlight feature. I have not mastered the technique yet. The instructions say push the button twice within two seconds. For some reason, I have to push the button multiple times to activate the lights.
This is a cool little feature. Check it out.
This clip shows you how to activate both windows (front & rear) by hold down the window down button for about one second.
This clip shows you how to activate the one click roof operation. Make sure you open it with a quick click otherwise it will not work in automatic mode and it will act all weird. So for example, if the roof is closed and you do a one click, the roof will open and all windows will go down. If you do a two fast click instead, the roof will open and windows will close. The same stuff applies when closing the roof.

Anyways. I hope this helps those that are curious about this product. Just make sure you read the instructions that are provided for this product. My write-up is just some pointers.
Here is a clip showing the chirp feature.
Here is a clip showing the remote roof operations. Just make sure you don�t hold down the button too long or the roof will open in manual mode. A good second holding on the lock/unlock feature should put the roof operation in automatic mode.
Here is a clip of the headlight feature. I have not mastered the technique yet. The instructions say push the button twice within two seconds. For some reason, I have to push the button multiple times to activate the lights.
This is a cool little feature. Check it out.
This clip shows you how to activate both windows (front & rear) by hold down the window down button for about one second.
This clip shows you how to activate the one click roof operation. Make sure you open it with a quick click otherwise it will not work in automatic mode and it will act all weird. So for example, if the roof is closed and you do a one click, the roof will open and all windows will go down. If you do a two fast click instead, the roof will open and windows will close. The same stuff applies when closing the roof.
Anyways. I hope this helps those that are curious about this product. Just make sure you read the instructions that are provided for this product. My write-up is just some pointers.
#7
04-15-2009, 07:14 AM
great write-up thanks. Waiting for my C4S cab to arrive next week and already have this module ready to install, now I know how !!!!!!
Trending Topics
#9
04-15-2009, 10:59 AM
Registered User
Join Date: May 2007
Location: Blaine, Wa (not in Irvine anymore)
Posts: 2,481
Rep Power: 193
I put one in my cab 2 years ago. It is an easy install and is a wonderful feature. I got one for my Targa last year, and besides having much less functionalilty (no top to operate and it doesn't do anything for the targa top), it is a much more complex install involving wiring into a loom behind the fuse box. I highly recommend them for cabs, but not for other models.


Thread
Thread Starter
Forum
Replies
Last Post
jmbmm
Automotive Parts & Accessories For Sale/Wanted
5
10-30-2015 06:10 PM
997, houston, install, installation, instruction, instructions, m3, manual, module, smart, smarttop, sold, top, uk, video