When you click on links to various merchants on this site and make a purchase, this can result in this site earning a commission. Affiliate programs and affiliations include, but are not limited to, the eBay Partner Network.
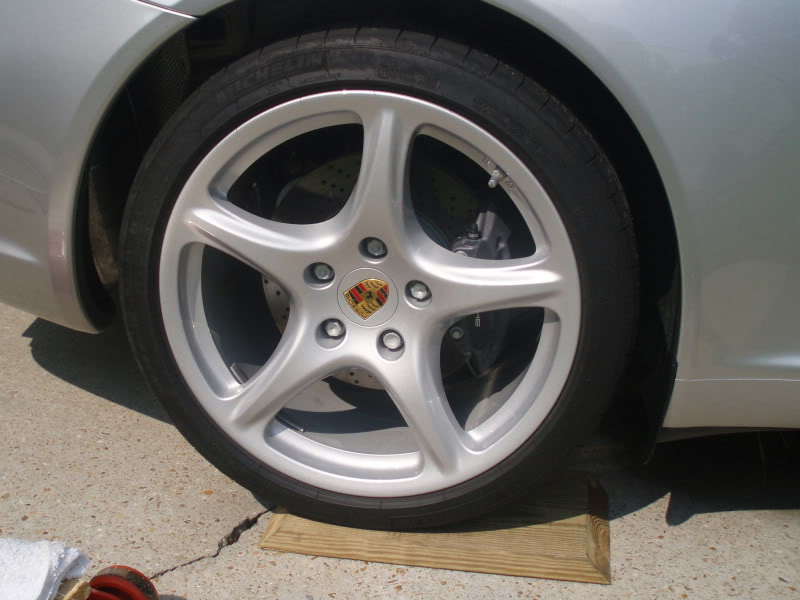
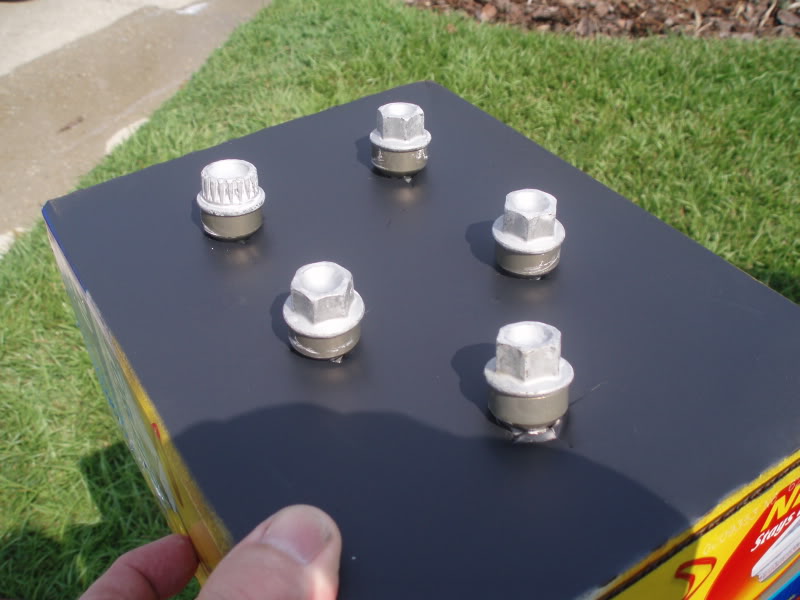
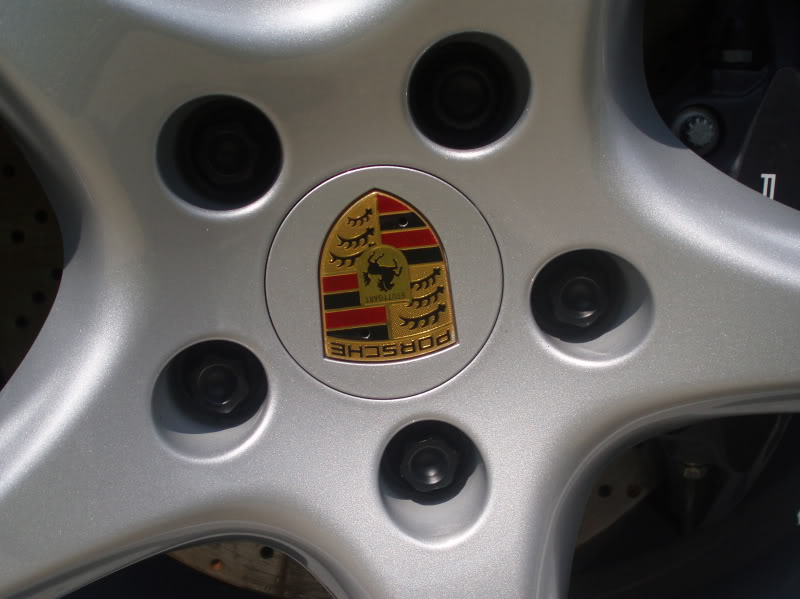
After two months of new 911 ownership, I simply couldn't be happier with the car. I had an initial issue with the a/c, but my dealer took care of it, and me, and I'm happy with the results. However, one small thing that gets under my skin every time I wash the car and clean the wheels is the 'unsightly' lug bolts. For what a guy pays for a new 911, you'd think the car would come with some really nice lug bolts, but that's not the case. In fact, just the opposite is true - the stock lug bolts look like they came from a salvage yard.
So.. after perusing the web for some replacement lug bolts, and not being too excited about paying upwards of $200+ for a set of 20 (w/o locks), I figured I'd pull the wheels and paint and reinstall the stock bolts just to see how they look. For those who might be interested in doing the same, I've documented how I did it below. Obviously there are shortcuts that will save a lot of time, hassle and sweat, including simply removing one lug bolt from each wheel while the wheels are still mounted on the car, cleaning, drying, painting and reinstalling all four, then going around the car again, doing so five times, without the need for a floor jack. But I had the time, and the equipment, and I've wanted to put a good coat of wax on the wheels since I bought it, which is always easier with the wheels off the car, so I pulled the trigger and went for it. I'm pleased with the results.
If you're not inclined to clean your wheels, or if you don't have the right tools, you can simply pull the lugs one at a time, paint and reinstall them in about an hour. My detailed description below isn't intended to insult those who work on their cars a lot, but over the years I've found that there are many guys who'd like to "DIY", but are hesitant to pull the trigger. This is an easy job that anyone can do.
To start with here's what I used.
My non-low profile floor jack (Since I don't have a pad or cushion for my floor jack, I used a small piece of 1 X 4 and a towel between the jack and the car's lifting points)
Two pieces of 2 X 10 (one piece would work fine)
Couple large (old) towels
1/2" drive wrench
19mm socket
Factory locking lug bolt socket from the car
1/2" drive torque wrench
Leaf blower
3M adhesive remover
Mothers Tire and Rubber cleaner
Meguiars XT wax (what I had available)
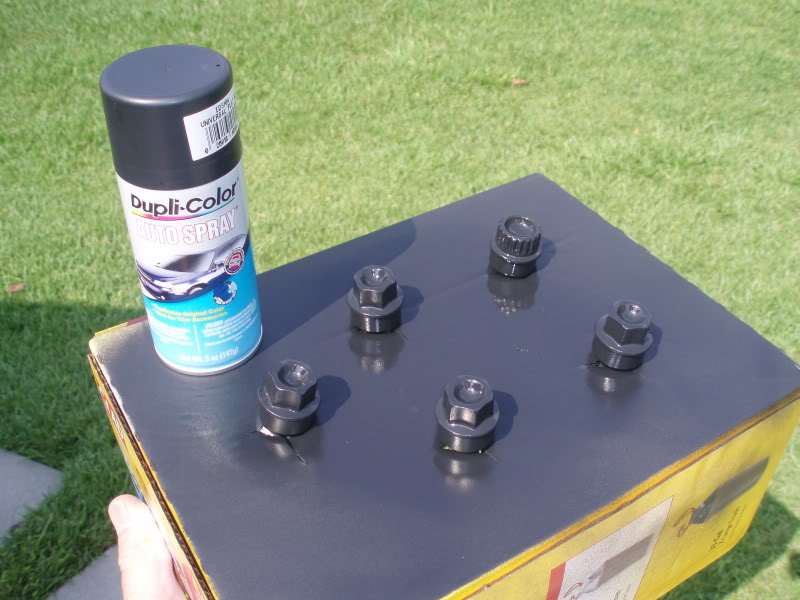
Small cardboard box
Spray paint / your choice on color - I used Dupli-Color flat black (it's what I had a the time)
and
Begin by pulling the car up onto the two pieces of wood, or just one side if you'd rather do it that way. That allows plenty of clearance between the floor jack and the car.
Jack the car up until it begins to take the pressure off the tire. Very carefully, so as not to chip the paint on the wheels, or slam your wrench into the body of the car, loosen all five lug bolts - just loosen them enough to break them free; you'll take them out once you get the car 'up'. Once you've broken loose all five, jack the car up again until the tire clear is free from the wood or ground. Starting with the lug bolt at the bottom, and ending with the bolt at the top, remove all five lug bolts. If you start at the top the wheel will want to fall into your lap when it's time to pull the last bolt out. I pulled the extension and socket from my ratchet, and used it to undo each bolt. As I pulled each lug bolt from the wheel, I inserted it into the cut-outs in the cardboard box for painting.
Once I removed all five lug bolts, I moved the wheel & tire to the grass, where I'd already laid down an old towel, so I could clean it. Before I started cleaning the wheel, I made sure the lug bolts were clean and dry, then sprayed the bolts with first (light) coat of paint and set them in the sun to dry.
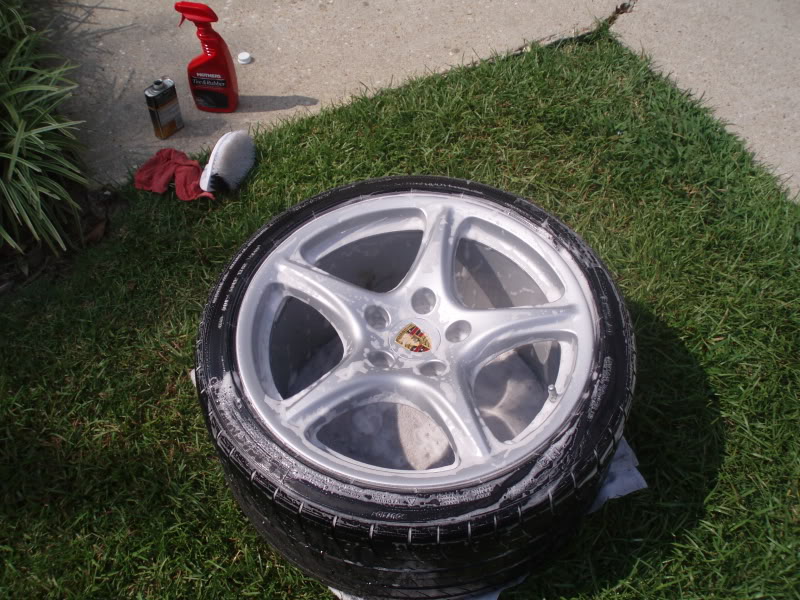
I went back and cleaned the outside of the wheel and tire (I use Mother's tire & rubber cleaner), flipped the wheel over and cleaned the inside. On all four wheels I found quite a few small specks of road tar, some as big as 1/4". I picked off what I could with my finger nail, then using a shop rag and 3M Adhesive Remover, I gently rubbed the remaining tar stains off the inside of the wheel. I thoroughly washed the inside of the wheel, then I thoroughly rinsed the inside and outside. To speed up the drying process, I used my leaf blower to dry the entire wheel and tire. I've been using my leaf blower to dry my bikes for many years.. It works great.
After the wheel was dry, I took it into my garage and laid it on top of another towel on a small folding table (out of the 90+ degree heat and sun). But, before I started waxing the wheel, I went back outside and shot another coat of paint on the bolts. Then I waxed the inside and outside of the wheel.
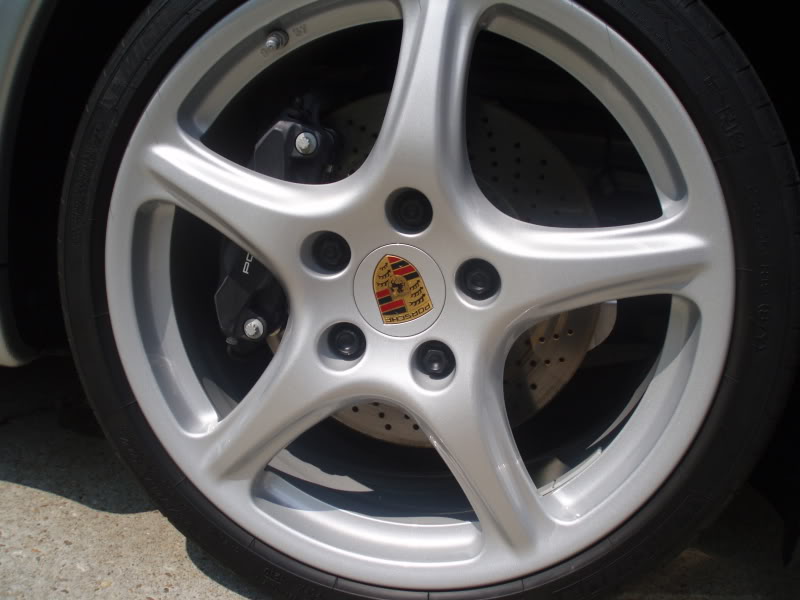
Clean wheel - outside:
Clean wheel - inside:
Once done, I went back outside and shot a final coat of paint, making sure the lug bolts were completely covered. Dupli-color dries almost instantly, so I didn't have to wait long before I was able to re-mount the wheel & tire.
Before I re-mounted the wheel I cleaned the inside of the wheel well. Wash, rinse, dry.. it takes about two minutes, since there's not much to clean under there. Again, I used my leaf blower to dry off the suspension parts and inner wheel well.
I re-mounted the wheel, starting by making sure the holes in the wheel were lined up as closely as possible to the holes in the hub. It's a bit of a PITA trying to maneuver the wheel and tire while trying to start the first lug bolt (at the top of the wheel), but be patient and it can be done. Once you have the first lug bolt started, using your fingers, go to the bottom of the wheel and insert the second bolt, then work your way around the wheel until all five are started. Make sure the bolts aren't cross-threaded. Once you've started all five bolts, and after you've double-checked to make sure the wheel is butted up against the hub, gently snug all five bolts. Once you get all five snug, gently lower the car until the wheel makes contact with the piece of wood, then using a 1/2" drive torque wrench, carefully (so you don't unseat the socket and chip the paint on the wheel or slam the torque wrench into the car's body), torque all five lug bolts to 96 lb ft. Even if you don't pull the wheels from the car, and just pull the bolts in sequence, you'll want to make sure they're torqued to 96 lb ft before you drive the car. If you don't have one, a torque wrench is a worthy purchase if you're going to be working on your car, or if you're simply going to pull the wheels.
That pretty much sums it up. Here's the finished product.
It's a very easy job, and I'm very pleased with the results. The total job cost $0 and about 2 1/2 hours of my time. The lugs no longer look like they've been salt-stained, or as if the paint wore off.. They, and the wheels, look better than new.
Great inexpensive DIY post. When I purchased my new-to-me 2005 997 in May, it was in excellent condition. About the only thing that the 2 previous owners had not maintained were the lug nuts, which looked just like the ones in your picture. I haven't gotten around to painting them yet but I think your post will inspire me. You didn't mention it, but I assume you know you can buy a rubber-coated 19mm socket from Pelican Parts to keep from chipping off that new paint on your lug bolts. Of course, that will change the cost from $0 to about $25. Thanks again!
I too occasionally pull the wheels and clean them as you have. I suggest painting the small hub ring on the brake disc to match the wheels. Lugs look good.
I suggest painting the small hub ring on the brake disc to match the wheels. Lugs look good.
Thanks for the compliments, gents.
Are you taping off the rotor before you paint the hub? I'm totally in agreement, since the exposed portion of the hub shows like a neon sign (especially with the Classic wheels).
The special socket with plastic lining will help with chipping --- ASSUMING you have a very hard finish. Hard or not, the finish will ultimately get damaged.
The barrel will always get dirty. Hot asphalt tend to burn thru the paint ....
The special socket with plastic lining will help with chipping --- ASSUMING you have a very hard finish. Hard or not, the finish will ultimately get damaged.
Pelican no longer has this socket...
I'd like my lugs to look nice, but I take the wheels off fairly regularly and think repainted ones would chip pretty quickly.
As for titanium...that is some serious cabbage. A lot I would do for the car before lugs for that money.

 08-08-2010, 01:57 PM


 Thanks again!


")