New shoes!! Ultraleggera
#1
New shoes!! Ultraleggera
No not the Allen Edmonds  The OZ ultraleggeras
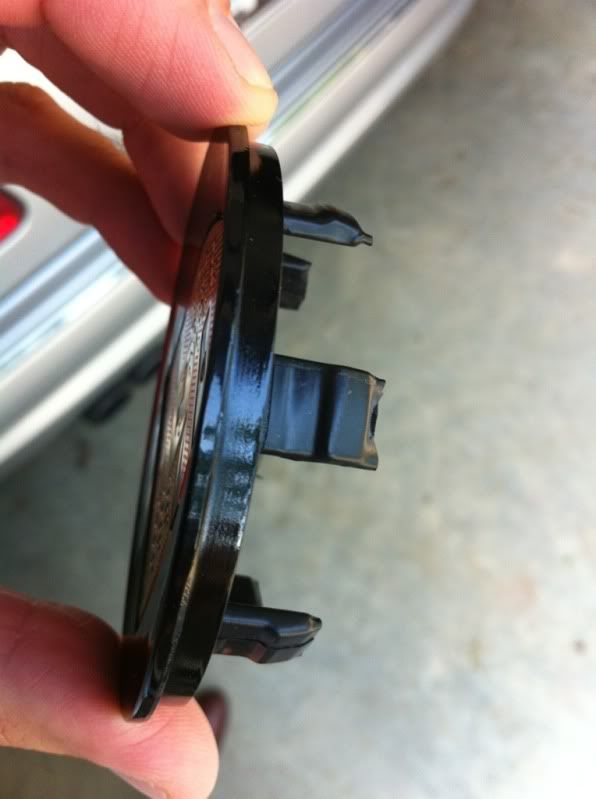
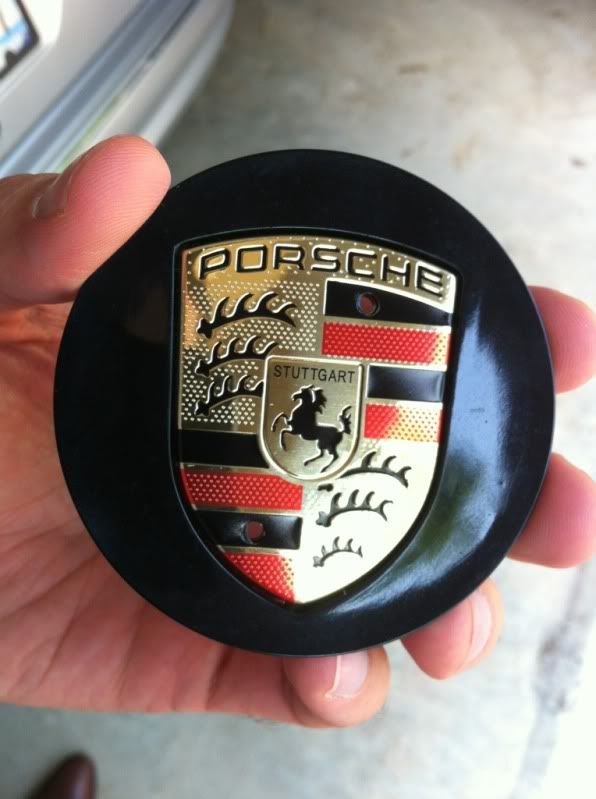
Thanks to Damon at Tire rack these arrived yesterday. The center caps are an Ebay special, and for $30 I'm pretty pleased with them although they didn't quite fit tight enough so I had to wrap each prong with a couple layers of electrical tape to make them nice and snug.
Thanks to a comedy of errors at the paint shop while getting my aerokit bumper installed I don't even have my car right now. But I hope to have it back soon and have the wheels mounted!
I'll get weights on these and compare them to the lobster forks for everyone as soon as I can.
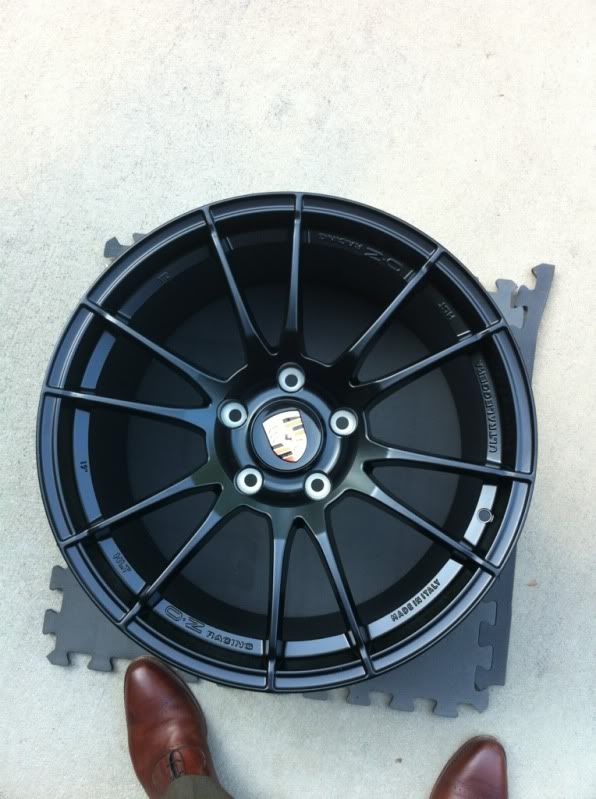
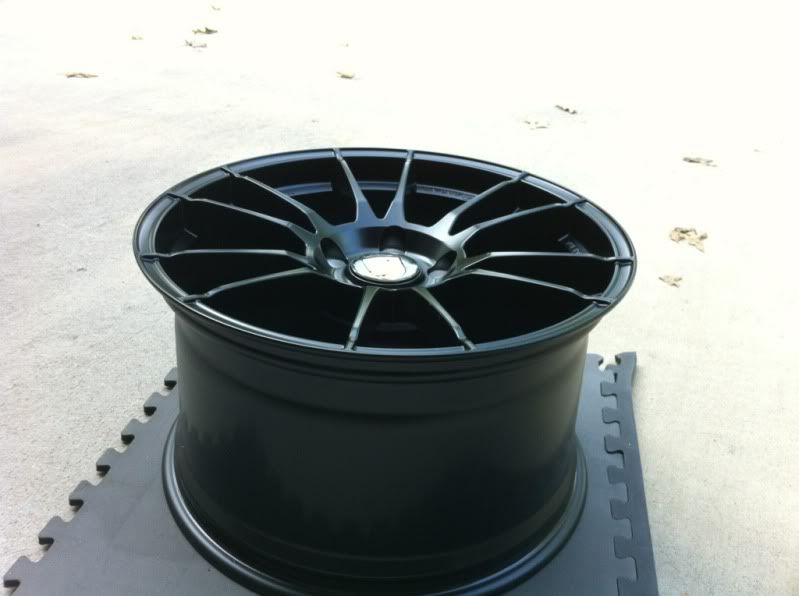
 The OZ ultraleggeras
Thanks to Damon at Tire rack these arrived yesterday. The center caps are an Ebay special, and for $30 I'm pretty pleased with them although they didn't quite fit tight enough so I had to wrap each prong with a couple layers of electrical tape to make them nice and snug.
Thanks to a comedy of errors at the paint shop while getting my aerokit bumper installed I don't even have my car right now. But I hope to have it back soon and have the wheels mounted!
I'll get weights on these and compare them to the lobster forks for everyone as soon as I can.


#5
Will do! I can't wait to get my car back. I'll start another thread to chronicle the events that have kept my car at the shop for a month now.
Thank you! I'll be interested to see how the weights compare on my scale.
Thanks, they are black.
Thank you! I'll be interested to see how the weights compare on my scale.
Thanks, they are black.
#6
How do these compare to the Victor Equipment Innsbruck and the Forgestar which are rotary forged?
#7
they look great !
looking forward to the weight savings vs the oem..
and the pic of the car with the wheels and the bumper.
also let us know how great the car feels driving with lighter shoes
looking forward to the weight savings vs the oem..
and the pic of the car with the wheels and the bumper.
also let us know how great the car feels driving with lighter shoes

Trending Topics
#8
As far as weight goes from what I've gathered these are lighter than the Forgestars but are maybe just a tiny bit heavier than the Innsbruck.
I think the weight comes down to the amount of concave the wheel has. The Forgestar are more concave than the OZ's and the Innsbruck have no concave.
Forgestars are made here in the USA
The OZ are made in Italy
The Victor Equipment are made in Taiwan
Price wise they are within a few hundred of each other. The OZ's are just under 2K delivered, the Forgestars are maybe $100 less, and the Innsbruck should be right about $1500-1600.
All I've got is this teaser pic
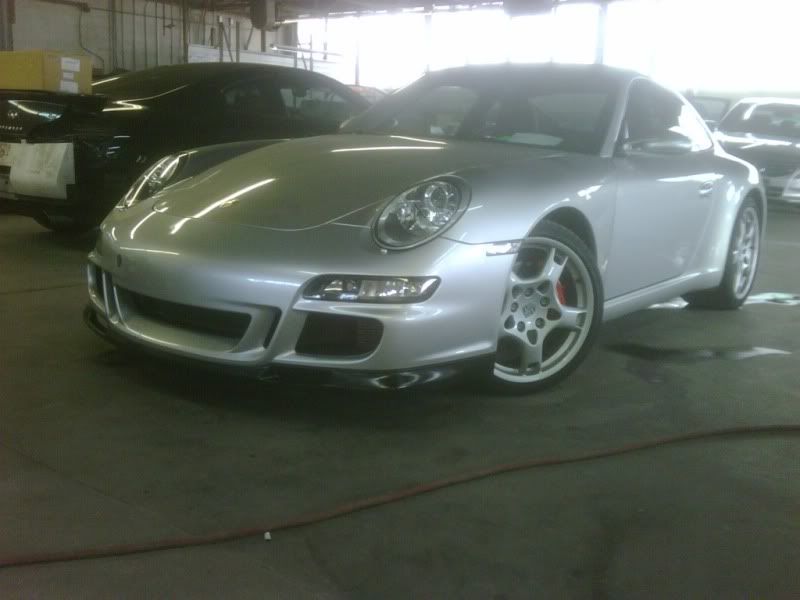
#9
A (marketing) blurb about HLT from the OZ website:
HLT: High Light Technology
Manufacturing technology to improve lightweight characteristics to the wheel, with an even higher performance driving dynamics and a structural integrity to surpass the most stringent safety tests.
The innovation and excellence found in the HLT production process is the direct result of experience of supply to both F1 from which OZ has developed an inimitable knowledge resource at the pinnacle of competitive motorsport. The HLT exclusive manufacturing process achieves mechanical features comparable to those of a forged wheel both in terms of weight reduction and structural strength.
Here's something from Forgestars website that is more informative.
Rotary Forged Flow Forming is a production procedure that turns the wheel (or rim section) over a special mandrel and three hydraulic rollers using tremendous pressure. The pressure and turning then force the rim area to form against the mandrel, creating the shape and width of the rim. During Flow Forming, the rim actually "flows" down to create the full rim width. During Flow Forming, pressure applied to the cast rim actually changes its mechanical properties, so its strength and impact values become similar to those of a forged rim. That translates to up to 15% less weight when compared to a standard cast wheel. Our technological breakthroughs in heat treating allow us to increase dent resistance without having to make the wheel heavier.
#10
Glad you like them! It's been a great wheel for OZ and for us. Light, strong, and cheap - a great combo  You can see many more of them here!
Anyone is of course welcome to call me if I can help!
Here they are on our site.
 You can see many more of them here!
Anyone is of course welcome to call me if I can help!
Here they are on our site.
__________________
damon@tirerack.com
877-522-8473 ext. 4643
574-287-2345 ext. 4643
**Don't forget to add my name to online orders!**
Or use this link:
http://www.tirerack.com/a.jsp?a=BH1&url=index.jsp
damon@tirerack.com
877-522-8473 ext. 4643
574-287-2345 ext. 4643
**Don't forget to add my name to online orders!**
Or use this link:
http://www.tirerack.com/a.jsp?a=BH1&url=index.jsp
#12
I believe you should modify your existing center caps if they fit, rather than the ebay jobbies which are likely to be blasted away with the pressure gun at the car wash.
For all with black wheels, here is a quick and easy center cap fix, which I did on my car.
Take the center caps off, and lightly sand them with 600 grit sand paper (see pic with 2 caps, top one is sanded, so dont expect to see too much difference. Be careful dont touch the crest, the chrome is easy to scratch).

Carefully mask the P crest with flexible tape (so you can bend it around the curves, cut corners carefully with a blade).

Buy can of matte finish black paint and matte varnish (in my case - in yours I believe it is SATIN not GLOSSY)
Spray the caps from all angles from a distance of at least 30-40 centimeters and allow to dry for a couple of hours.

Then spray the varnish, or else it is likely that the matte color will scratch off. If you have patience, wait 2 more hours (or in KSA more like half hour!) and spray another coat.
IMPORTANT. WHEN REMOVING THE TAPE, COULD BE USEFUL TO CUT AROUND THE CREST RIGHT AT THE EDGE WITH A BLADE, ITS EASY TO LIFT THE PAINT IF NOT PROPERLY DRIED.
Done. Install and drive off...


Good luck. Its an easy project that the most time is spent on masking the crest, and it should not involve more than half hour work.
For all with black wheels, here is a quick and easy center cap fix, which I did on my car.
Take the center caps off, and lightly sand them with 600 grit sand paper (see pic with 2 caps, top one is sanded, so dont expect to see too much difference. Be careful dont touch the crest, the chrome is easy to scratch).

Carefully mask the P crest with flexible tape (so you can bend it around the curves, cut corners carefully with a blade).

Buy can of matte finish black paint and matte varnish (in my case - in yours I believe it is SATIN not GLOSSY)
Spray the caps from all angles from a distance of at least 30-40 centimeters and allow to dry for a couple of hours.

Then spray the varnish, or else it is likely that the matte color will scratch off. If you have patience, wait 2 more hours (or in KSA more like half hour!) and spray another coat.
IMPORTANT. WHEN REMOVING THE TAPE, COULD BE USEFUL TO CUT AROUND THE CREST RIGHT AT THE EDGE WITH A BLADE, ITS EASY TO LIFT THE PAINT IF NOT PROPERLY DRIED.
Done. Install and drive off...


Good luck. Its an easy project that the most time is spent on masking the crest, and it should not involve more than half hour work.
#13
I believe you should modify your existing center caps if they fit, rather than the ebay jobbies which are likely to be blasted away with the pressure gun at the car wash.
For all with black wheels, here is a quick and easy center cap fix, which I did on my car.
Take the center caps off, and lightly sand them with 600 grit sand paper (see pic with 2 caps, top one is sanded, so dont expect to see too much difference. Be careful dont touch the crest, the chrome is easy to scratch).

Carefully mask the P crest with flexible tape (so you can bend it around the curves, cut corners carefully with a blade).

Buy can of matte finish black paint and matte varnish (in my case - in yours I believe it is SATIN not GLOSSY)
Spray the caps from all angles from a distance of at least 30-40 centimeters and allow to dry for a couple of hours.

Then spray the varnish, or else it is likely that the matte color will scratch off. If you have patience, wait 2 more hours (or in KSA more like half hour!) and spray another coat.
IMPORTANT. WHEN REMOVING THE TAPE, COULD BE USEFUL TO CUT AROUND THE CREST RIGHT AT THE EDGE WITH A BLADE, ITS EASY TO LIFT THE PAINT IF NOT PROPERLY DRIED.
Done. Install and drive off...


Good luck. Its an easy project that the most time is spent on masking the crest, and it should not involve more than half hour work.
For all with black wheels, here is a quick and easy center cap fix, which I did on my car.
Take the center caps off, and lightly sand them with 600 grit sand paper (see pic with 2 caps, top one is sanded, so dont expect to see too much difference. Be careful dont touch the crest, the chrome is easy to scratch).

Carefully mask the P crest with flexible tape (so you can bend it around the curves, cut corners carefully with a blade).

Buy can of matte finish black paint and matte varnish (in my case - in yours I believe it is SATIN not GLOSSY)
Spray the caps from all angles from a distance of at least 30-40 centimeters and allow to dry for a couple of hours.

Then spray the varnish, or else it is likely that the matte color will scratch off. If you have patience, wait 2 more hours (or in KSA more like half hour!) and spray another coat.
IMPORTANT. WHEN REMOVING THE TAPE, COULD BE USEFUL TO CUT AROUND THE CREST RIGHT AT THE EDGE WITH A BLADE, ITS EASY TO LIFT THE PAINT IF NOT PROPERLY DRIED.
Done. Install and drive off...


Good luck. Its an easy project that the most time is spent on masking the crest, and it should not involve more than half hour work.
Plus if I lose one it's no big deal as they were cheap.
