
My budget audio install updated 3/22/15


#377
 01-11-2014 | 05:32 PM
Registered User
Joined: Nov 2013
Posts: 15
From: Atlanta
Rep Power: 0

Not really. The hardest part so far was just getting the door panel apart. I'm going nice and slow to make sure I don't screw anything up, but am enjoying working on my baby!
Of course, nothing wrong with having an experienced installer knock it out for you either.
#378
01-11-2014 | 07:20 PM
Thread Starter
|
Registered User
Joined: May 2009
Posts: 3,335
From: Rye, NY
Rep Power: 200

Ok, I am not done yet, but about 1/2 way there! I got some brackets made by my local audio shop. The front woofers hooked right up, I even reused the OEM connections, so no cutting or re-wiring! For the other door location and the rear, I took the advice of my installer and stripped the wire partially and soldered a connection to the new speaker, so there too, I could return to stock easily.
Have to complete things before I make any detailed feedback, but I am shocked at how louder (more efficient?) the Bose speakers are. Interesting. Of course, as someone who cares about the sound and not the loudness, I know this doesn't mean anything in an of itself. Can't wait to get it all together (plan is tomorrow after church) to finally hear it.
Thanks all for the tips/tricks! I followed this thread with no issues! The tip about the OEM wiring and the woofer is my only "find" so far. Wish the others were like that.
Chris
#379
01-11-2014 | 09:00 PM
Thread Starter
|
Registered User
Joined: May 2009
Posts: 3,335
From: Rye, NY
Rep Power: 200
Ok, I am not done yet, but about 1/2 way there! I got some brackets made by my local audio shop. The front woofers hooked right up, I even reused the OEM connections, so no cutting or re-wiring! For the other door location and the rear, I took the advice of my installer and stripped the wire partially and soldered a connection to the new speaker, so there too, I could return to stock easily.
Have to complete things before I make any detailed feedback, but I am shocked at how louder (more efficient?) the Bose speakers are. Interesting. Of course, as someone who cares about the sound and not the loudness, I know this doesn't mean anything in an of itself. Can't wait to get it all together (plan is tomorrow after church) to finally hear it.
Thanks all for the tips/tricks! I followed this thread with no issues! The tip about the OEM wiring and the woofer is my only "find" so far. Wish the others were like that.
Chris
Have to complete things before I make any detailed feedback, but I am shocked at how louder (more efficient?) the Bose speakers are. Interesting. Of course, as someone who cares about the sound and not the loudness, I know this doesn't mean anything in an of itself. Can't wait to get it all together (plan is tomorrow after church) to finally hear it.
Thanks all for the tips/tricks! I followed this thread with no issues! The tip about the OEM wiring and the woofer is my only "find" so far. Wish the others were like that.
Chris
#380
01-11-2014 | 09:33 PM
Registered User
Joined: Nov 2013
Posts: 15
From: Atlanta
Rep Power: 0
I'll take more shots of the other plate before I install it tomorrow. As to the tweeters, I pulled one and did a test hook-up, but haven't finished that part yet. It will be my last section... well, until the sub-redo. Probably going to have a new sub box made, but we'll see what the balance on these upgrades sounds like first.
#381
01-12-2014 | 03:20 PM
Registered User
Joined: Nov 2013
Posts: 15
From: Atlanta
Rep Power: 0
Finished! Well, almost. I got everything except for the center channel done and I left that detached. I didn't realize it was a 3" speaker and want to look for something more appropriate than a tweeter.
First impressions are very positive. I was originally expecting to want to do the subs next, but I don't think I am going to want to. On good source material (I have a known group of high quality MP3s that I use for auditioning), the sound is great. I am used to a little more forward treble stage, but this may improve when I get the center worked out and/or the speakers broken in a little more. So far I love it! Sat in her for about an hour listening to a variety of music and messing with the options. Still have everything turned off and linear on, with treble at +4 and bass at +1, 0 on fade/balance. The sound is much cleaner and less fatiguing than the Bose at loud volumes and boy does it get loud and stay clean!
An interesting effect of this swap is that with the more pronounced Bose subs still there, there is more bass at lower volume which is appealing (to me at least).
Did anyone look for a different speaker for the center channel?
Here are some additional pics of the rear bracket as requested.
Thanks again, guys! It was amazing how quickly I got the 2nd side and tweeters done after doing the first, but I really don't know if I would have done this at all without this (and other) thread(s) and some of the RL DIYs. And I managed to get everything in and completely (and easily) reversible.
Chris


#383
01-12-2014 | 05:06 PM
Thread Starter
|
Registered User
Joined: May 2009
Posts: 3,335
From: Rye, NY
Rep Power: 200
Beautiful! Well done! Great job with those rear panels. How did you make those tabs? Much better done than mine.
Well, you might forget how it was, BUT you also need to wait for the break in. Those Focal's need to break in. Once the 8s break in, you'll quickly notice how the bass tightens up and you get much better slam out of the system.
I used an identical tweeter in the center channel. Even though the Bose center speaker appears to be a very nice 3"unit, I didn't see much difference when I added the center channel speaker. A better speaker might improve the sound a bit, but I doubt it would be material.
For the sub, you can always try stuffing it with poly as a start. It tightens the bass up a bit.
#385
01-13-2014 | 05:27 AM
Registered User
Joined: Nov 2013
Posts: 15
From: Atlanta
Rep Power: 0
So, I can't take credit for those. My local installer did all my brackets. I watched him do one of the rears, however, and he just used a heat gun to allow him to bend the ABS. Worked great and I only secured it with the factory screw.
#387
01-27-2014 | 02:03 PM
Registered User
Joined: Feb 2010
Posts: 1,889
From: SoCal
Rep Power: 159
Thx RyeM3 for all ur help ! Rep point for u !
Finally got the speakers installed on Fri (Gold Star Audio in Irvine CA)
**Gold Star Audio did an excellent job at a great price ! **
per RyeM3's suggestion, i went with the Focal IS200 (2way component) along with Focal ISC Coaxial in the front.. and ISC Coaxial in the rear.
The sound is a huge improvement over the stock Bose speakers. Its, very clear with highs and lows.. its loud.. and it still need to be broken in.
currently i have the setting on Base +4 and Treble 0
#388
02-12-2014 | 08:28 PM
Thread Starter
|
Registered User
Joined: May 2009
Posts: 3,335
From: Rye, NY
Rep Power: 200
The Bose subwoofer - the final chapter
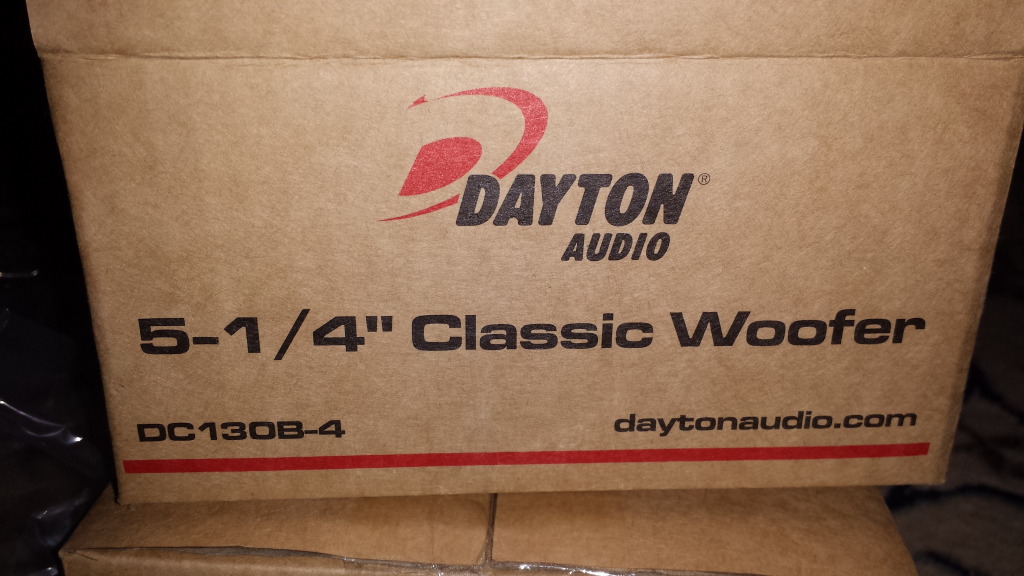
So, I finally found a drop in solution for the Bose drivers that has produced good results. They are total drop in replacements and considerably tightened the bass of the system. Efficiency is slightly less than perfect, but compensation with the tone control easily brings them in for strong bass. These were recommended as a solution - they don't look that sexy, but the frequency range is decently low and limited and they are designed for lower power, so they will kick it out with the Bose amp. The screw hole circle was ever so slightly bigger than the Bose drivers, but they can be screwed into the existing holes carefully after the speakers are lined up evenly. I've only got a couple hours of break in so far and they do take some time to loosen up. At first it seems like they are not really reaching down to the lower frequencies, but indeed they are. The combined system now is capable of incredible spl and I have yet to turn it up and here it clip! I suppose this would disappoint someone looking for the bass of dual 10's - obviously you aren't going to get that here. But, here's the punch line, the mod will take you an hour and cost you $40!!! If you are intent on finding something sexier, be careful with the diameter and the screw locations - this is the third set of speakers I've tried. More expensive isn't necessarily better!
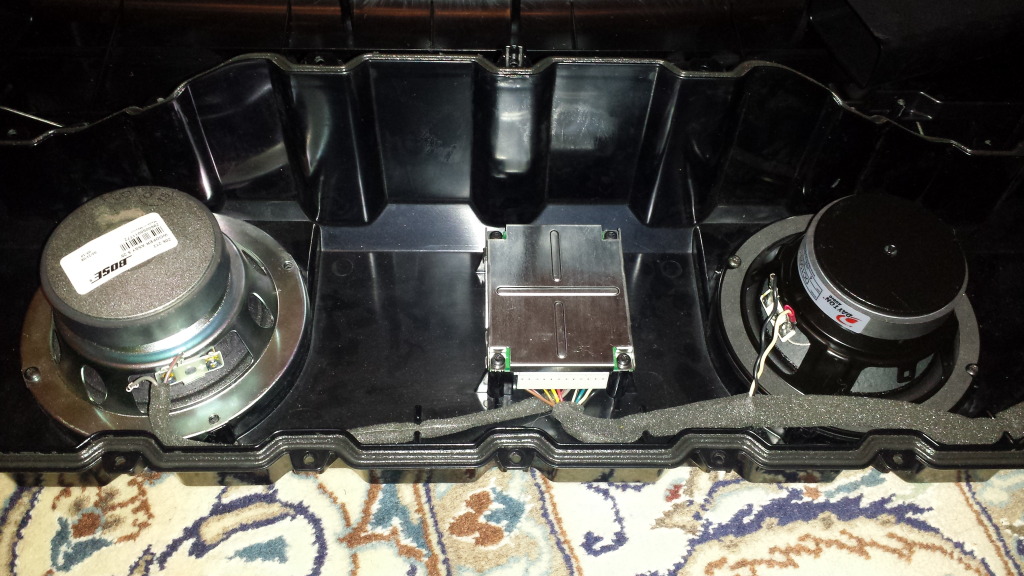
I've also been asked how to remove the sub. If you go to Rennlist, you can get instructions on removing the ECU, which requires you to remove the sub first. Otherwise, simply remove the "Bose" port plates. They easily pry off with your fingers. Then, you mud remove the back seat stops with a 4mm hex wrench. Next, there is one torx screw in the bass port location near the bottom of the hole. it is a long screw. Once those are removed, the sub box simply slides out. Before removing it all the way, disconnect the plug on the right side. That's it. Now, you'll see that the sub box shell is secured by about 25 torx screws! Best to have a drill driver to remove them. The box is somewhat sealed together, but comes apart easily. Then you'll see the inside pictured below.
These are the drivers I used:
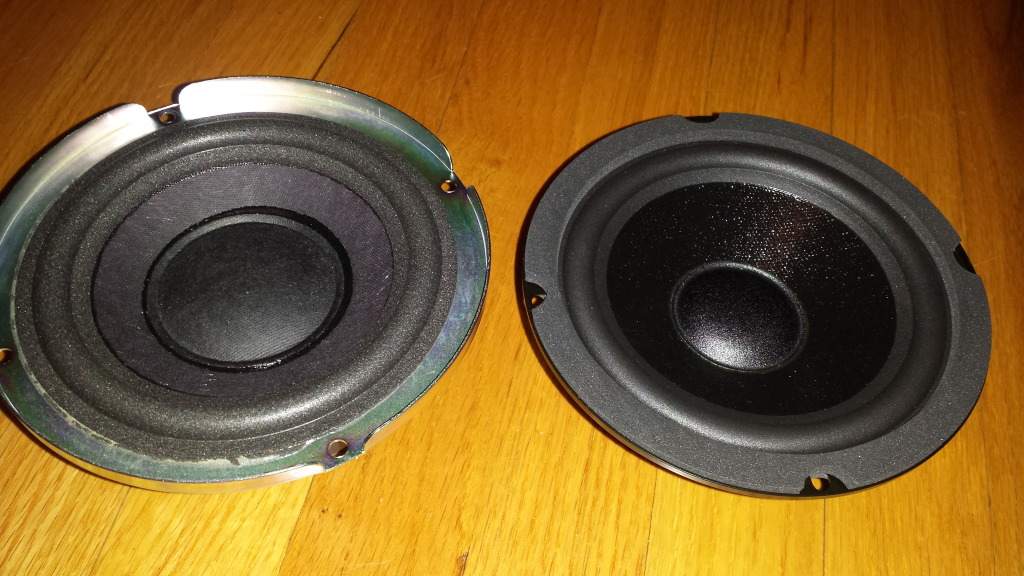
Here is the comparison of the drivers:

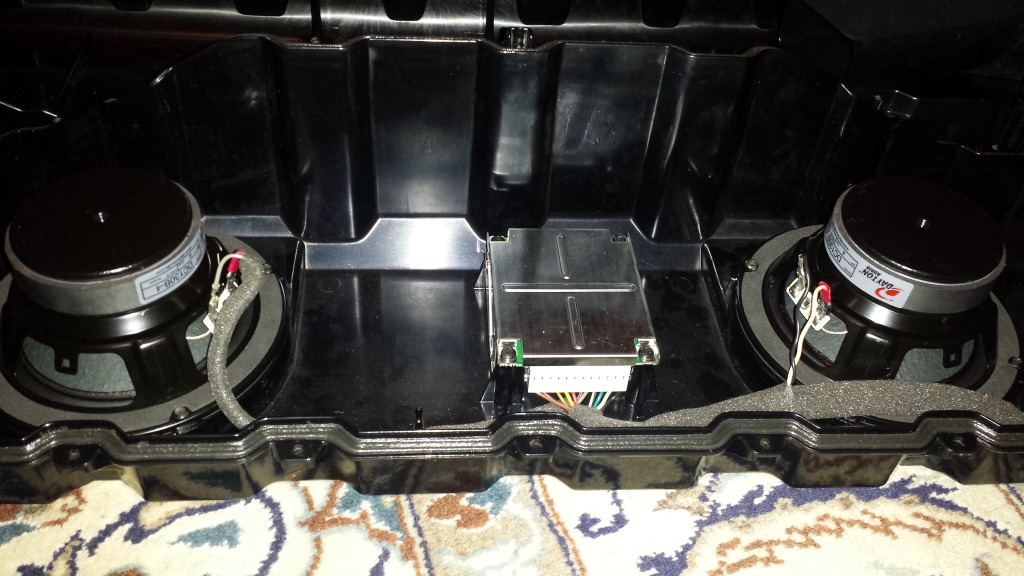
Here is the install. Totally drop right in. One spade needs to be reterminated in order to connect with the right polarity.
And here are some measurements of the existing drivers if you want to find your own drivers that might match. Be sure to match the OD, as there is no extra room in the enclosure.


Good luck and share your own results!
I've also been asked how to remove the sub. If you go to Rennlist, you can get instructions on removing the ECU, which requires you to remove the sub first. Otherwise, simply remove the "Bose" port plates. They easily pry off with your fingers. Then, you mud remove the back seat stops with a 4mm hex wrench. Next, there is one torx screw in the bass port location near the bottom of the hole. it is a long screw. Once those are removed, the sub box simply slides out. Before removing it all the way, disconnect the plug on the right side. That's it. Now, you'll see that the sub box shell is secured by about 25 torx screws! Best to have a drill driver to remove them. The box is somewhat sealed together, but comes apart easily. Then you'll see the inside pictured below.
These are the drivers I used:

Here is the comparison of the drivers:


Here is the install. Totally drop right in. One spade needs to be reterminated in order to connect with the right polarity.


And here are some measurements of the existing drivers if you want to find your own drivers that might match. Be sure to match the OD, as there is no extra room in the enclosure.


Good luck and share your own results!
#390
02-13-2014 | 11:58 AM
Thread Starter
|
Registered User
Joined: May 2009
Posts: 3,335
From: Rye, NY
Rep Power: 200
Awesome! Hope you'll be happy with the results. Be sure to post a follow up when you have it done!