When you click on links to various merchants on this site and make a purchase, this can result in this site earning a commission. Affiliate programs and affiliations include, but are not limited to, the eBay Partner Network.
I looked for more help than just diagrams showing the tabs being pulled down to remove the A/C vents on my 2007 997 Turbo. I did this to replace with Carbon Fiber replacements. I had problems with the wiring harness not coming out enough to remove the vents/etc. Since I tried some interesting things in the removal, I thought that I would post the steps here to help those that may be trying the same things.
The first preparation step is to get some sort of tool that has a small angled end that can be used to bend down the tabs on the vents. I found that my needle files (you will see in the pics) worked perfectly and I was able to use two of them at the same time to keep the tabs bent down and pull the vent out. This one tip saved TONS of time and hassle trying to release the tabs.
The second preparation step is to ensure you get some masking tape to protect those areas of the dash that could be damaged by scraping it with the vents upon removal (or by the tools).
The final preparation step is to have some plastic panel removal tools to help with the work.
I am going to show some steps for the driver's side vent. The passenger side is the same steps. Then I will show some pics for the center vent.
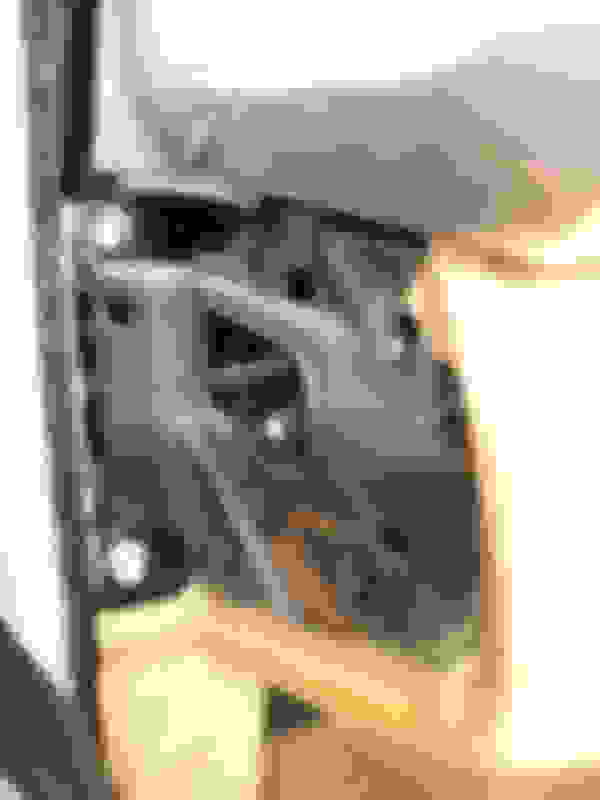
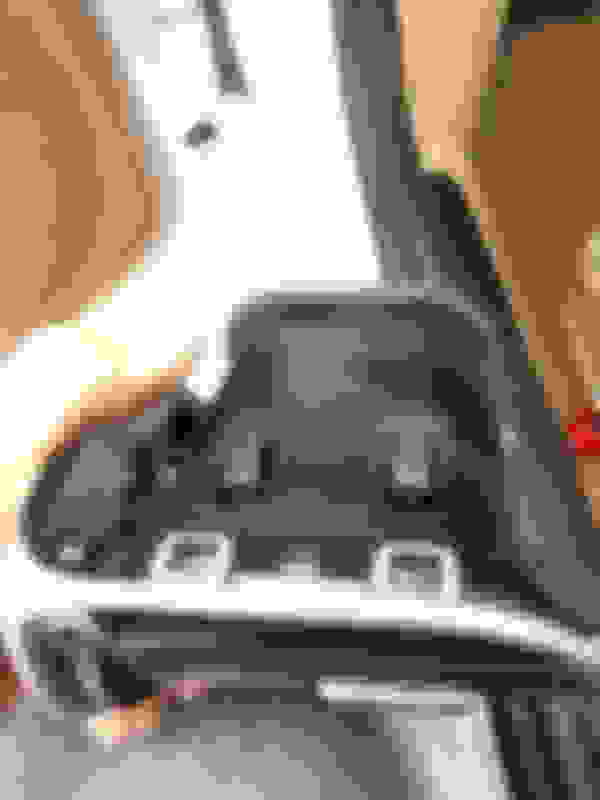
First, you need to remove the side dash cover with a plastic removal tool. Just pry it off from the front. The rear has clips that you release once you take the front off (see pics). Also loosen/pull up the black rubber molding to free the back side of the panel. You need to do this since the wiring harness is attached to the frame of the dash and you will not be able to pull out the vent unless the clip is released.
Now you can see the wiring harness clipped to the little opening that you need to remove.
The way my wiring was routed through the inside of the dash, I needed to take the metal clip off of the harness to fish the wire through the small openings inside the dash behind the vent. Just make sure you remember how the metal clip is attached to the harness. I am showing this since you may have to do the same to pull it out enough to detach the harness to completely remove the vent.
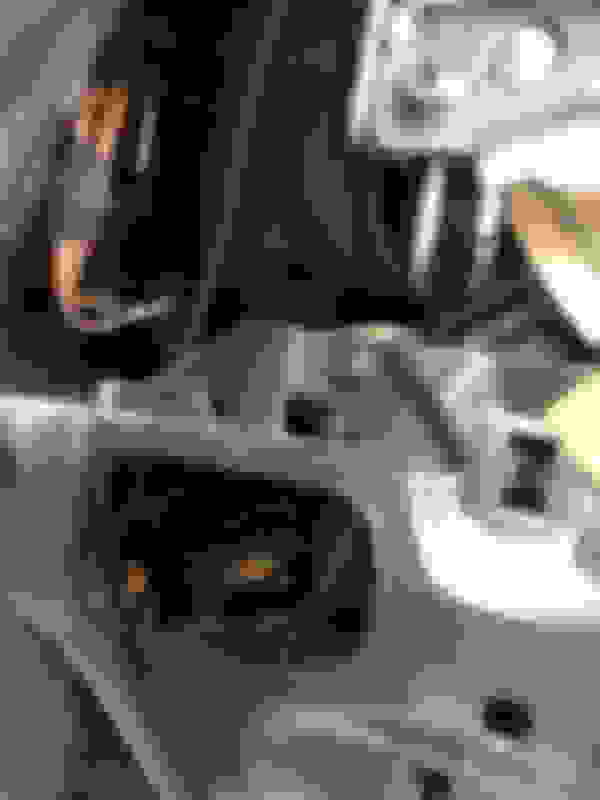
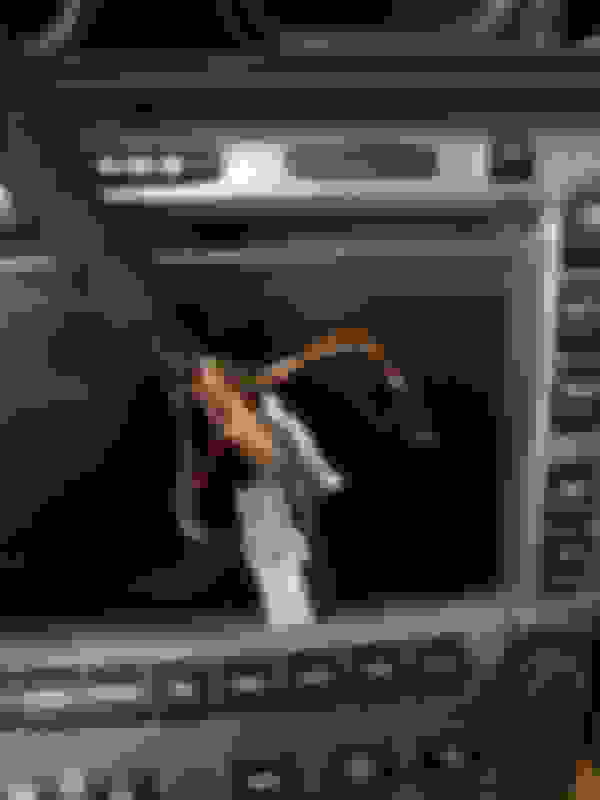
Now another problem I had is that the wiring harness was "pinned" between two pieces of the frame held together by a screw. I had to remove this screw to release the sheath from the harness to move it. The screw is in the center of the pic with a little bit of yellow insulation behind the frame.
Now you can just detach the harness plug to prepare to remove the entire vent. You may still need to fish the harness through some spots but if you removed the metal bracket from the harness and the wire is free to move, you should be fine now.
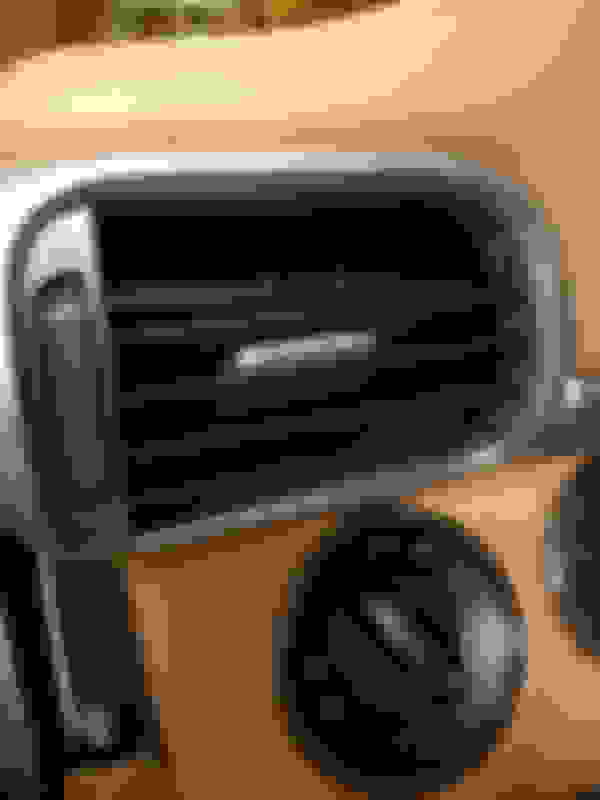
Although it is not entirely necessary, this step made it much easier to use the tools in the vent. I removed one side of the top most vane in the vent. I removed the right side since the left has a metal bracket attached to it that can be a pain to get back on correctly if you remove it.
Now I can see the tabs the need to be pulled down.
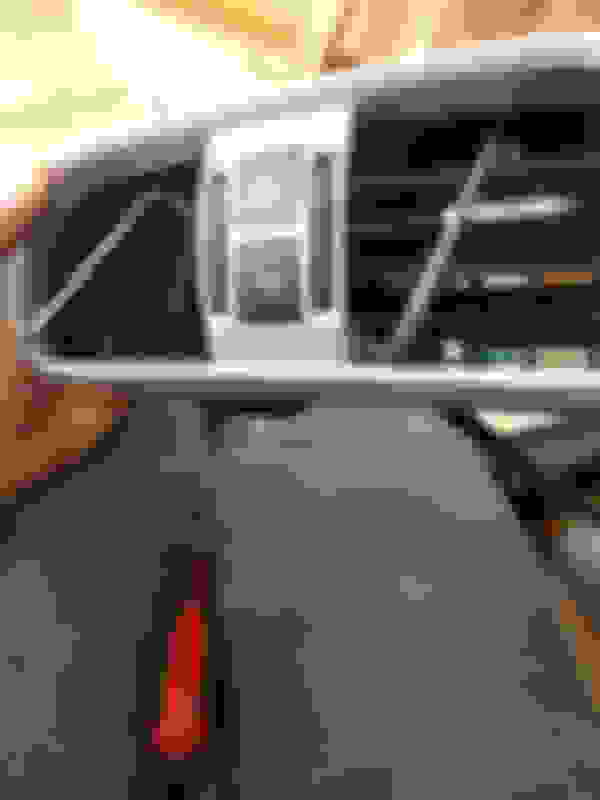
Taking two of my metal needle files, I carefully reach up and pull the tabs down and then push the file through the hole farther to keep the tab down. The pic below is from my center vent since i forgot to take a picture on my side vent.
Just work the vent free using the plastic removal tools as needed. It was not hard for me since the tabs were kept pulled down. The bottom and side of the vent have small plastic tabs that have to be released but they come off pretty easy. Also, since you released the wiring harness, you should be able to pull the vent out. You may need to help the plastic harness through some places in the dash.
The center vent was the same way BUT in mine, the left metal tab was way up in the vent and was very difficult to hook to pull down. The metal needle file was absolutely needed to pull it down and keep it down. I also had to remove all the vanes on the left vent to be able to have enough room to get at the tab. Hopefully you will not have to do that. There are only two total clips for the center vent. One for the left vent and one for the right vent. After I was able to pull the tabs down, I used the plastic panel tools to help to release the clips on the sides and pull the vent out. The center vent has four connections on the back. One for each vent light and then the hazard lights and power locks. Disconnect them.
Also, just as a note, I cleaned my leather around the vent openings while I had the vents out and cleaned out any other dust around the vents.
GT3 Chuck, thanks for the note. I dont know what happened. I uploaded every single pic using the postcard icon but I did it individually every time I wanted to insert a pic in the text. Maybe doing them one at a time messed it up. I previewed the post and it all looked good. Will keep an eye on it going forward.
Yeah, it was weird...at first they were blank little squares and after I downloaded them to add them they all appeared...que the twilight zone and now I just see little squares again until I click on them

 03-30-2018, 12:24 PM


 and now I just see little squares again until I click on them


