When you click on links to various merchants on this site and make a purchase, this can result in this site earning a commission. Affiliate programs and affiliations include, but are not limited to, the eBay Partner Network.
Does anybody know the part number or the dimensions of the seal that is mounted on the differential oil filter?
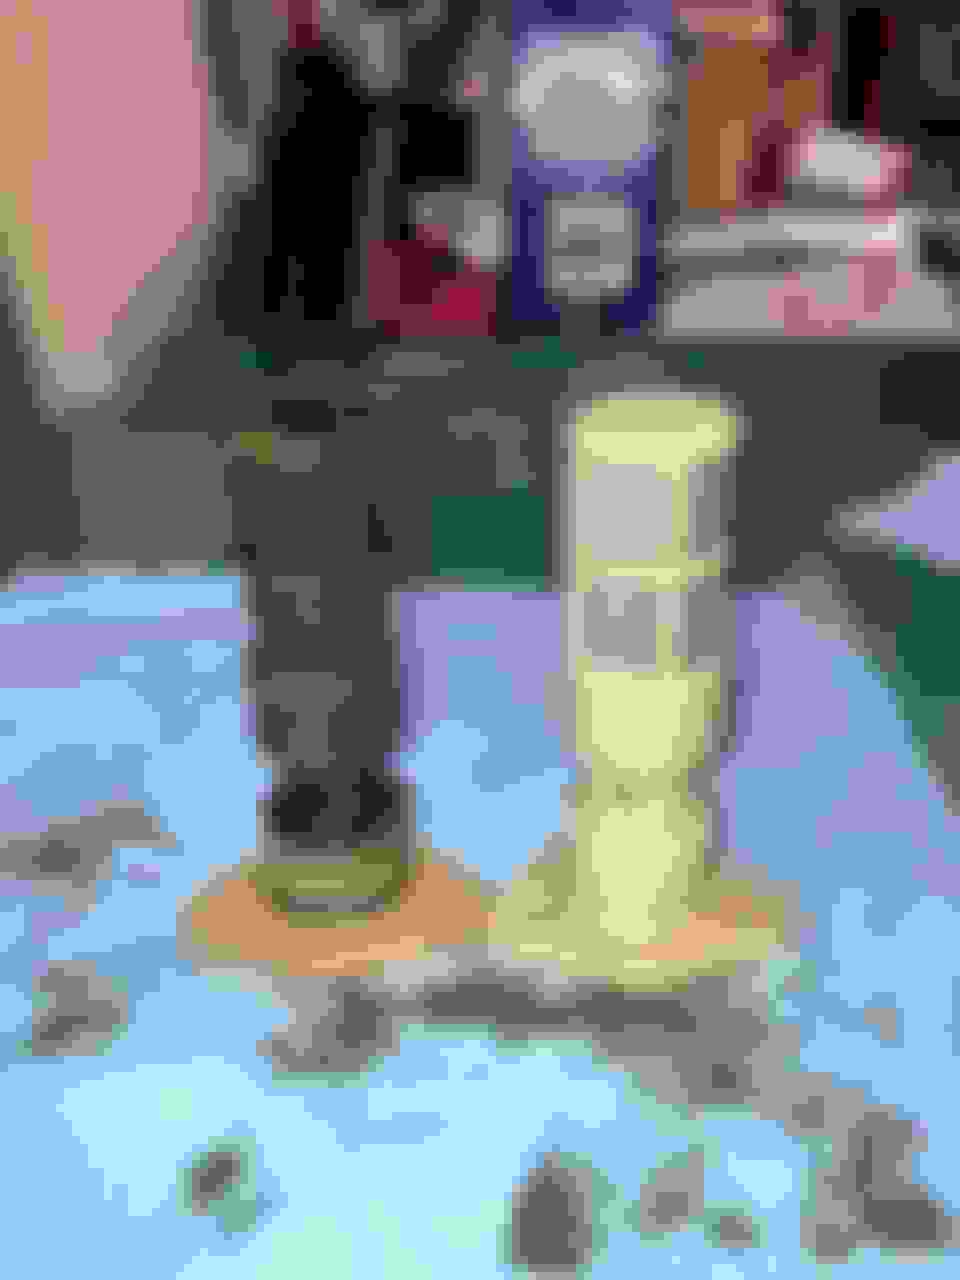
I found it online but they sell them by packs of 10...
Thanks!
As I am doing this service shortly, I wanted to share a money saving (or spending!) tip in case you are replacing the differential oil filter.
You can always buy a new filter from Aston Martin, the part # is 4G43-27-10490 and will run you ~$170
Aston Martin 4G43-27-10490
However, since it's fitting into a Graziano box, you may want to save a couple bucks and go for the Lamborghini Aventador OE part # 0b9525558 Gearbox filter for ~$55 ! 0b9525558 0b9525558
Or, you could also get the Ferrari OE part # 143939 gearbox filter for the 456/550/575/599/612 , also about $65, depending where you can find it.
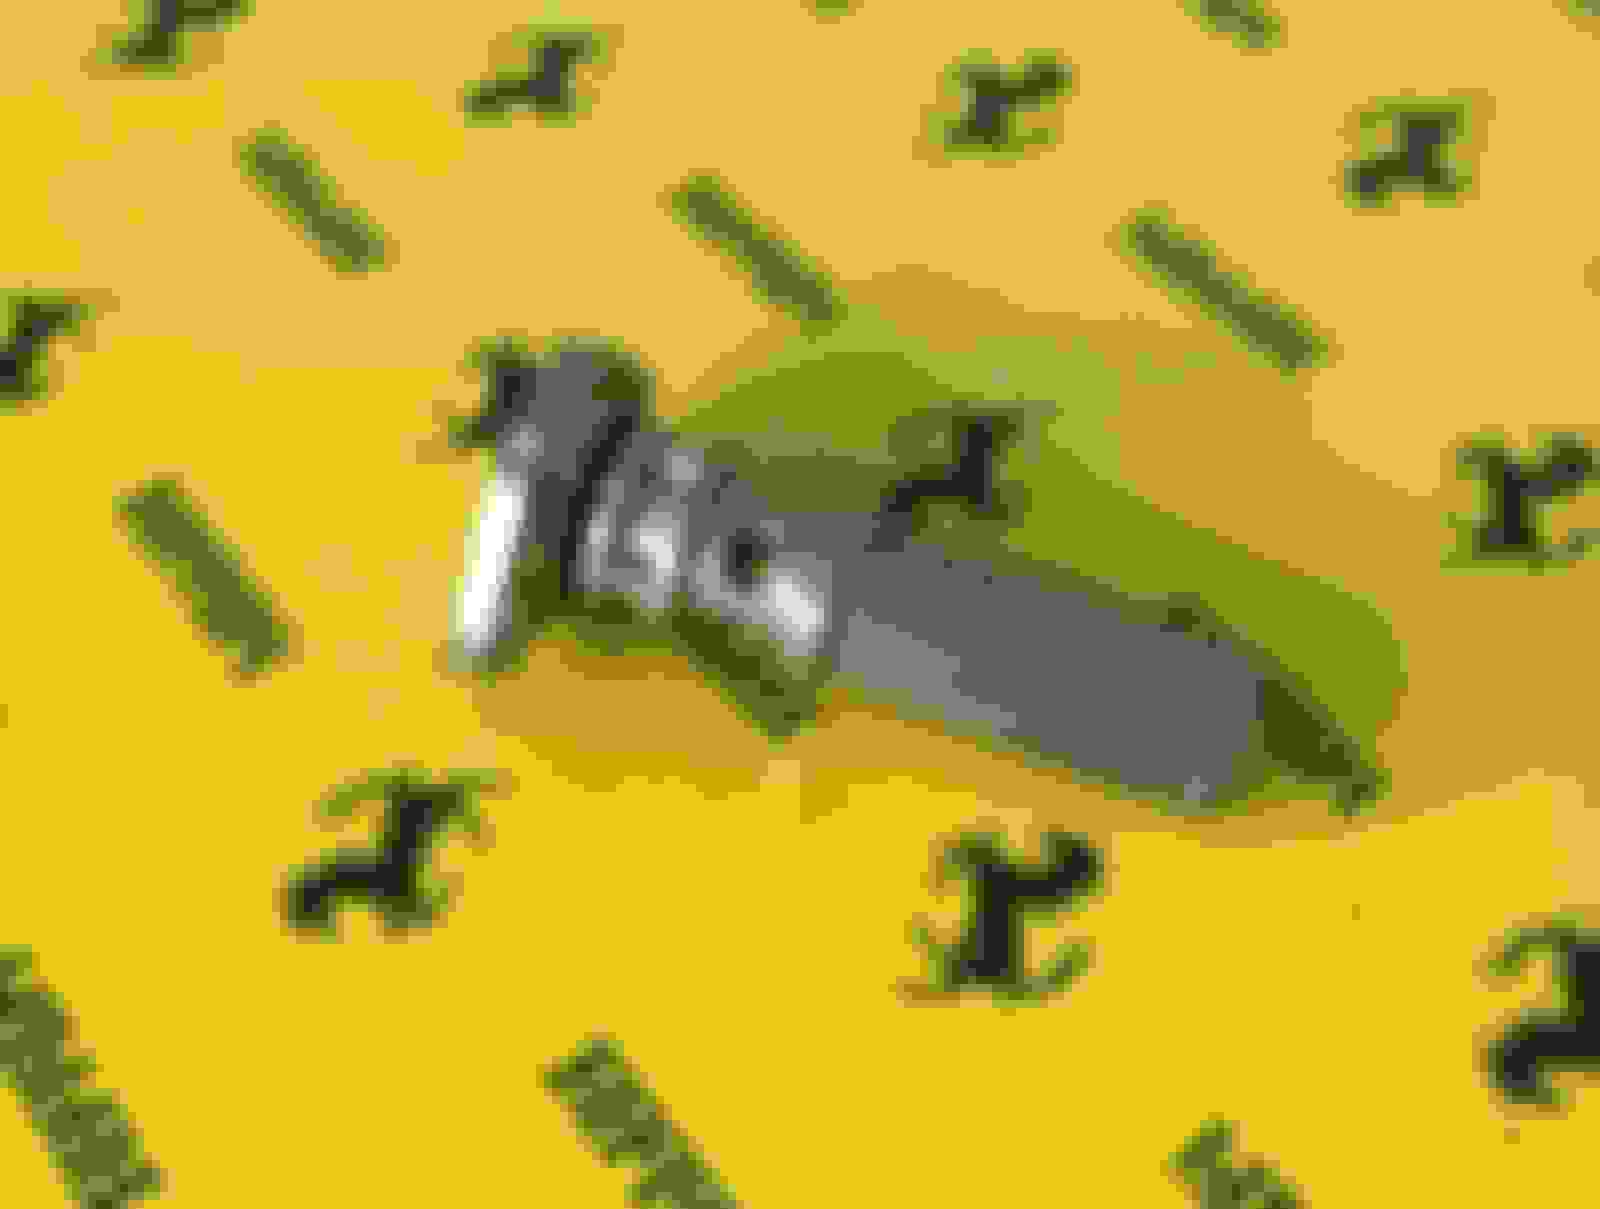
Should you however, want to spend more money, and get the very best... Ferrari has superseded the plastic part with a CNC'd 1 piece filter...
I present.. The Ferrari gearbox filter 251638 :
Or you can just clean it thoroughly , use a new O-ring and reuse!
Last edited by UltraMarine; 11-13-2023 at 01:09 PM.
Does anybody know the part number or the dimensions of the seal that is mounted on the differential oil filter?
I found it online but they sell them by packs of 10...
Thanks!
I bought a change kit from Redpants.lol for $10.25 + shipping. Includes 2 copper washers and the filter o-ring. This is for the 6 speed.
Update: The 2013 MY the drain and fill plugs use the same size hex wrench, both have permanent non-copper washers, and the exhaust pipe does need to be moved to the side for the filter removal.
Update: The 2013 MY the drain and fill plugs use the same size hex wrench, both have permanent non-copper washers, and the exhaust pipe does need to be moved to the side for the filter removal.
I just did this today on my 2015. I�ll post a set of pictures soon to help folks with their DB9.2s, but just a quick note to the effect that yes, both fill and drain plugs use the same 8mm hex wrench, but my experience with the rest of it was different from yours. The plugs do have removable aluminum crush washers that I replaced, and the filter slides out without needing to move the exhaust pipe (by removing the heat shield).
I think mine may be the case of having a Quick Silver back box (?). I did remove the heat shield but the filter was about 1/4" from coming out as it hit the exhaust pipe.
As per my previous post, I did this today for my 2015 DB9. All went well. A few details are different so I thought I�d capture these for the benefit of others. There are many similarities with @UltraMarine�s recent post on the same subject, but I believe he has a Rapide S so there may be a few things unique to the DB9.2.
1) Differences start with the rear undertray, which is metal and held on with no fewer than 19 bolts that have 13mm hex heads. Of these, 17 are identical and come off quite easIly, but 2 of them (on the front �wings�, inner side) really put up a fight. I had to use my electric impact wrench to remove these. I thought maybe they had been cross threaded, but it turned out that they were held on with blue loctite where all the others had a dab of red loctite. Blue loctite is a lot more �permanent�. I have no idea why Aston felt the need to have these two bolts so much more rigidly adhered.
Metal undertray with recalcitrant bolt locations circled in red.
While all the undertray bolts had 13mm heads, most were of the size circled in red and had a dab of red loctite. The two bolts with blue loctite were bigger. Also circled in yellow are the 2 bolts and washers holding on the exhaust heat shield; more on that later.
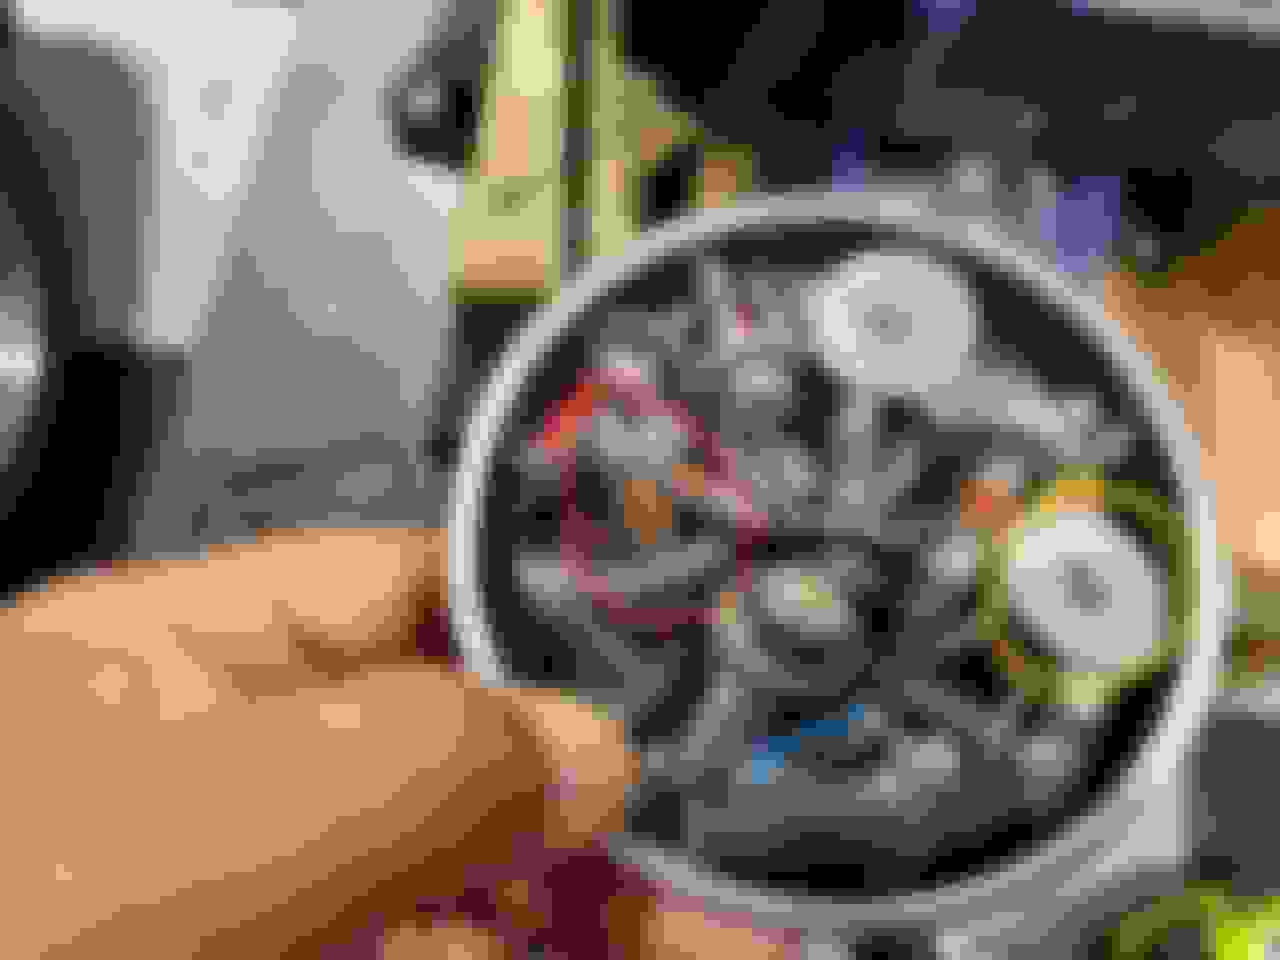
2) Once the undertray was off, I noticed that there was some type of additional heat shield covering up the underside of the differential cooler and restricting access to the fill plug. This piece has not been mentioned in previous posts and I could not see an easy way to remove it. I was able to figure out access to remove the fill plug (and to fill the oil) but it was a bit of a head scratcher.
This view shows the additional shield circled in red with the red arrow showing how you need to insert your wrench to access the fill plug. I�ve also used this pic to illustrate that the clearance to slide out the filter was adequate (blue arrow). Note in this pic I have already removed the exhaust pipe heat shield from the location circled in blue.
Another view of the unexpected black shield.
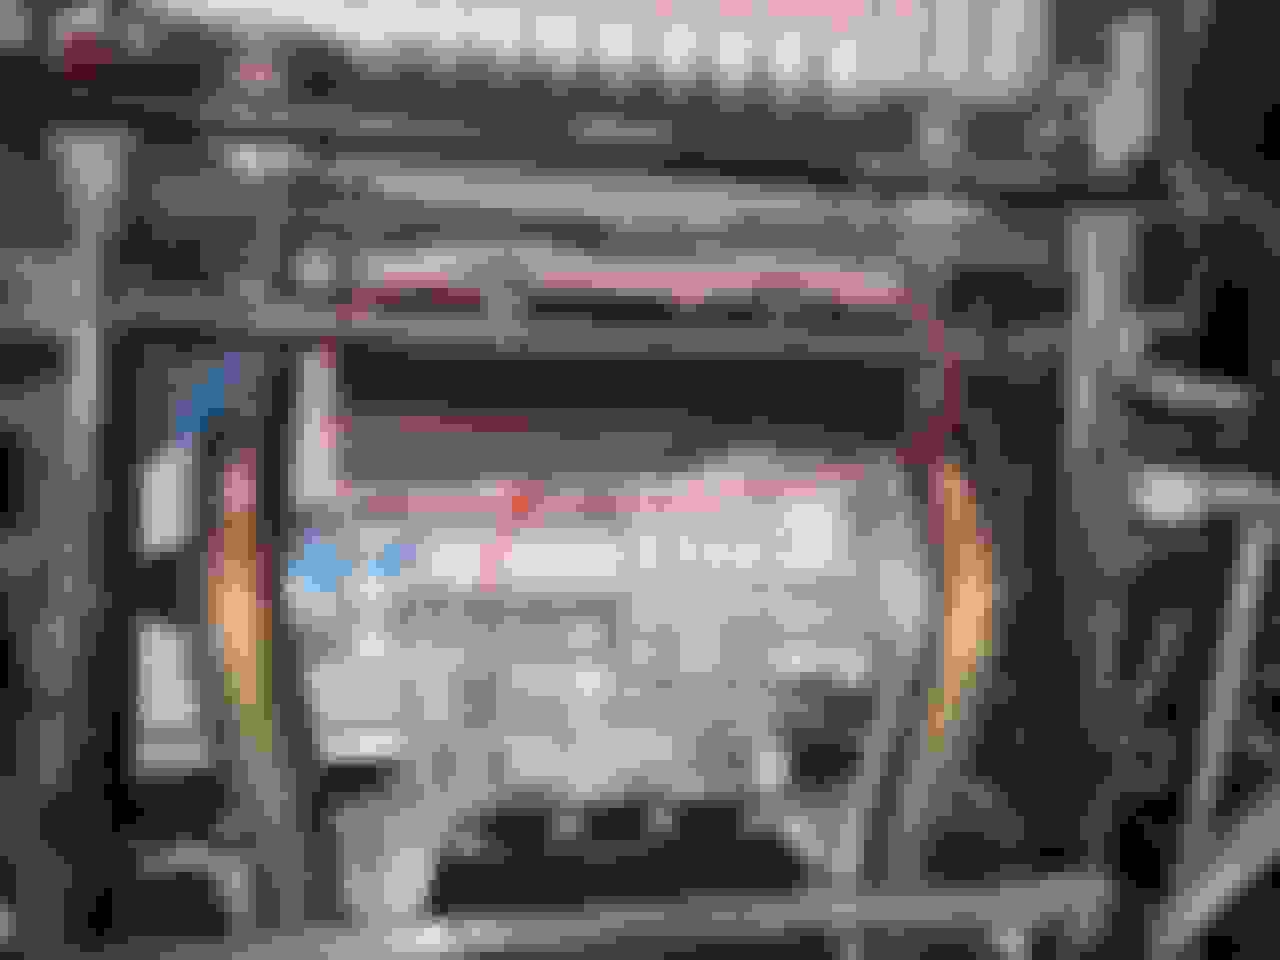
3) Regarding the exhaust pipe heat shield, another difference from previous instructions was that the bolts holding it on were little hex socket screws, not 10mm hex heads as stated by others. Fortunately I was able to get an Allen key in there and they came off quite readily. Sliding the heat shield completely off wasn�t difficult.
Hex socket screws and washers holding on the exhaust heat shield, and a view of the removed shield.
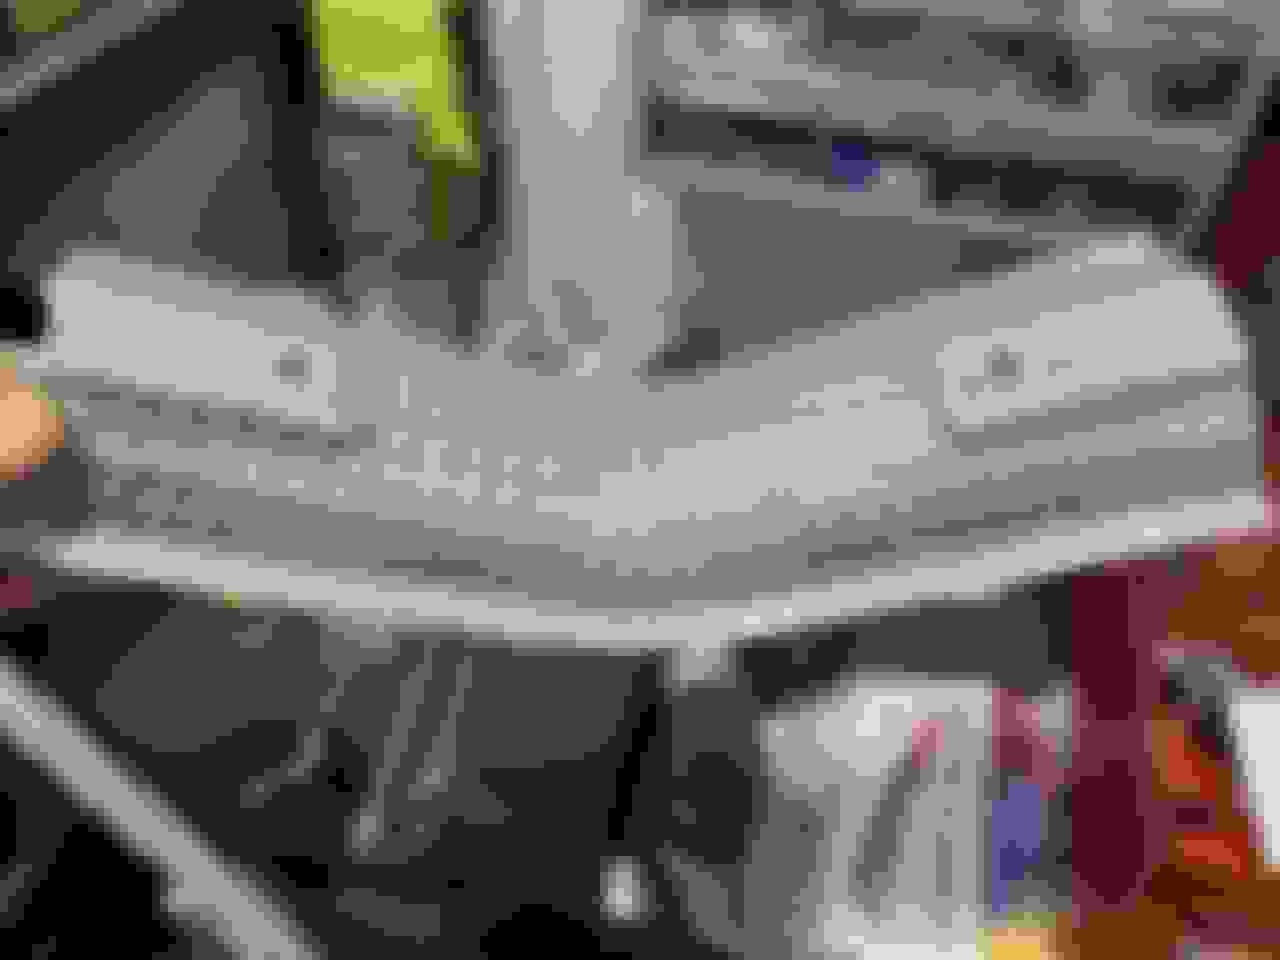
4) The drain and fill plugs were not 14mm Allen and 22mm hex as on previous cars but were both 8mm Allen plugs. Thread size was M18. The drain plug had a magnet. Both plugs had removable aluminum crush washers (M18 x 24 x 1.5) that I replaced. Here is a view of the cleaned up plugs prior to refit.
5) All of the remainder of the process was similar to previous instructions for the DB9.1. Thanks to UltraMarine�s posts I replaced the filter with a new Lamborghini part (cheaper than Aston and identical) and a generic o-ring. The old fluid (only approx 15k miles on the car) was pitch black. There was quite a buildup of ferrous material on the magnetic plug but no discernible metal flakes. I ended up using Valvoline oil - don�t laugh, it�s actually very well reviewed on BITOG (somewhat to my surprise, actually). The squeezable pouch format made it super easy, but even then I had to connect a piece of tubing to the spout due to the inaccessibility of the fill plug. I did not attempt to remove and clean the cooler.
Some additional pictures of these items.
Hope all of this helps someone with a later model DB9!
Great addition to the writeup!! Like you mentioned, yours is a bit different as I have a much simpler, single, undertray to remove, no scoop attached to the cooler and also the same little hex bolt on the heat shield.
The Valvoline gear oil is a great choice! Nice to see a fellow BITOG reader on this AM forum!
Last edited by UltraMarine; 03-17-2024 at 06:07 AM.
"Blue Loctite is a lot more “permanent”.
Actually it's the other way around - Blue is a medium strength removable with torque and Red is a high strength permanent adhesion.
AM might be using a different manufacture with different color codes.
The two wings bolts were definitely more difficult to remove.

 10-15-2023, 09:22 PM