When you click on links to various merchants on this site and make a purchase, this can result in this site earning a commission. Affiliate programs and affiliations include, but are not limited to, the eBay Partner Network.
Aston Martin 2011 V8 vantage navigation screen upgrade
So, like a number of owners I got completely hacked off with the standard navigation screen and system. I wanted to have my iphone usable with the screen, as well as some planned cameras for parking (I have the carbon fiber front grille so didn't want to smash it). I tried one of the Naviks NK-200 units (
https://naviks.com/ag-1179823-vantage.html) but honestly it was toss. The problem was that the OEM screen is such low resolution/quality that it makes the iphone unreadable. There were also limited options for camera inputs.
After thinking about the options I decided the ideal option was to replace the screen with a higher resolution one. I wanted to keep the factory pop-up/down option and I wanted the OEM navigation system to be viewable through it. The reason for both was to keep the car as factory as possible, as well as the following two important points:
The sound must be system-mutable such that any car alerts should mute whatever was coming through my iphone (e.g. music, directions)
The OEM controls for the screen shouldn't be affected, such that I could have the screen up or down exactly as it came from the factory
I then went about sourcing the parts I needed and thought about a few different options. In the end I replaced the entire screen into the OEM housing and had all the functionality I wanted.
I figured I'd share this with the community to show what is possible with a bit of time and bravery!
Video of the unit in action, showing the support for iphone mirroring, the original nav system, and the front camera feed
The final result, showing output from the iphone mirrored to the new screen The new screen as it came from the supplier The screen fitted to the OEM housing The parts of the electronics enclosure, cut on the glowforge The project box with the various electronics The box all put together and ready for installation The electronics box installed on the passenger side, using the fan mount bolt
There is a lot of interest in this mod. We need more information. Screen size, part numbers and manufacturer of said parts, wiring diagrams etc. would be appreciated ( Smile) also would this work on the earlier Volvo navigational systems?
I think three imitations caused me to not update and use the OEM screen for what i wanted...
1. waiting for the screen to rotate and boot up
2. i like nav to be vertical screen orientation
3. too far away for touch screen use so you still need to mount smartphone somewhere convenient.
like OP, I wanted OEM look and 100% reversible.
looking forward to more write up to see how I can look to improve on my own set up.
Thanks for the feedback. Since there is interest I'll pull the various info and pictures together. If there is enough interest I can try to write a how-to document.
Addressing a few comments/questions:
The screen is the same size as the OEM screen. The item I purchased fits "exactly" into the OEM housing without it requiring modification.
When I removed the original screen, I simply removed the screen section with its ribbon cable attached.
Since I went to the trouble to get #1 and #2, above, correct it meant that:
I could put everything back to factory as there were no destructive parts of the build
Since the original electronics are still in the nav head unit, and I'm hijacking the native connections, all the original functionality works including being able to raise/lower the screen. The car isn't aware of any changes since all I've done is removed the screen component.
Hats off to your work done on this! I did a Garmin upgrade 3 years ago on my 2004 DB9 which i'm still content with as of today but this is surely next level. Love to get a copy of the how-too
Regarding the mounting of the iphone: I made a custom holder out of acrylic on my glowforge. It sits into the central recess in the center area that I guess is intended for knick-knacks. It's angled so that I can see it easily if I don't want to look at the main screen in the dash (or I have glare on the screen when the sun is low).
Hopefully the photos make sense!
The custom iphone holder in the central knick-knack recess The custom iphone holder on the bench The custom iphone holder on the bench
"How do you switch the inputs? I can't identify that in the video."
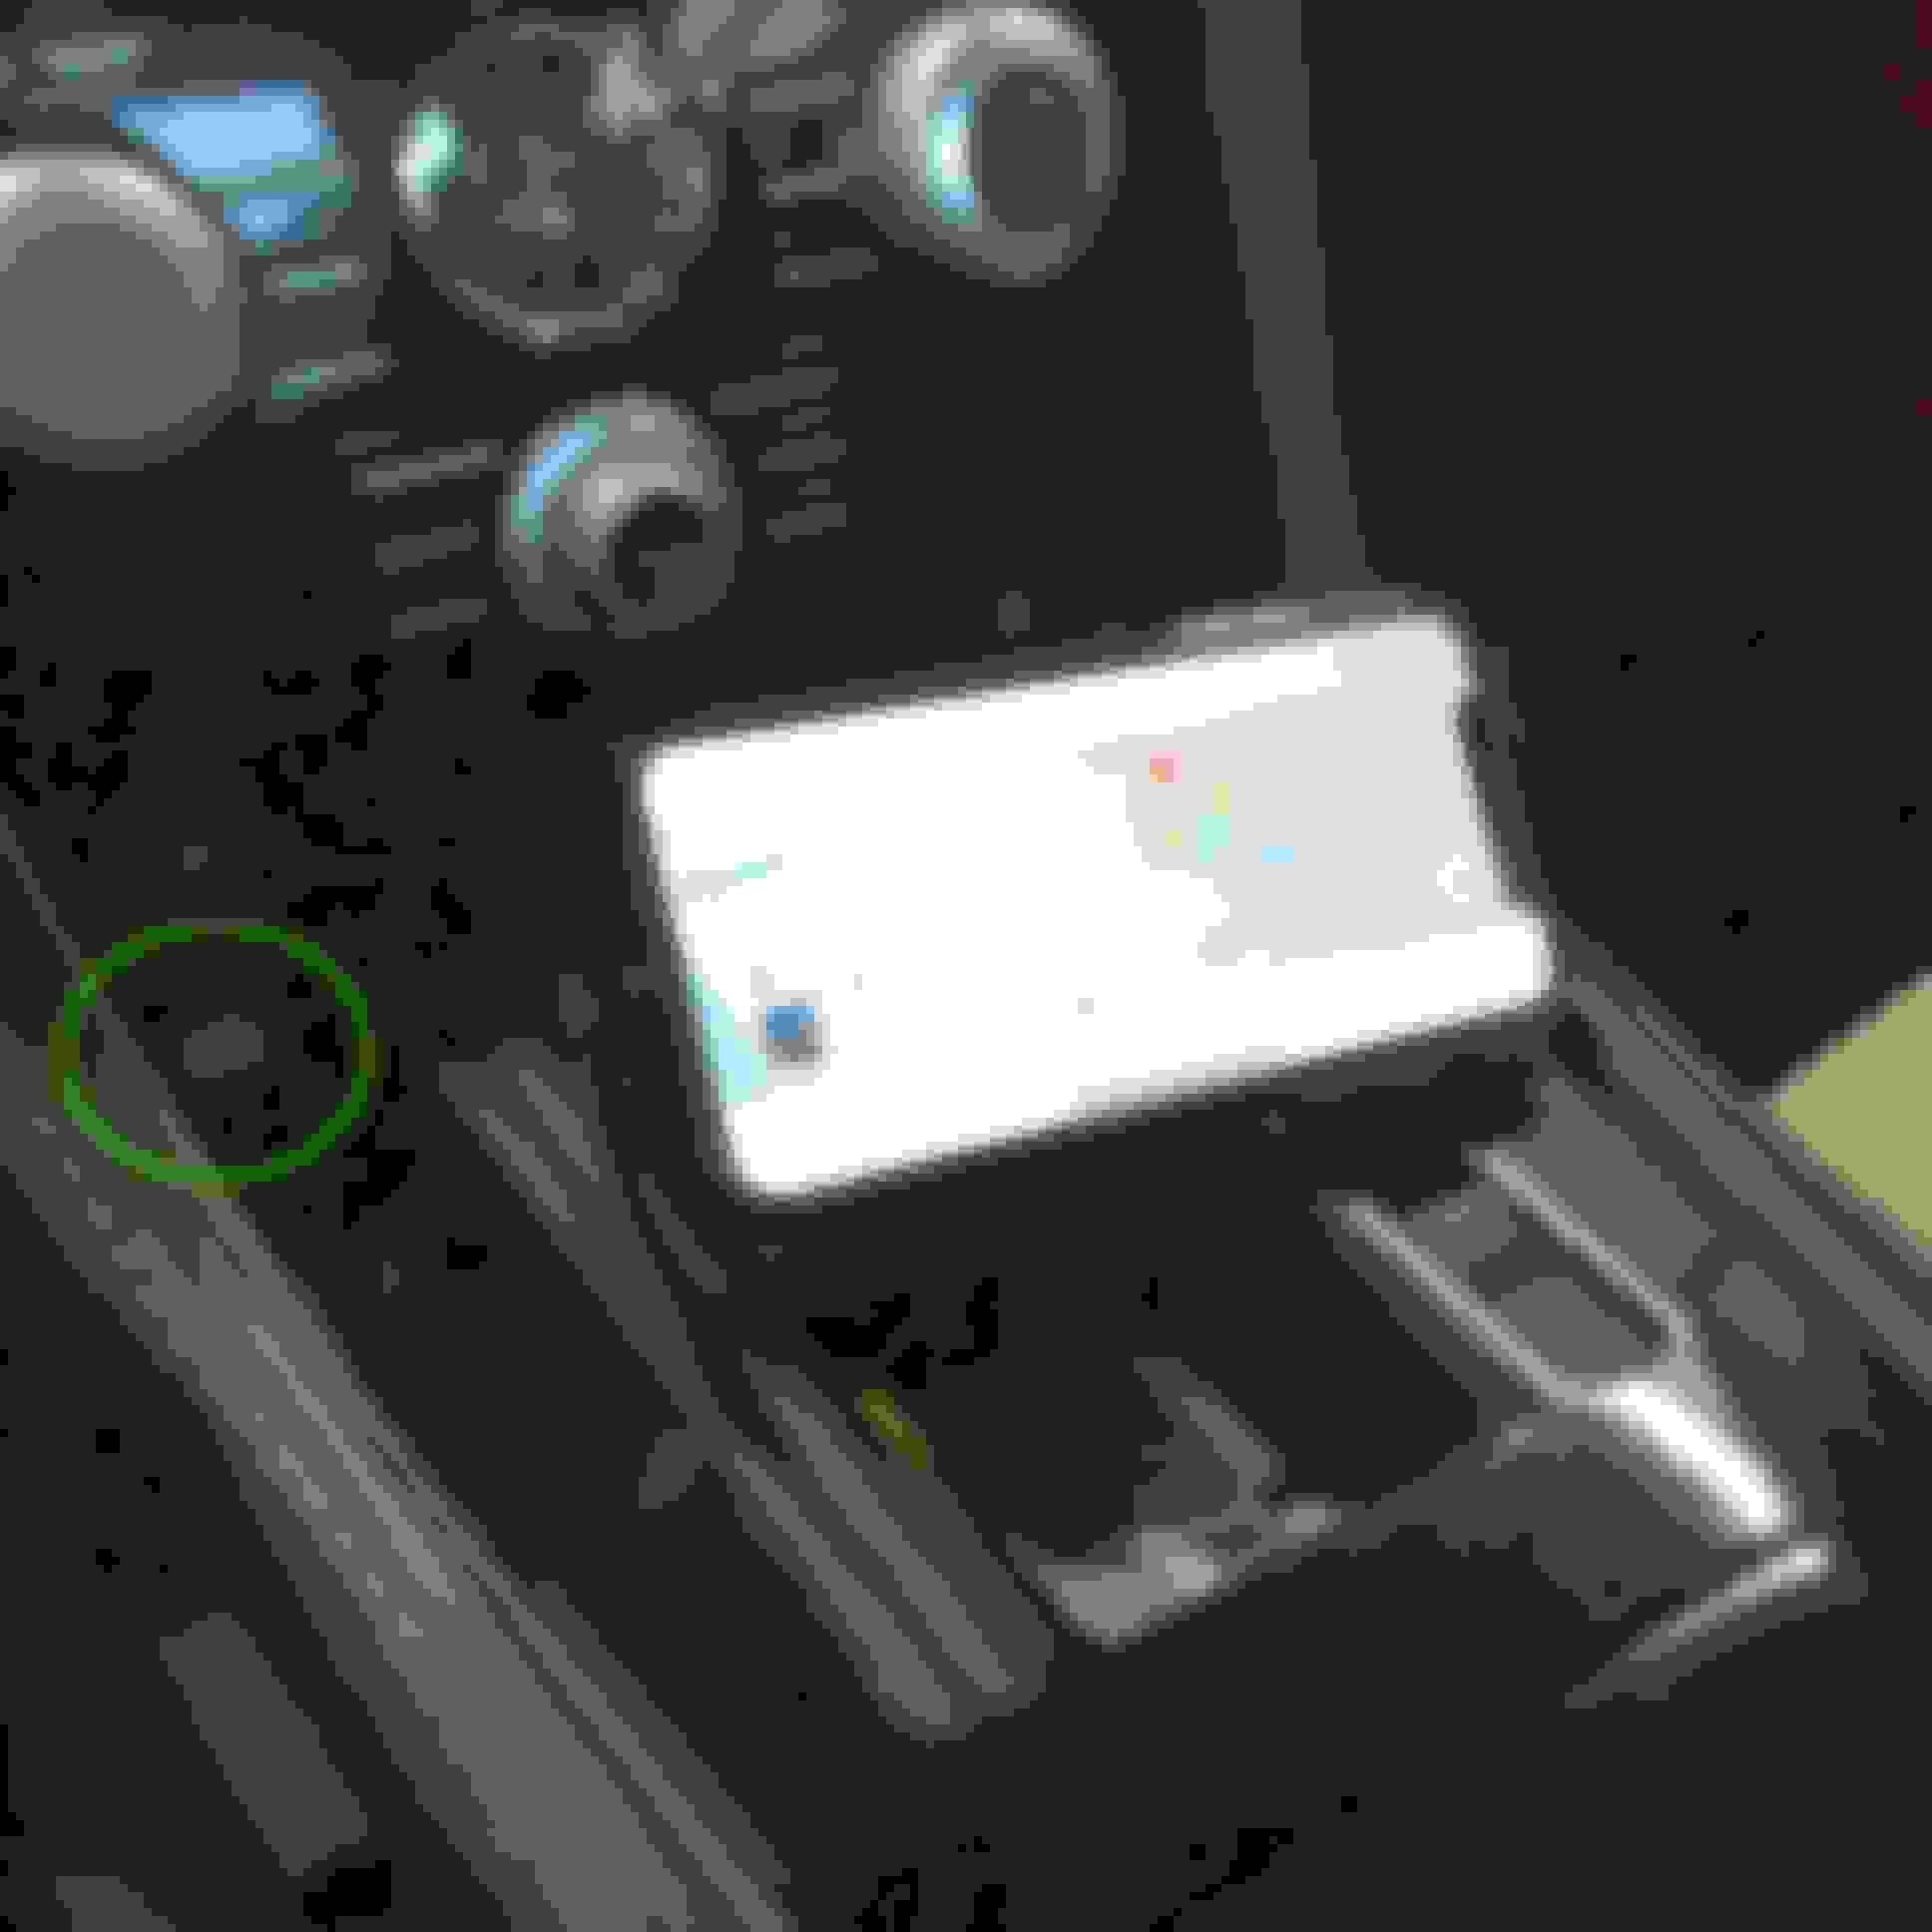
Good question about the way to cycle inputs. I put a single, small, button indicated in the photo with the green circle. Its location means I didn't have to drill any holes (cable slips between two panels) and doesn't get in the way of the other functions or the iphone. I would have fitted a small aluminum button but I couldn't find where to source one and painting something silver would have looked shoddy. Now you know where to look you should see it under my fleshy digit ;-)
Button to cycle through the inputs to the new nav screen
Some seriously cool work. Like how you even made your own box for the parts. It looks like there's the control board for the screen attached to the back of it and then you needed a separate box with circuitry to switch the inputs? A DIY with parts lists and schematics would be great. I'm guessing if you were so inclined you could make some money putting together kits and selling them.
"How do you switch the inputs? I can't identify that in the video"
I added a small momentary push button that sits just next to the central dash, with the feed wire coming up between the two separate sections. Again, I wanted this install to be non-destructive so no holes were required. You can see it in the photo, circled in green. This should help you locate it in the video, under my pasty fingers ;-)
Button to cycle through inputs, placed in easy to reach but inconspicuous location.
"looks like there's the control board for the screen attached to the back of it and then you needed a separate box with circuitry to switch the inputs?"
Partially correct, the control board fits behind the screen but still within the OEM housing. The switching is actually done from the monitor's own control board since that's cleaner than yet another source box and required fewer parts (trust me, I tried the more complex alternative!).
As soon as I get enough time to sit down and pull all the info, including links and prices, I'll get this written up.


 09-01-2019 | 09:12 PM