When you click on links to various merchants on this site and make a purchase, this can result in this site earning a commission. Affiliate programs and affiliations include, but are not limited to, the eBay Partner Network.
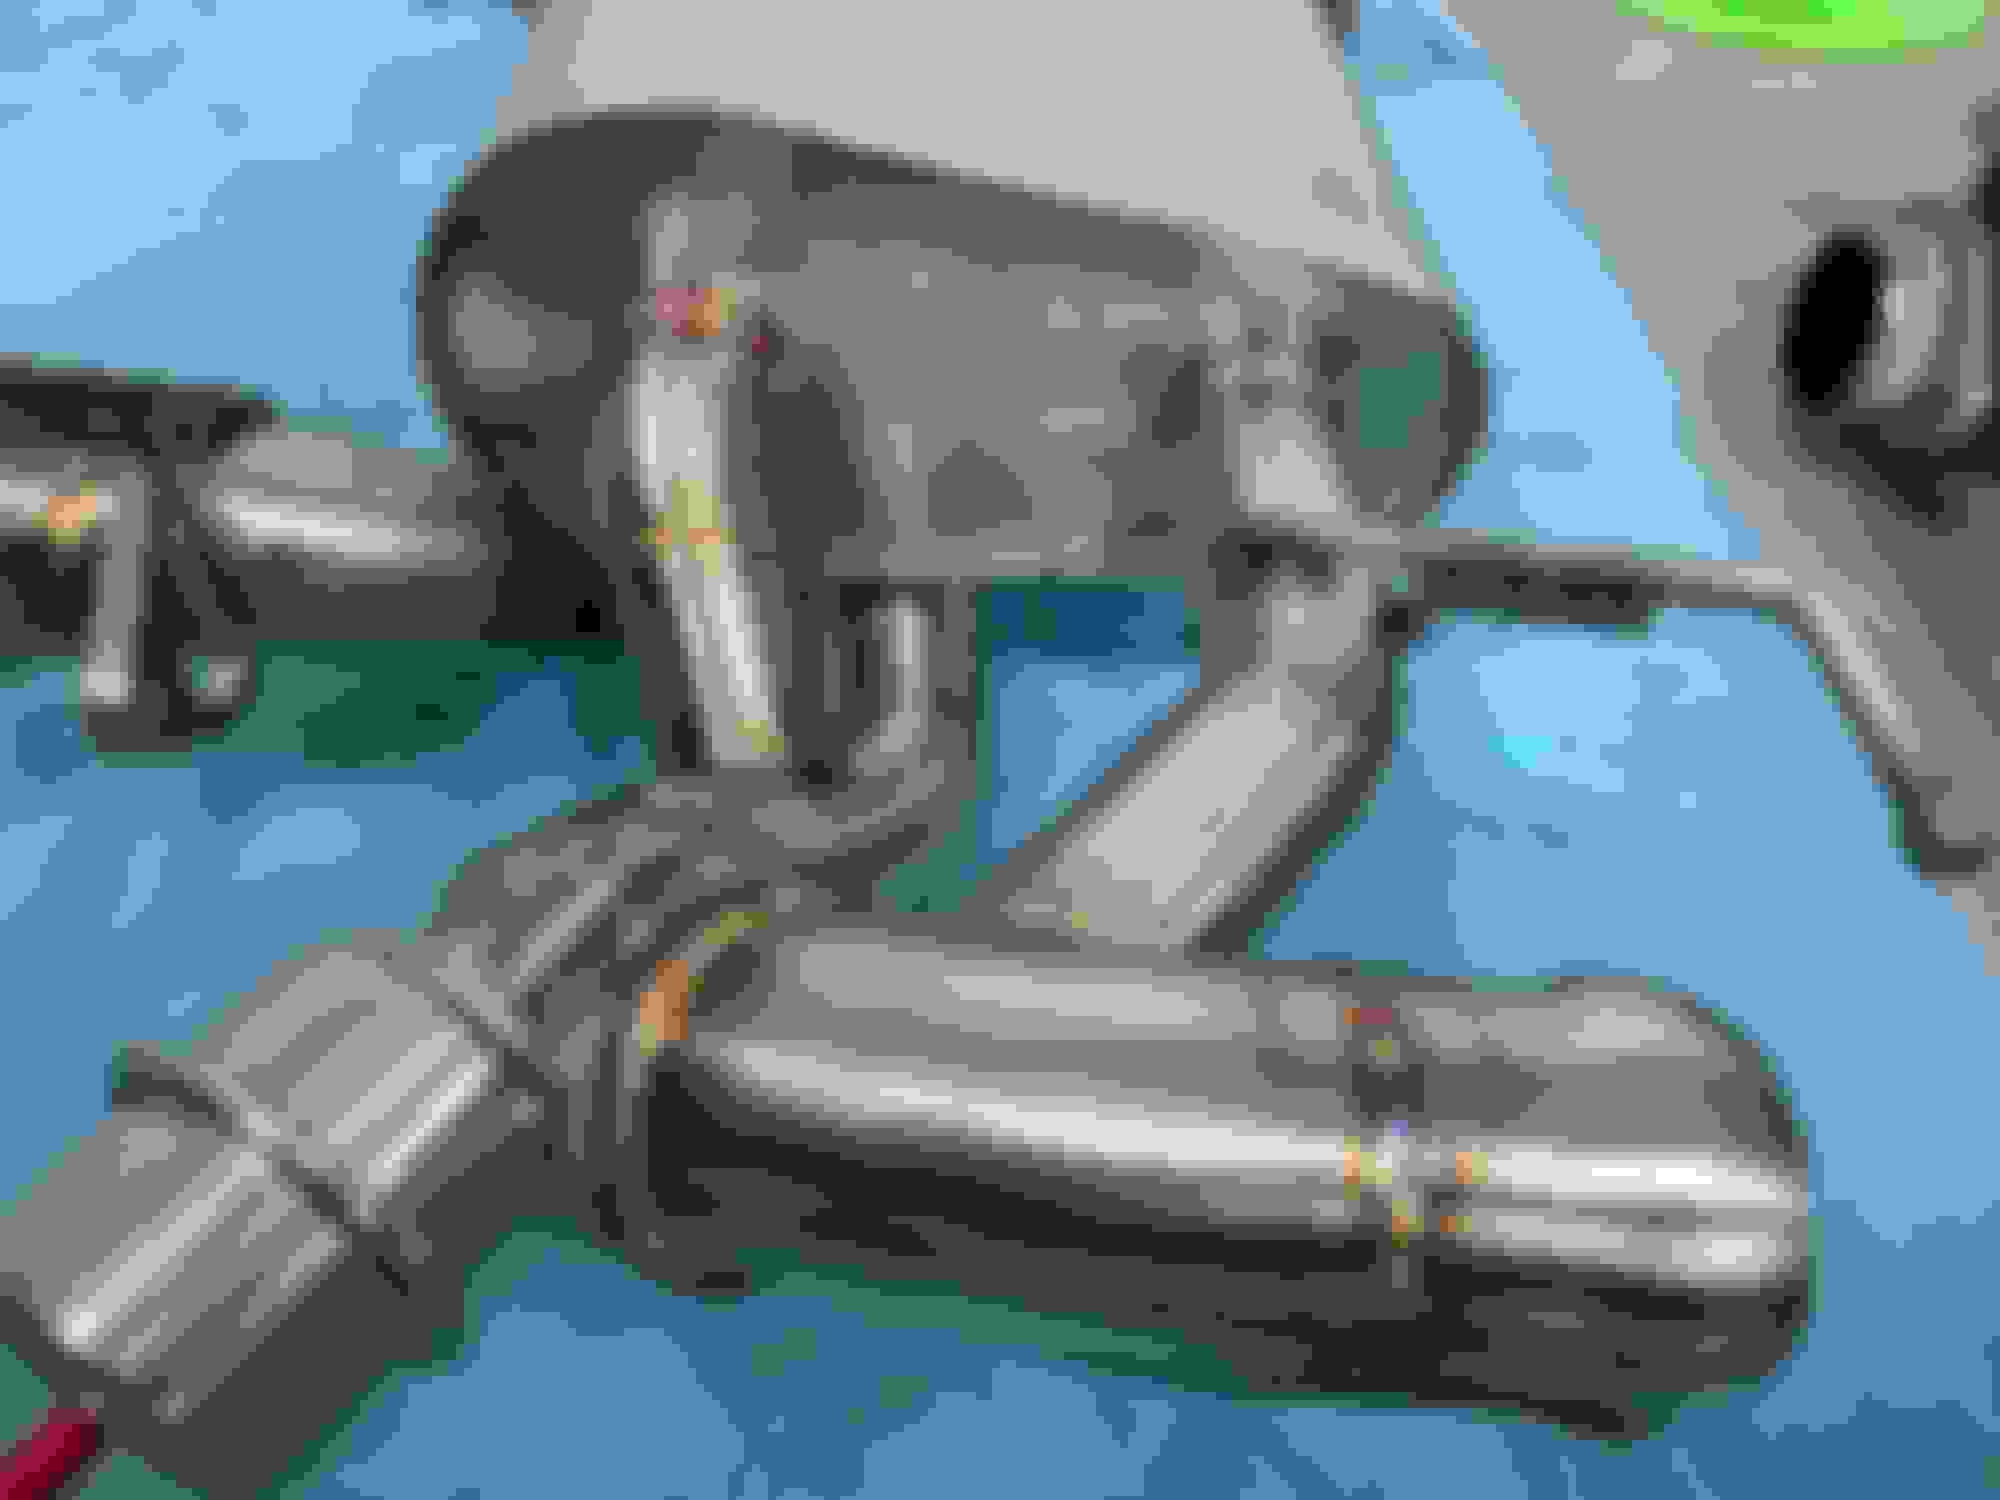
Major springtime project in the works on my 2007 DB9 6spd manual. Last year I replaced the plugs and coils. Now I'm proactively replacing the headers/primary cats with Velocity AP ceramic coated headers, 200 cell racing cats and a new stainless valvetronic exhaust. While I'm in there I'm going to tackle a timing cover leak.
Over the weekend I removed the underbody panels, removed the Fabspeed X-Pipe, removed the stock exhaust. I also got all 4 fender liners out. Next steps are to support the motor and remove the subframe to have access to the headers and then the fun begins.
After the exhaust work, I'll be tackling the timing leak. All the parts are in expect for the new thermostat and seal. Since I'm this deep into it, I'm kicking around replacing the coilovers as well. Has anyone replaced their coilovers, and if so what product did you use??
1st minor stumbling block......when attempting to remove the short end pipes from the stock exhaust, both bolts for the clamps are rusted considerably to the point that I'll have to cut one off. That is something that VAP (or any other Mfr.) should either include or recommend that you order/replace. .
I will say that this exhaust is a work of art! Well done VelocityAP!
Things are progressing slowly. Got the exhaust installed, however the OEM vacuum lines are too short to connect to the new valves. More parts to order.
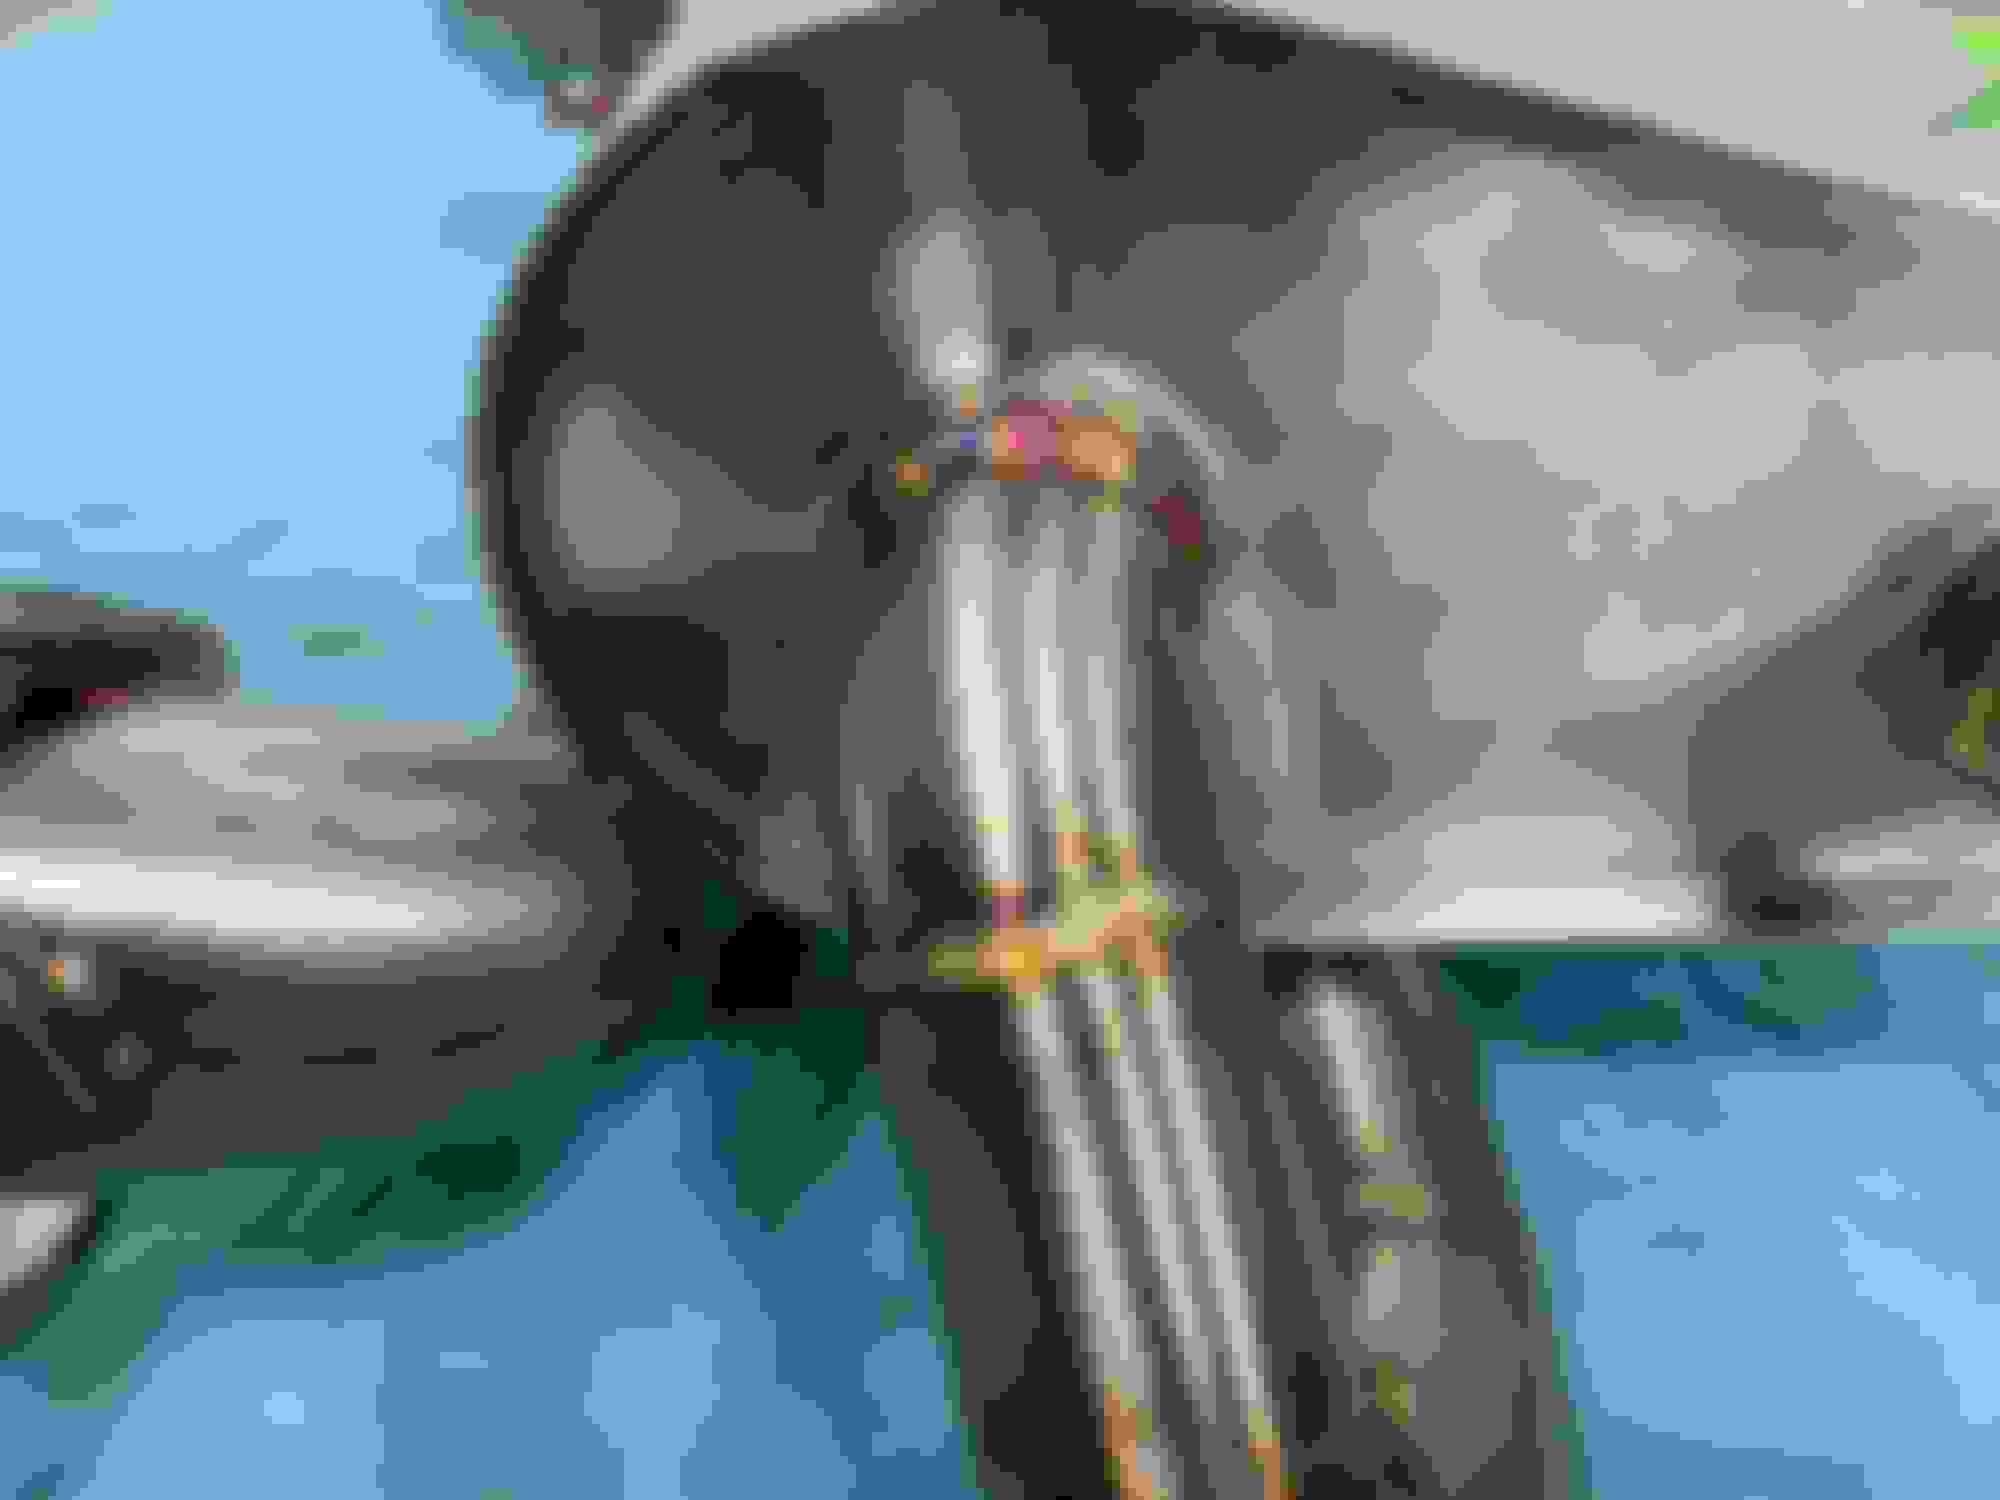
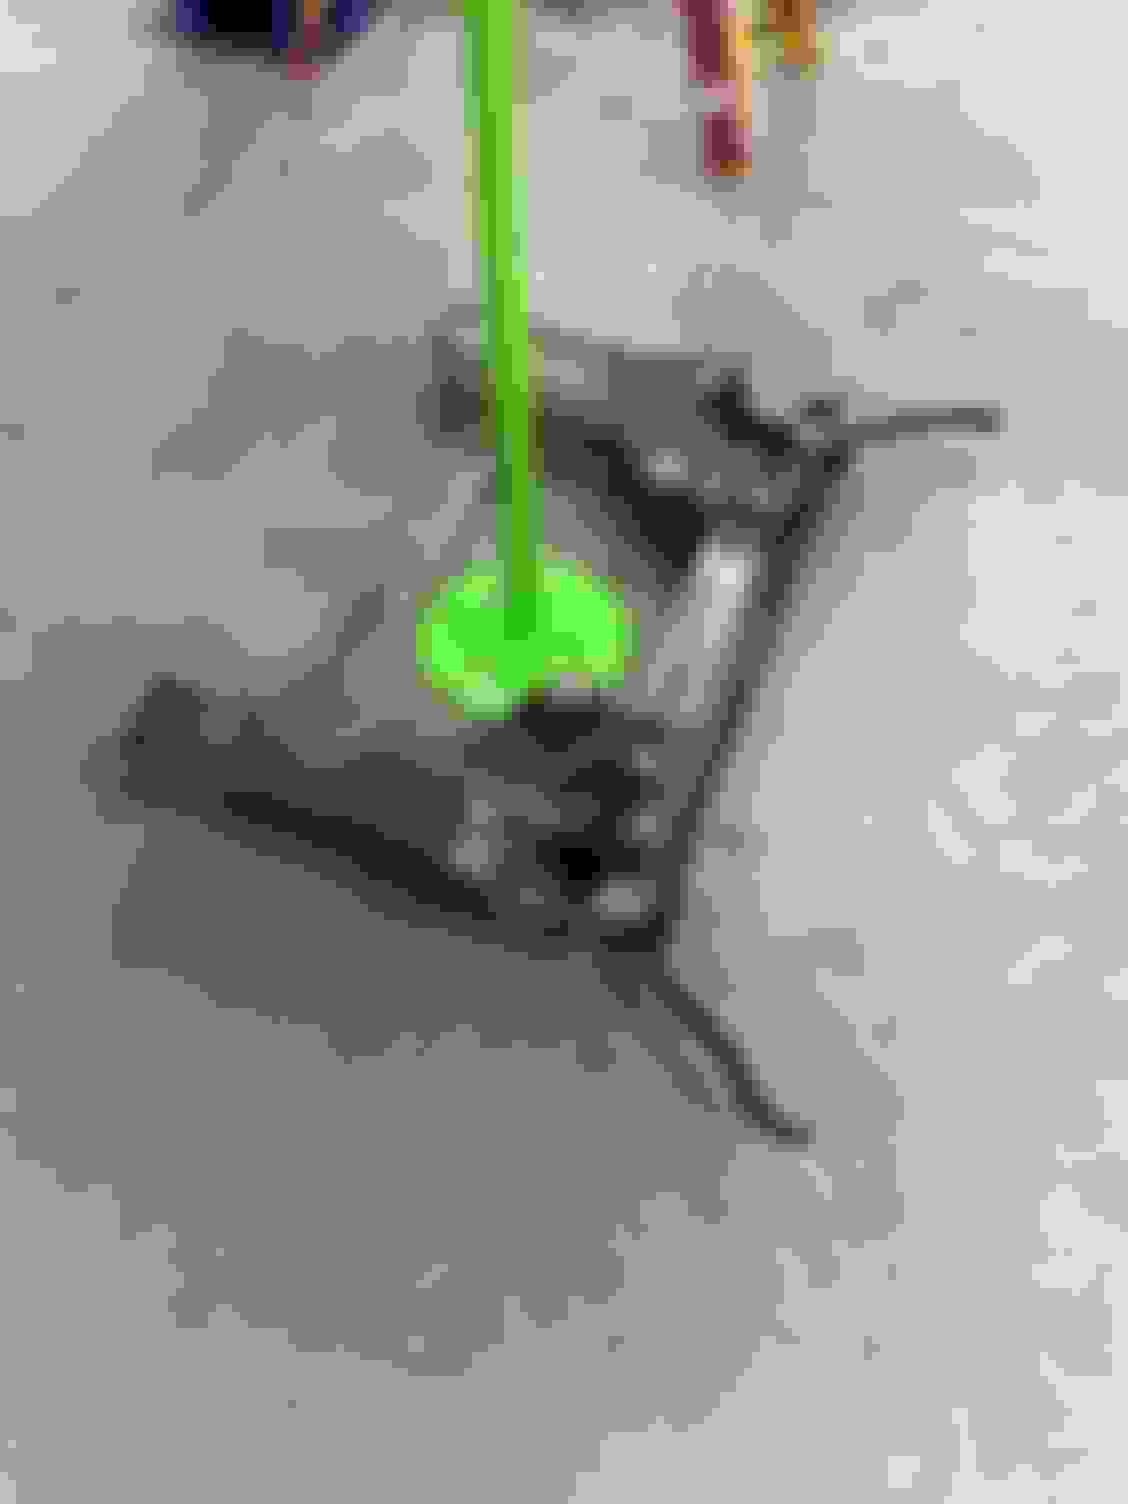
Tried to connect my spring compressors tonight only to find that the threaded rods are too long. Have to get some washers tomorrow and will reconnect. Once the tension on the springs are removed then I'll support the engine and remove the
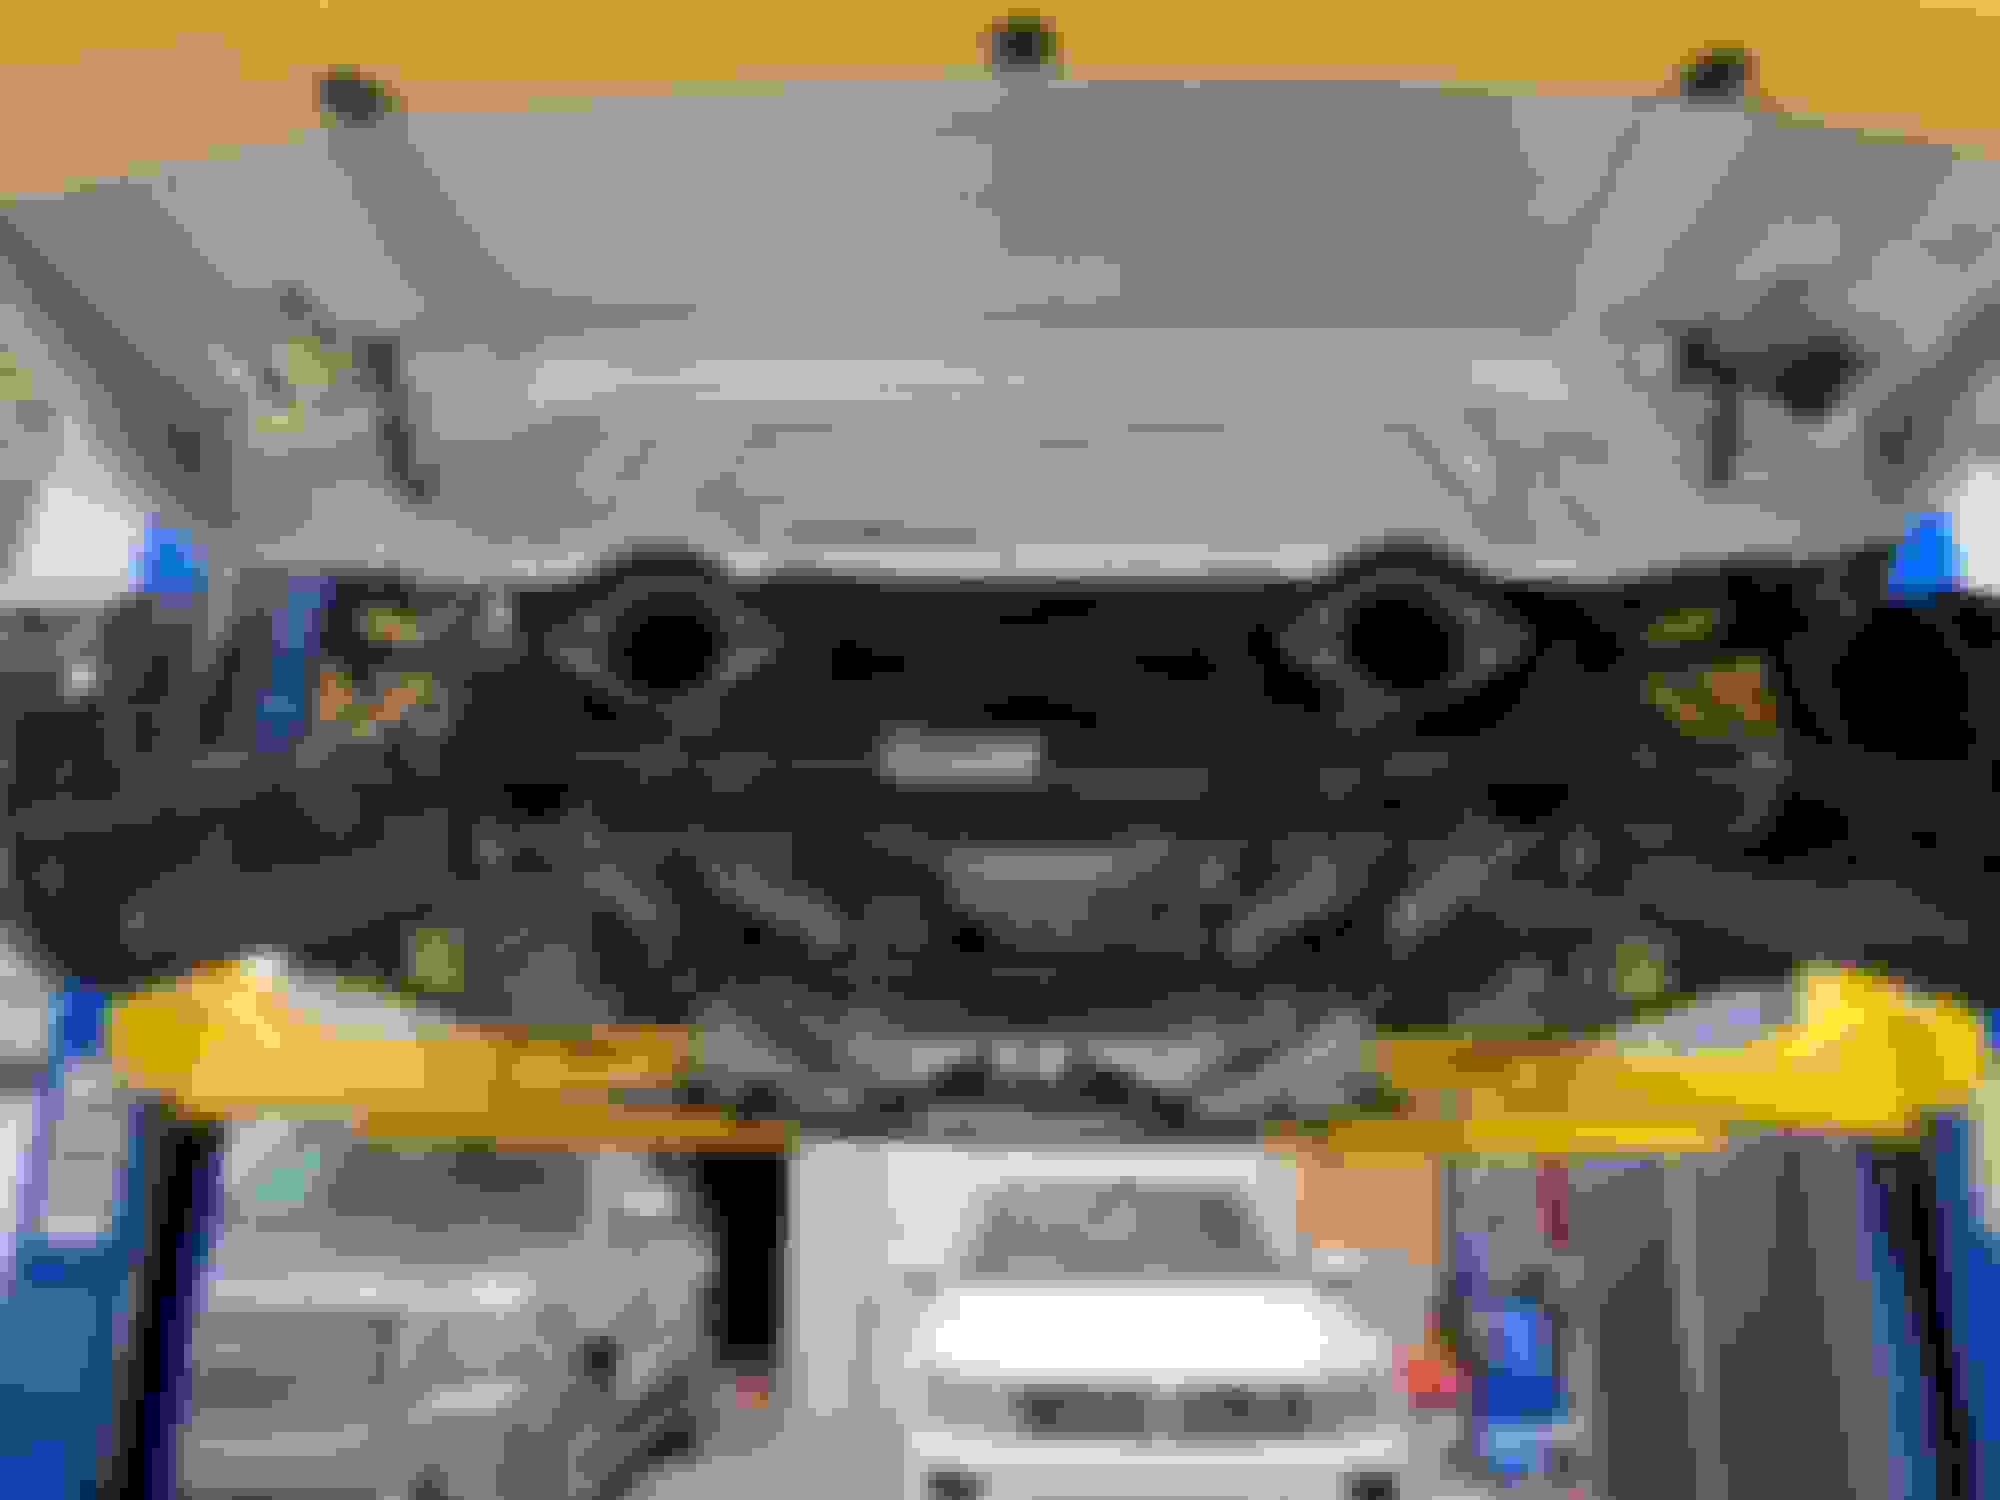
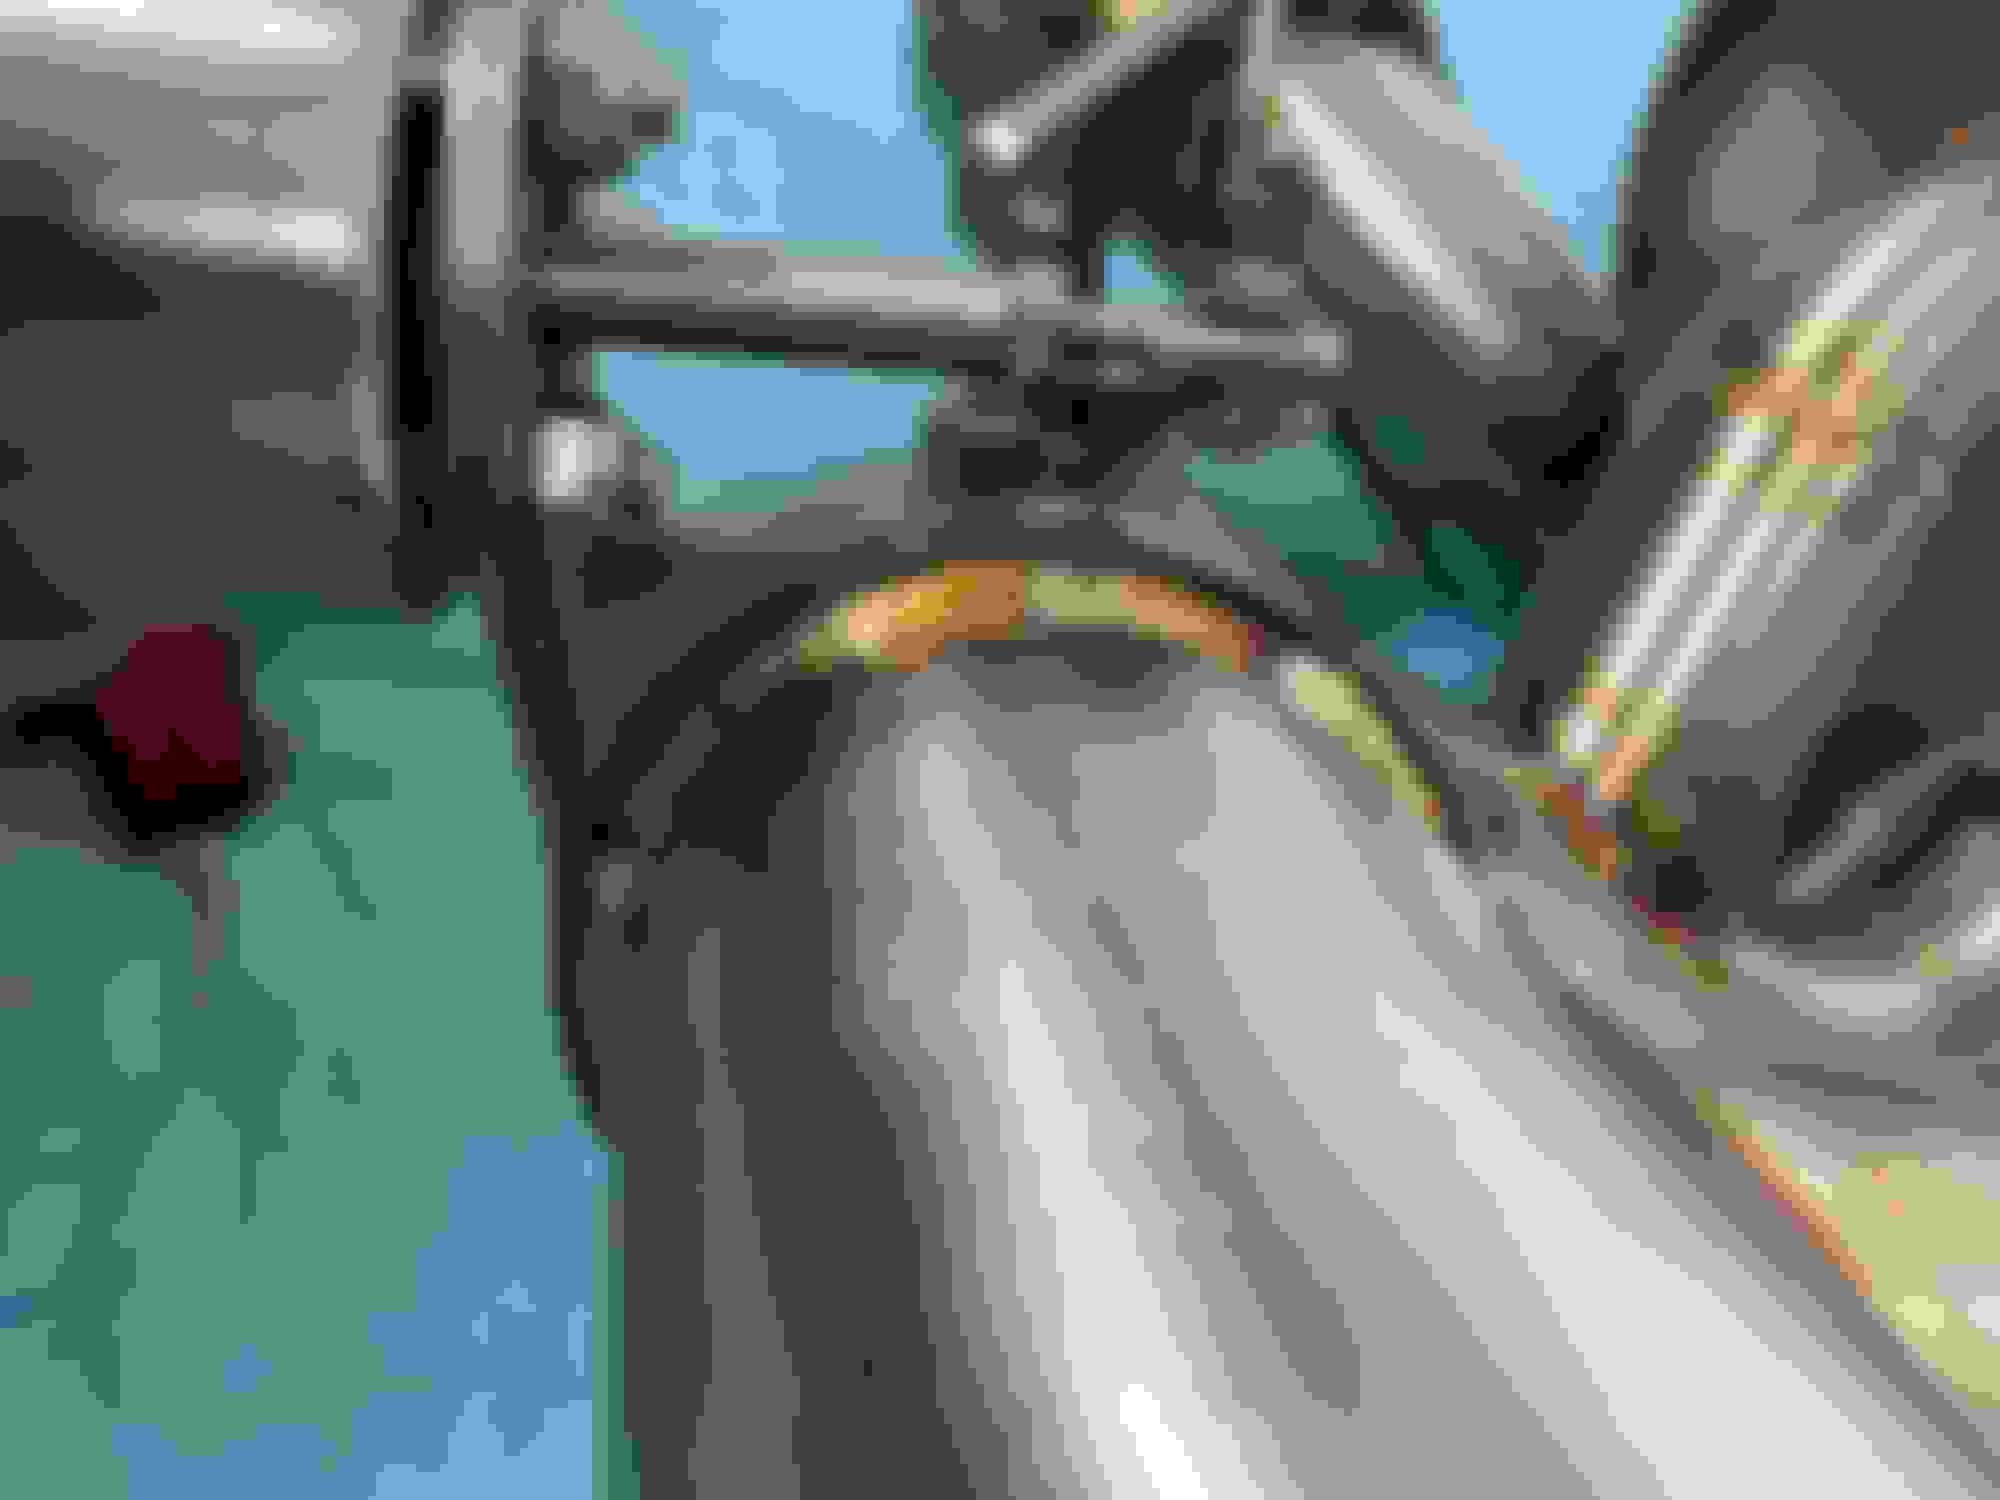
Continuing to make slow progress. Got the lower control arms removed from the subframe. Subframe bolts are coming out, although one of the bolts on the drivers side has a topside nut that I cant seem to reach/see. This is going to be very tricky to loosen/re-tighten. That will be my project tomorrow as well as getting the subframe out of the car. in the meantime, here are some pics to enjoy....
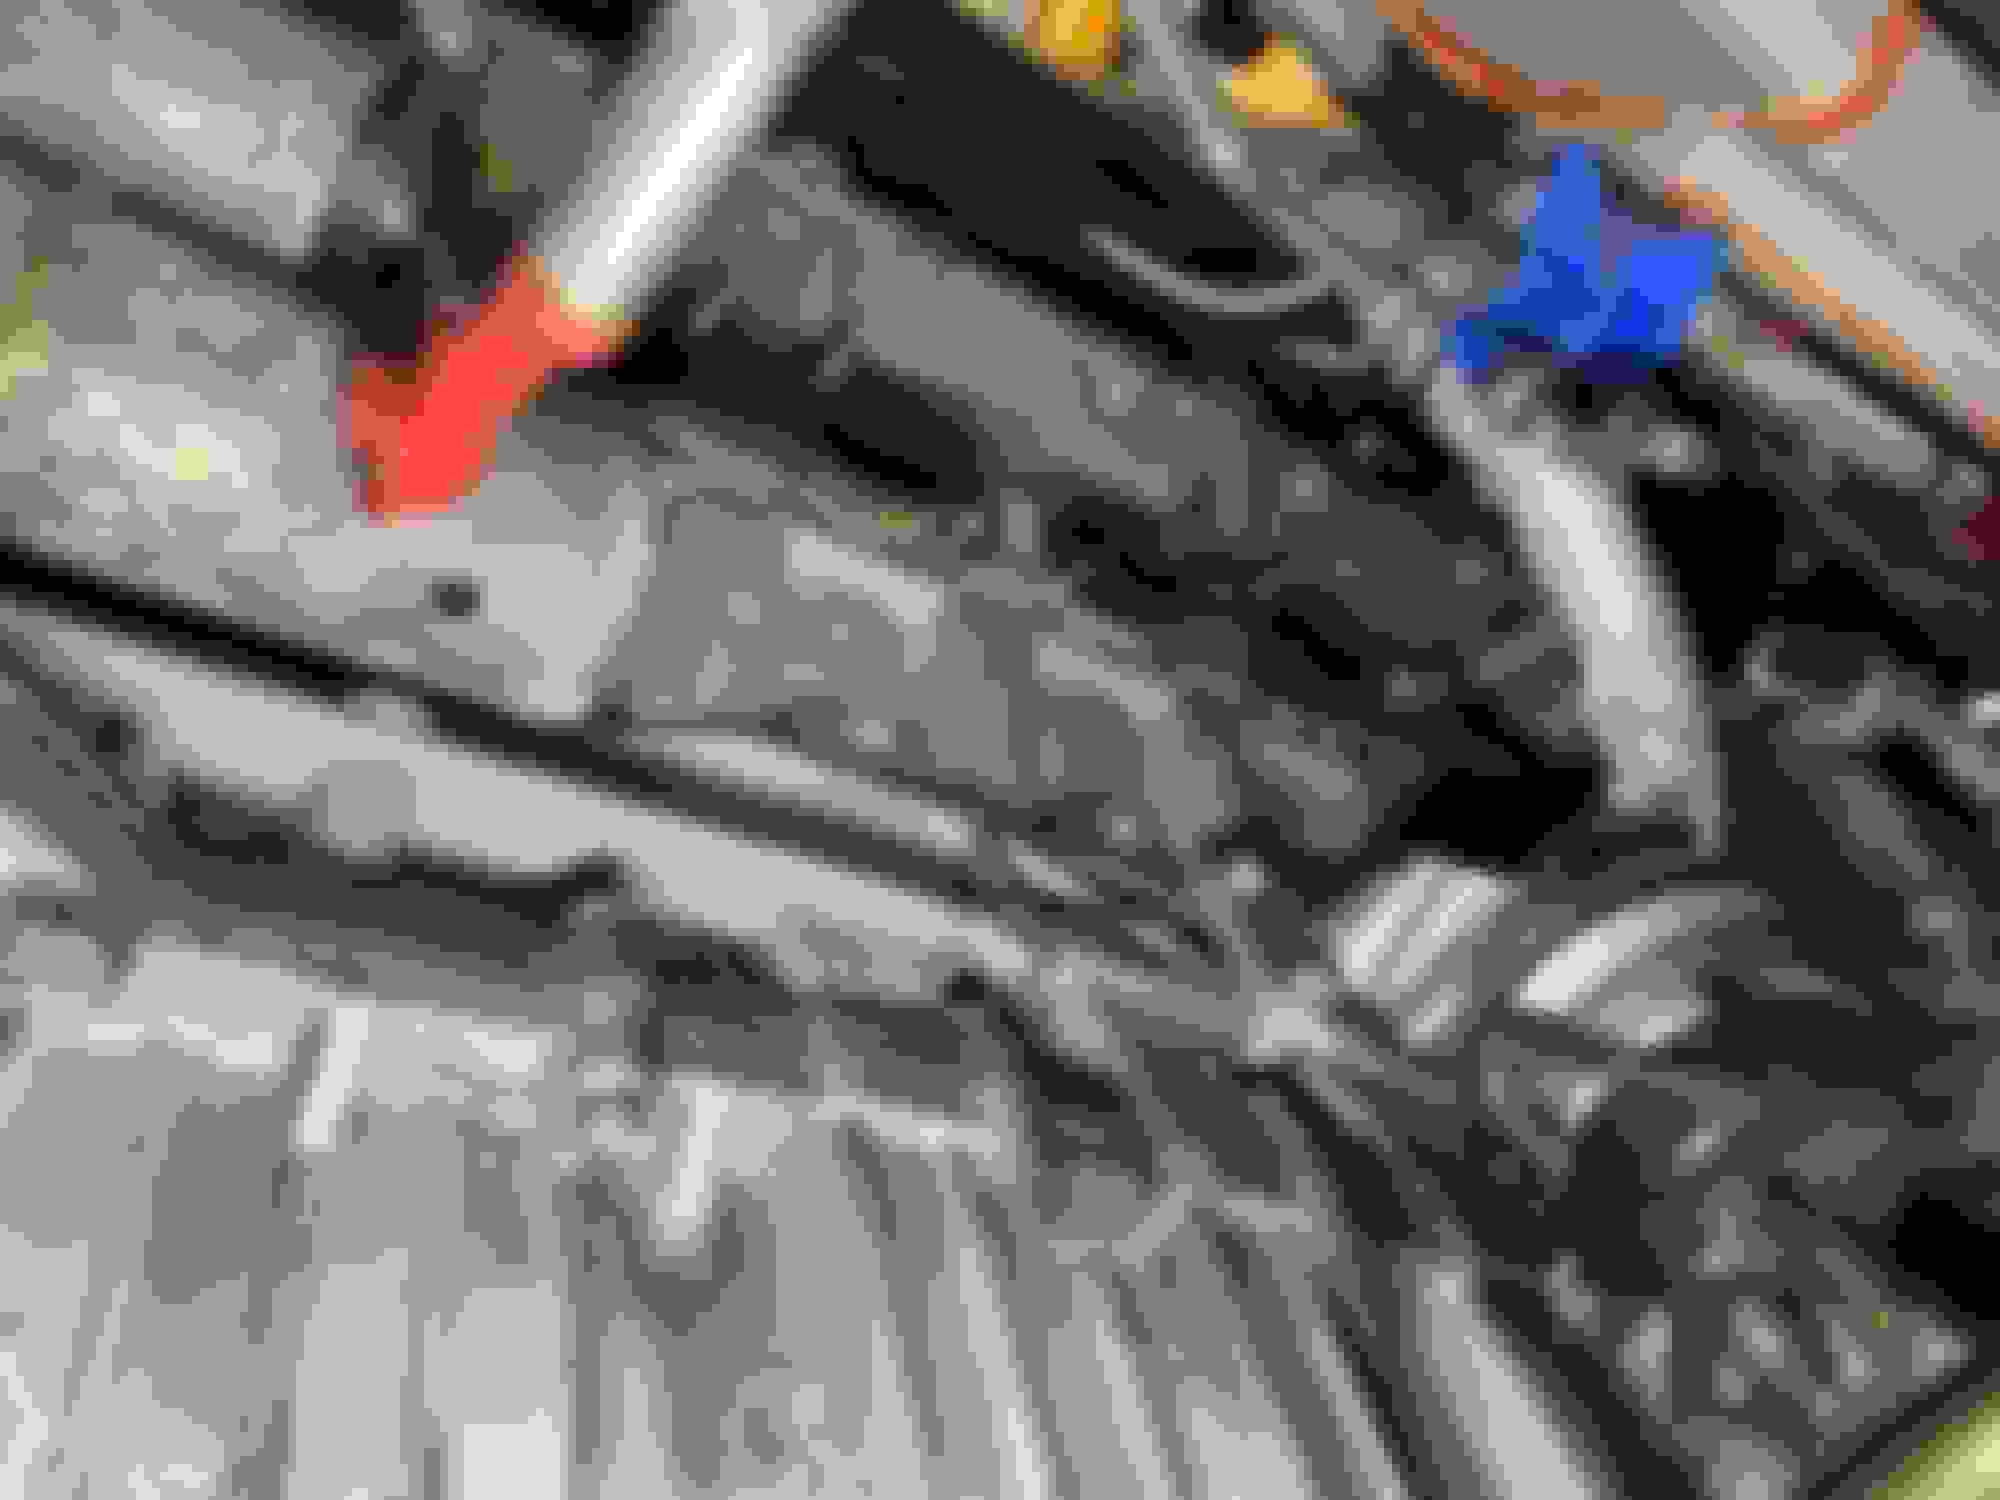
Things got real tonight. Dropped the subframe to the floor and began removing the header nuts/studs. A couple of notes.....
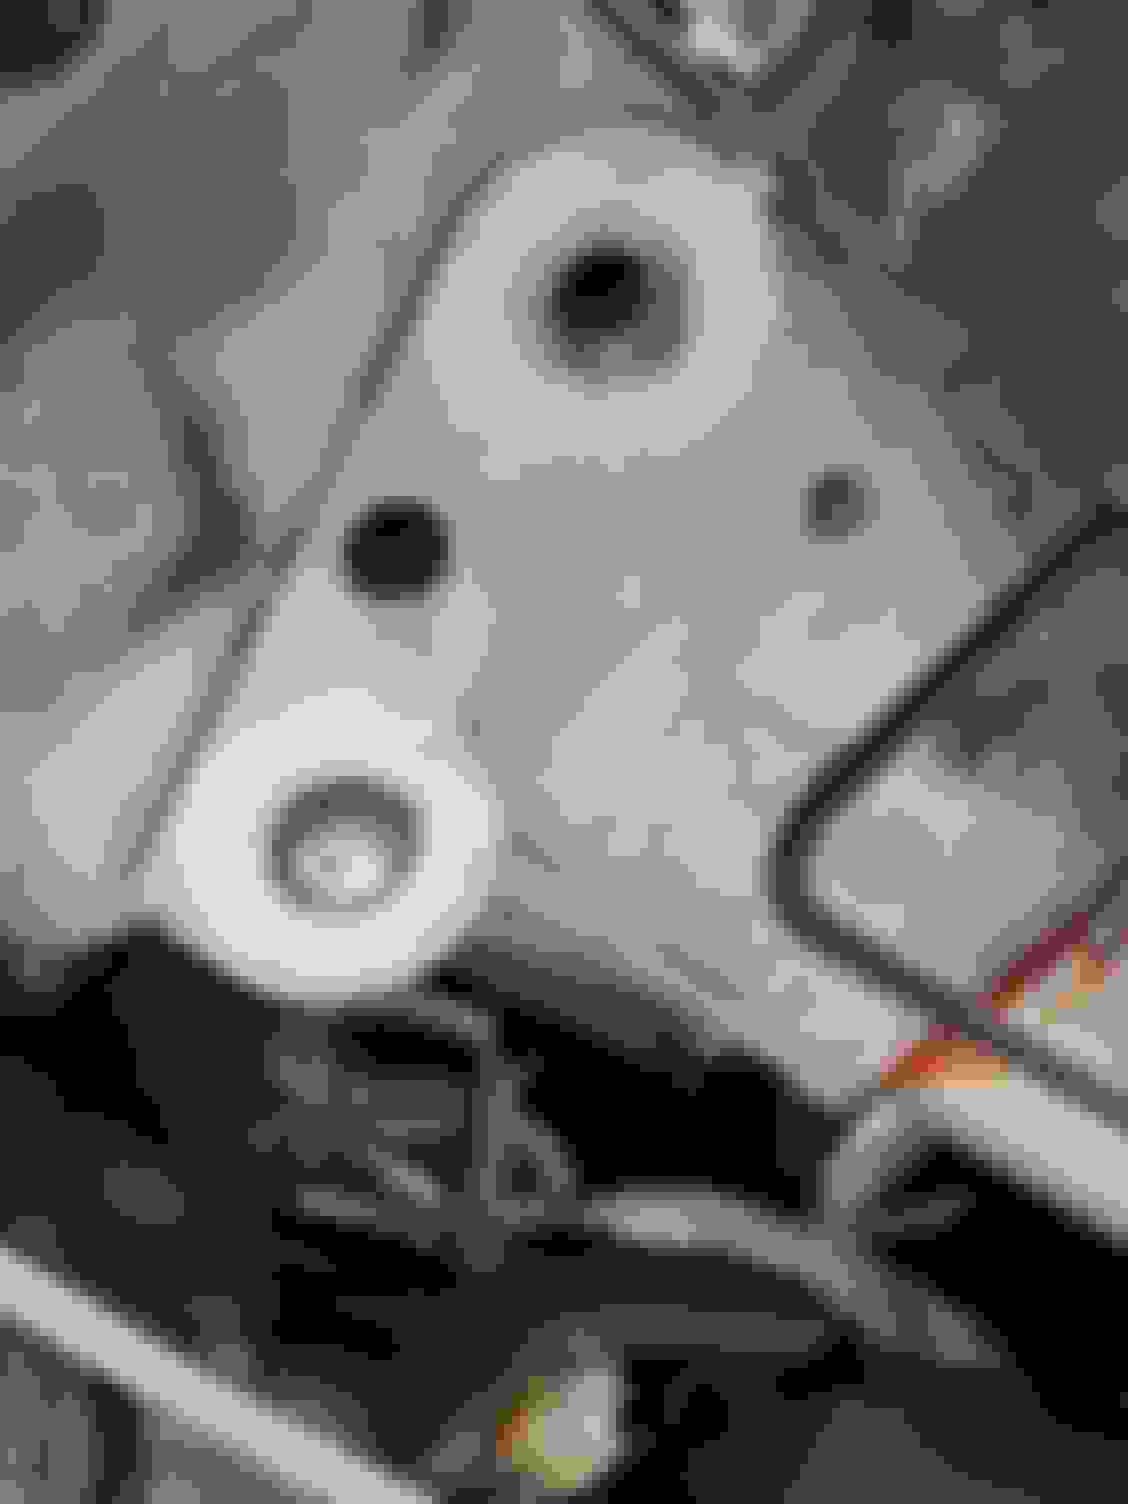
This project is not for the faint of heart. It is a VERY tight space to work in and nothing is easy to get to. One of the header nuts took over an hour to remove and 2 of the bolts that run up into the frame snapped off. I'll be drilling that out later. Tonight I got all but 1 of the nuts/studs out on the right hand side of the car. The one at the very front is all but impossible to get to. I'll figure it out tomorrow after I've slept.
I began working on the other side where most of the exhaust is easy to get to, however one of the 02 sensors does not want to come out. I put some penetrating oil on it and I"ll work on it tomorrow.
Wow......Very disappointed about seeing the broken bolts/corrosion. Some of the bolts that I used to get out in the past would make me cringe if I had to try it today. Heat and pen oil are your friend.
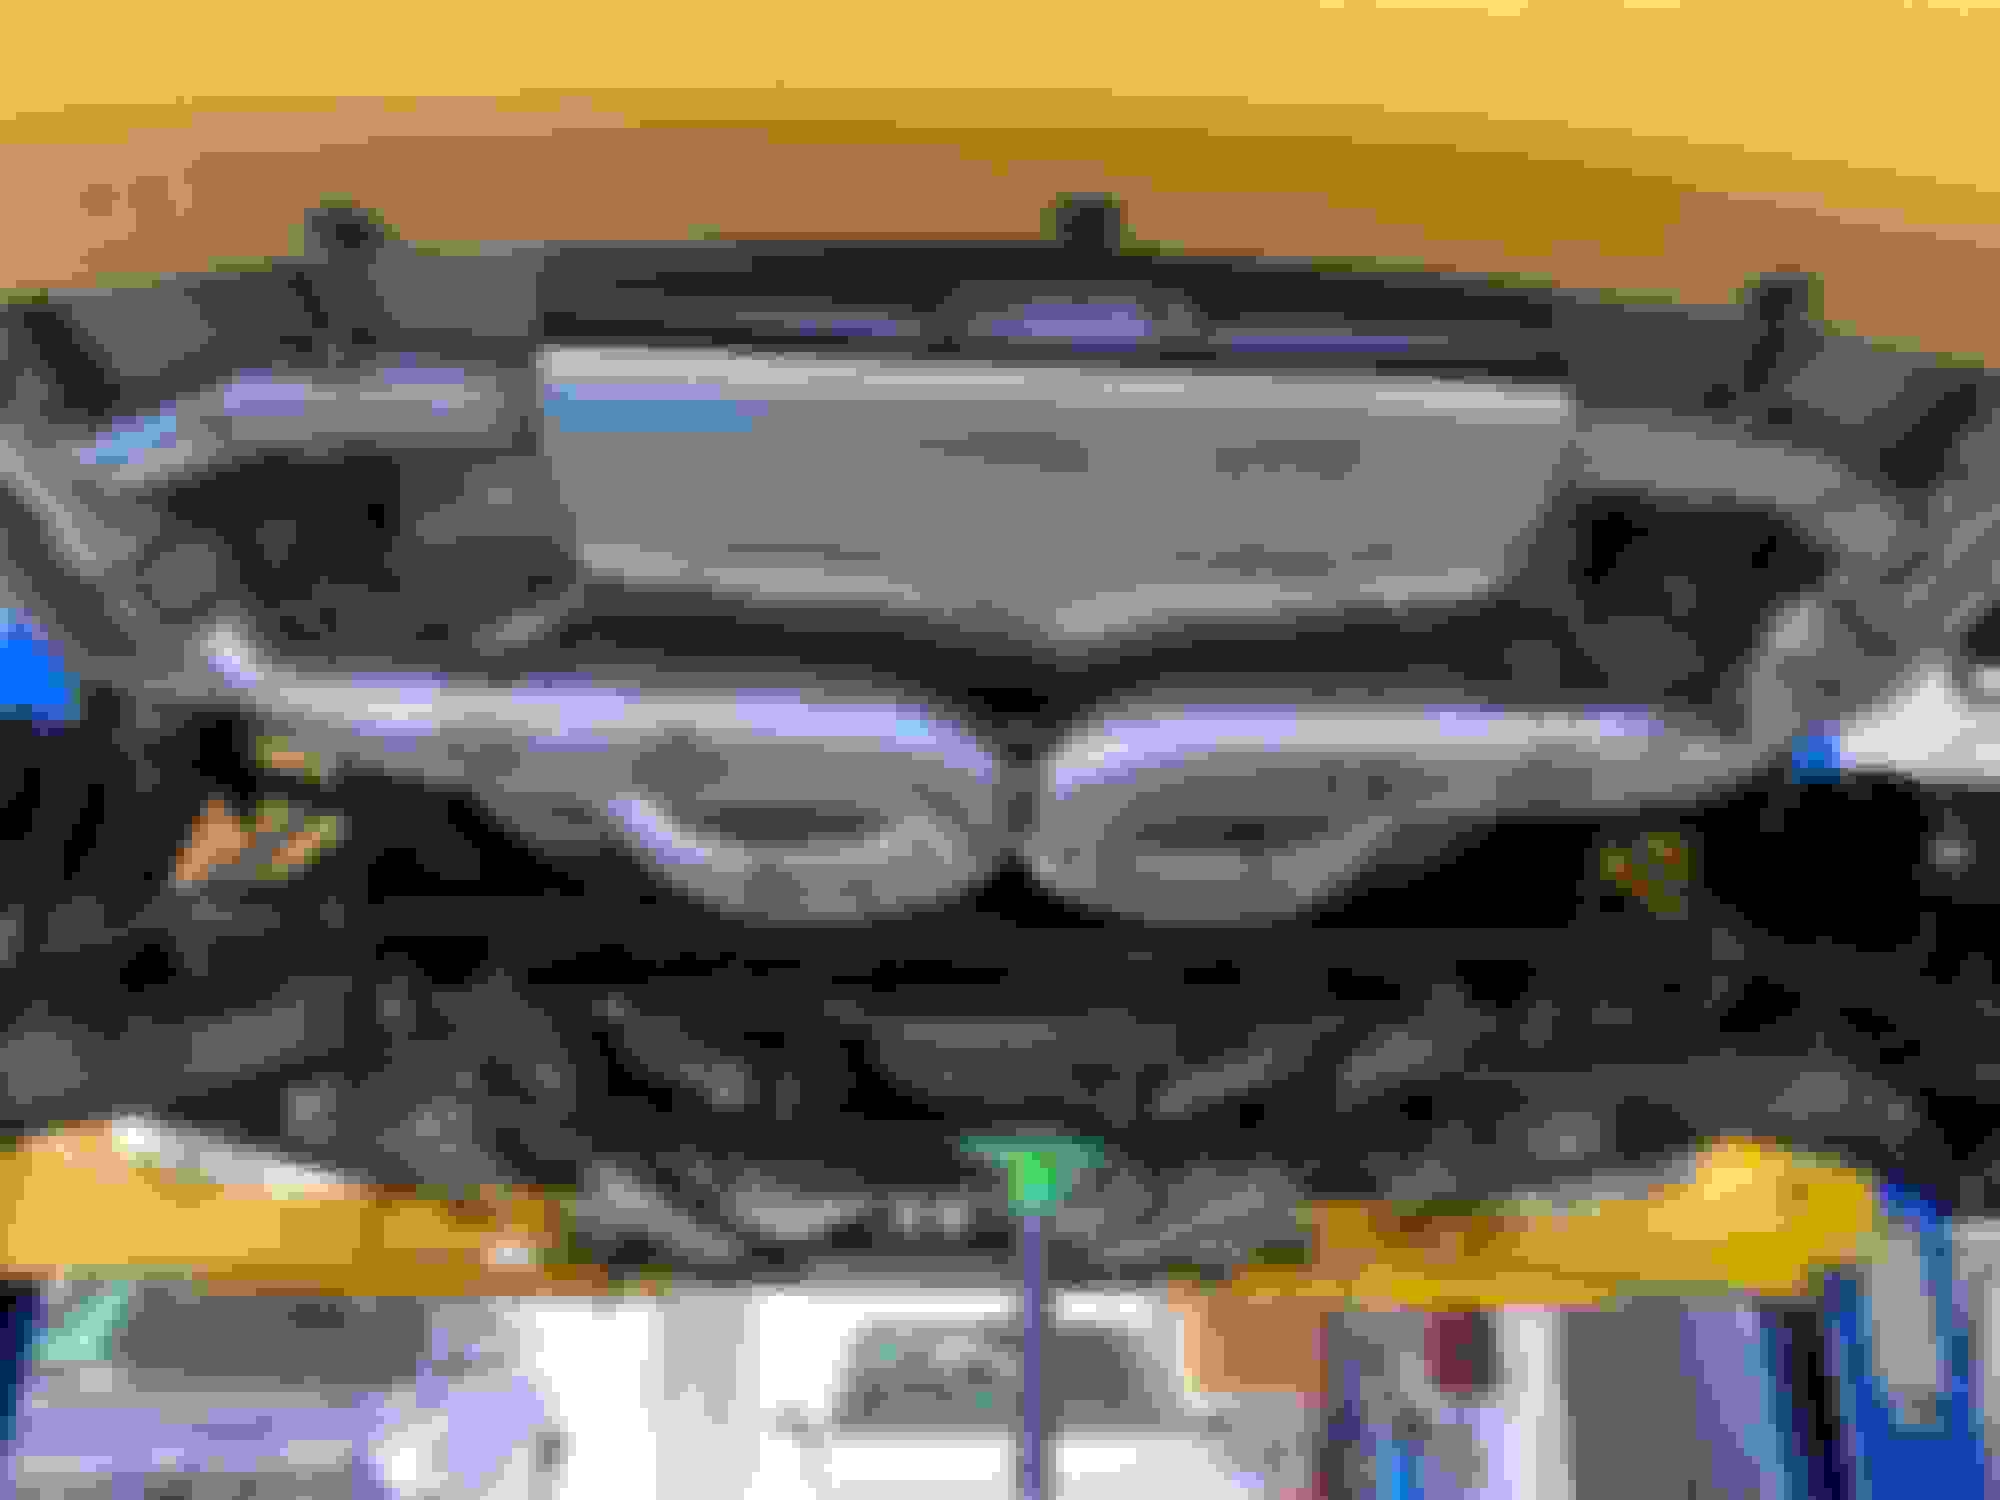
Progress is continuing albeit, slower than I'd like. Was sick Saturday so my planned 8hrs of working on the car did not pan out. I did get 4 in this AM and FINALLY got the right side header out. 5 of the 12 header nuts were very tricky. You'll need a combination of 1/4" extensions and 3/8" extensions with 13mm socket. 2 of the nuts got slightly rounded so I'll be placing another order with Scuderia. I had to cut the OEM head shield in half to get it out. Only the left half came out and it was the right side that I needed to remove. Ultimately had to slide it out of the way to get at the last 2 nuts then when the header dropped out of the way, there was enough clearance to get it out of there. You'll also have to disconnect the power side of the starter solenoid to make room for the header to slide out.
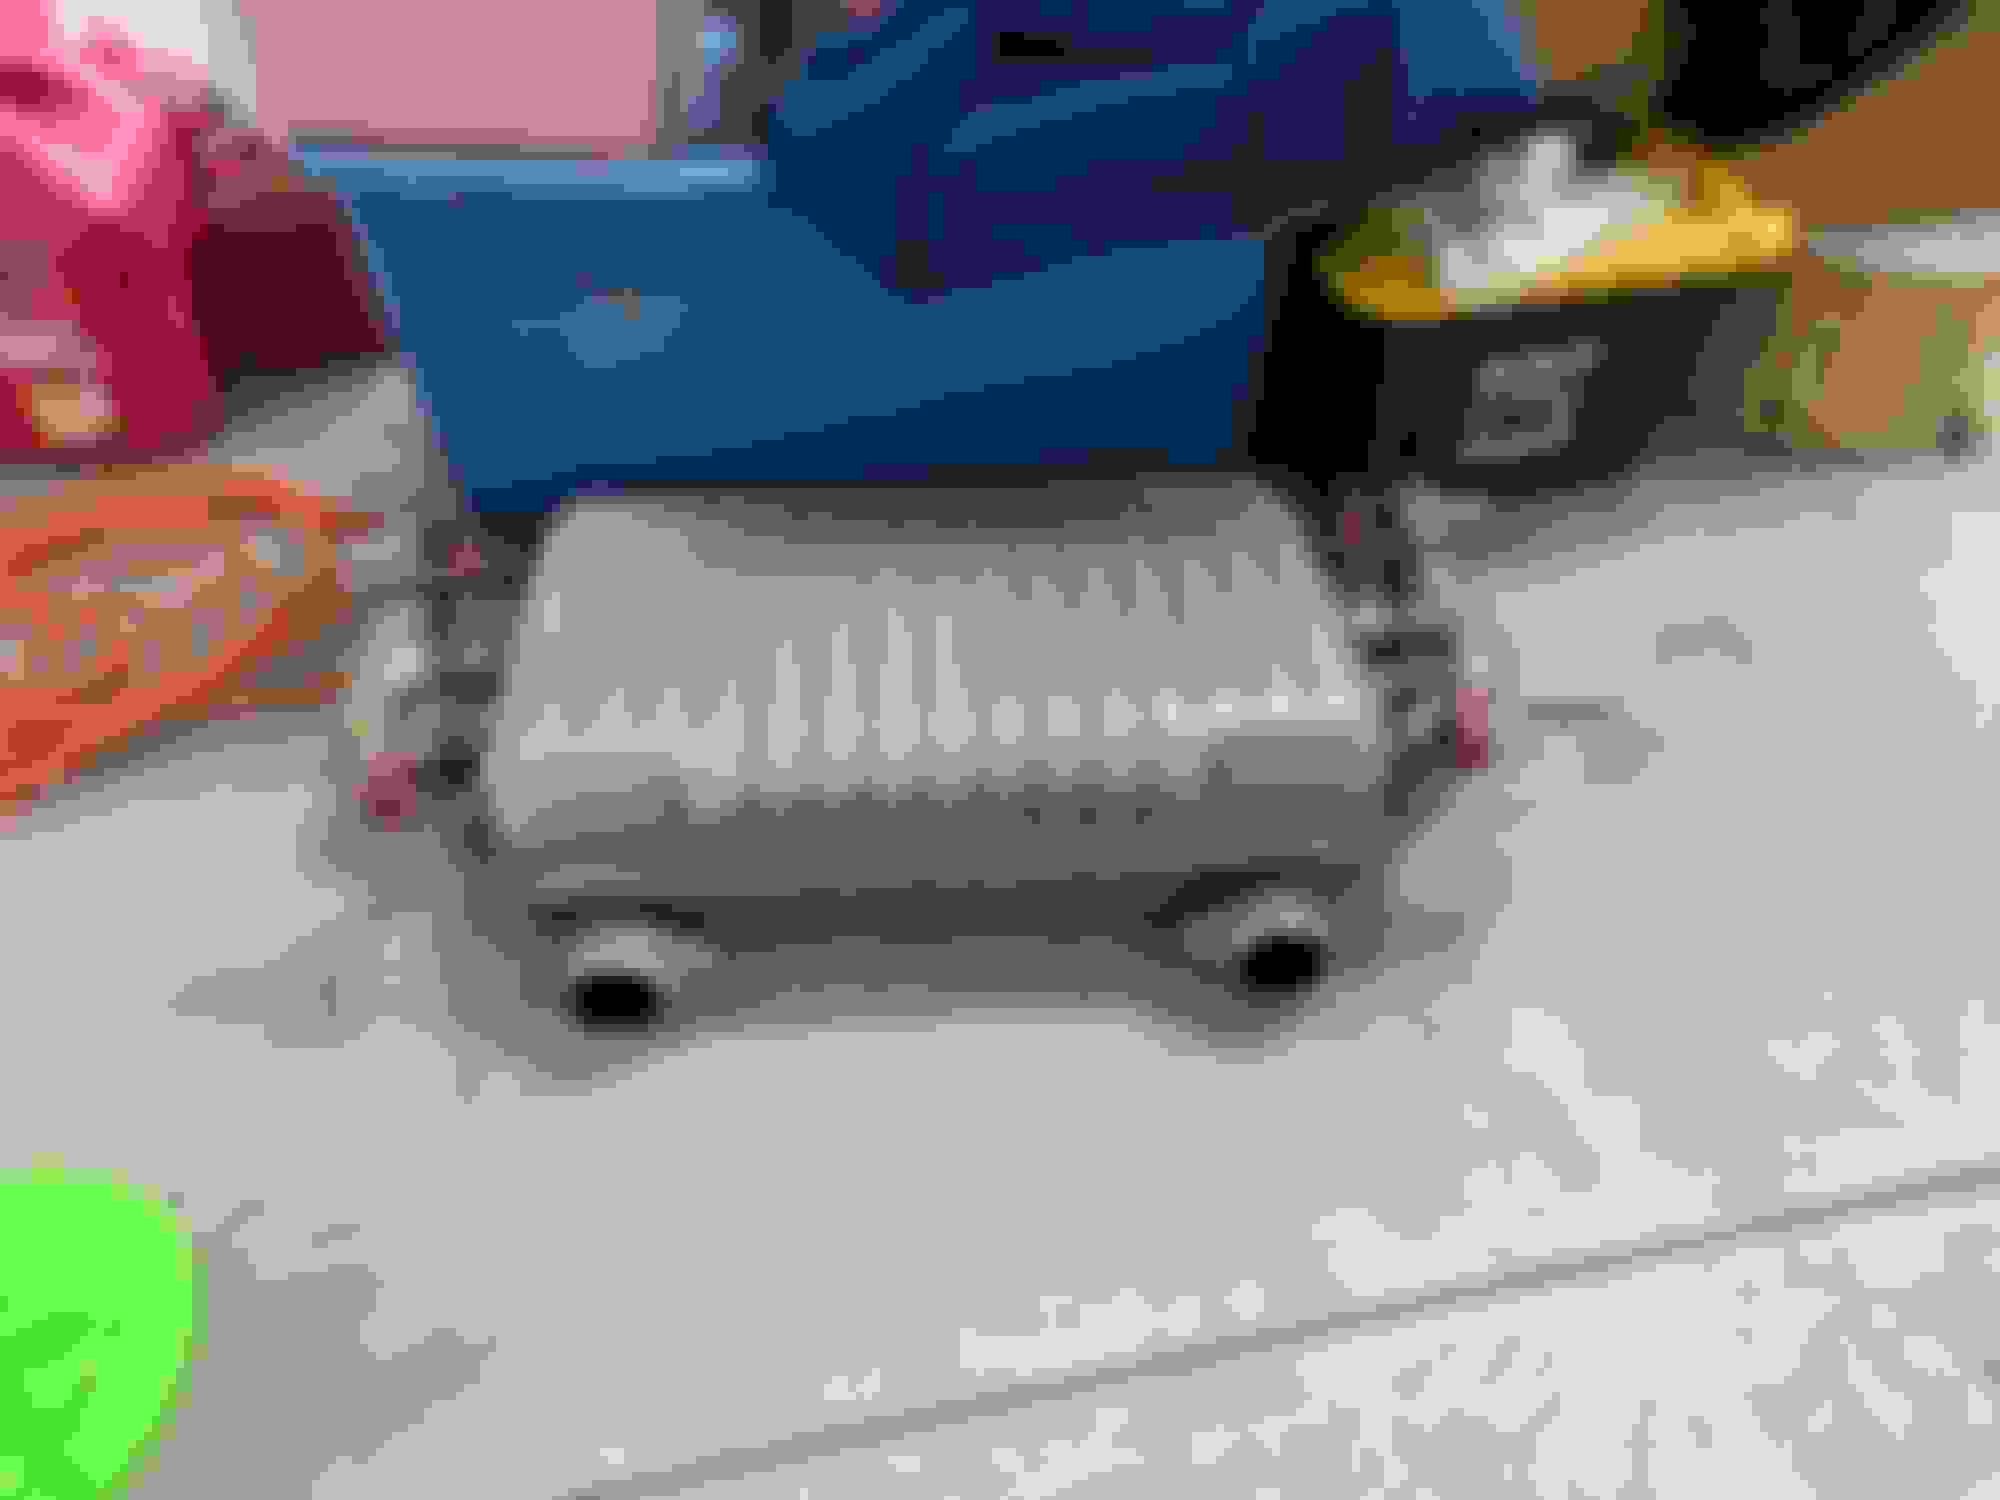
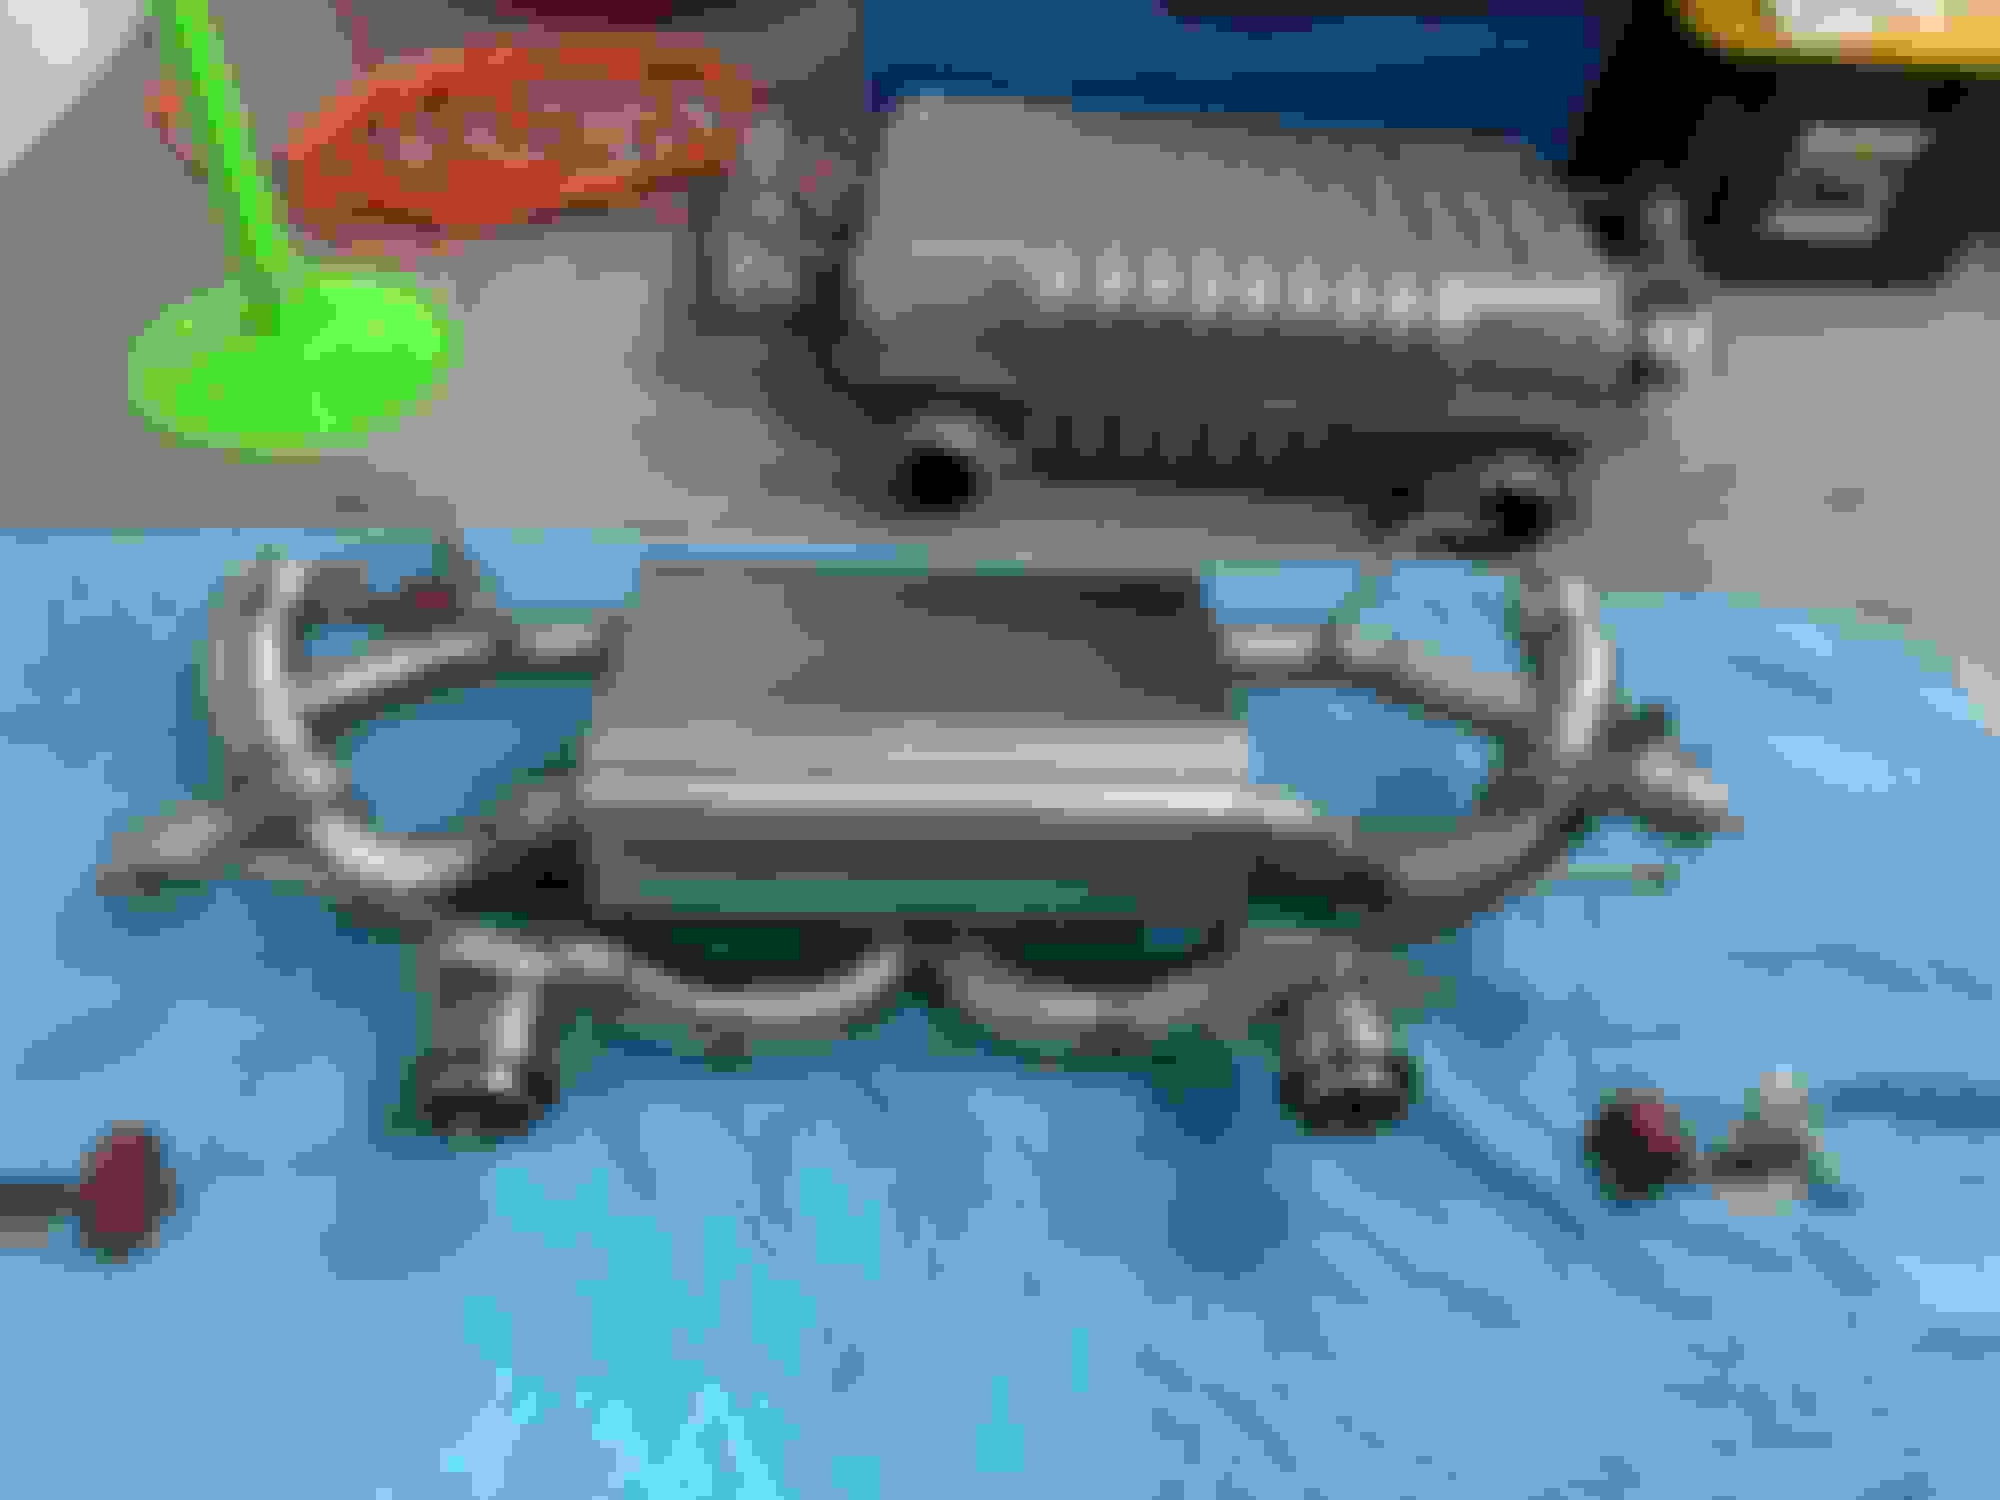
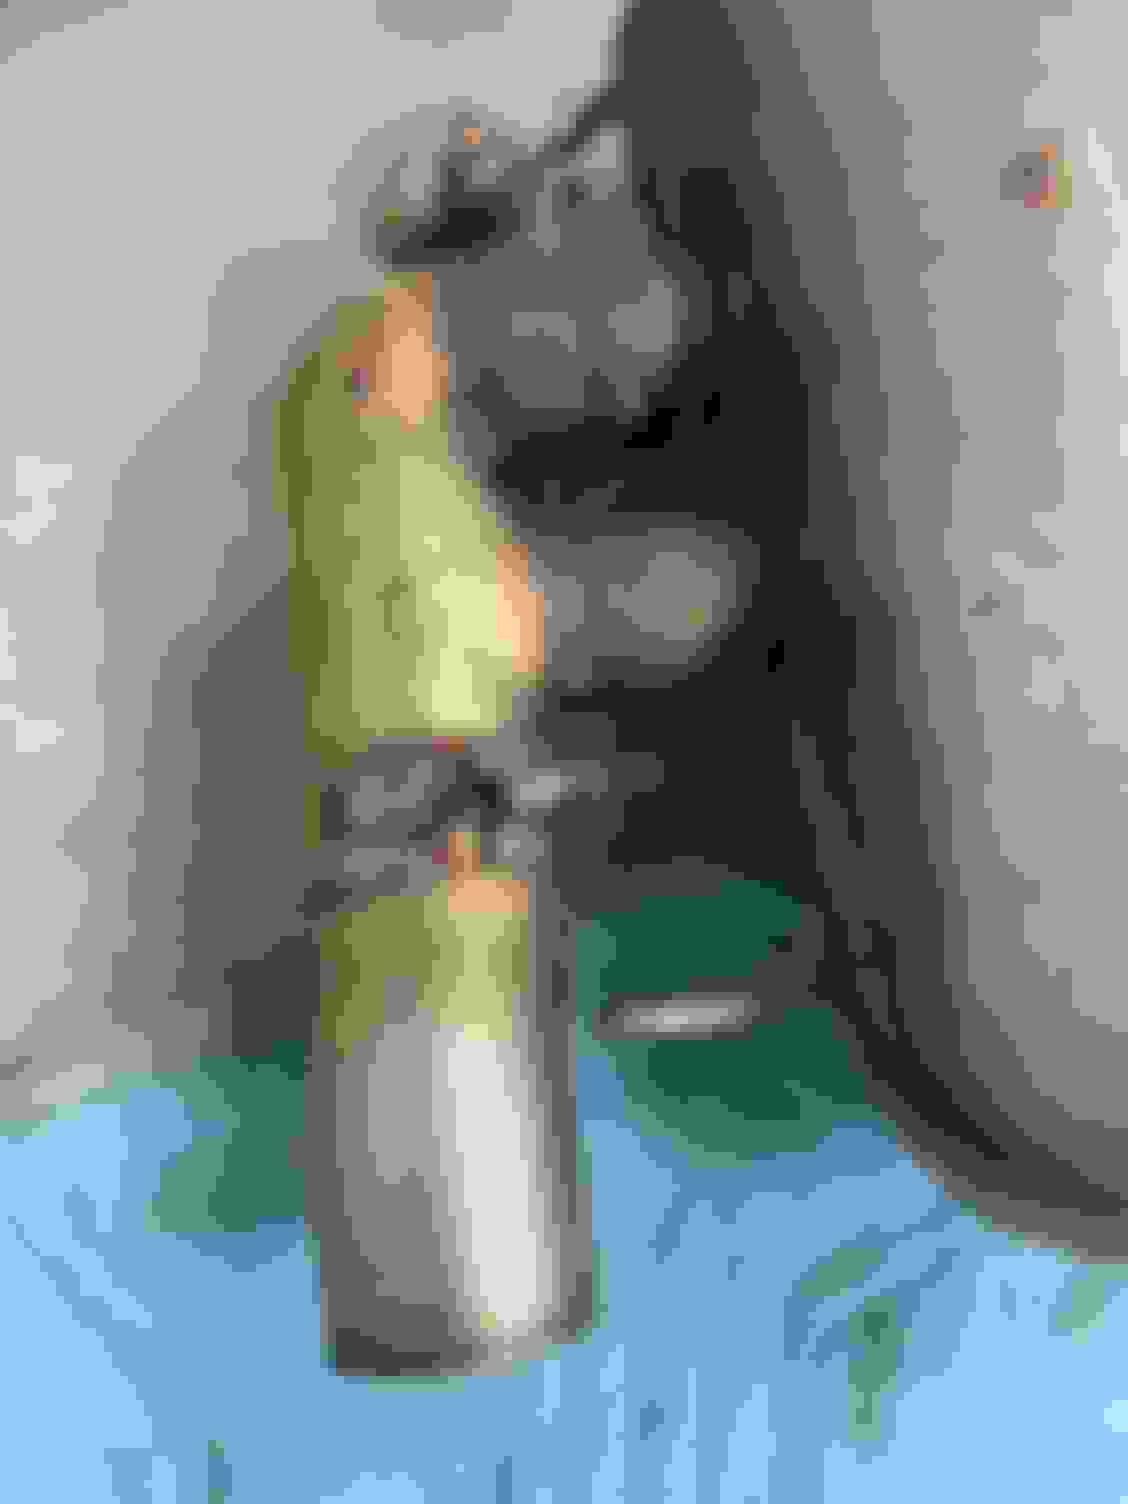
I was able to justify the rationale for this project. If you look at the pic of the OEM Cat, you can see some dimpling in the matrix. (This is the worst of it between the 2 Cats on this side) This WILL happen to all of our V12's at some point, so If your car has rough idle, get it fixed ASAP! I'm glad that I"m doing this project now. Excited for the final result. Stay tuned.
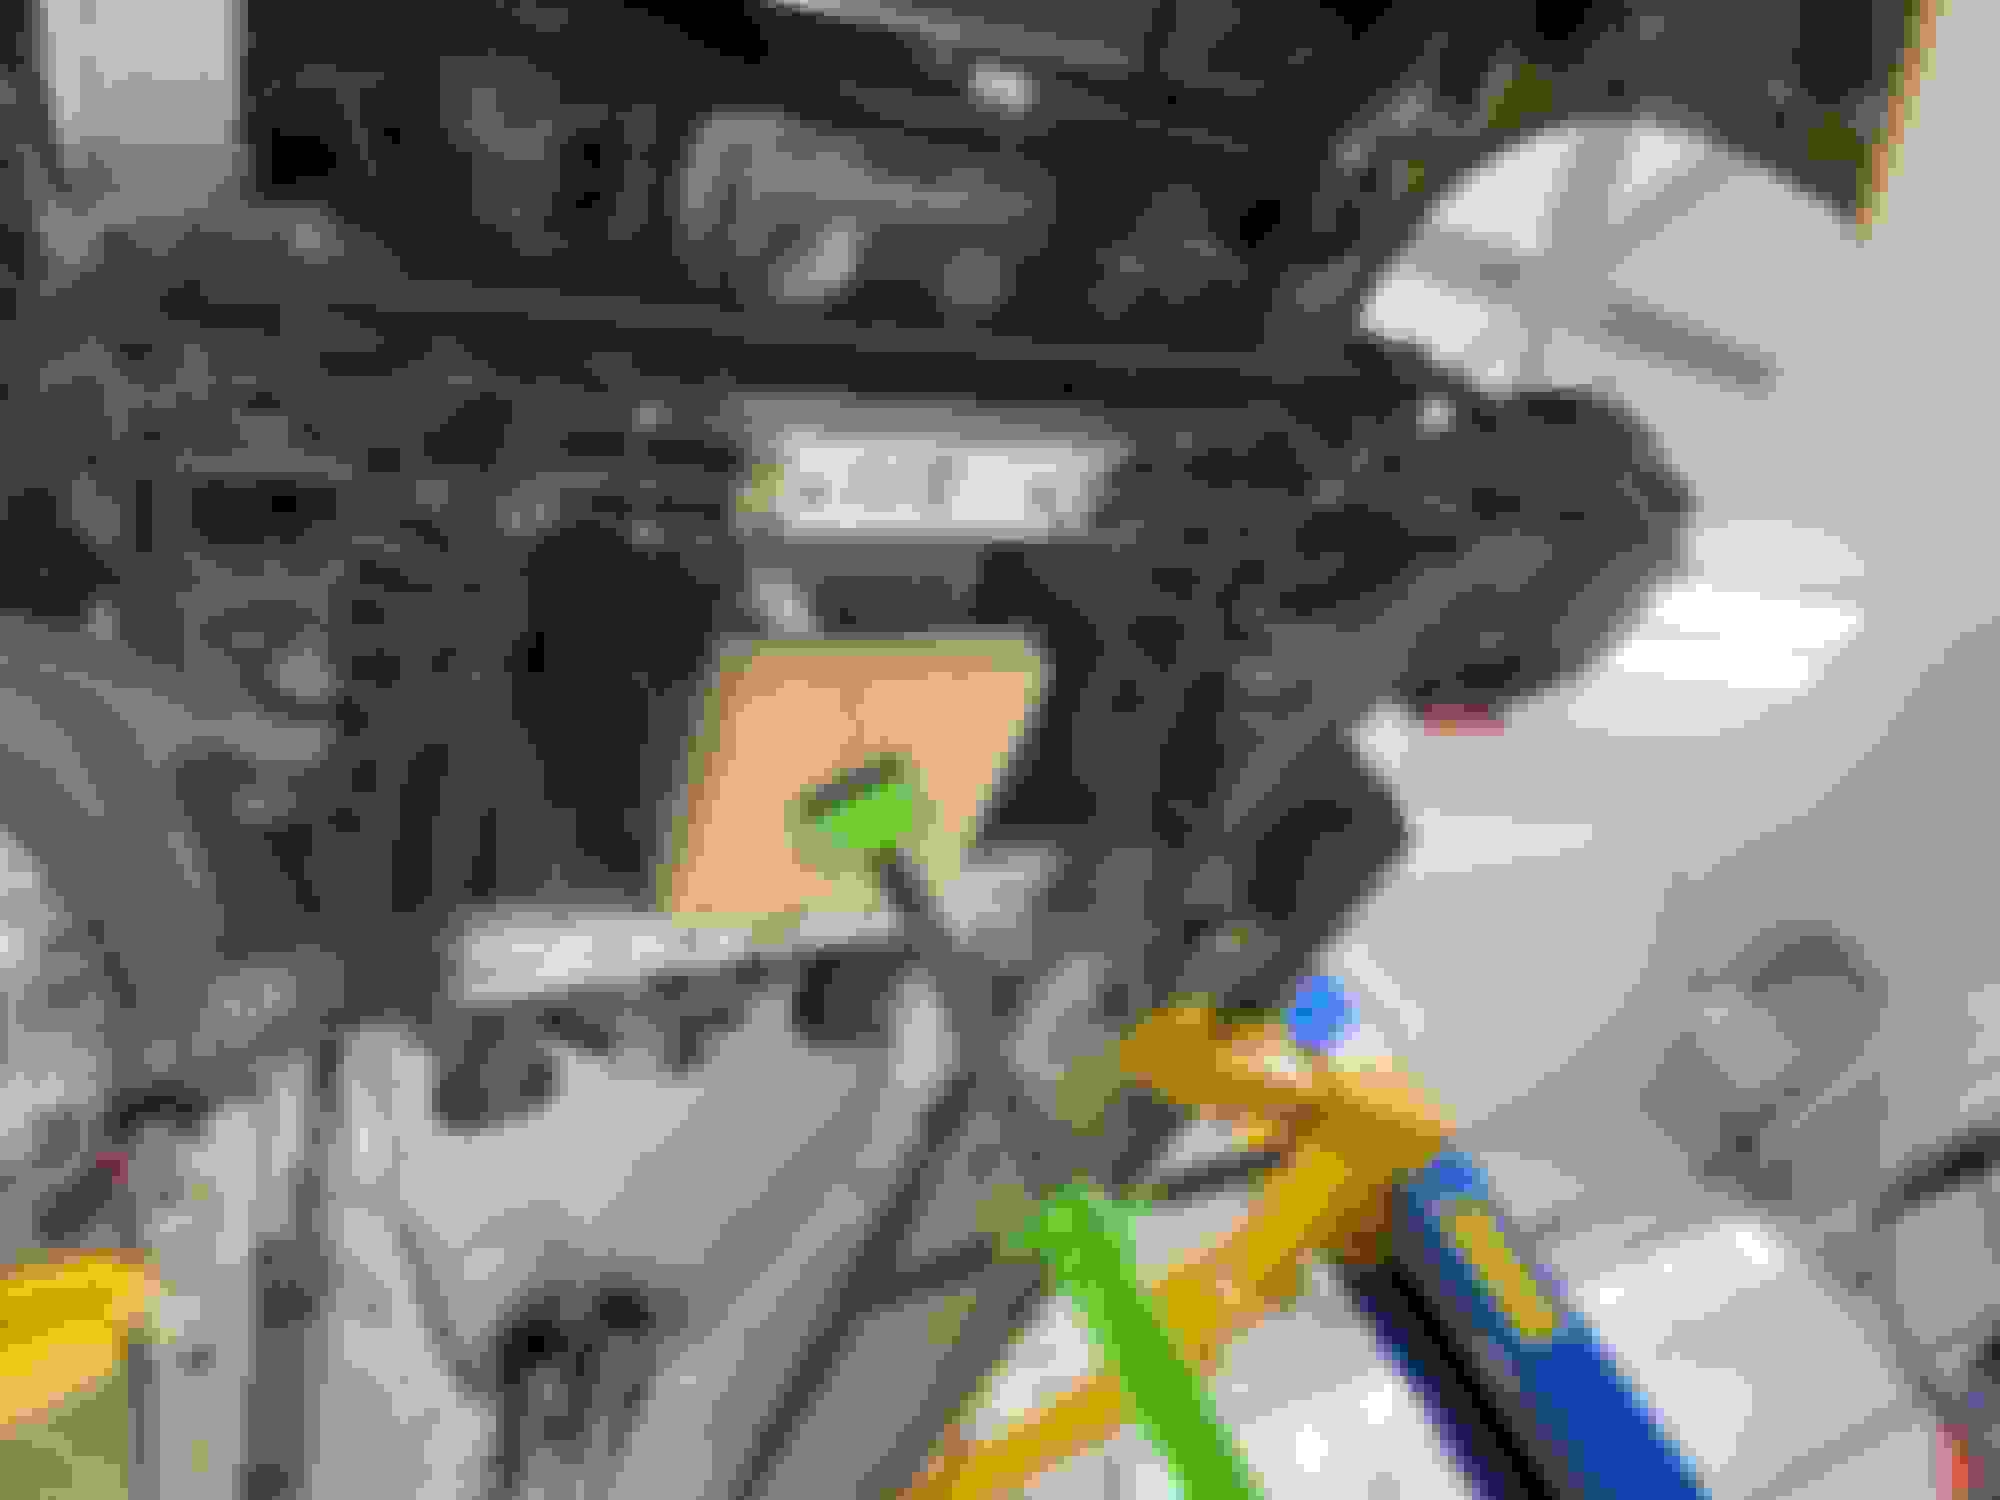
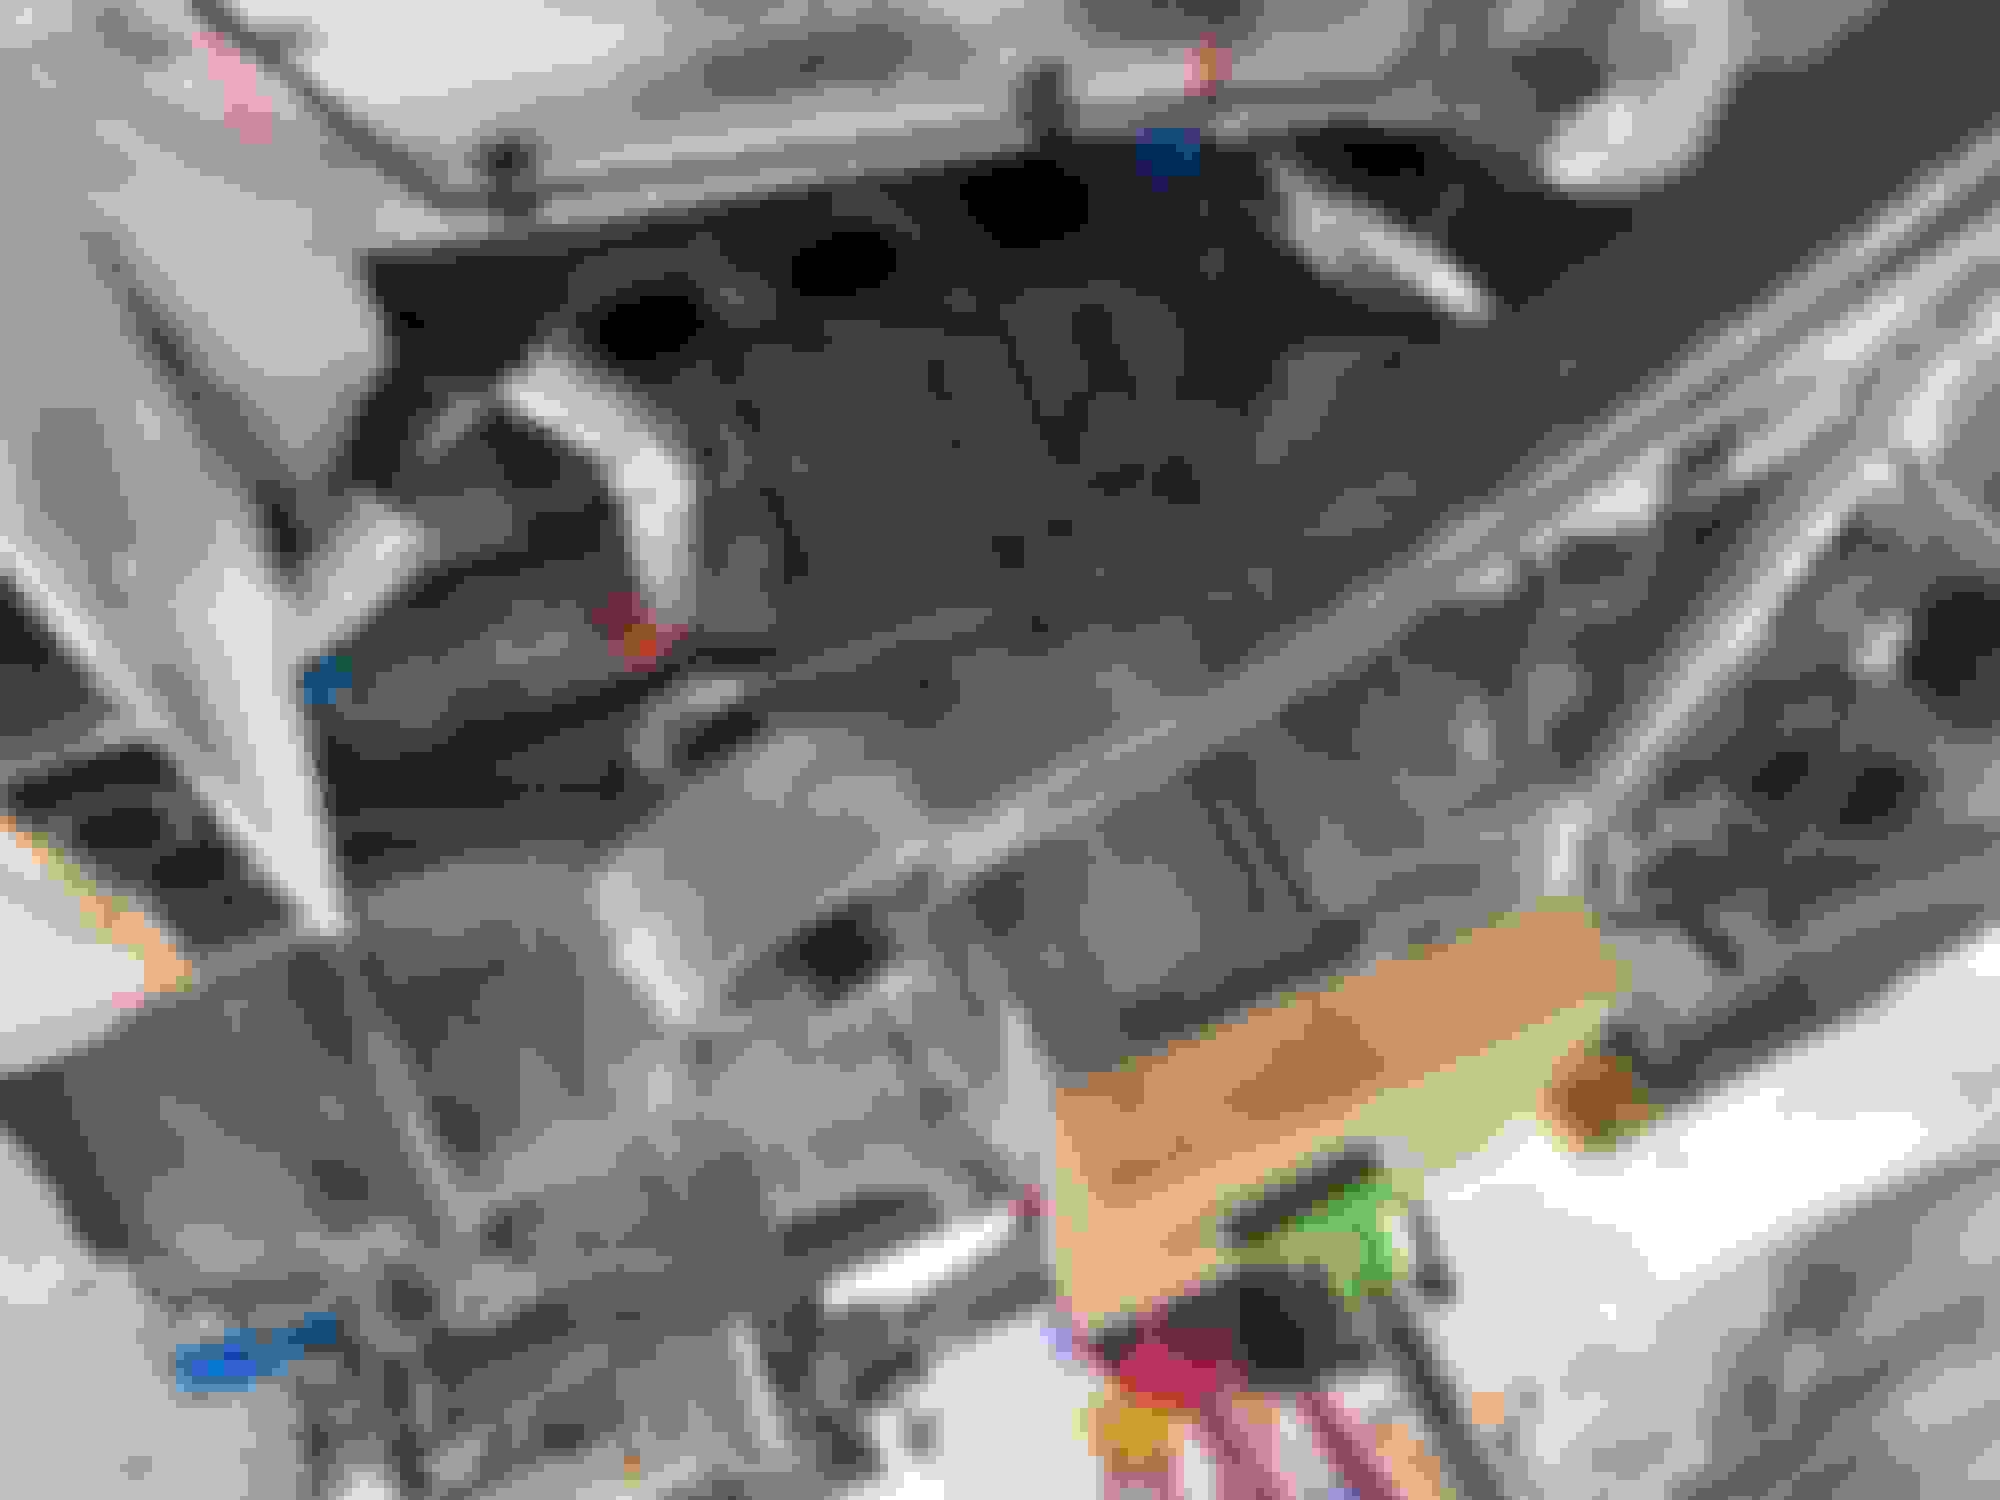
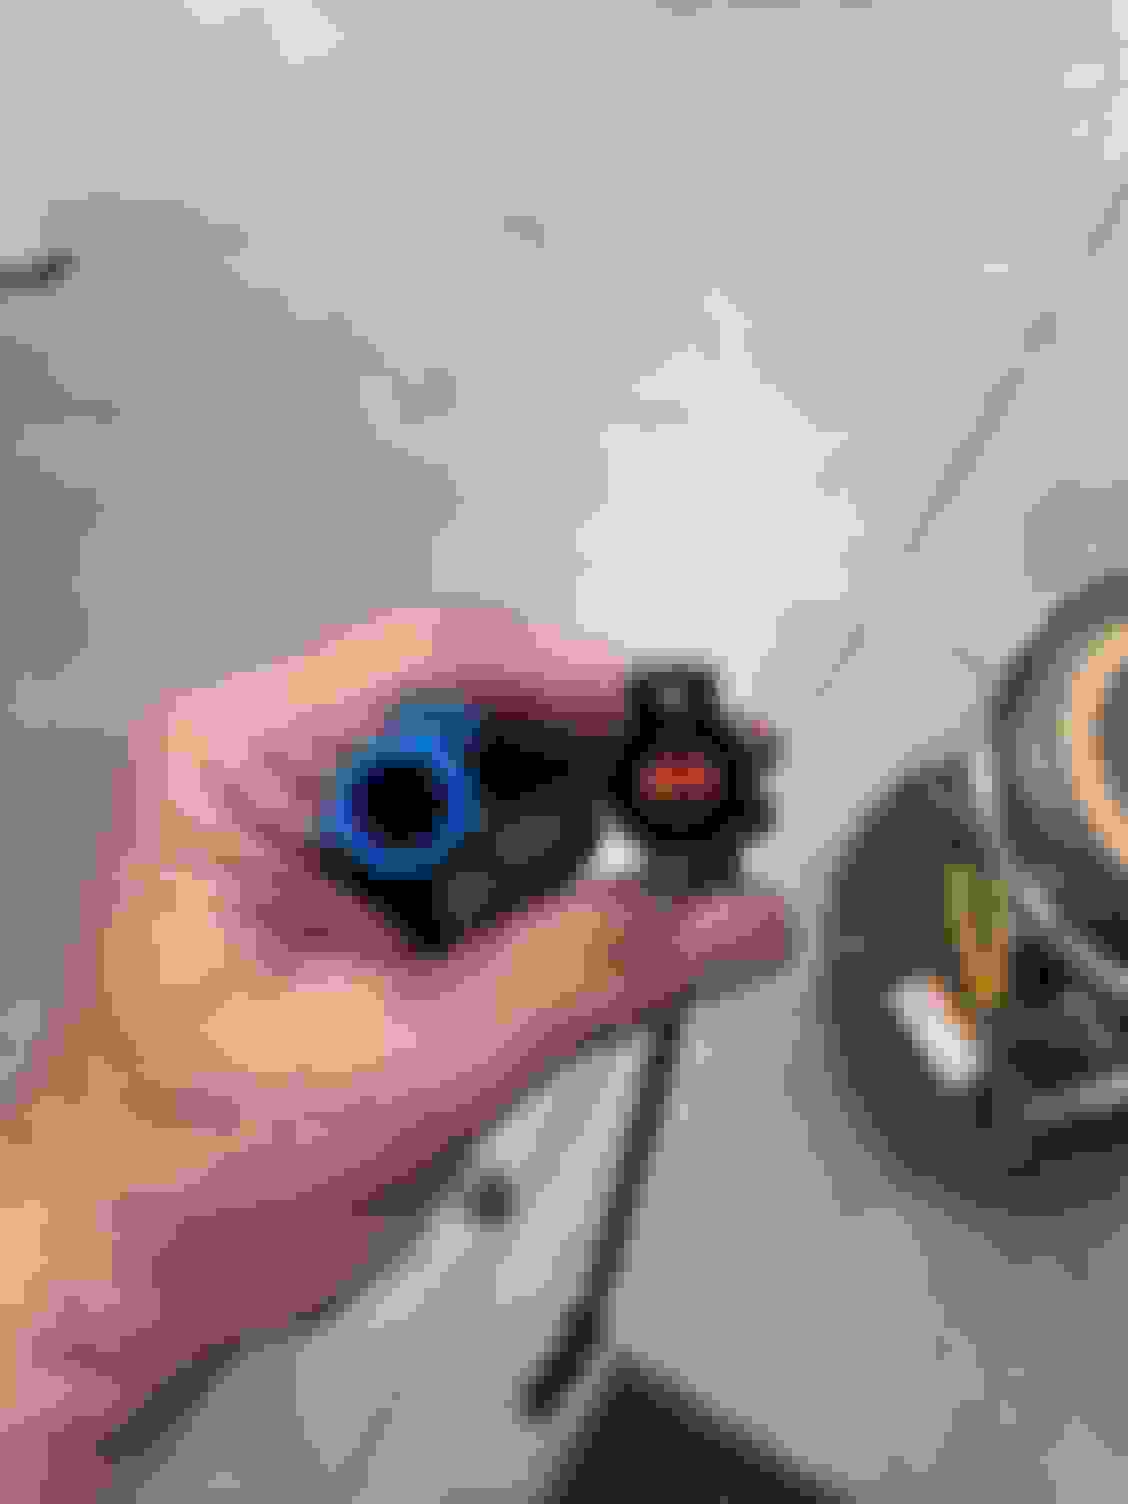
I had the weekend to work on the DB9, however, challenges stopped me after only a couple hours under the car. The left side header came out very easily, so next step was to install the 02 Sensor Extensions. That was not a big deal until I realized that the connectors for the senors that originate under the intake manifolds are a different color than the ones that originate in the fenderwells. (See pics). I have 8 extensions that are exactly the same so I'll be calling Velocityap on Monday to determine what I need to do next. Everything is on standstill as I cannot place the headers until I figure this one out.
I got a quick response from VelocityAP late yesterday. Apparently you have to trim the locator tabs on the the green connectors (under he intake manifolds) and connect. (NOT the clips that hold it in place, just the locator tabs.
I'm traveling this week so it will be another week or so before I make any progress. Too bad so many hours were wasted on this!! (I suggested that they post a video, include instructions, etc.. for the next DIY'er.)

 04-10-2023, 05:05 AM