
INSTALL: Cayenne Auto Sport Mode Module [PICS] [VIDEO]
#1
 11-09-2013, 03:57 PM

Join Date: Jan 2011
Location: (in my garage welding something vicious)
Posts: 1,505
Rep Power: 103 

This idea has been brewing for a while, but really didn't gain any traction with me until I responded to a thread by member, Jeff SD. He wanted a way to turn on "Sport" mode automatically, by default.
For a sports car manufacturer, it only makes sense that you would want your sporty vehicle to be in "Sport" mode by default. Since there is no memory or latching feature built-in, it resets with the ignition cycle. The more I thought about it, the more it bothered me. Soon my subconscious started working on a solution without me knowing...
So the basic design parameter is simple. The sport mode would have to turn on, as if you pressed the button, as soon as the car starts. You should also be able to turn it off, for slippery conditions, or even worse...fuel economy. How hard can it be?
DISCLAIMER
This thread is not intended for anyone to copy or imitate. I am not endorsing any products or companies. I am merely showing the steps I went through to get this working for me. If you think you want to do something similar, contact your local electronics professional and ask for assistance and proceed at your own risk. I assume no responsibility for any work performed on your vehicle.
INTRODUCTION
After a few napkin sketches and online research, it was clear that I would have to build this from scratch.
This was the game plan:
(A) I will open the level control switch and identify the two contact points that are momentarily connected when you press the "sport" button. I will tap the point after the button to "bypass" the button and directly connect the appropriate wire in the level control switch wiring harness.
(B) Since it only turns on "sport" mode after you press and RELEASE the button, I will have to momentarily bridge the two points (bypassing the sport button) for it to work. Timing was not an issue. I will use a relay for this.
(C) I will have to convert a constant 12V DC ignition wire to a 12V pulse signal to activate the relay in statement B. This will momentarily bridge the two points needed. To do this, I will have to use a second relay and few other components.
(D) I will have to tap the level control switch wiring harness, locate 12V ignition wire, and ground.
SPECIAL NOTE
CONTENTS
To make this big install easier to digest, I have broken it into four main categories/posts:
For a sports car manufacturer, it only makes sense that you would want your sporty vehicle to be in "Sport" mode by default. Since there is no memory or latching feature built-in, it resets with the ignition cycle. The more I thought about it, the more it bothered me. Soon my subconscious started working on a solution without me knowing...
So the basic design parameter is simple. The sport mode would have to turn on, as if you pressed the button, as soon as the car starts. You should also be able to turn it off, for slippery conditions, or even worse...fuel economy. How hard can it be?
DISCLAIMER
This thread is not intended for anyone to copy or imitate. I am not endorsing any products or companies. I am merely showing the steps I went through to get this working for me. If you think you want to do something similar, contact your local electronics professional and ask for assistance and proceed at your own risk. I assume no responsibility for any work performed on your vehicle.
INTRODUCTION
After a few napkin sketches and online research, it was clear that I would have to build this from scratch.
This was the game plan:
(A) I will open the level control switch and identify the two contact points that are momentarily connected when you press the "sport" button. I will tap the point after the button to "bypass" the button and directly connect the appropriate wire in the level control switch wiring harness.
(B) Since it only turns on "sport" mode after you press and RELEASE the button, I will have to momentarily bridge the two points (bypassing the sport button) for it to work. Timing was not an issue. I will use a relay for this.
(C) I will have to convert a constant 12V DC ignition wire to a 12V pulse signal to activate the relay in statement B. This will momentarily bridge the two points needed. To do this, I will have to use a second relay and few other components.
(D) I will have to tap the level control switch wiring harness, locate 12V ignition wire, and ground.
SPECIAL NOTE
- Do you want to add this functionality, but not sure what is the easiest way to get this done? Please see post #10 for assistance
CONTENTS
To make this big install easier to digest, I have broken it into four main categories/posts:
Last edited by Renaissance.Man; 11-11-2013 at 09:21 AM.
#2
11-09-2013, 03:58 PM
Join Date: Jan 2011
Location: (in my garage welding something vicious)
Posts: 1,505
Rep Power: 103
Relay Box
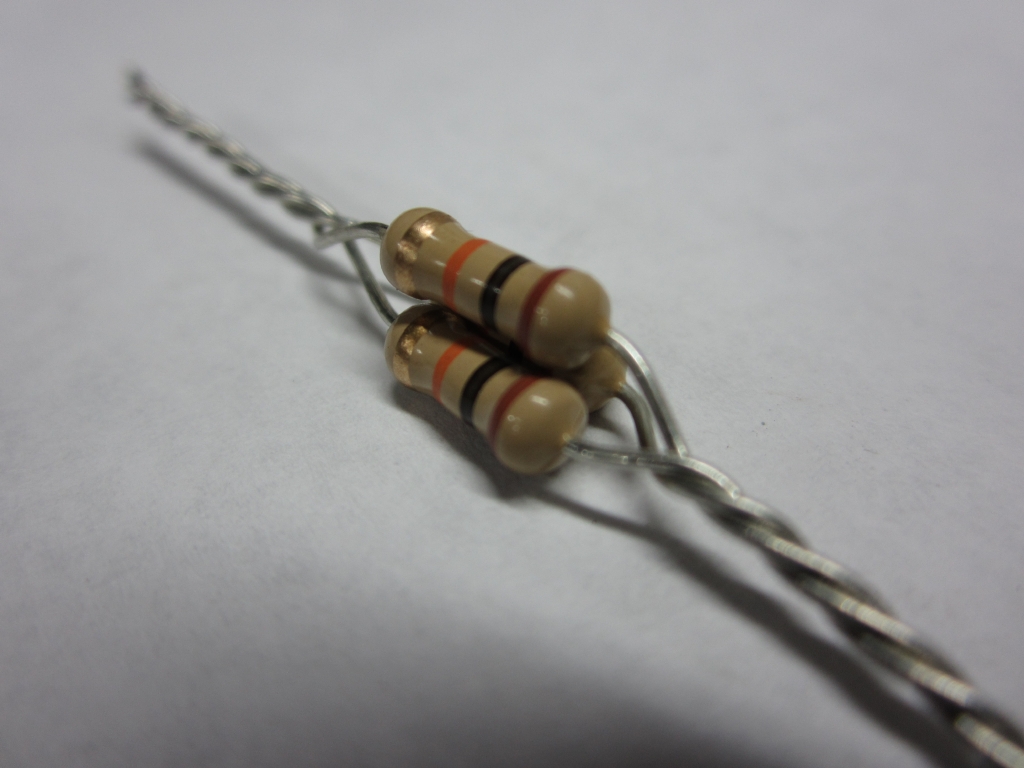
These small relays are perfect for this application. Not only are they overrated, they are also spec'd for a min operation of 10 million! They will easily outlive the service of my Cayenne.
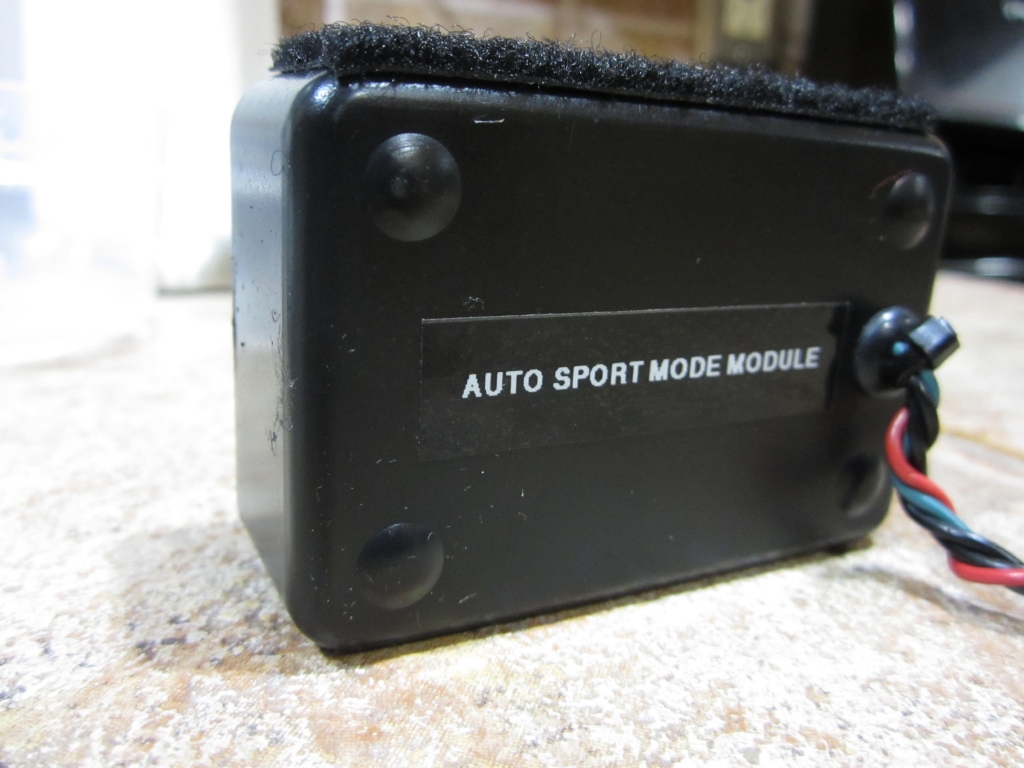
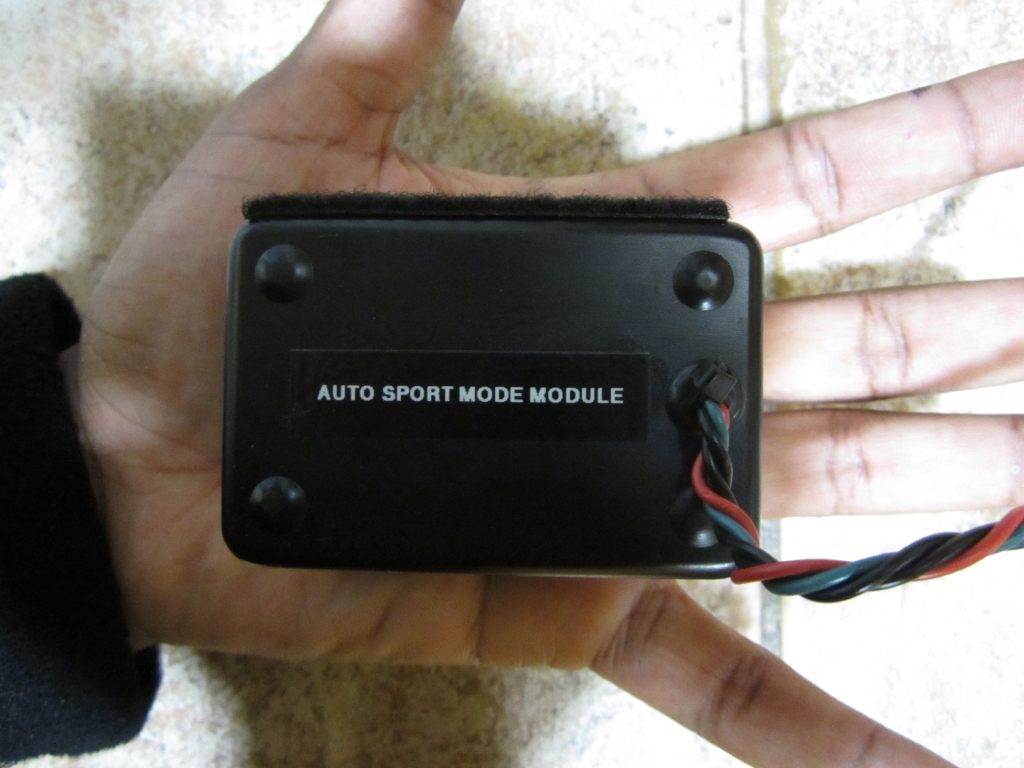
They are a much smaller (dense) package than the first version which used two traditional BOSCH SPDT Relays and a separate box for the resistors and capacitor. There are only 4 wires coming out of the latest version to make it as compact and easy to install.
Version 1 (3 boxes) on the left and Version 2 (1 box) on the right

Now on to building the relay box setup:
I used hot glue (low heat) to set the relays inside the project box
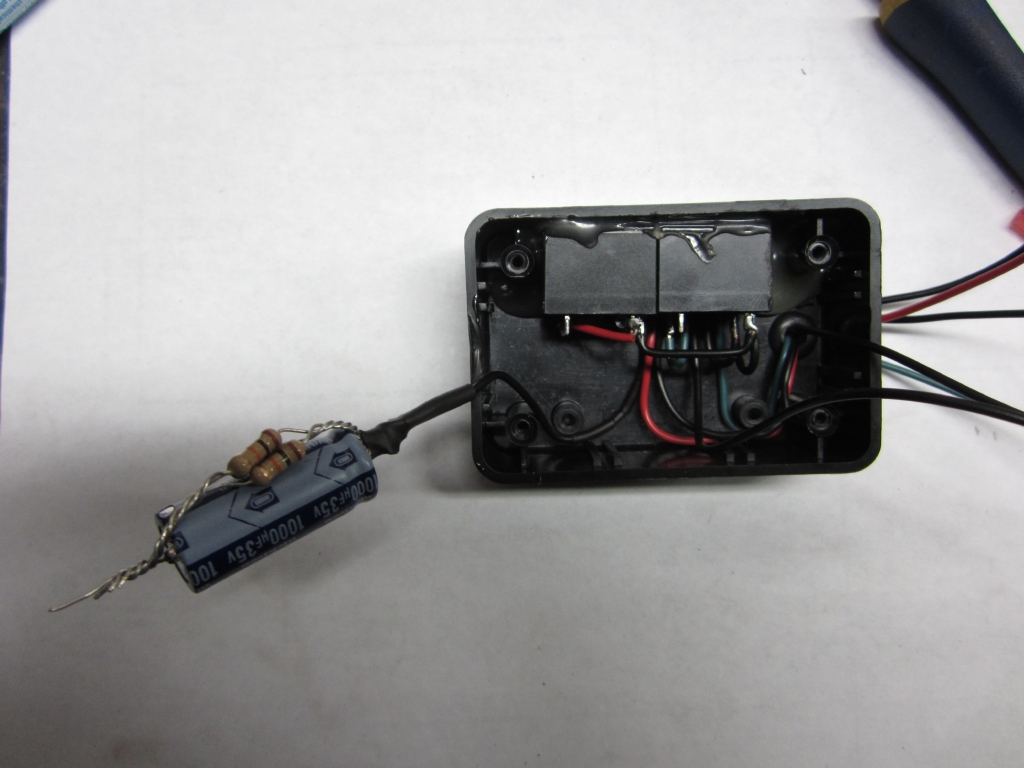
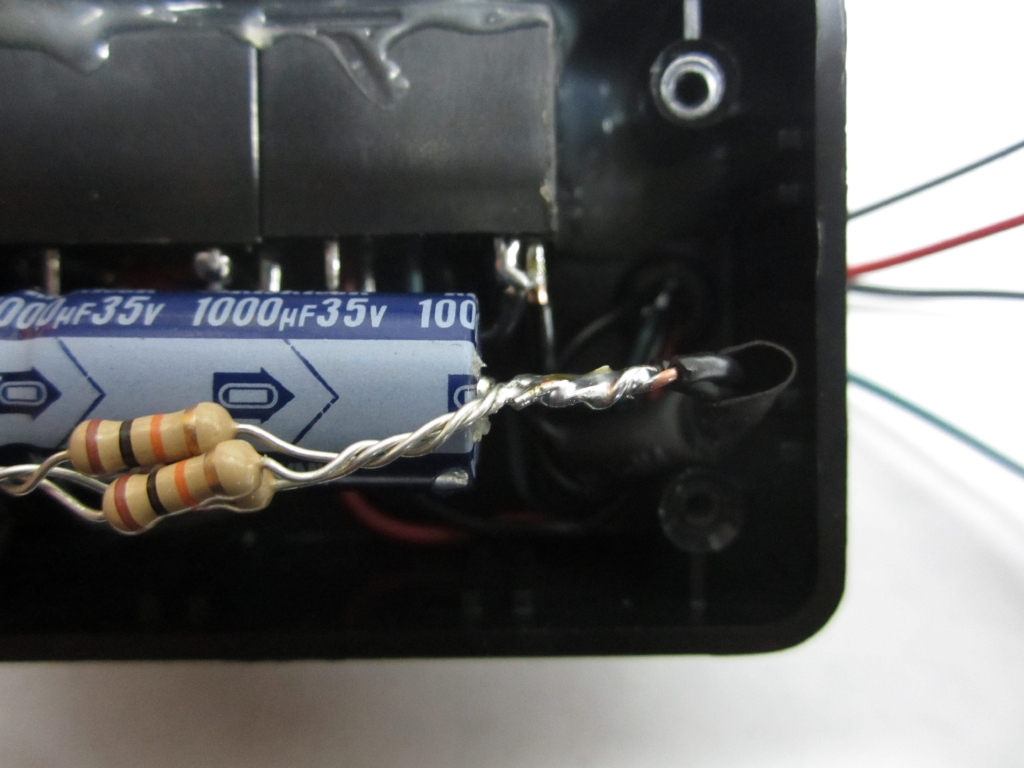
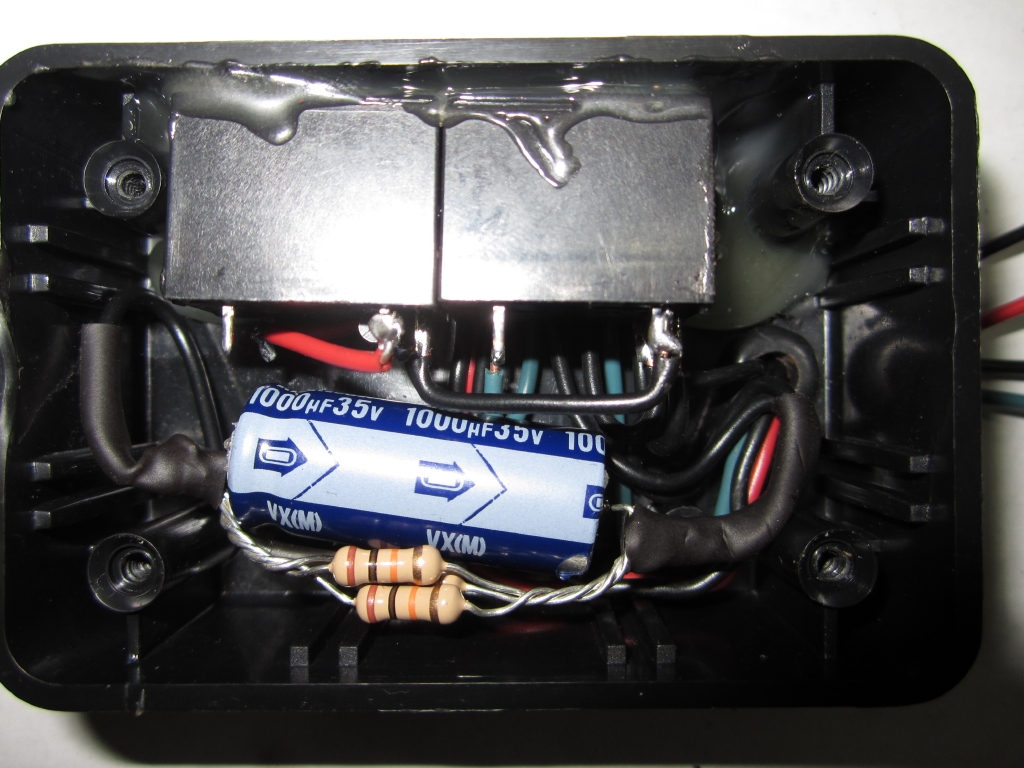
I used hot glue (high heat) to set the wires permanently in place
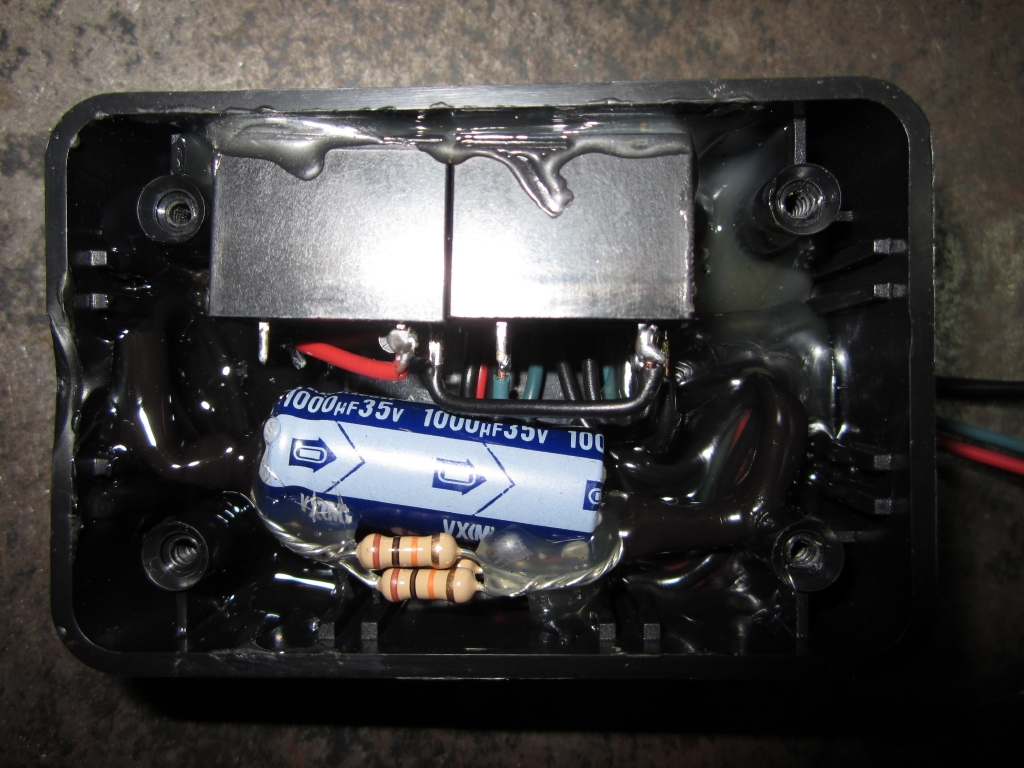
All done here....
These small relays are perfect for this application. Not only are they overrated, they are also spec'd for a min operation of 10 million! They will easily outlive the service of my Cayenne.
They are a much smaller (dense) package than the first version which used two traditional BOSCH SPDT Relays and a separate box for the resistors and capacitor. There are only 4 wires coming out of the latest version to make it as compact and easy to install.
Version 1 (3 boxes) on the left and Version 2 (1 box) on the right
Now on to building the relay box setup:
I used hot glue (low heat) to set the relays inside the project box
I used hot glue (high heat) to set the wires permanently in place
All done here....
Last edited by Renaissance.Man; 11-11-2013 at 09:26 AM.
#3
11-09-2013, 03:58 PM
Join Date: Jan 2011
Location: (in my garage welding something vicious)
Posts: 1,505
Rep Power: 103
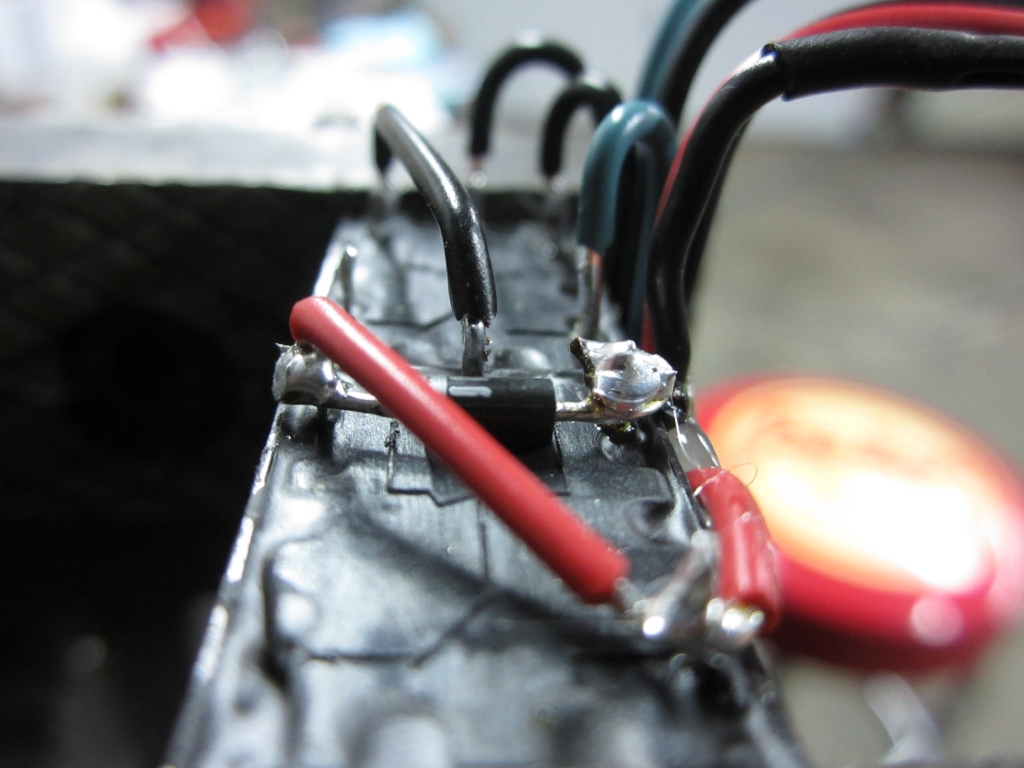
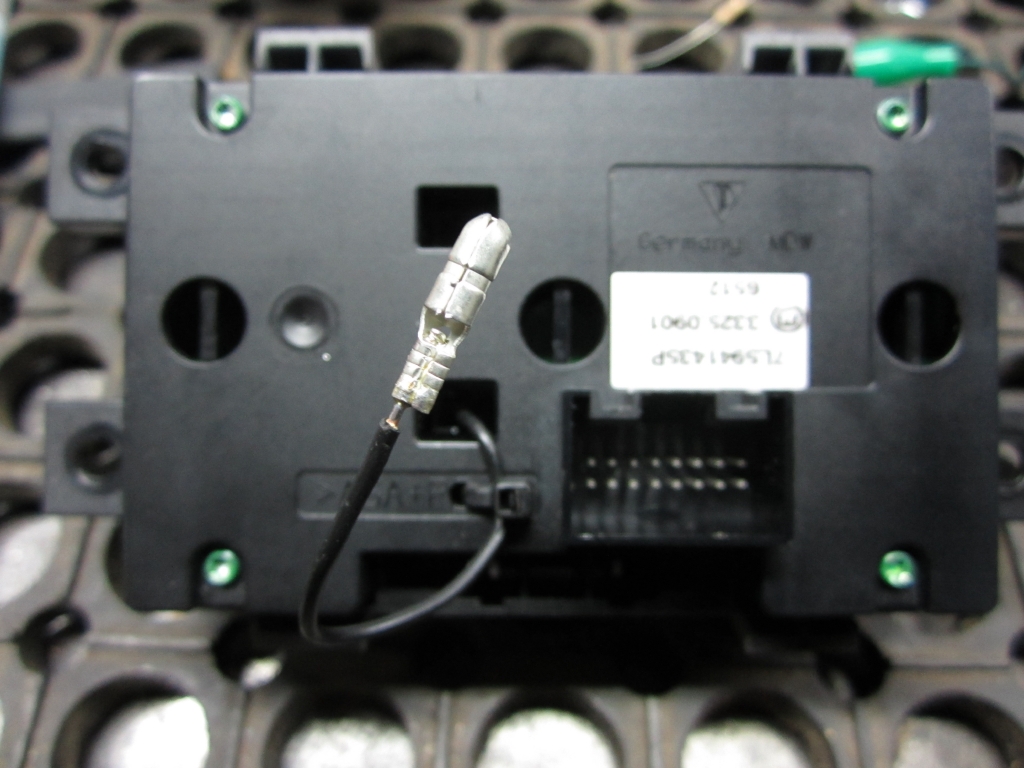
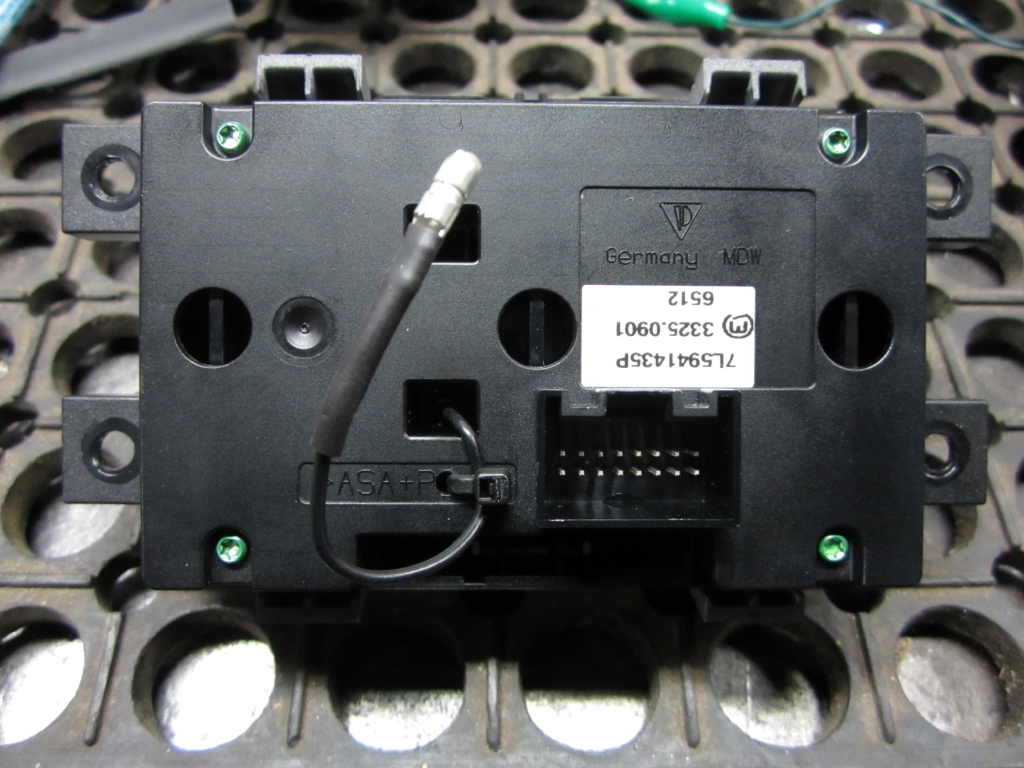
Level Control Switch Mod
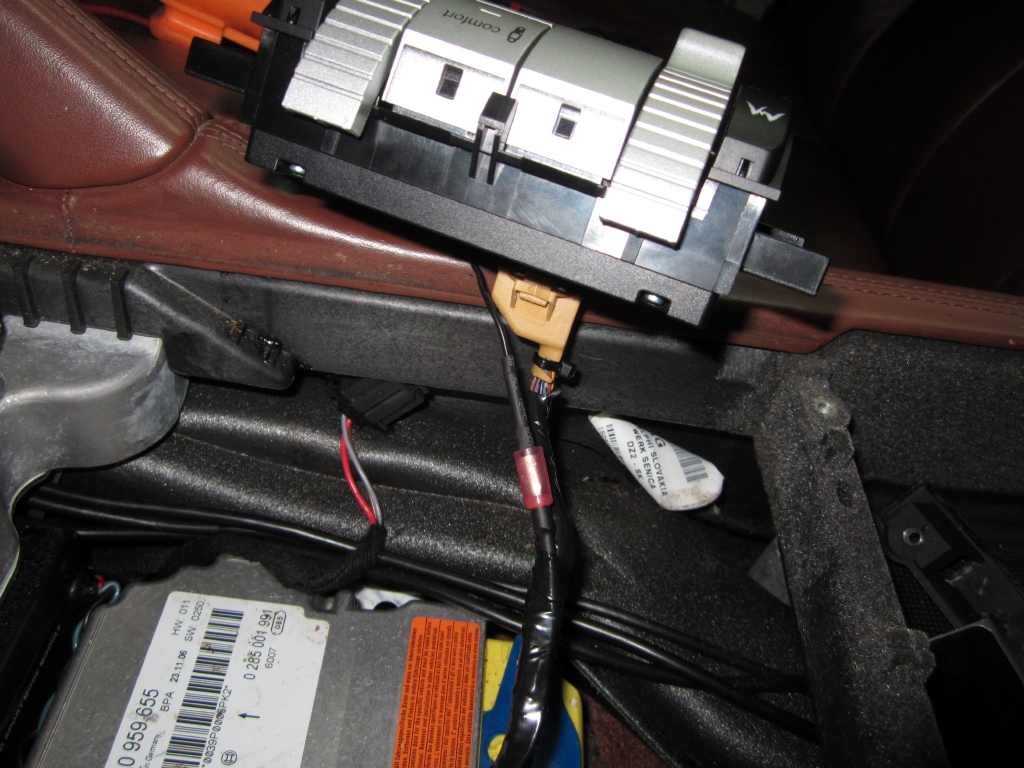
Here is the back of the modded level control switch with the added wire. There is a quick disconnect for this wire. Note the ziptie providing extra strain relief
Here is the back of the modded level control switch with the added wire. There is a quick disconnect for this wire. Note the ziptie providing extra strain relief
Last edited by Renaissance.Man; 11-11-2013 at 02:39 PM.
#4
11-09-2013, 03:58 PM
Join Date: Jan 2011
Location: (in my garage welding something vicious)
Posts: 1,505
Rep Power: 103
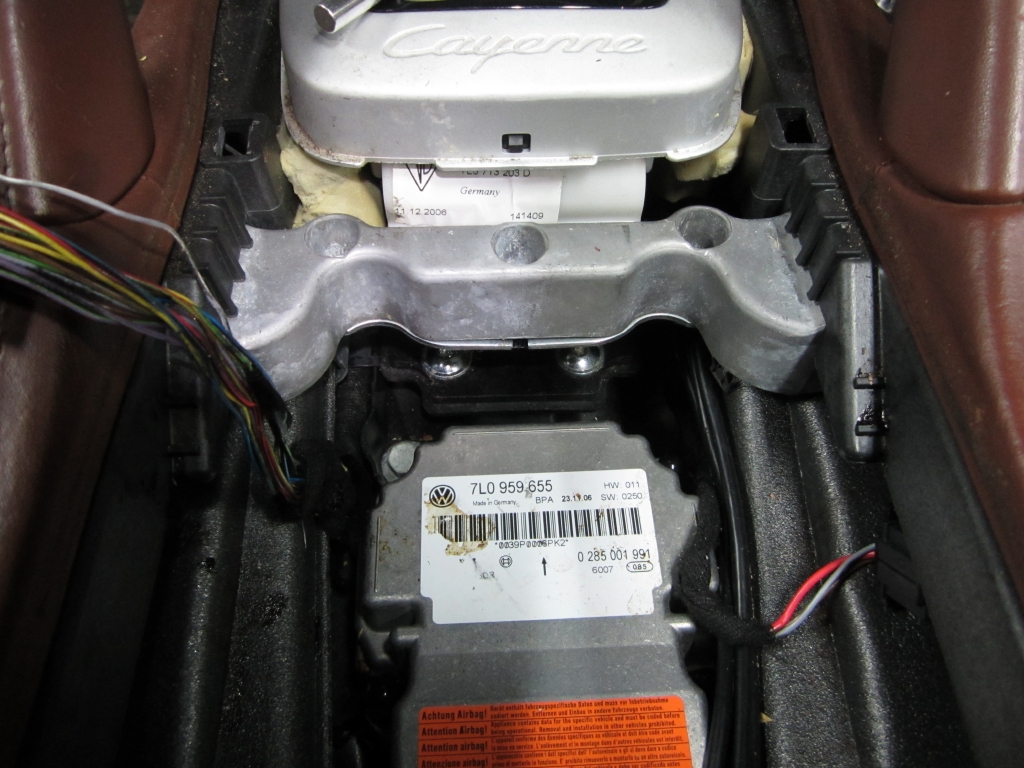
Installation
There are just three additional wires I had to add:
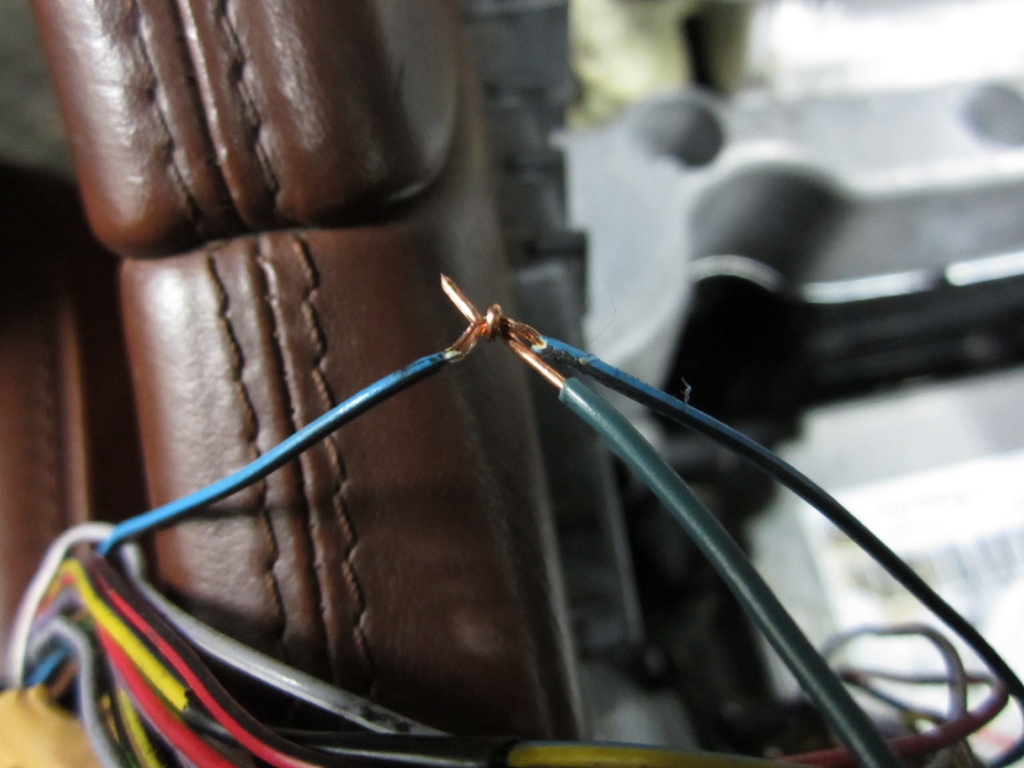
Closeup of harness tapped wire

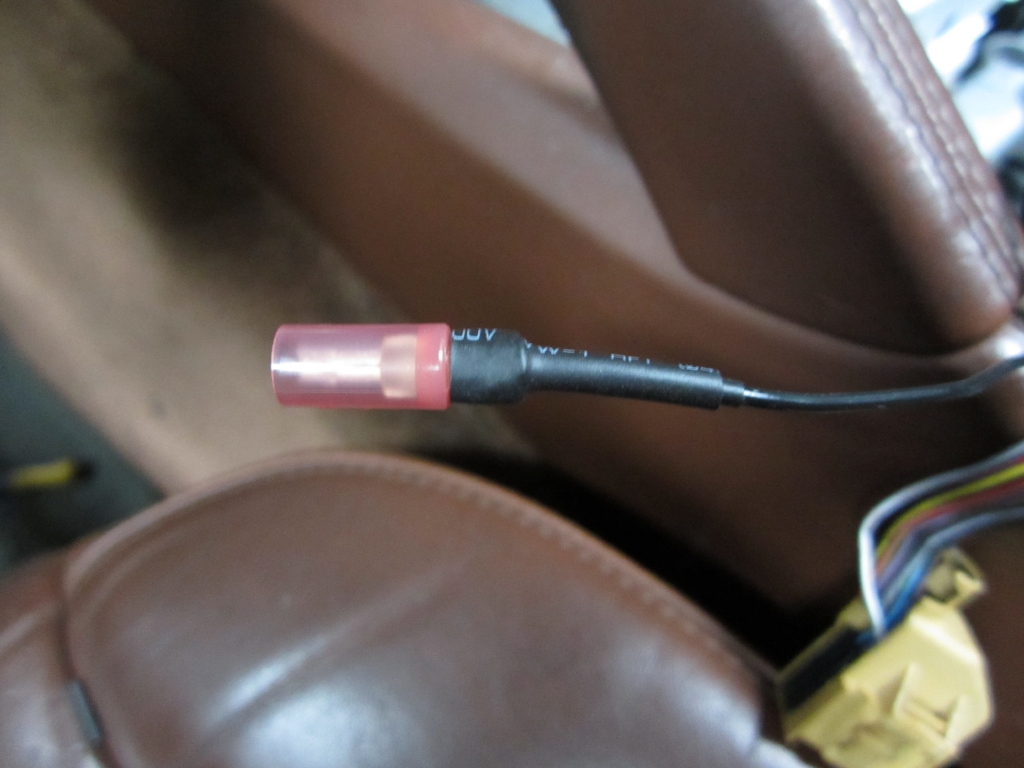
Quick disconnect added for harness wire tap to level control switch wire
Showing the fuse bank tap for fused 12V ignition

The module will fit right below center brace and on top of the shifter base
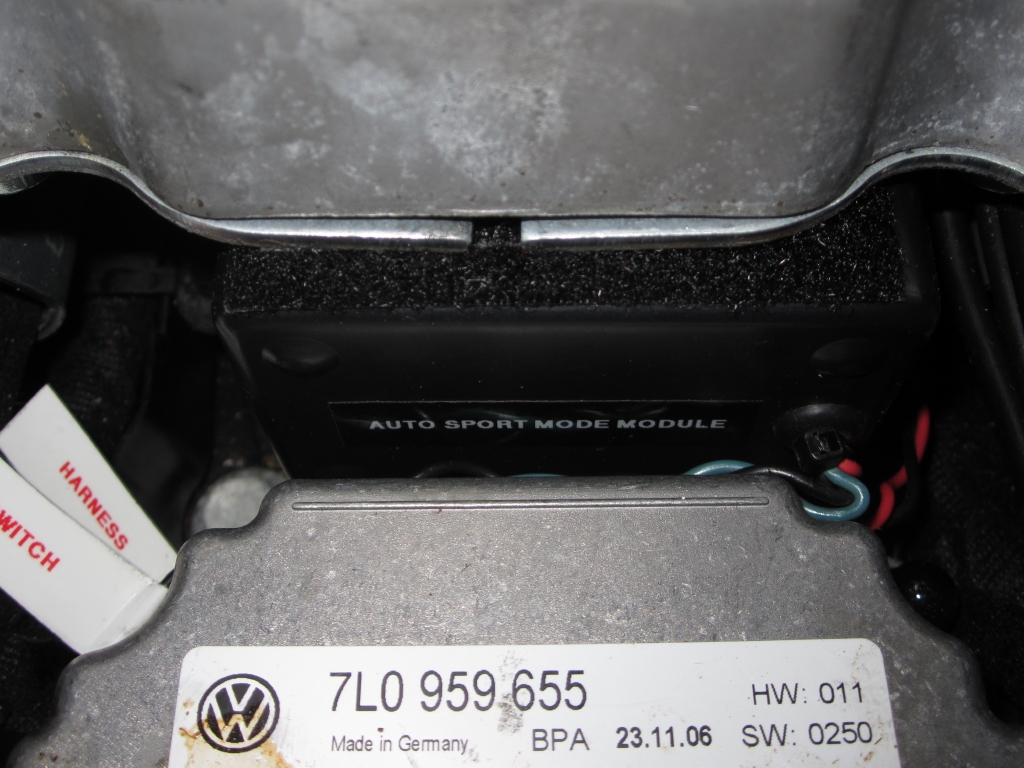
Here the module is in its new home with velcro. Tight fit, but works well!

Here is the modified level control switch harness once taped back up
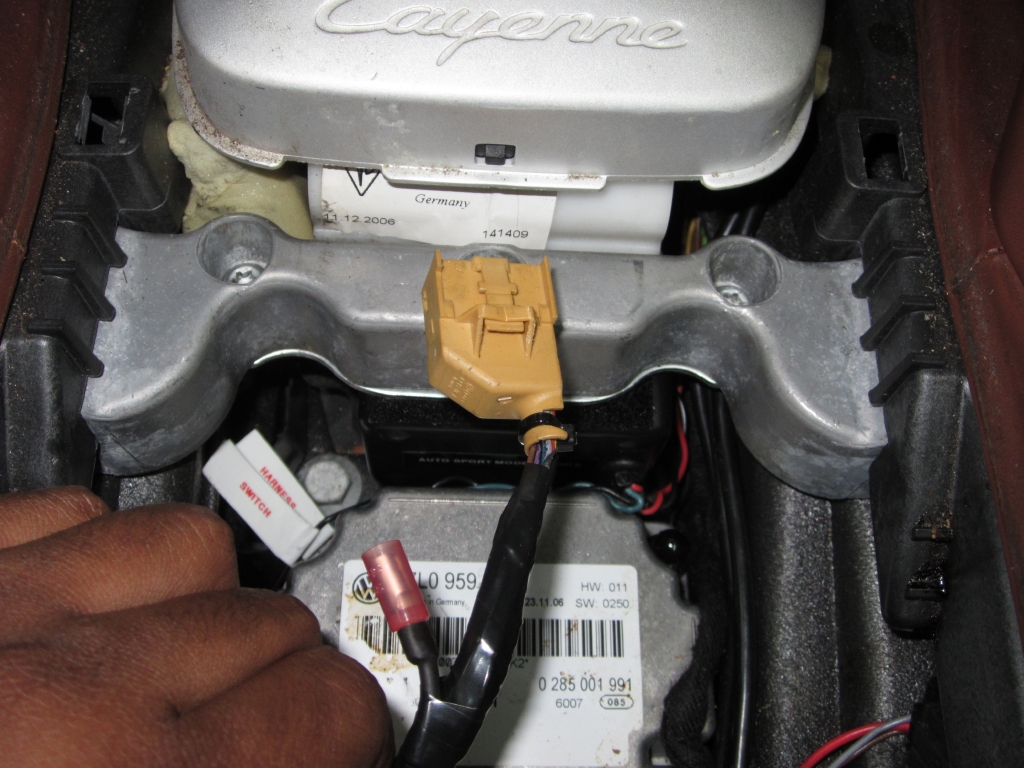
Switch connected with added sport mode wire. Looks clean. All set here!!
There are just three additional wires I had to add:
(1) level control switch harness tap (blue/black stripe)
(2) fused 12V ignition
(3) ground
The fused 12V ignition was used from a wire tap previously added for another project in the right fuse bank. The ground was tapped from the cigarette lighter in the passenger foot well since it was close. (2) fused 12V ignition
(3) ground
Closeup of harness tapped wire
Quick disconnect added for harness wire tap to level control switch wire
Showing the fuse bank tap for fused 12V ignition
The module will fit right below center brace and on top of the shifter base
Here the module is in its new home with velcro. Tight fit, but works well!
Here is the modified level control switch harness once taped back up
Switch connected with added sport mode wire. Looks clean. All set here!!
Last edited by Renaissance.Man; 11-09-2013 at 05:16 PM.
#5
11-09-2013, 03:58 PM
Join Date: Jan 2011
Location: (in my garage welding something vicious)
Posts: 1,505
Rep Power: 103 

#7
11-09-2013, 09:02 PM

This is an amazing write up...I gotta say im very impressed with the wiring and the way you went about it. I tried giving you rep points as well it it gave me the same message as mayhem LOL nice job Kent
Trending Topics
#8
11-10-2013, 05:31 AM

Wow! I share Kent's sentiment - you did an amazing job. Have you thought at making a few more and sell them? I'll be interested in buying it, just to save me the time and effort of building it myself...
#9
11-11-2013, 07:35 AM
Join Date: Jan 2011
Location: (in my garage welding something vicious)
Posts: 1,505
Rep Power: 103 Since a few people have asked me for help, I think I will offer to build these on a request basis for members...
#10
11-11-2013, 07:52 AM
Join Date: Jan 2011
Location: (in my garage welding something vicious)
Posts: 1,505
Rep Power: 103
Okay - it is now official. For any members who do not have access to a local electronics professional they trust or do not want to deal with the hassle of building this themselves, I will offer to build/ship out the prewired relay box and a modified level control switch. All you would have to do are steps 1-3 in Post 4 since it requires the installation vehicle to be present. This should not take more than a couple of hours and will be easy for any shop, member, or independent mechanic to wire in. For people who are very comfortable with wiring (sound/alarm installers), this can be wired up in under an hour as shipped. It will come with wire taps as an option so you do not have to solder any connections if you are not comfortable. Although soldering is the recommendation.
Since I have to modify the level control switch, there will be two pricing models for members who do not want any downtime:
Option #1 -
Since I have to modify the level control switch, there will be two pricing models for members who do not want any downtime:
Option #1 -
If you do not want to remove and ship me your level control switch, then I can order members a new level control switch (about $130), then ship you the relay box and modded switch all together for you to install in a couple of hours.
Option #2 - You can remove and ship me your current level control switch (vehicle is not safely driveable without it) and I will modify it and ship you the relay box and modded switch in a few days turnaround.
If you are interested in adding this functionality, PM for pricing for both options.
Last edited by Renaissance.Man; 11-11-2013 at 01:54 PM.
#12
03-18-2014, 07:01 AM

Kent, is this 957 only? I know the 955 has a button that cant be pressed and assume that fitting this wont actually activate anything in the ECU settings, right?
If so, your next project is getting a module for Sport on a 955
If so, your next project is getting a module for Sport on a 955
#13
03-18-2014, 12:49 PM
Join Date: Jan 2011
Location: (in my garage welding something vicious)
Posts: 1,505
Rep Power: 103 Yeah... I know I said in my video that this should work in the 955 as well, but I forgot that they did not come with the "Sport" button that the 957 has. The large "Sport" button in the 957 sharpens throttle response and transmission behavior accordingly.
Unfortunately, there is nothing to activate in the 955. Unless, you want "traction off" by default


Thread
Thread Starter
Forum
Replies
Last Post
Armytrix_F1_Exhaust
Mercedes / AMG
12
07-07-2019 11:31 PM