
Smoke Detailed - Boardmember Hatchimon's Cayman S
#1
 08-07-2008, 01:45 PM

Join Date: Jun 2008
Location: New Jersey
Posts: 272
Rep Power: 28 
Smoke Detailed - Boardmember Hatchimon's Cayman S
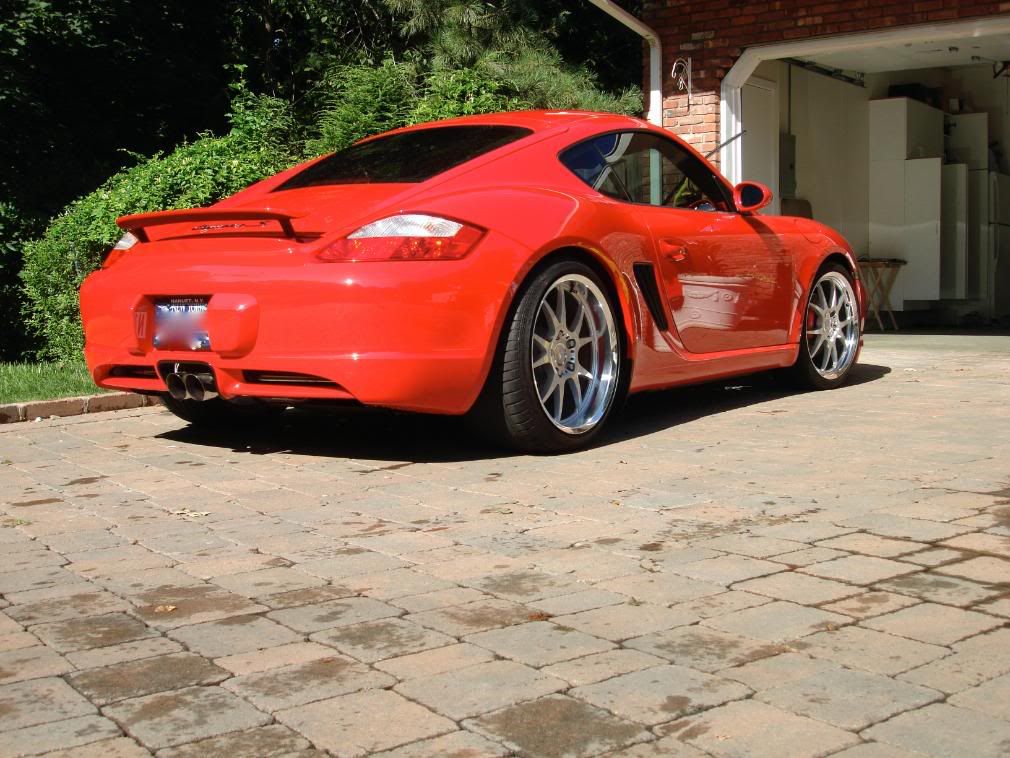
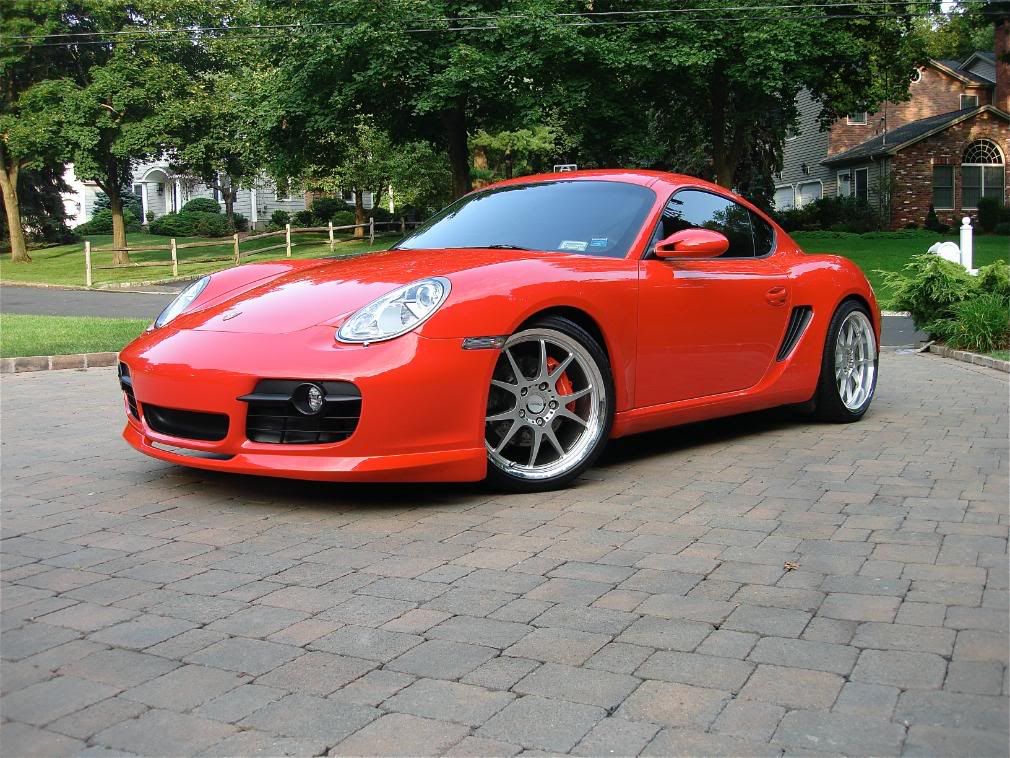
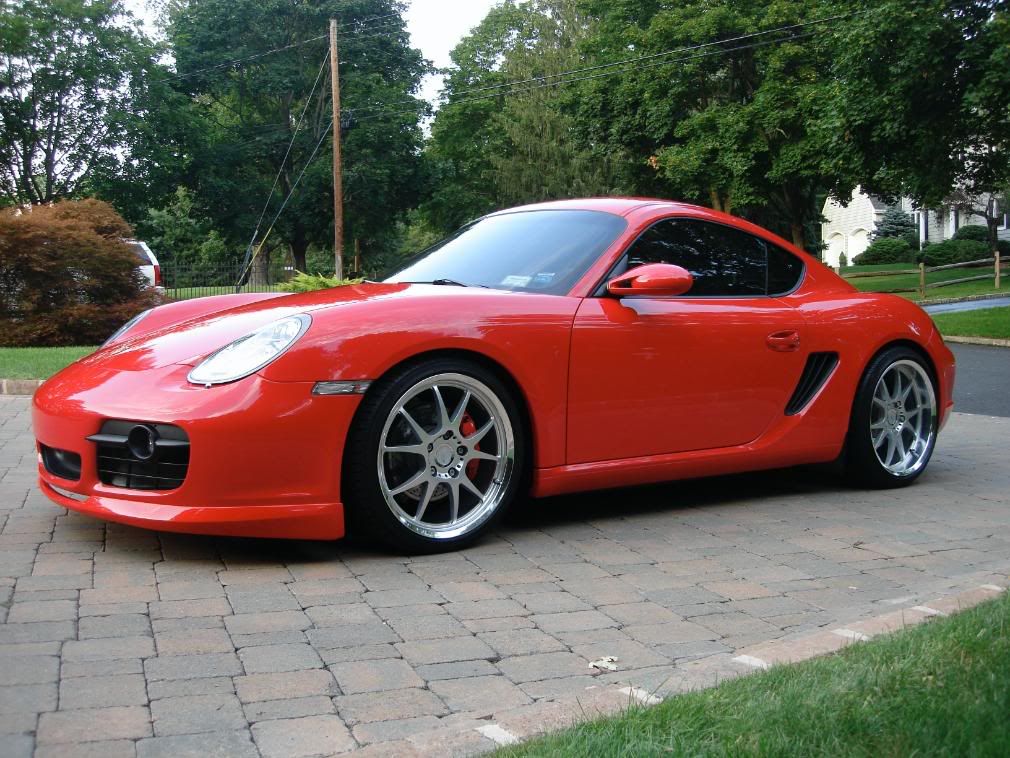
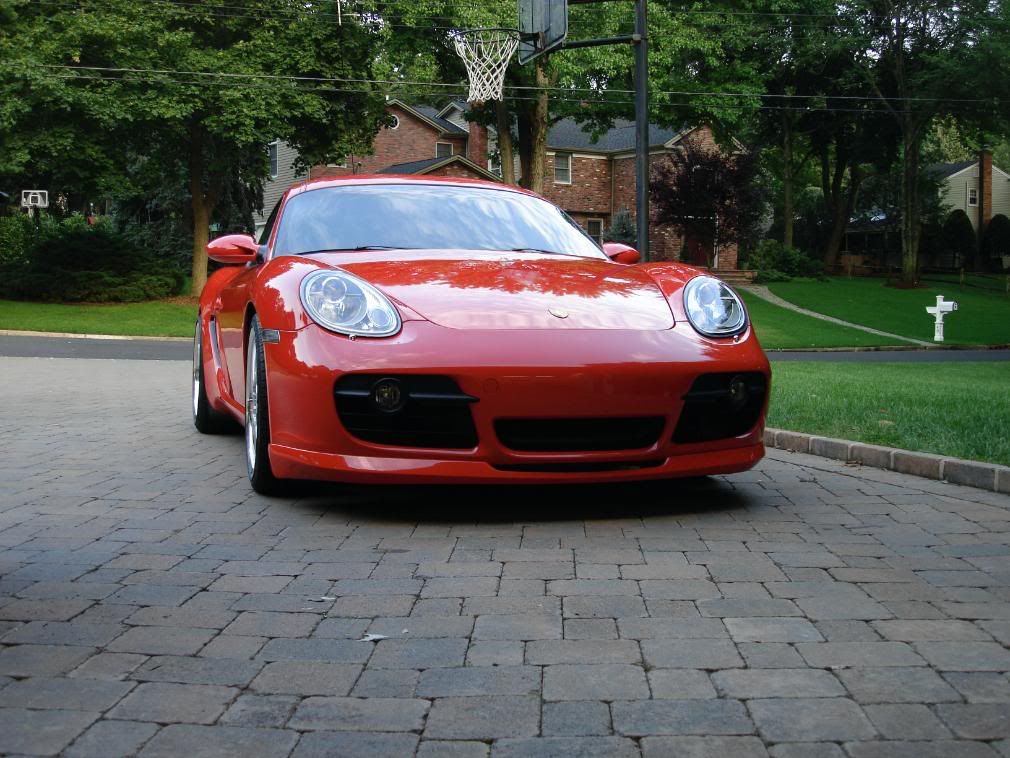
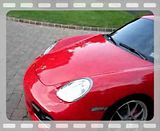
I was very exited to start this detail. I knew I was doing a red cayman but I didnt know it looked like this! Hatchimon (Mike) dropped the car off in very good condition, but it needed some TLC to bring out its true aesthetic potential.
Heres the car after the wash, after just rinsing the car before washing I saw it was already beading nicely so I had to be sure that any prior wax applied was stripped off so I used the 2BM and P21s TAW with 2 schmitts.
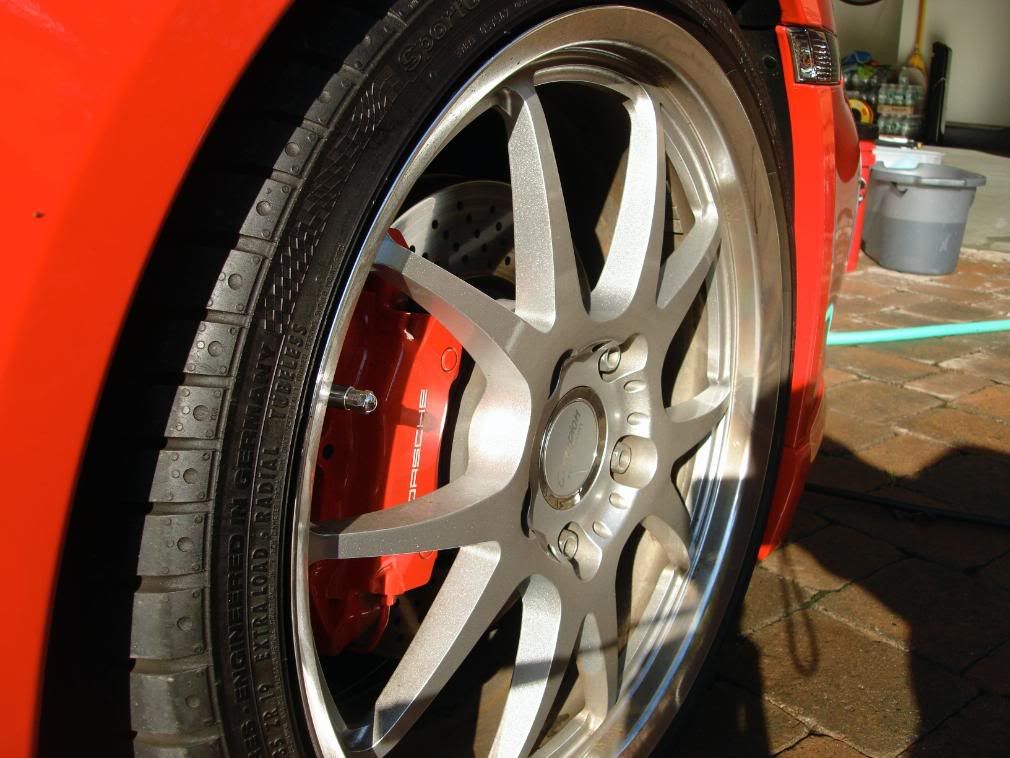
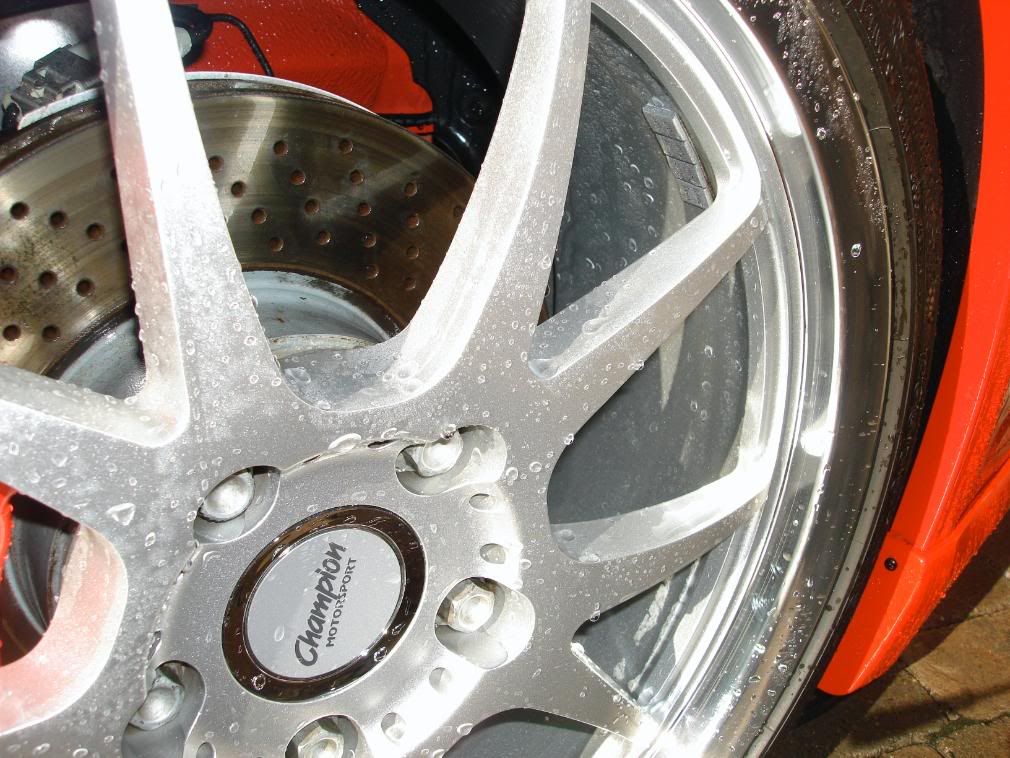
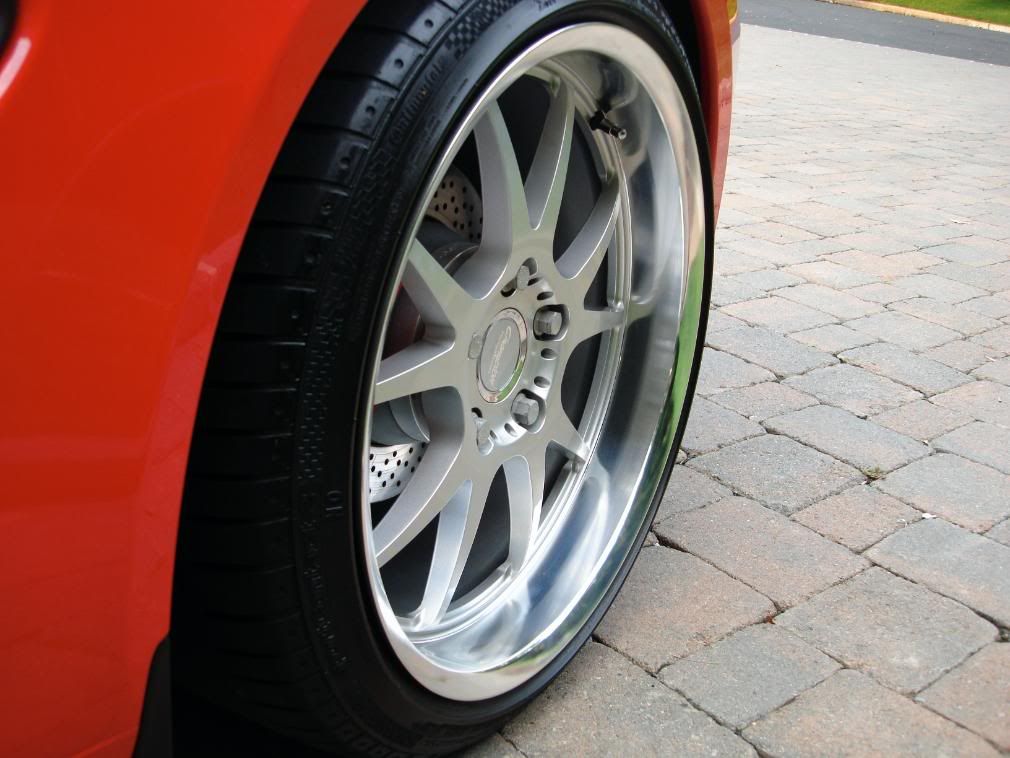
First I did the wheels. P21s gel was used to ensure no damage was done to the Champion wheels finish or the braking system
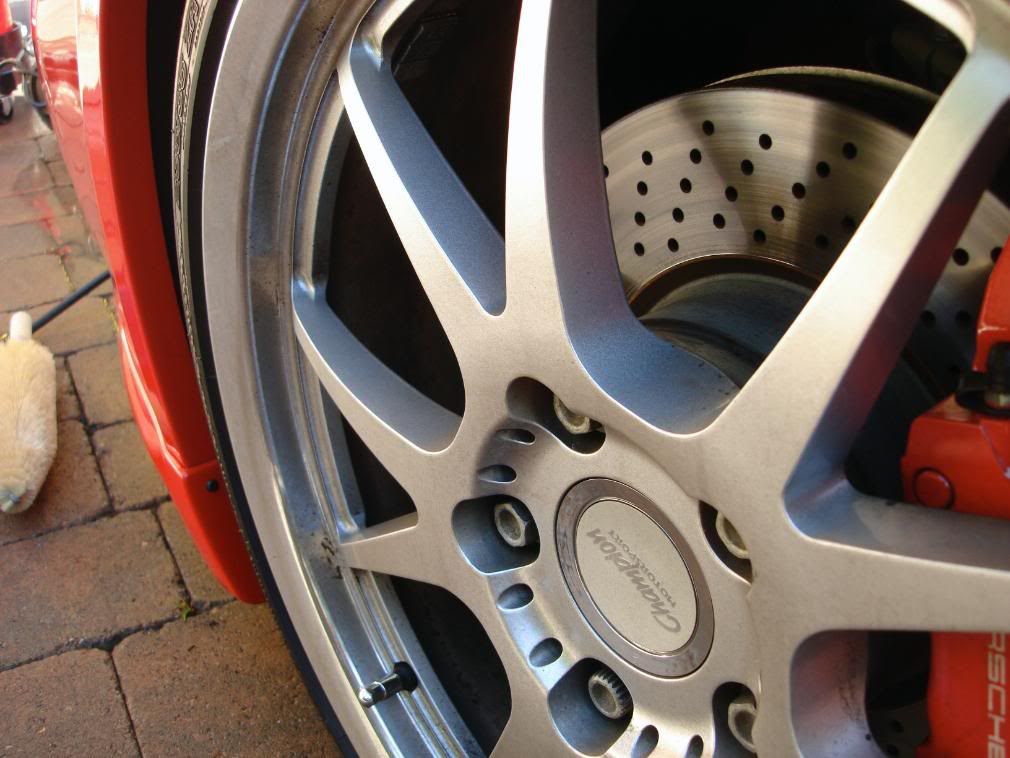
Letting dwell for 15minutes...
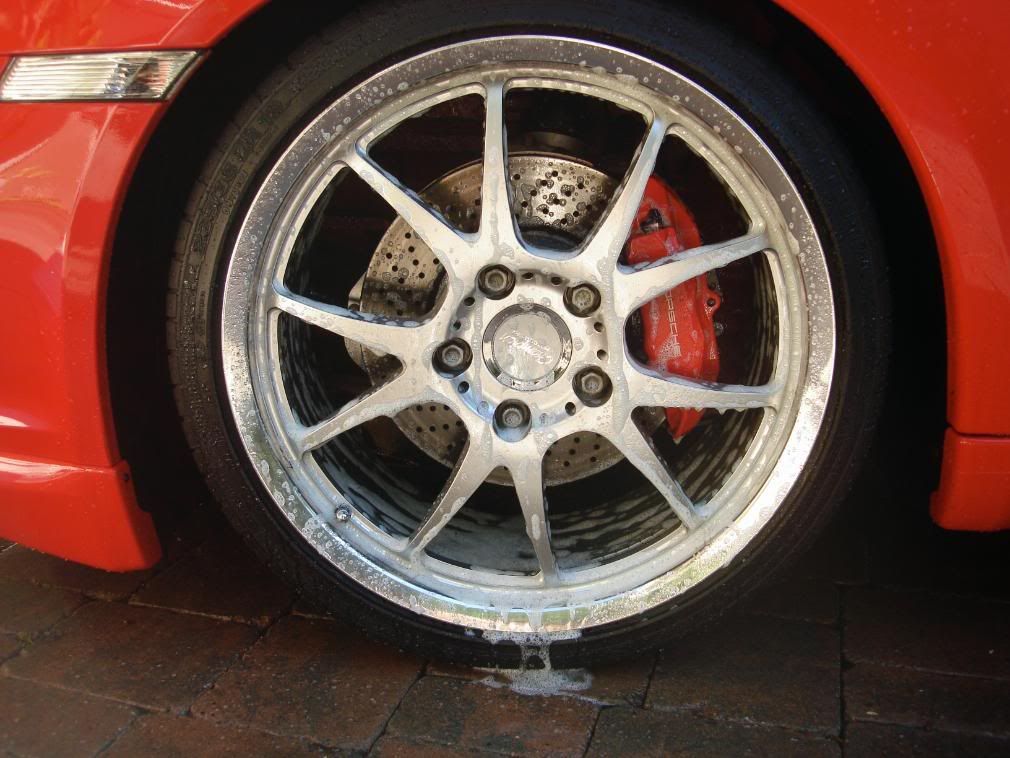
After
The front passenger wheel was the worst
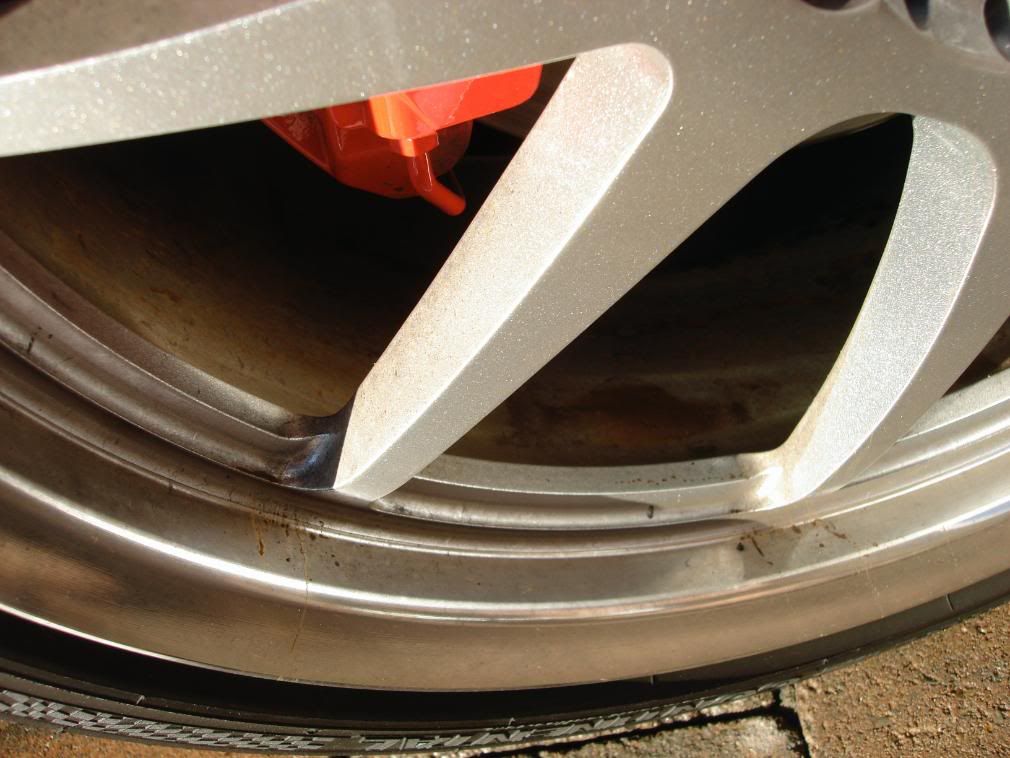
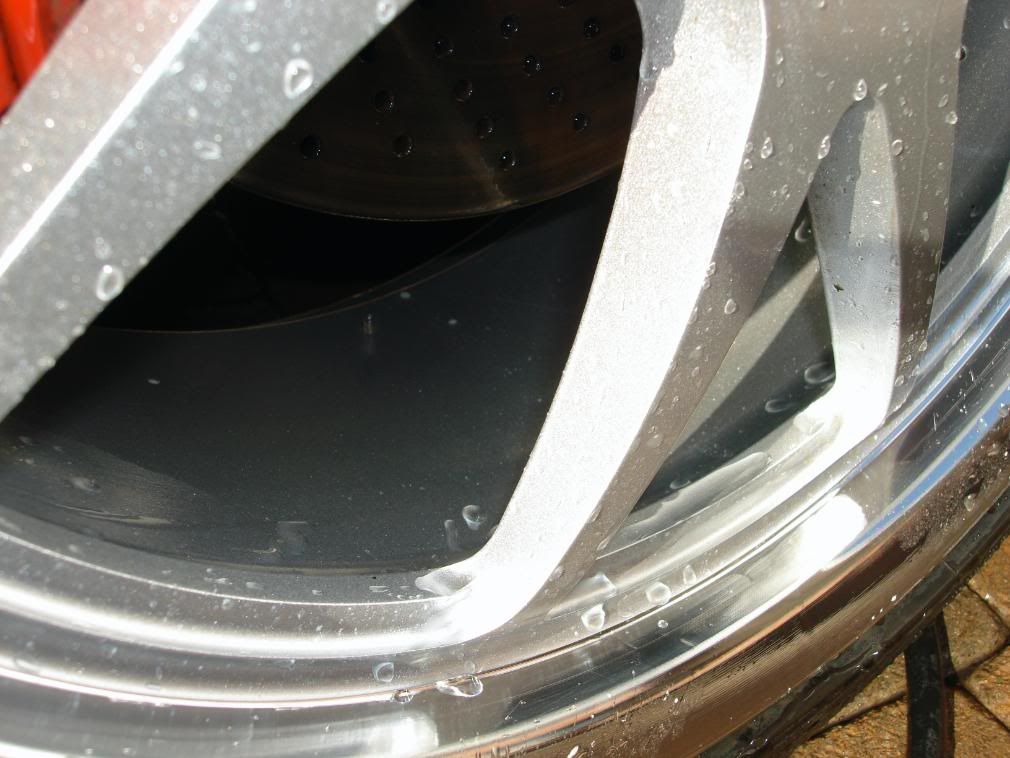
After cleaning I used AG intensive tar remover to dissolve the stubborn tar spots
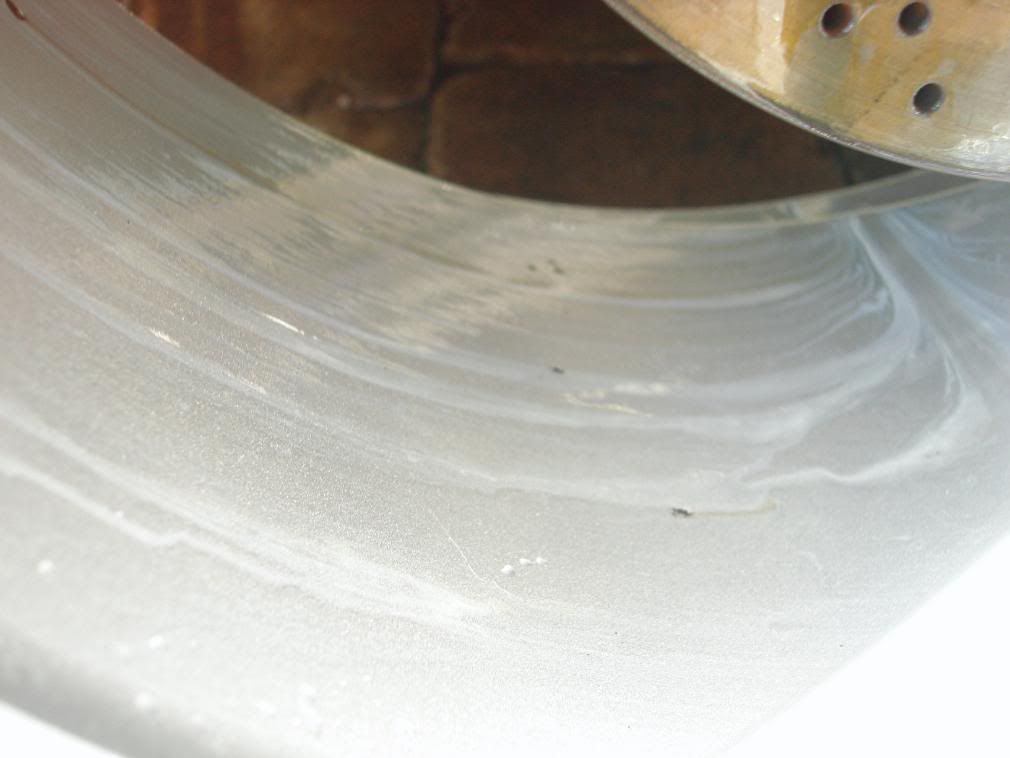
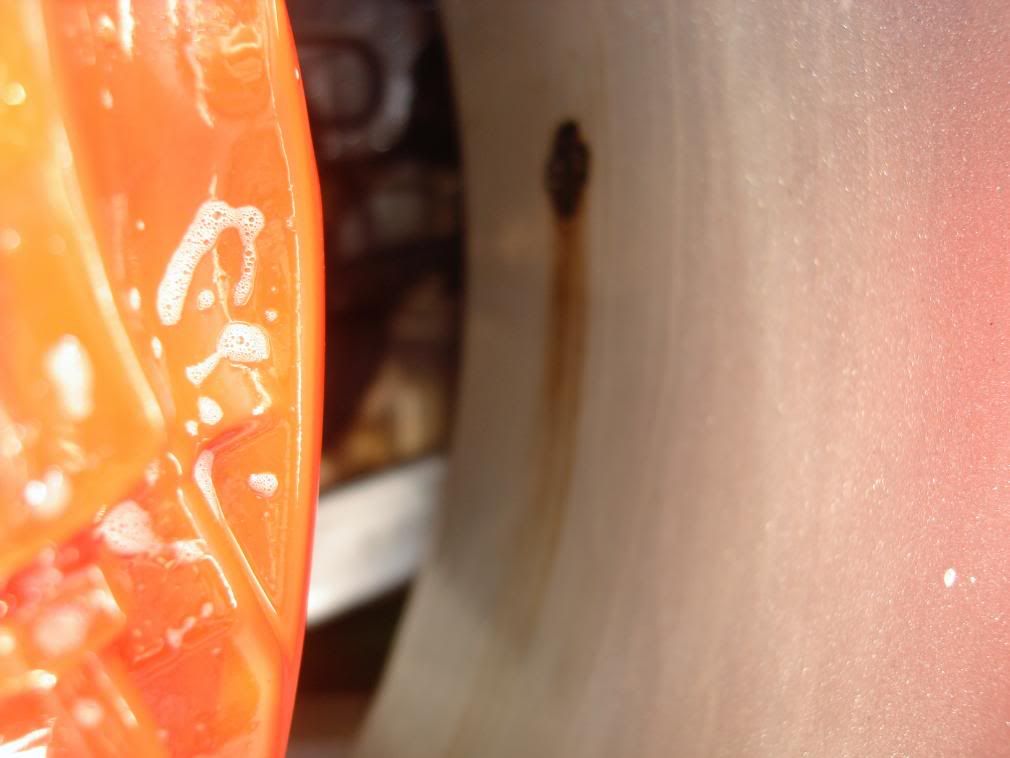
After
Heres the car after the wash, after just rinsing the car before washing I saw it was already beading nicely so I had to be sure that any prior wax applied was stripped off so I used the 2BM and P21s TAW with 2 schmitts.
First I did the wheels. P21s gel was used to ensure no damage was done to the Champion wheels finish or the braking system
Letting dwell for 15minutes...
After
The front passenger wheel was the worst
After cleaning I used AG intensive tar remover to dissolve the stubborn tar spots
After
Last edited by Smoke7; 08-07-2008 at 01:53 PM.
#2
08-07-2008, 01:47 PM
Join Date: Jun 2008
Location: New Jersey
Posts: 272
Rep Power: 28
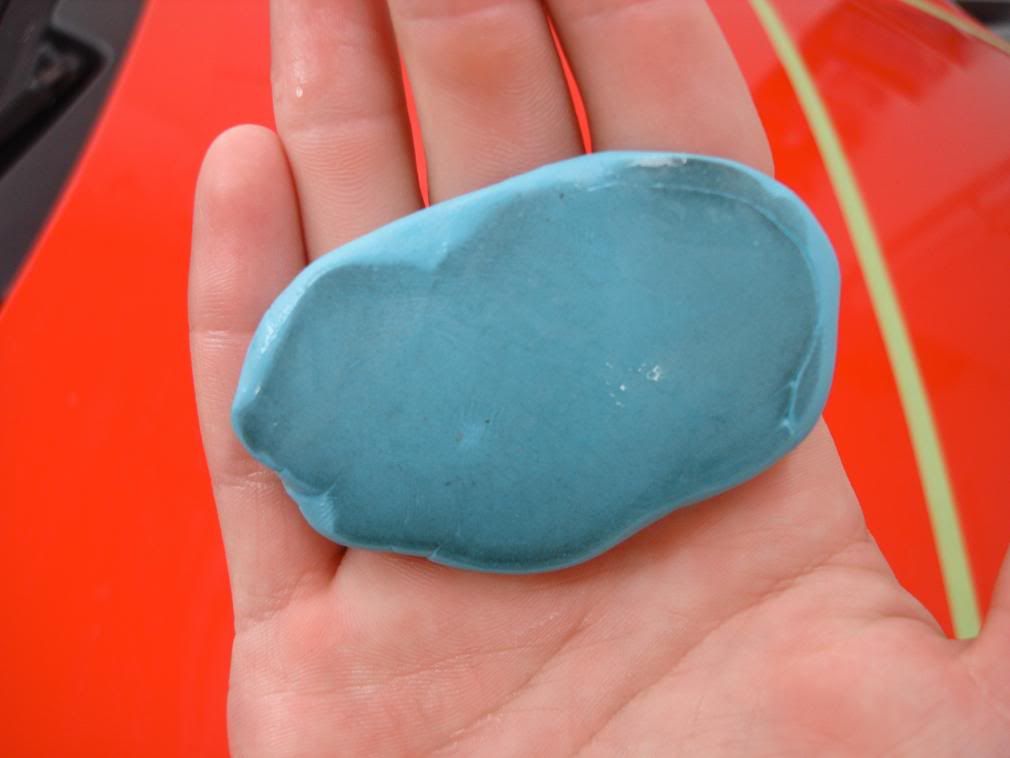
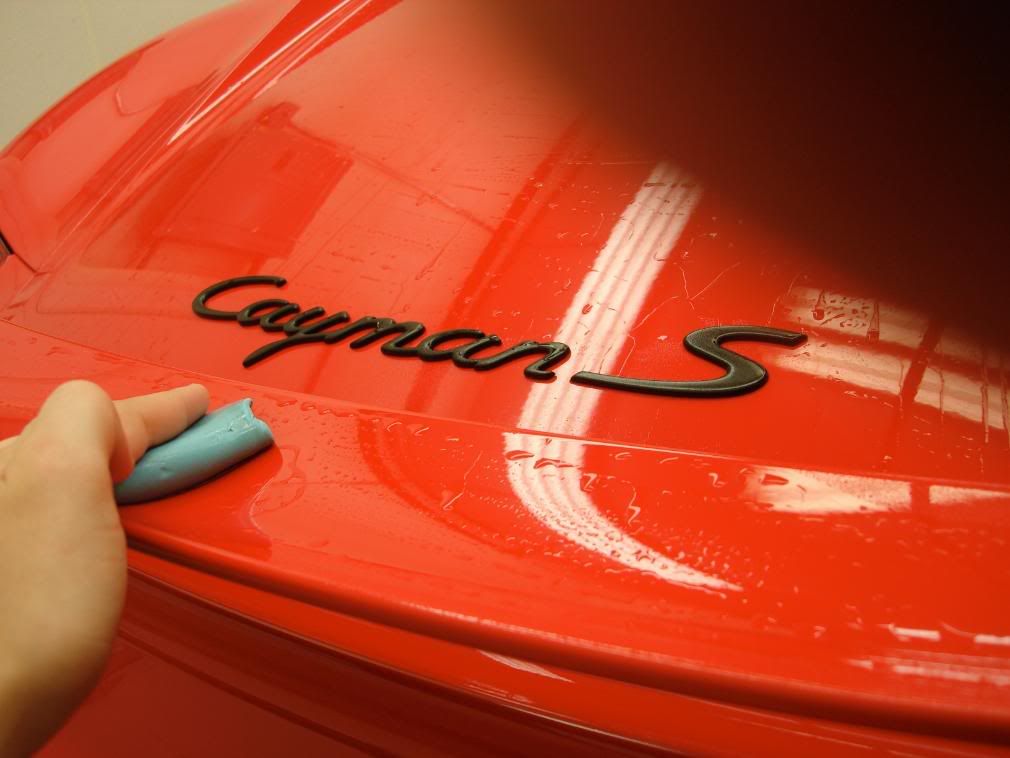
Onto to claying
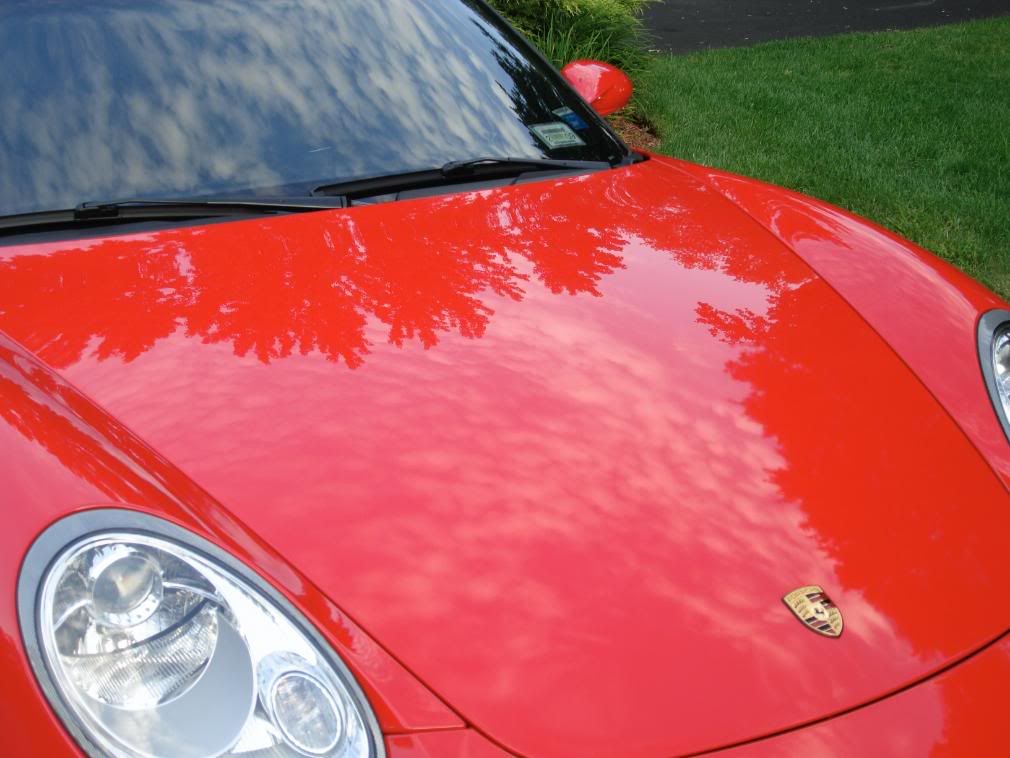
Just after 1/2 the hood... the worst of the contaminats were on the hood, the rest of the body was fairly smooth.
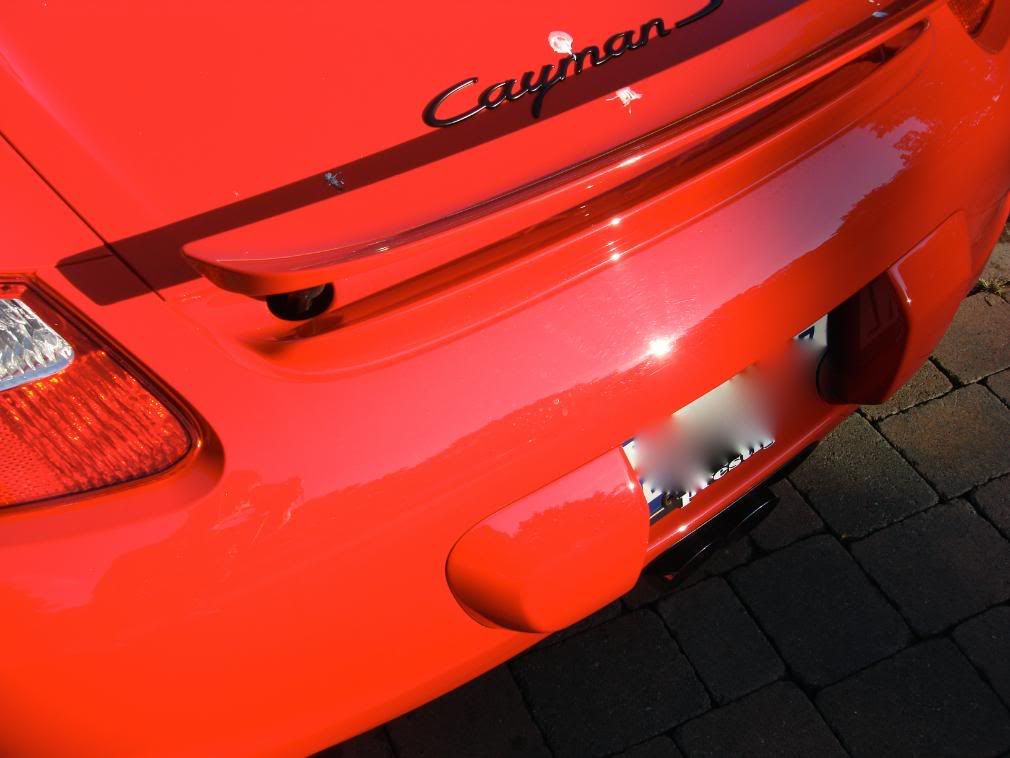
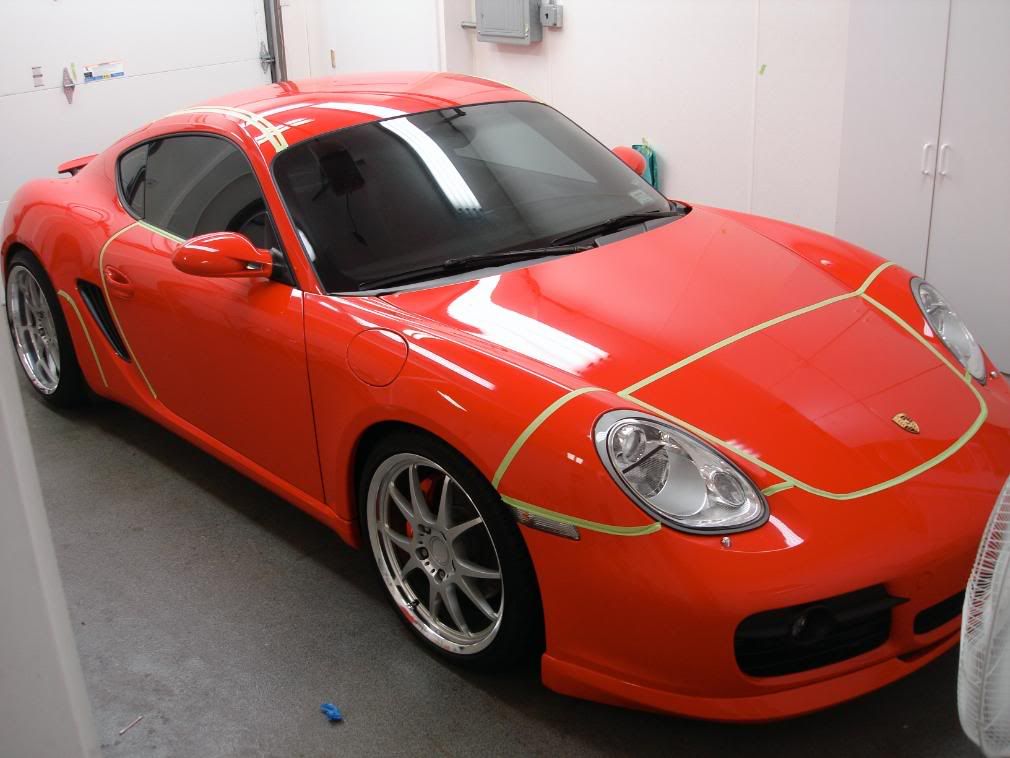
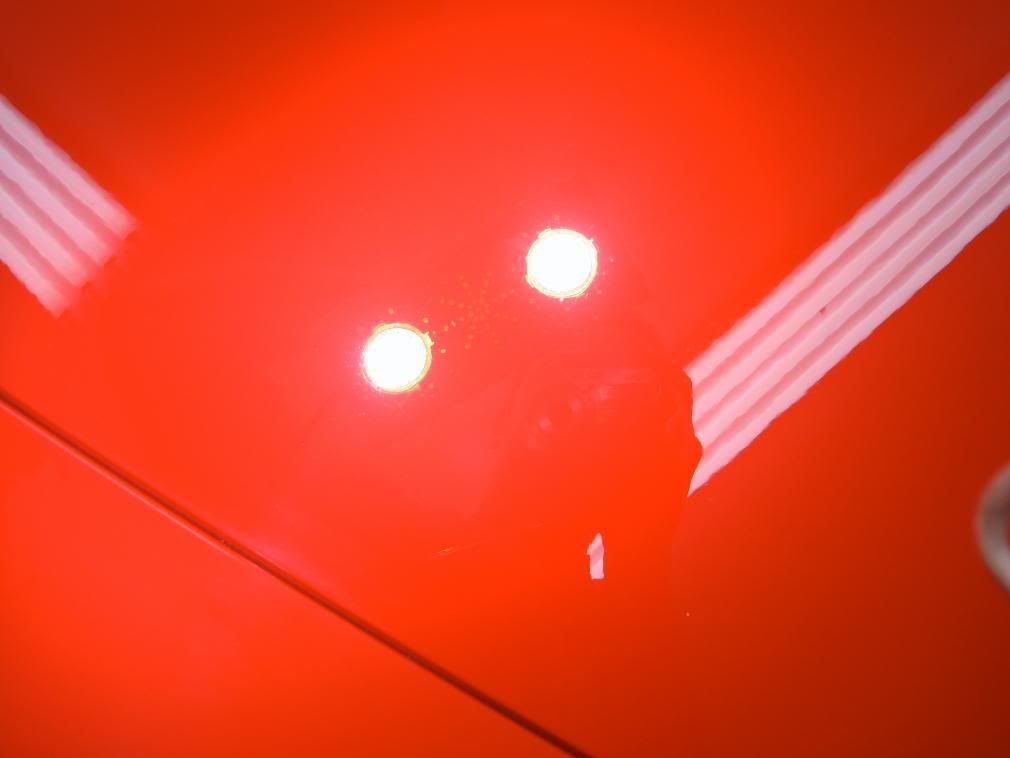
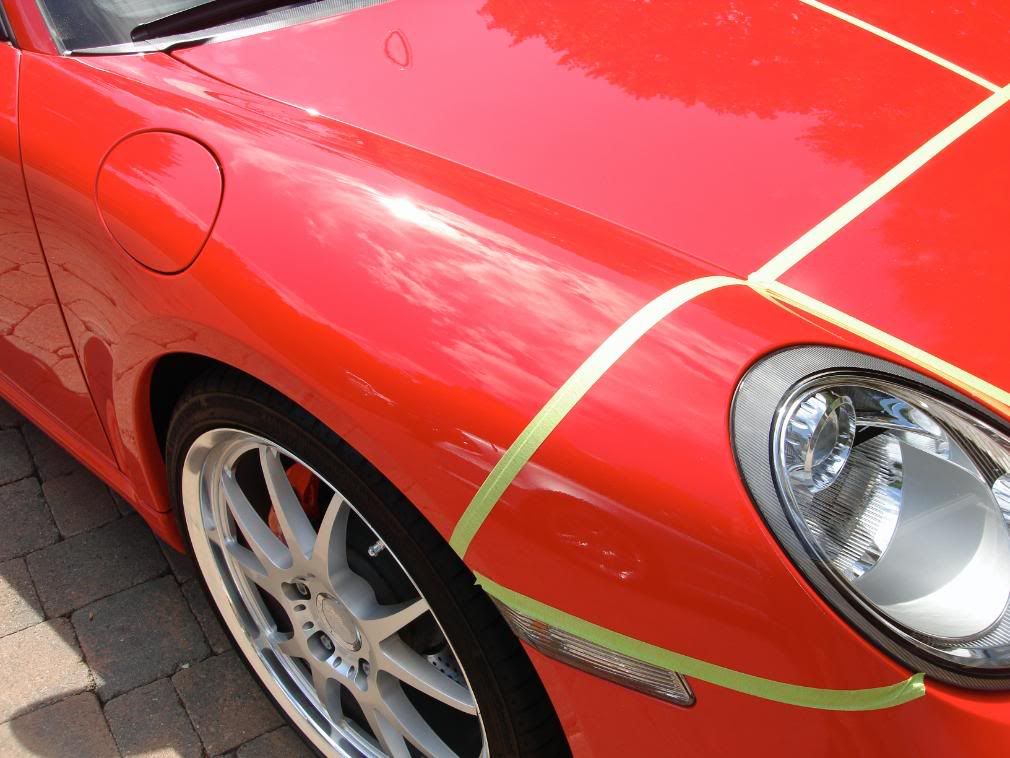
Here are some before shots of the car in sunligh to check for swirls
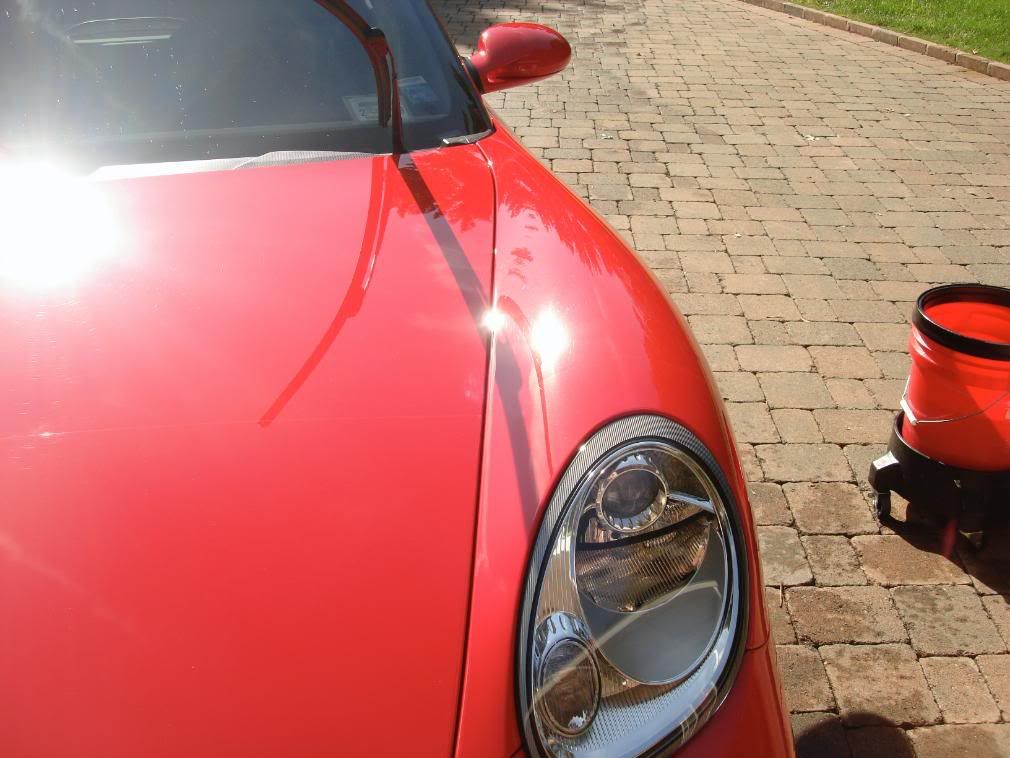

A bird must have though red meant bullseye
After claying I used PB spray and wipe to prep the finish for polishing
The car was moderatley swirled. It was booked for a 1 step correction. I was able to remover a solid amount of defect using Gloss It one step machine polish and the cyclo. I would say they car was 70-80% perfect after.
Hood before
Hood after
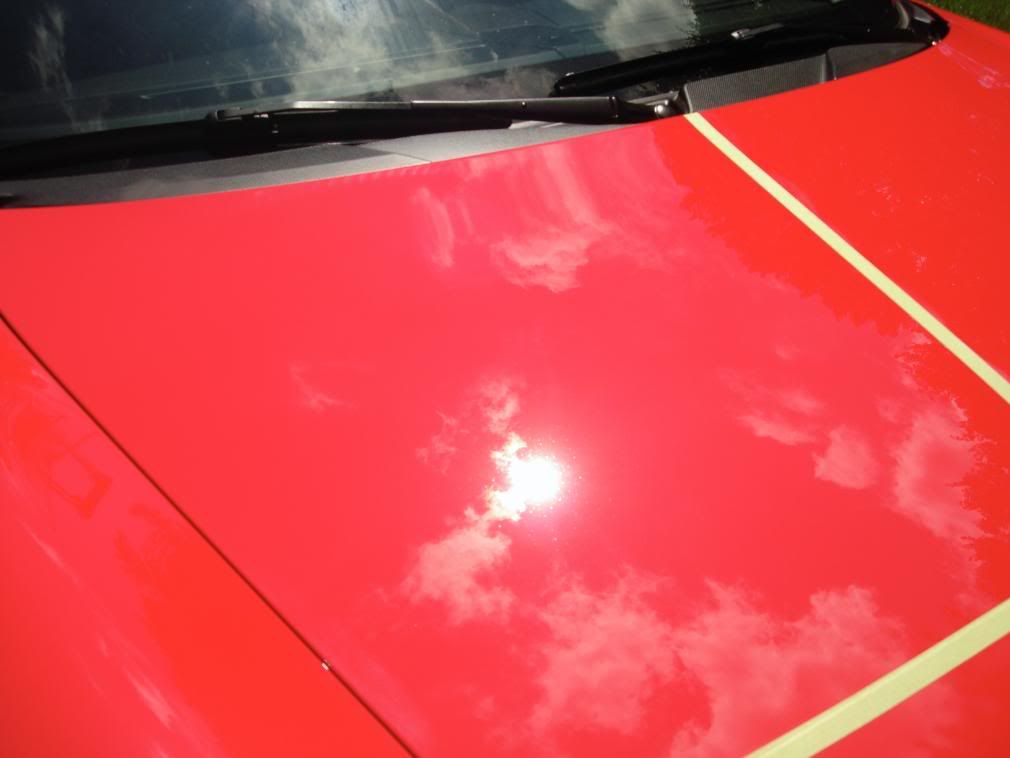
Just after 1/2 the hood... the worst of the contaminats were on the hood, the rest of the body was fairly smooth.
Here are some before shots of the car in sunligh to check for swirls
A bird must have though red meant bullseye
After claying I used PB spray and wipe to prep the finish for polishing
The car was moderatley swirled. It was booked for a 1 step correction. I was able to remover a solid amount of defect using Gloss It one step machine polish and the cyclo. I would say they car was 70-80% perfect after.
Hood before
Hood after
#3
08-07-2008, 01:47 PM
Join Date: Jun 2008
Location: New Jersey
Posts: 272
Rep Power: 28 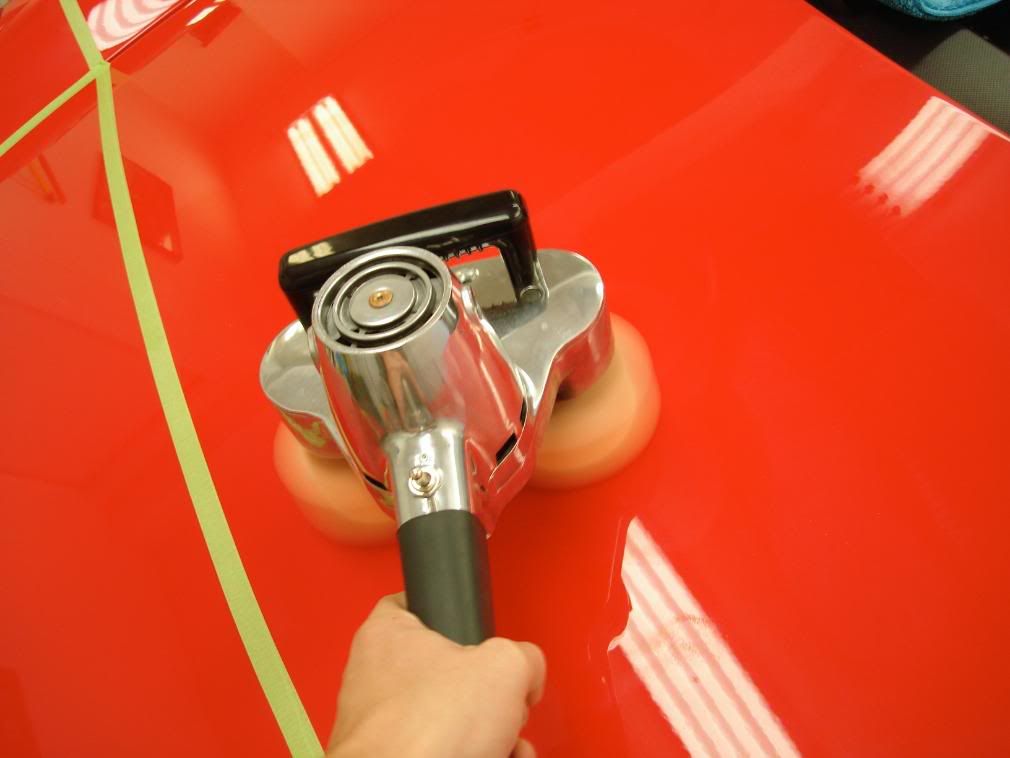
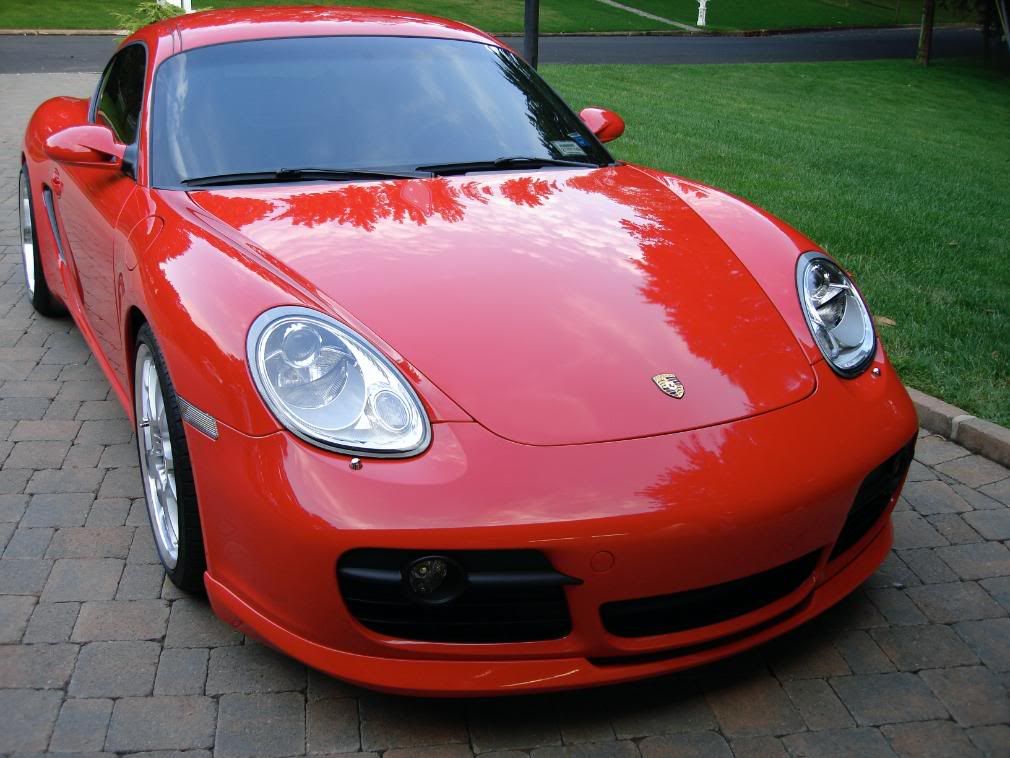
Post Polishing shots, No LSP was applied this is after a thorough IPA wipdown
More post polishing shots outside, again there is NO LSP on this car
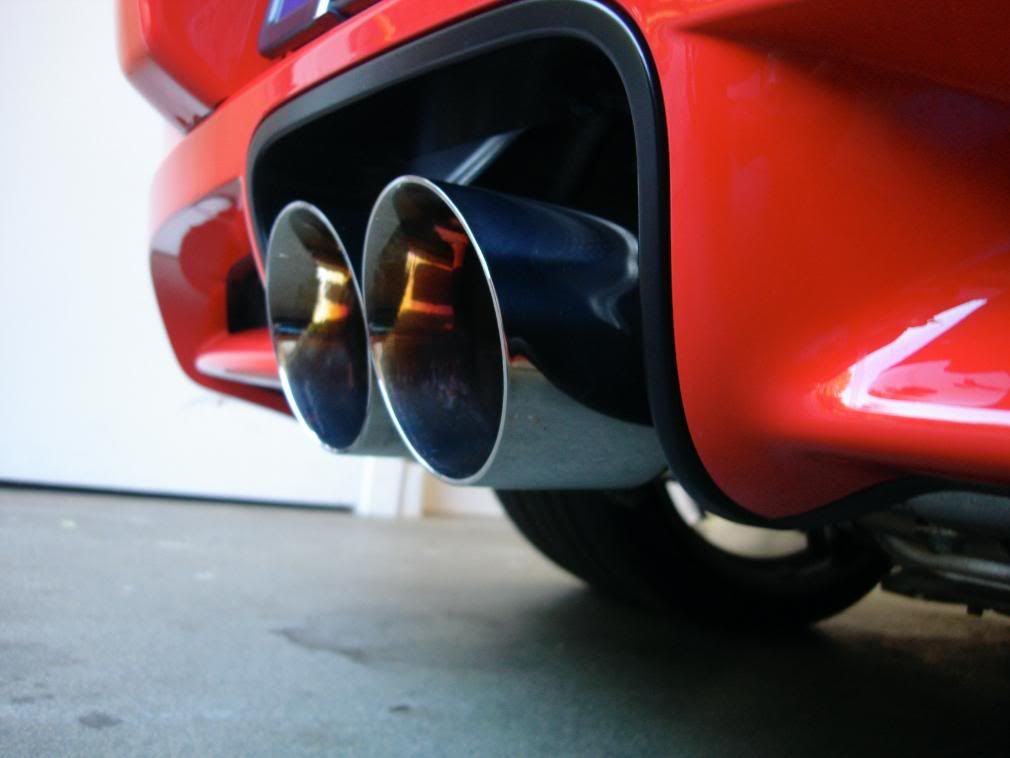
The B&B exhaust was polished with #0000 steel wool and Noxon, it sounded really great on the Cayman, very deep and throaty.
Now onto LSP application. I chose Gloss It Signature Gloss for its great clarity and depth, yes its a sealant and has depth! I applied it very thin via Flex and a LC blue final finishing pad. 2 coats were applied followed by a Gloss Enhancer QD wipedown (similar to using a Z8 or Z6 spray after applying Zaino)
#5
08-07-2008, 01:49 PM
Join Date: Jun 2008
Location: New Jersey
Posts: 272
Rep Power: 28 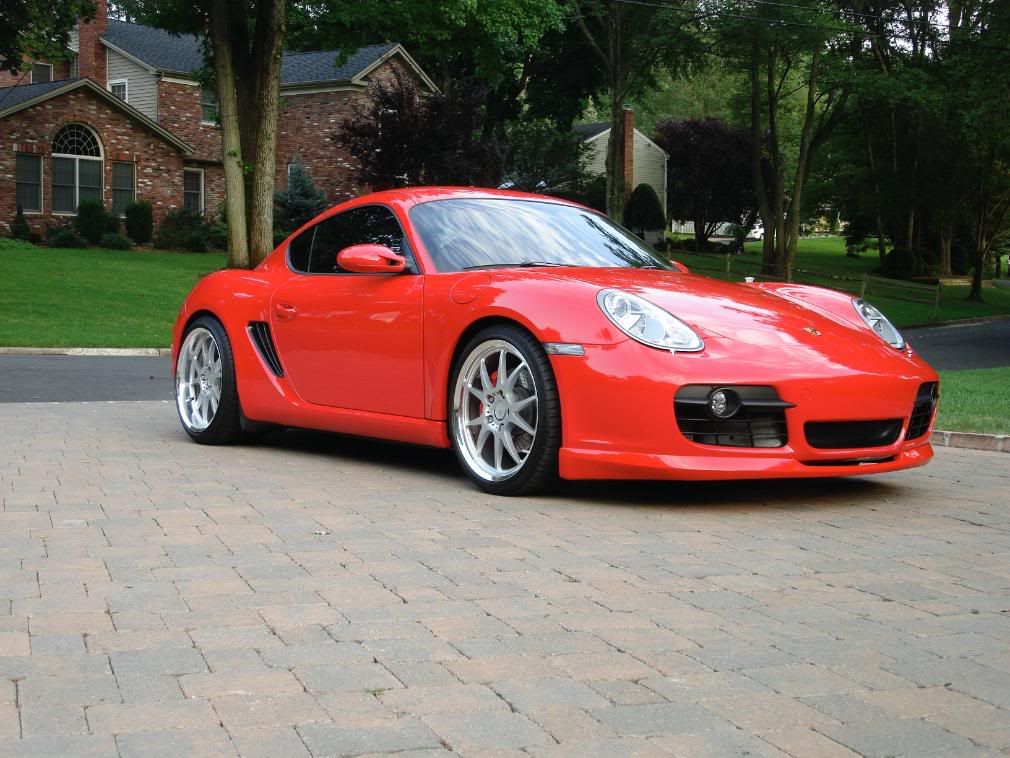
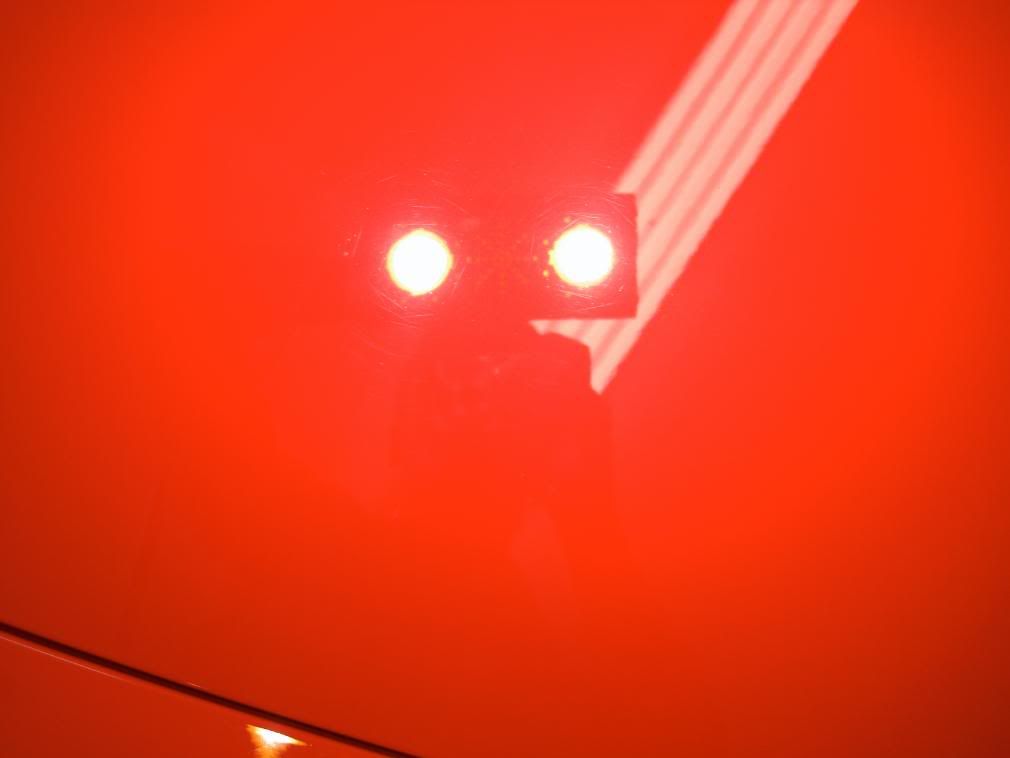
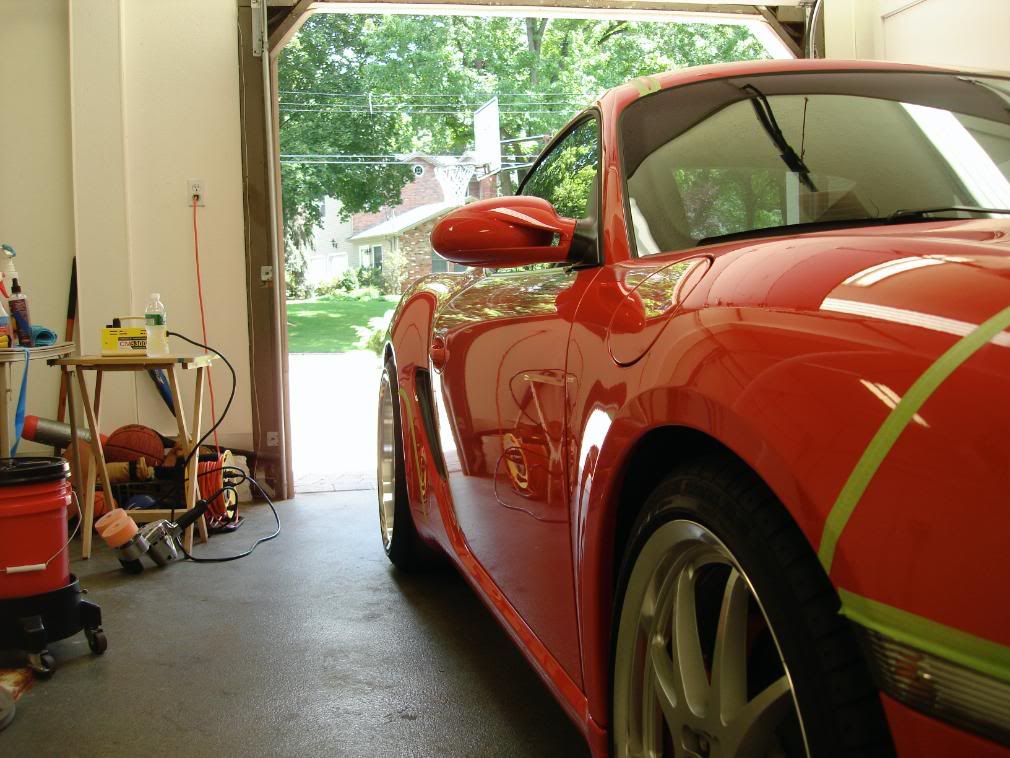
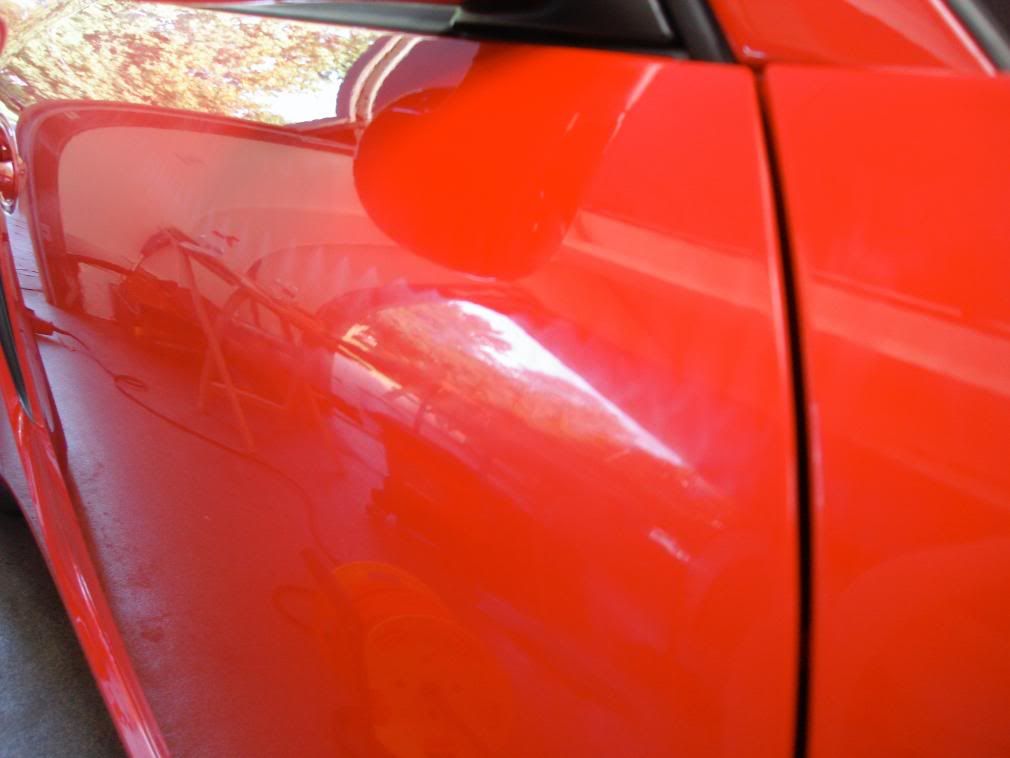
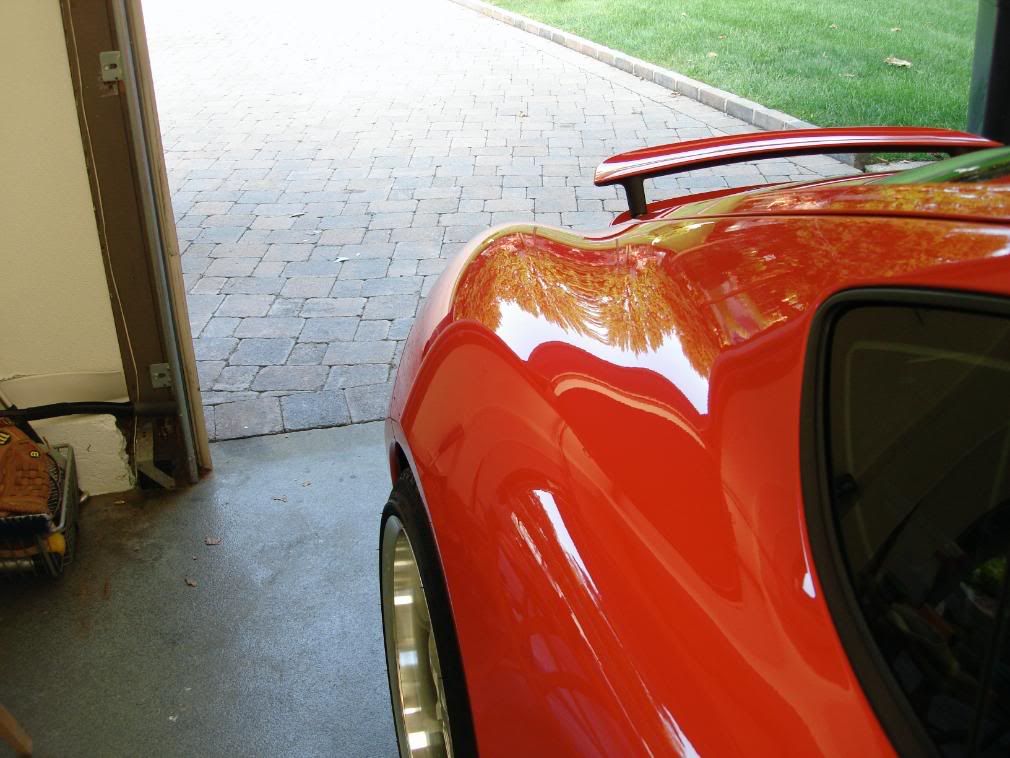
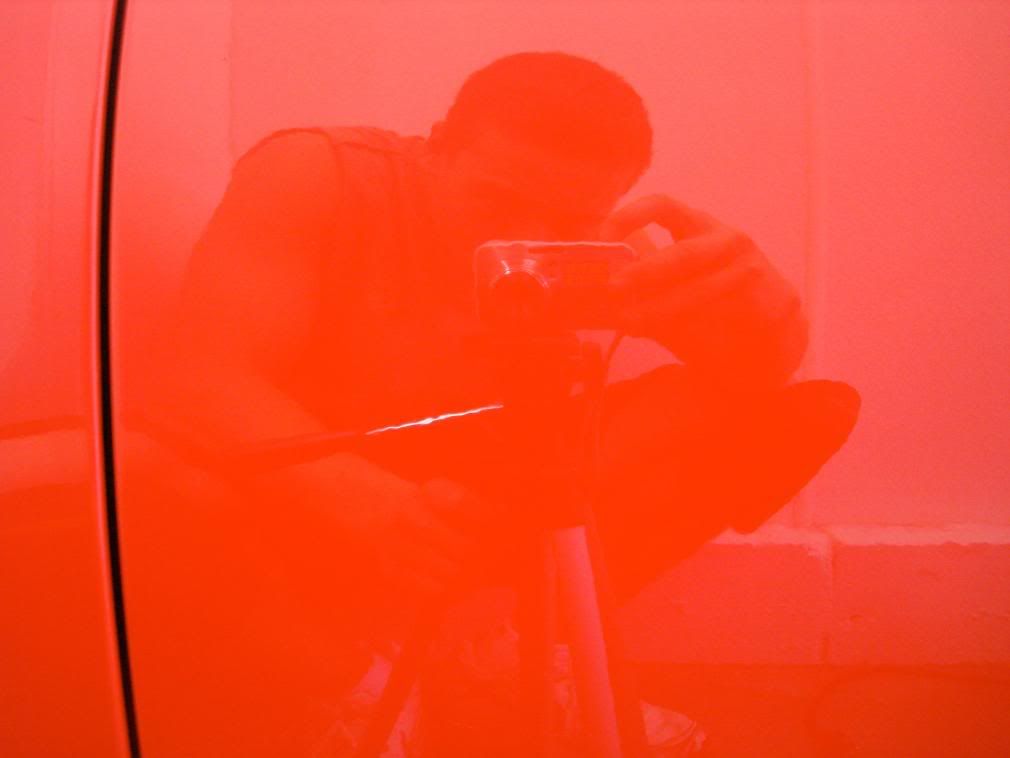
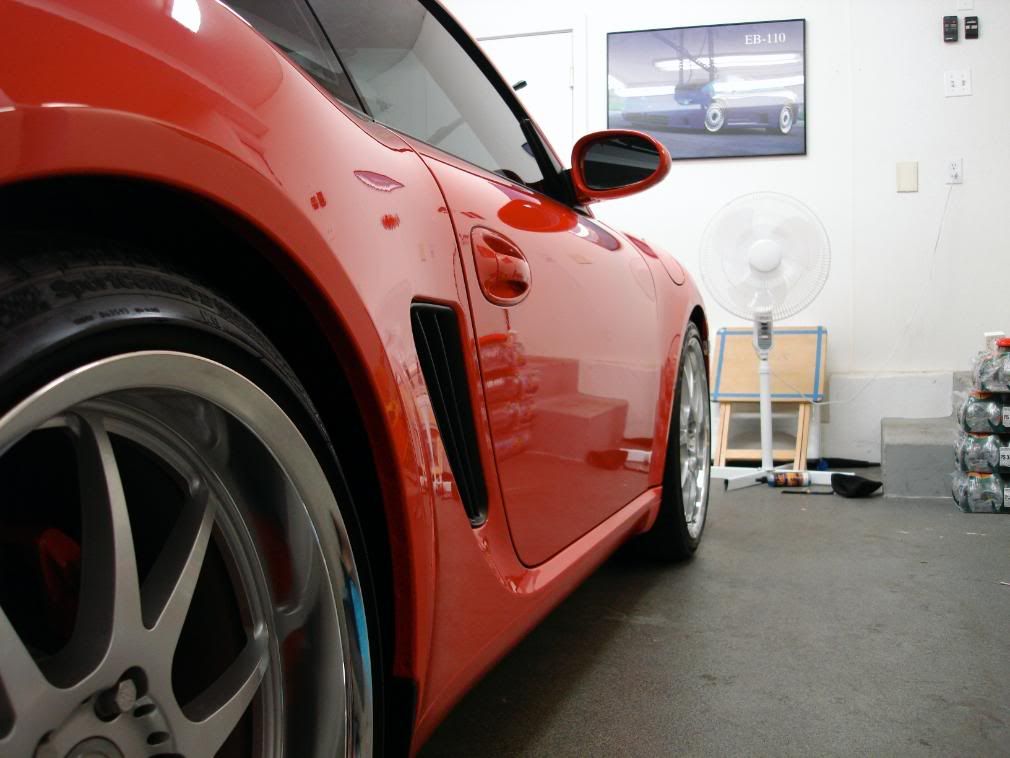
Here is a picture I took before polishing and LSP
You cant see my reflection that well granted im in the garage but still the reflection is dull and un-crisp from what you can see of it.
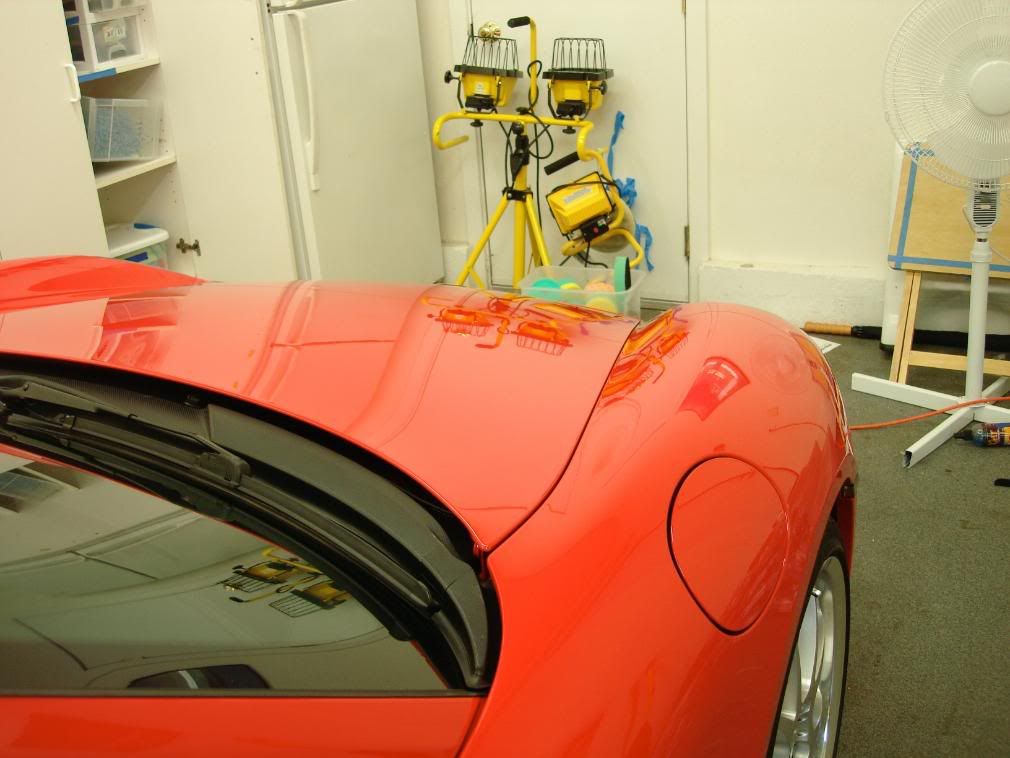
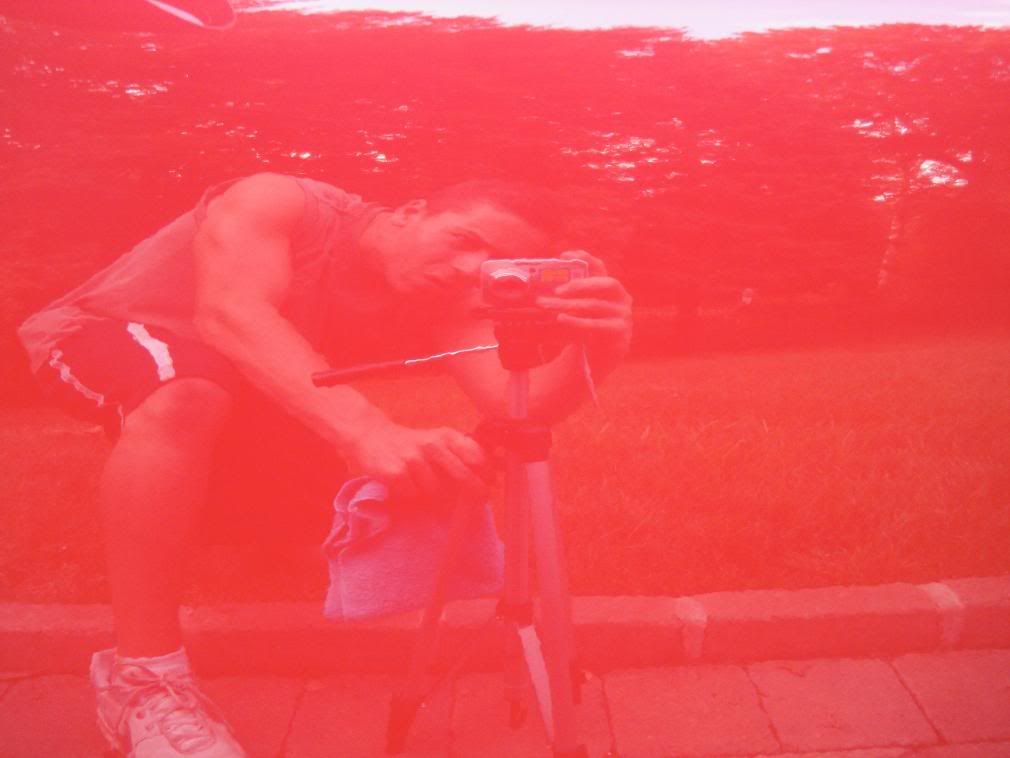
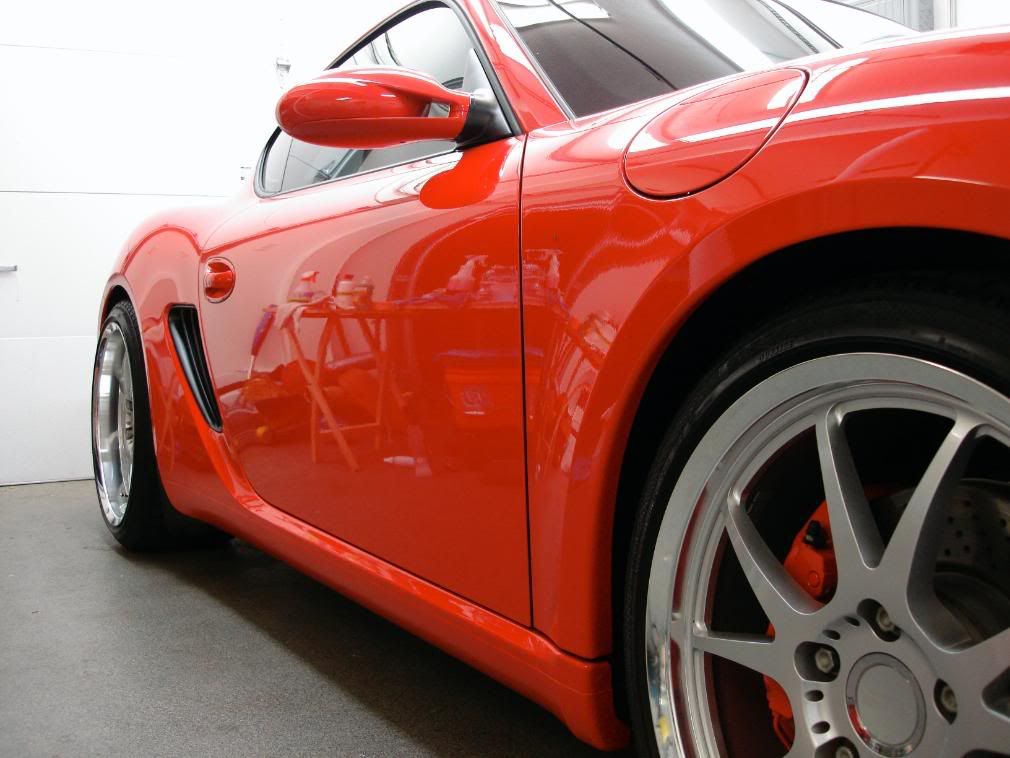
Here is one i took after
#6
08-07-2008, 01:50 PM
Join Date: Jun 2008
Location: New Jersey
Posts: 272
Rep Power: 28
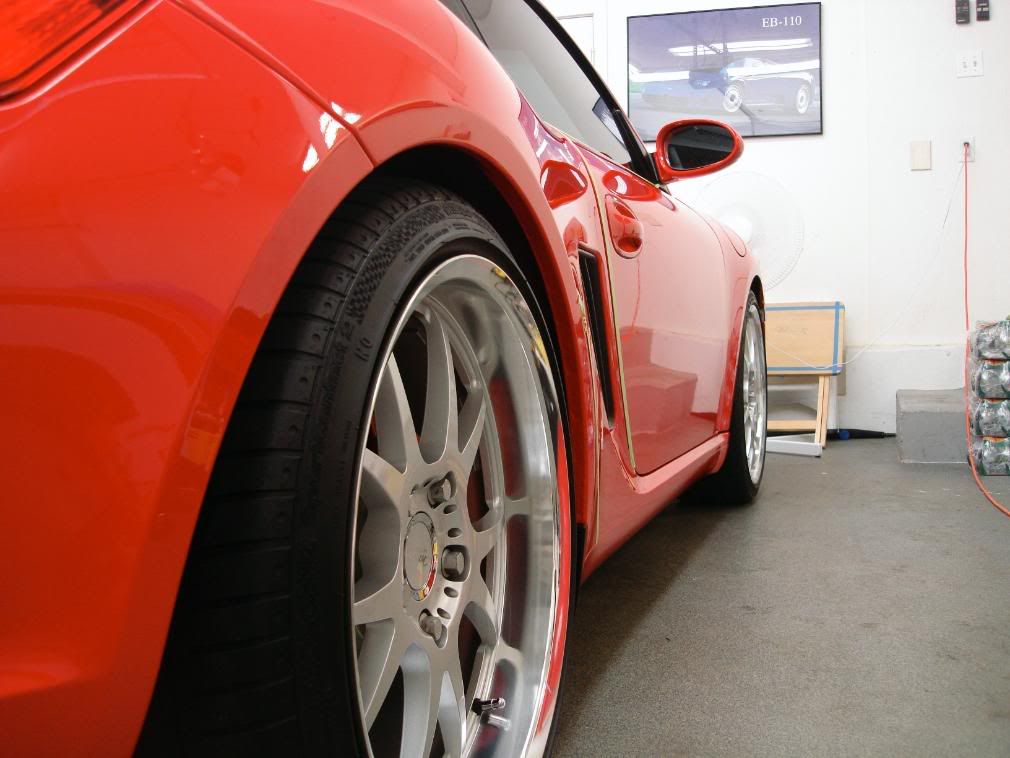
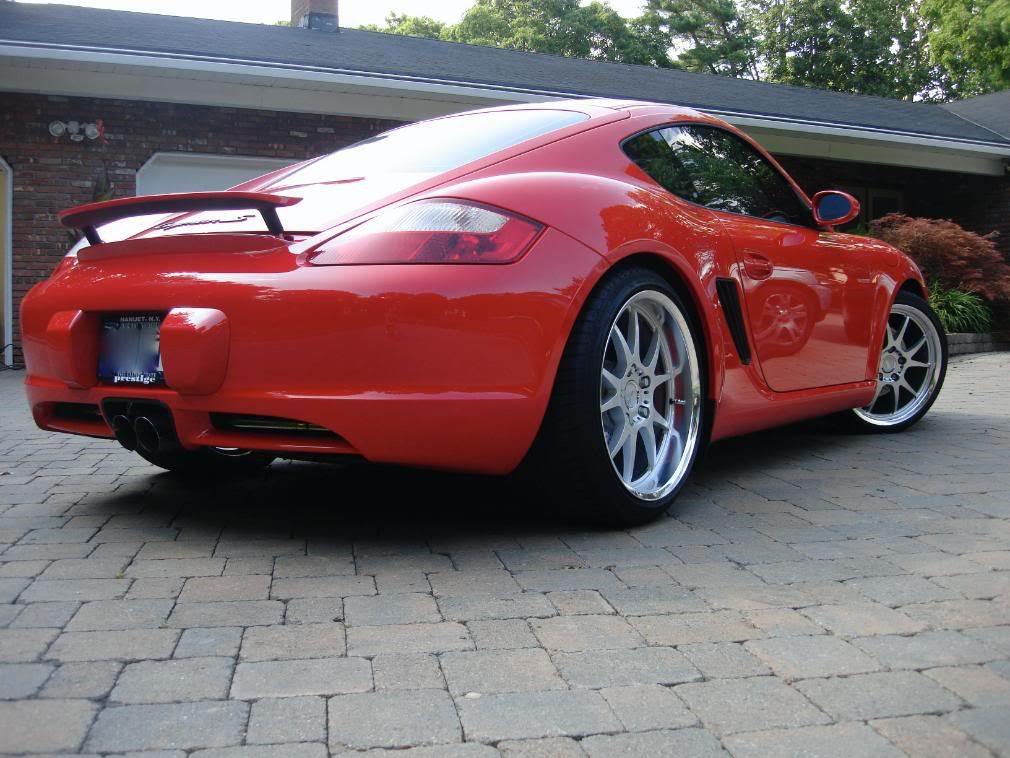
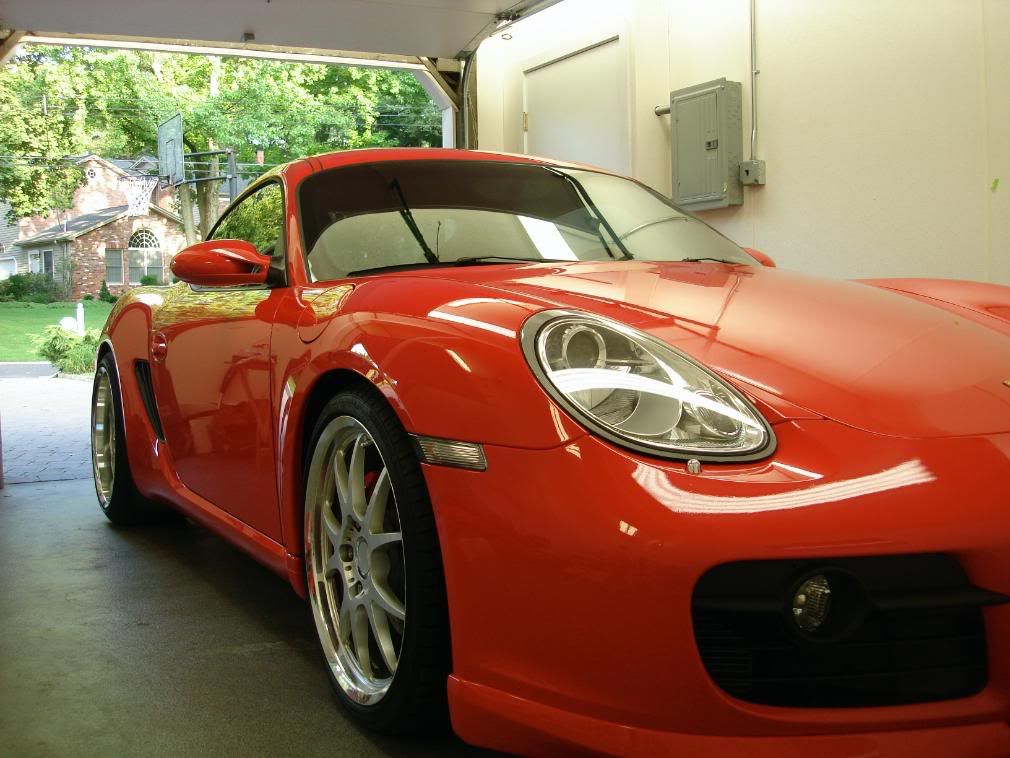
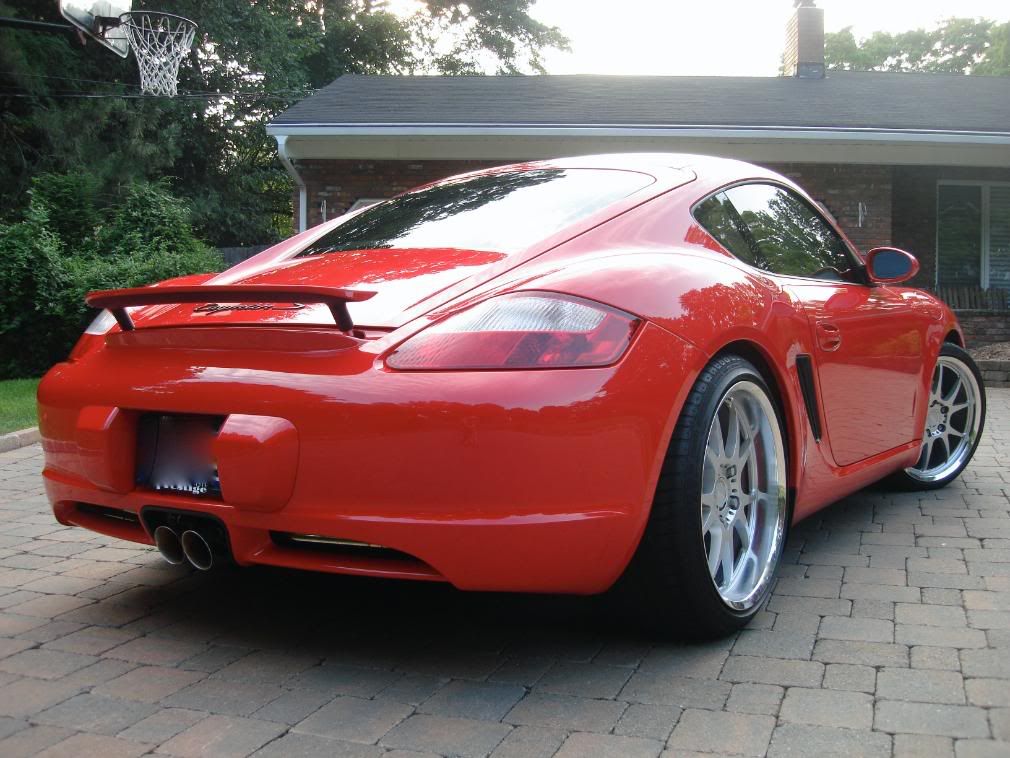
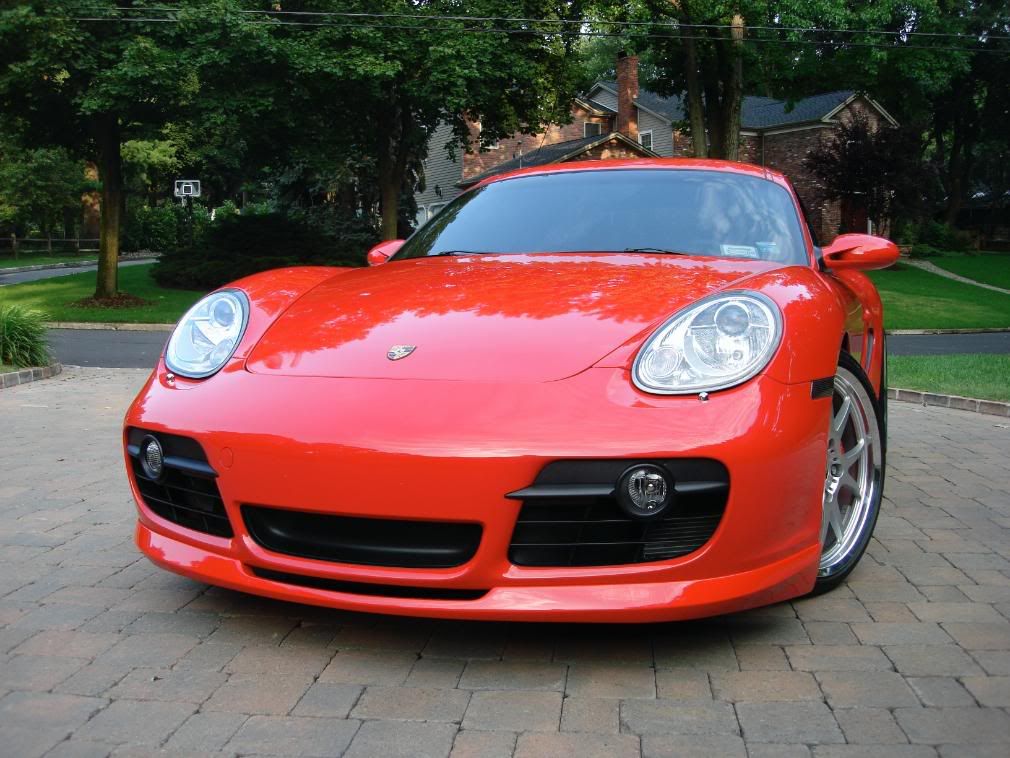
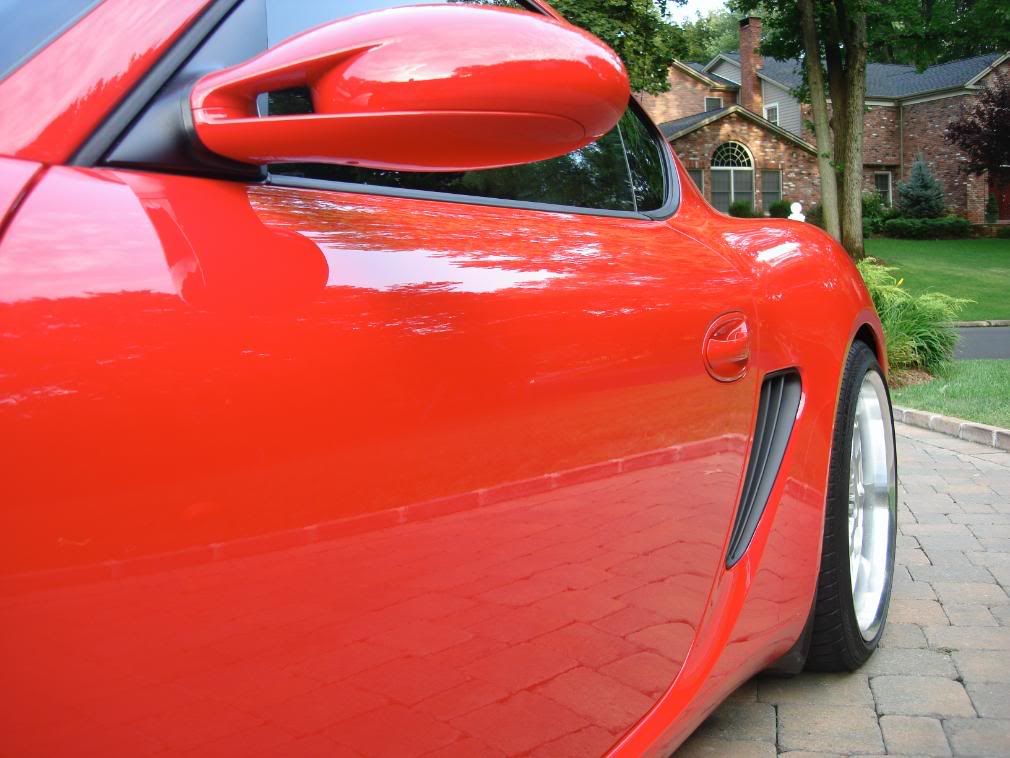
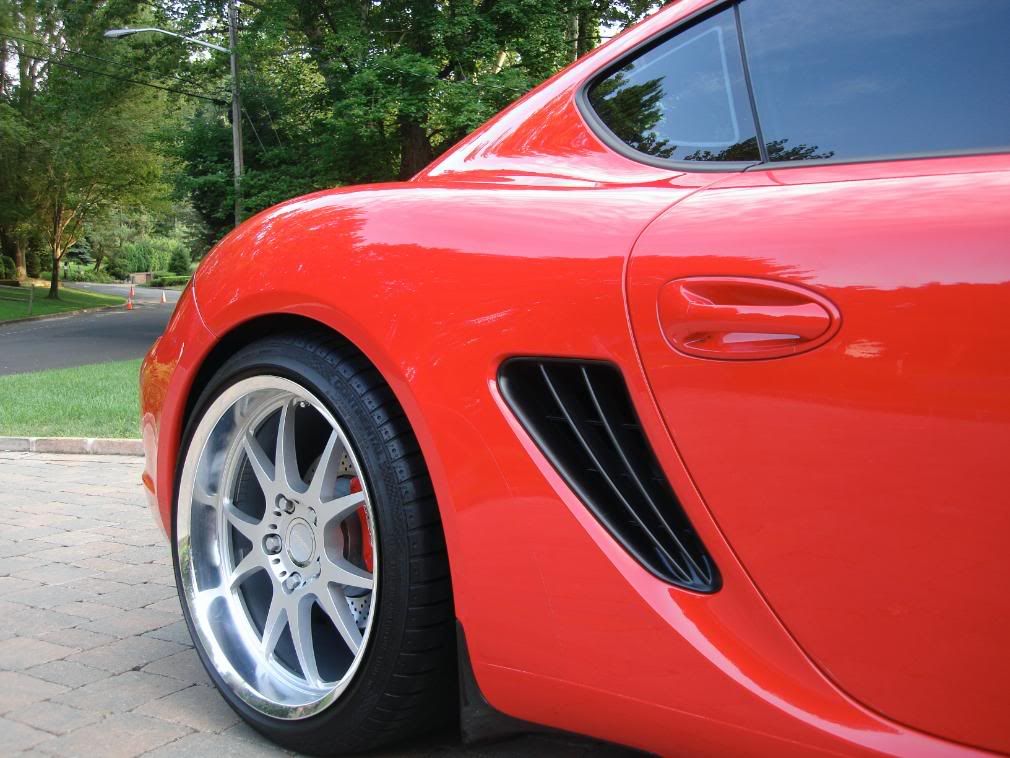
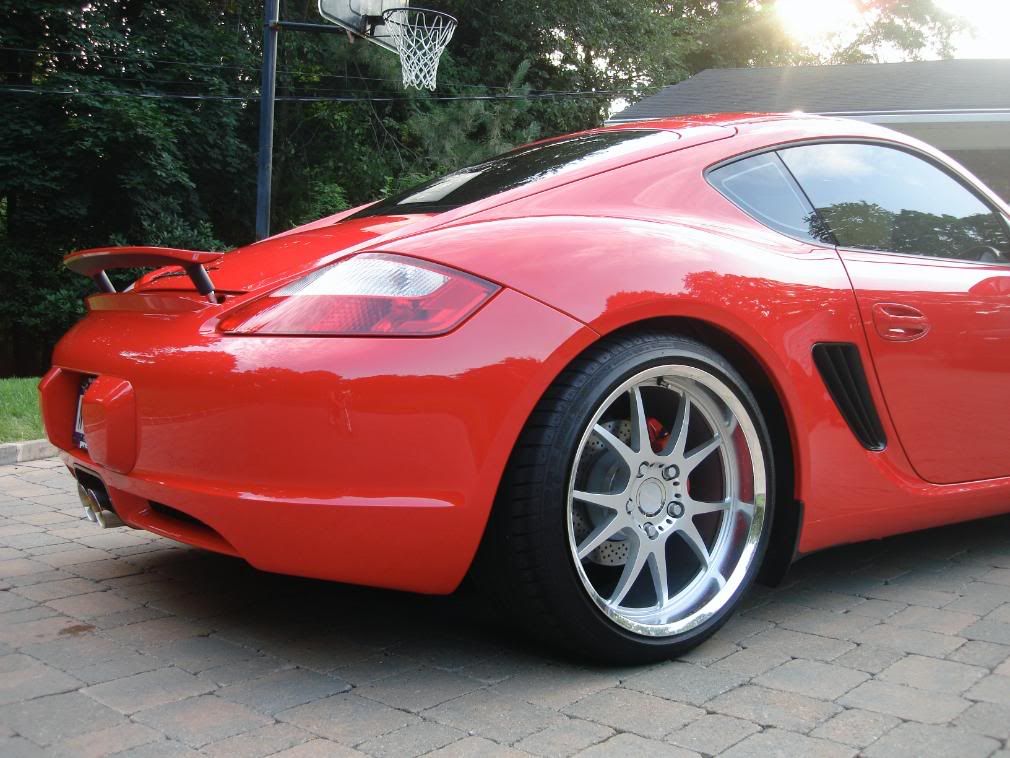
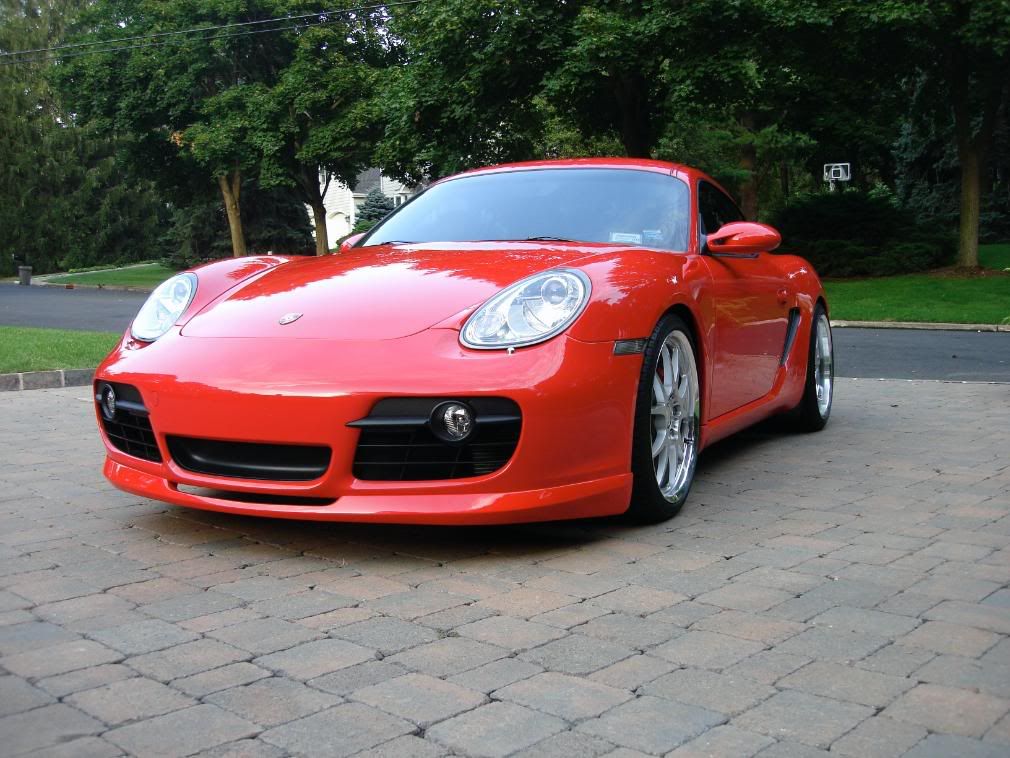
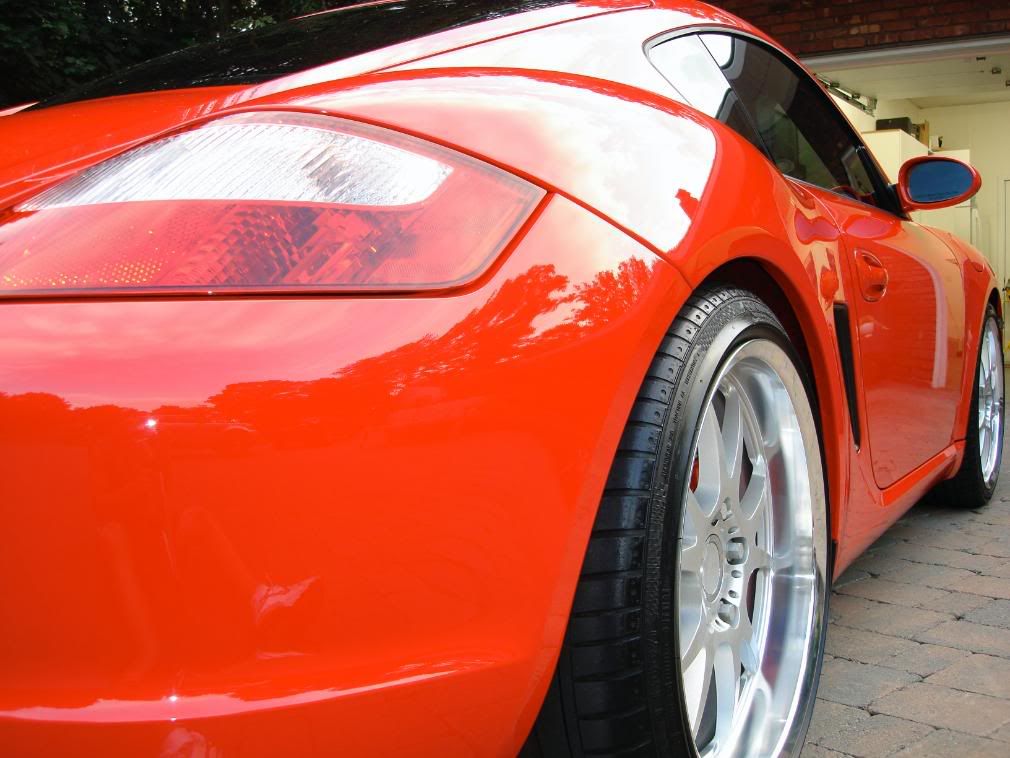
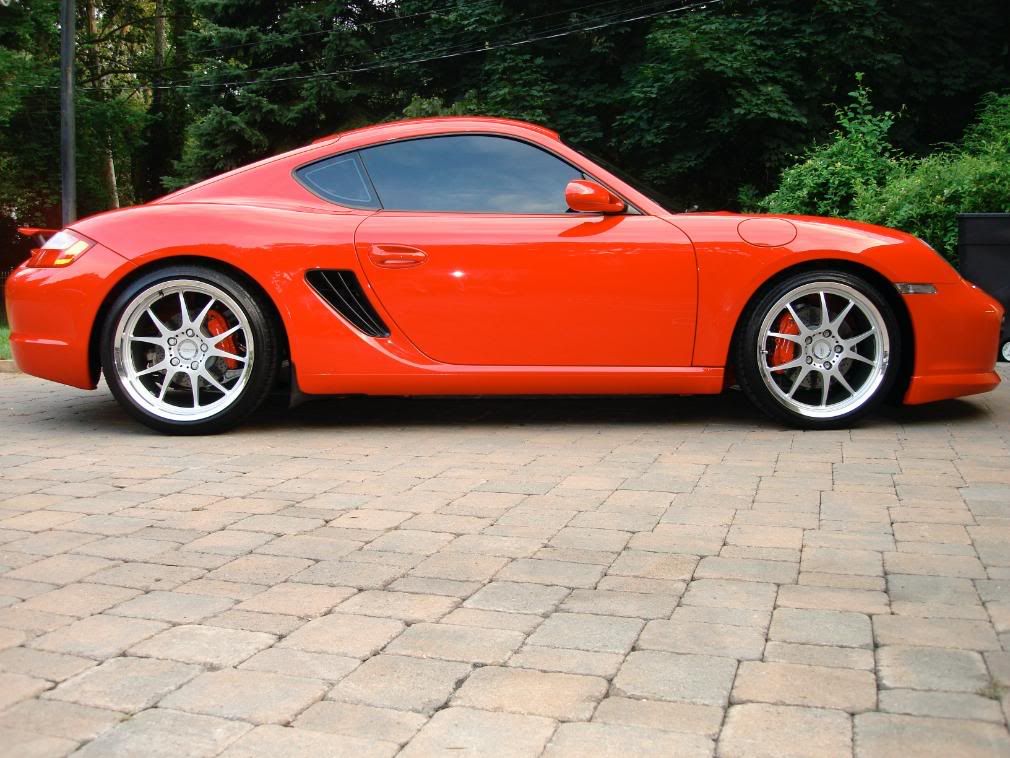
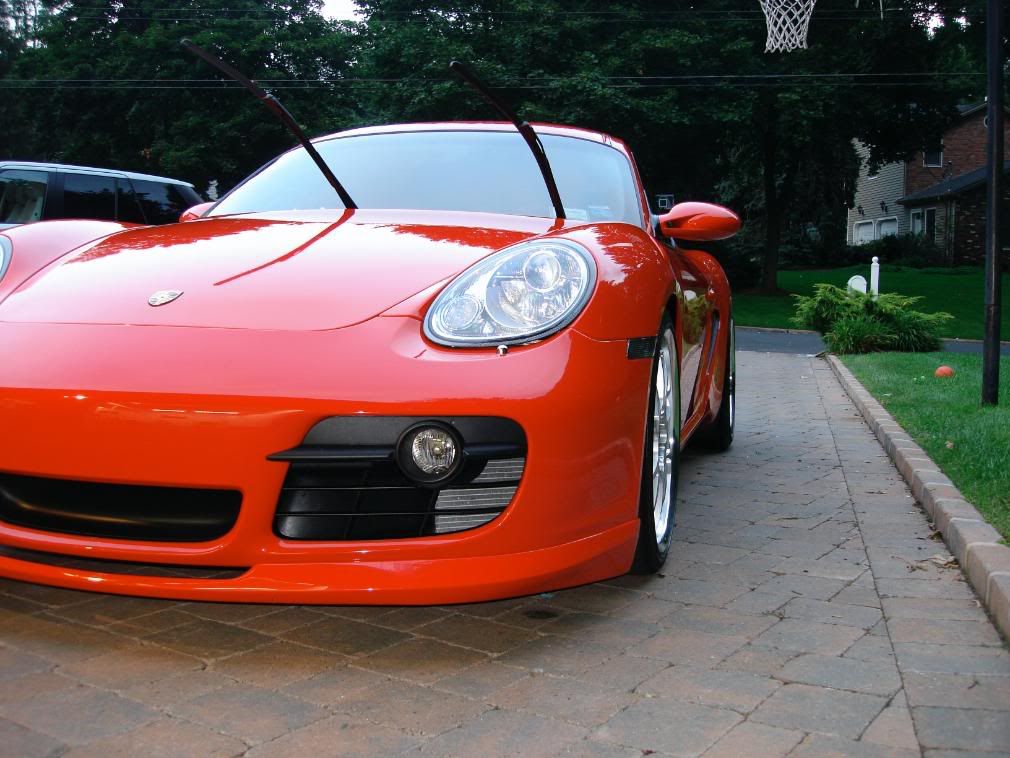
Some more, I couldnt resist this car just looked really great. I wish I had more sun though for the photoshoot
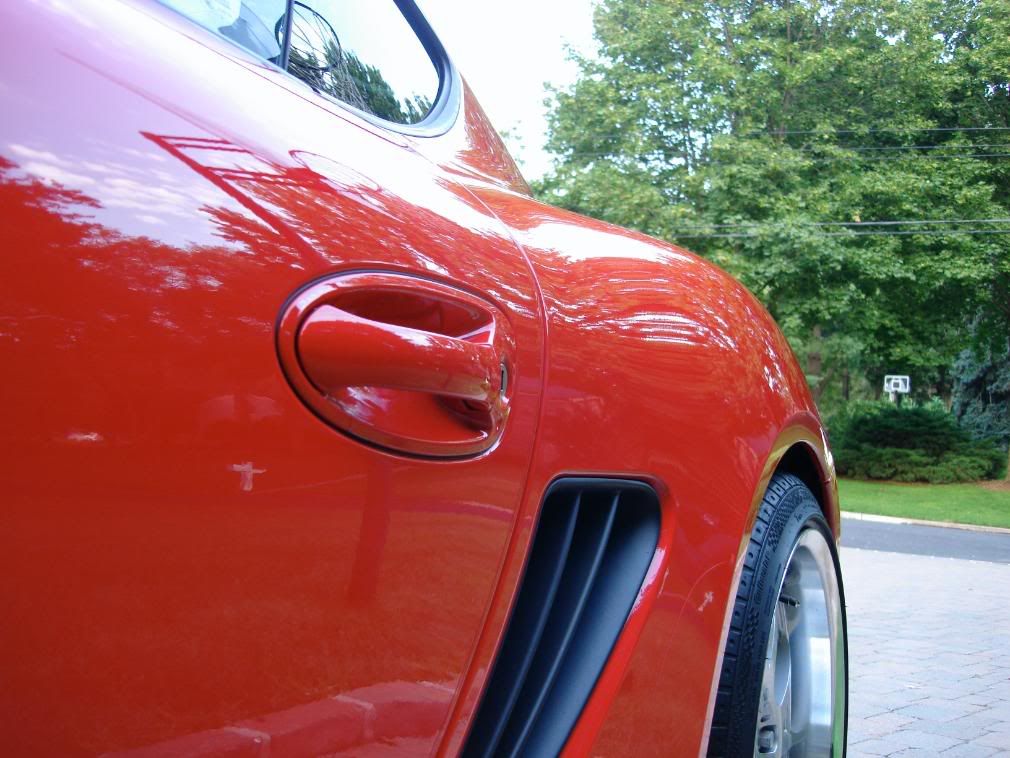
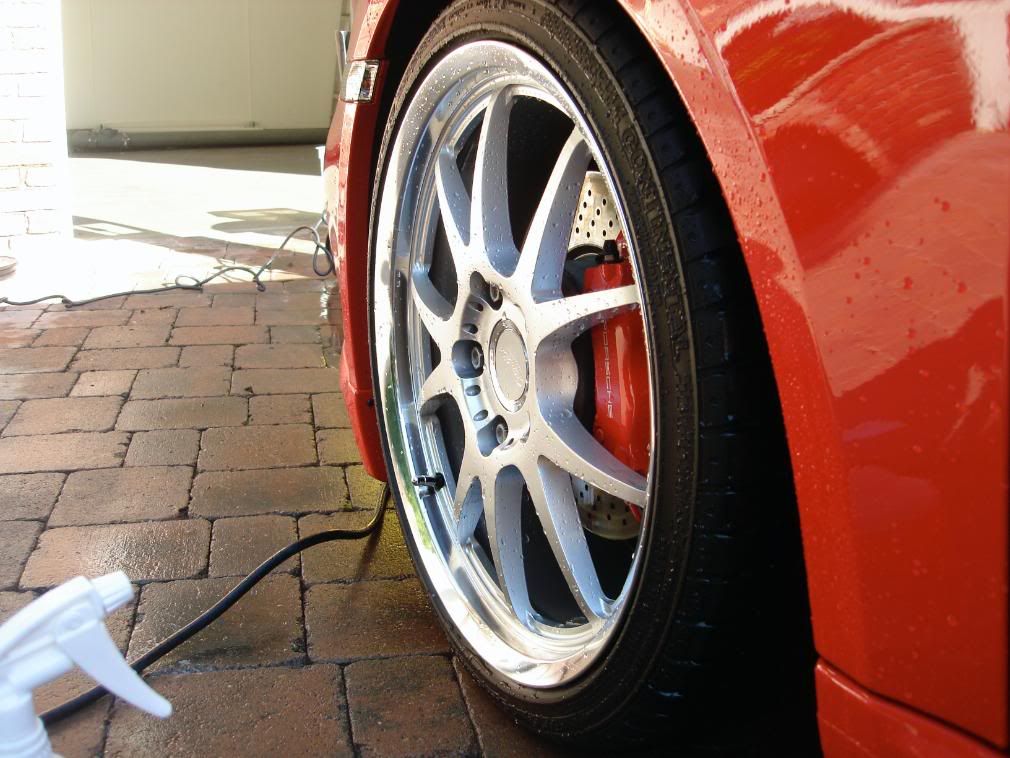
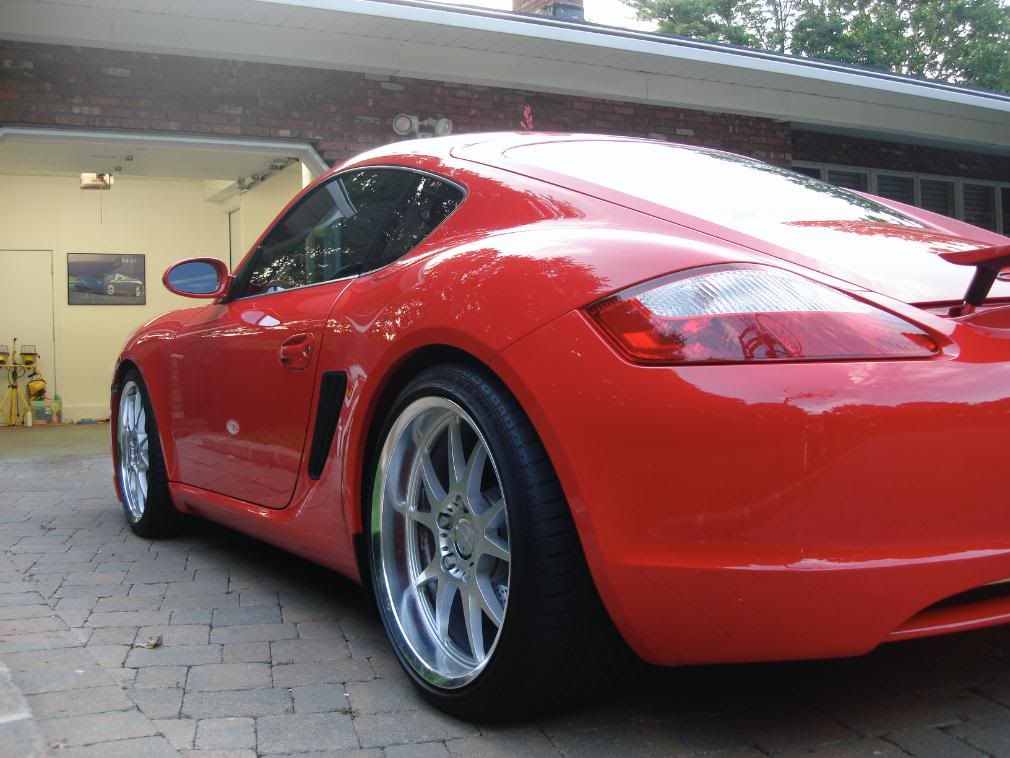
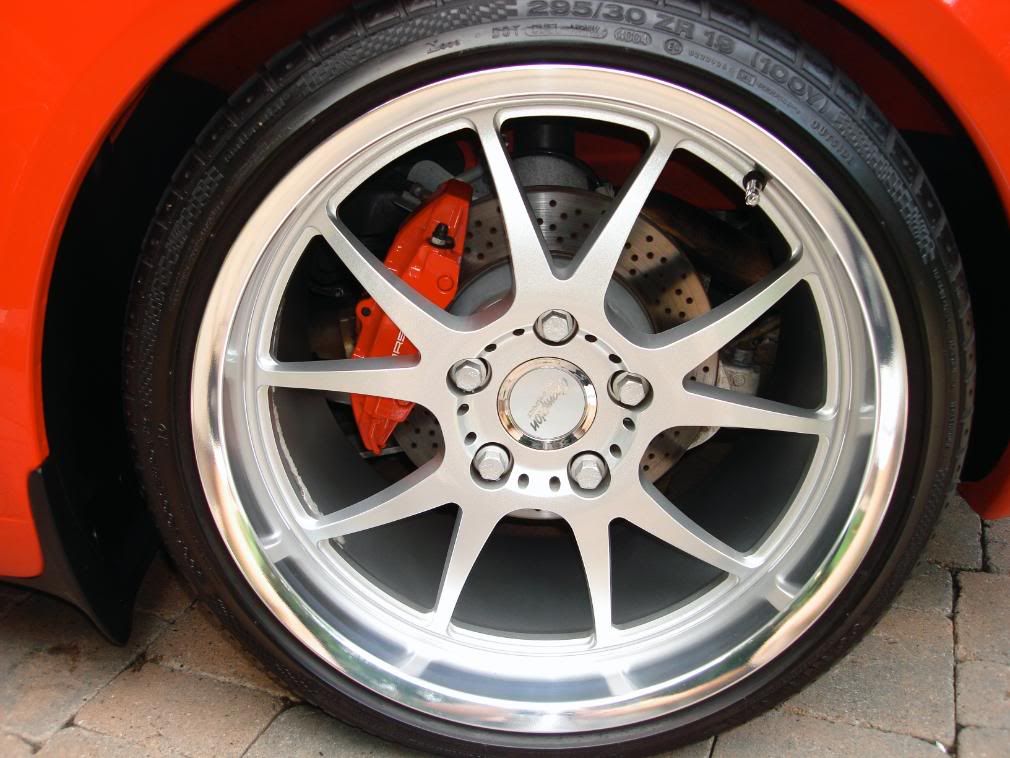
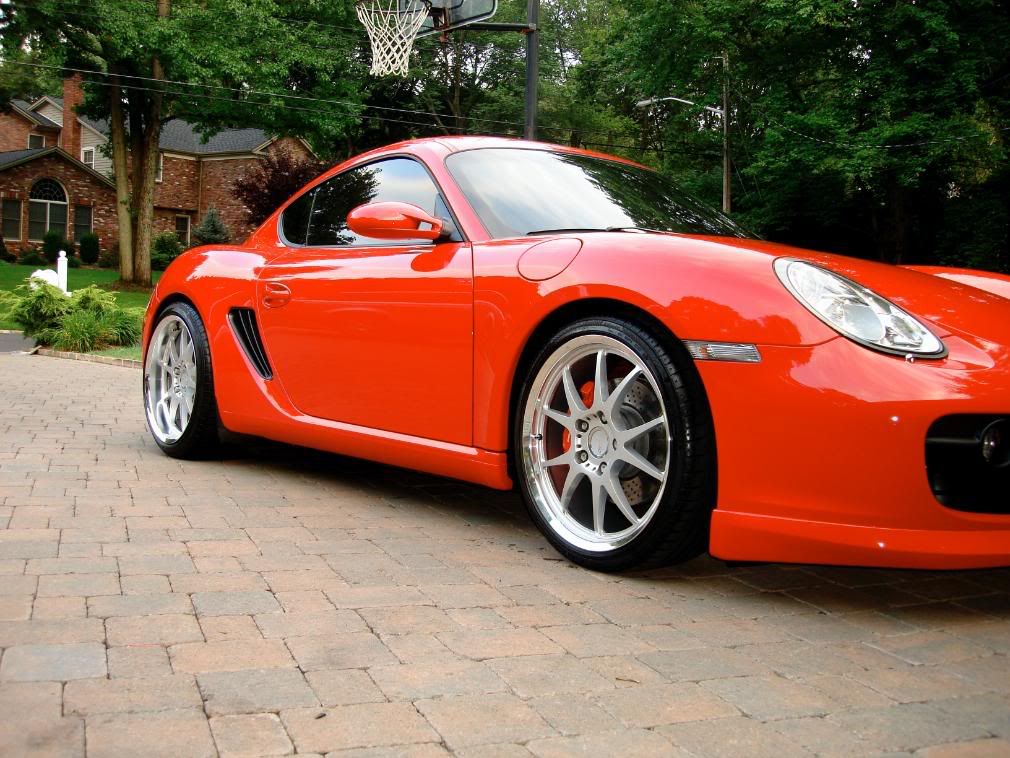
The wheels were sealed with Zaino CS and tires were finished with CG Liquid extreme shine
( IMO the best tire product you can use for a rich deep gloss without a stupid shine, and it lasts and lasts)
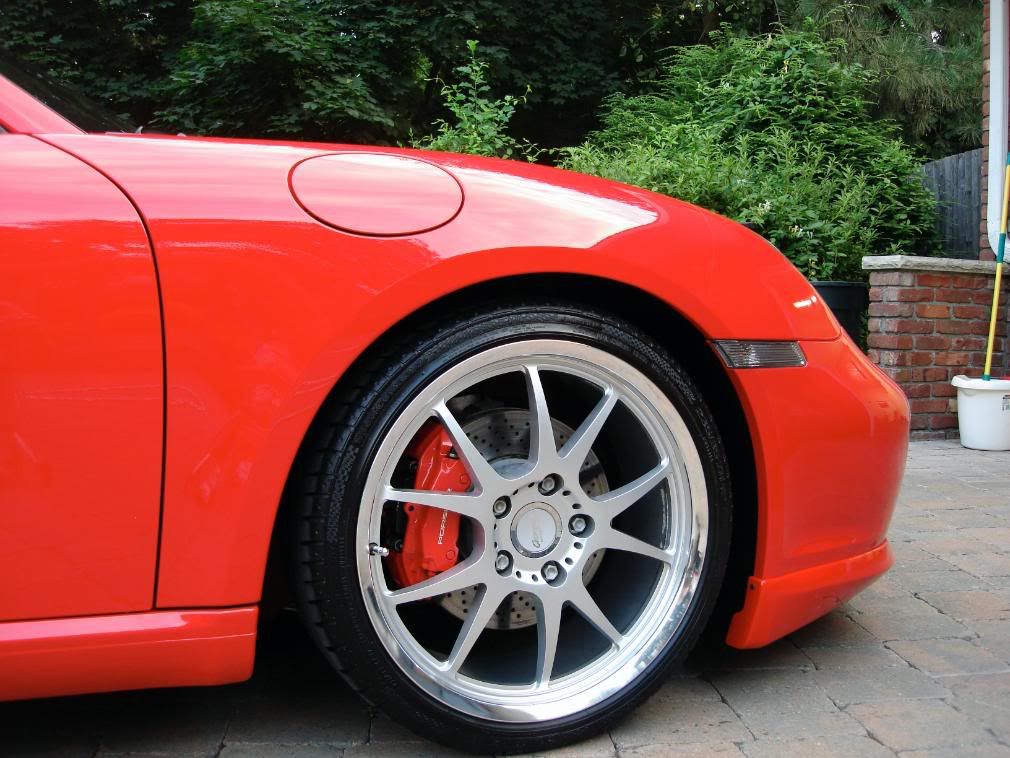
These wheels just set the car off so right

The sun was starting to go.. but the gloss wasnt
I pulled the car back inside to finish off the interior and trim
Just a precaution
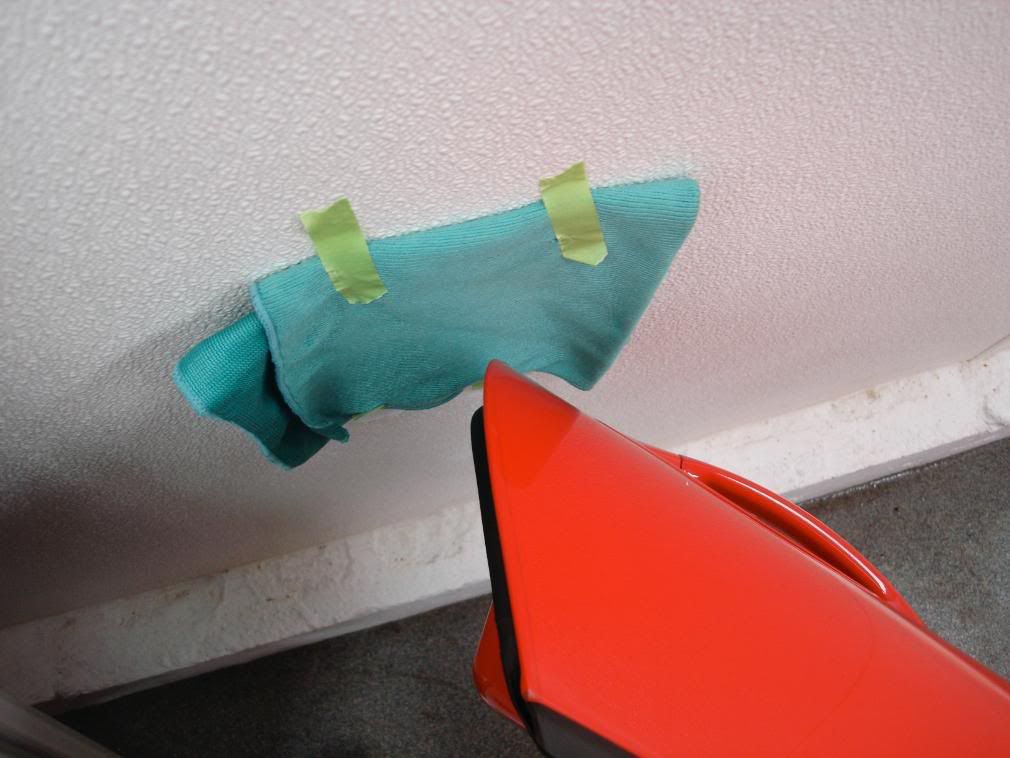
Cant be too careful with other peoples cars
The wheels were sealed with Zaino CS and tires were finished with CG Liquid extreme shine
( IMO the best tire product you can use for a rich deep gloss without a stupid shine, and it lasts and lasts)
These wheels just set the car off so right
The sun was starting to go.. but the gloss wasnt
I pulled the car back inside to finish off the interior and trim
Just a precaution
Cant be too careful with other peoples cars
#7
08-07-2008, 01:51 PM
Join Date: Jun 2008
Location: New Jersey
Posts: 272
Rep Power: 28 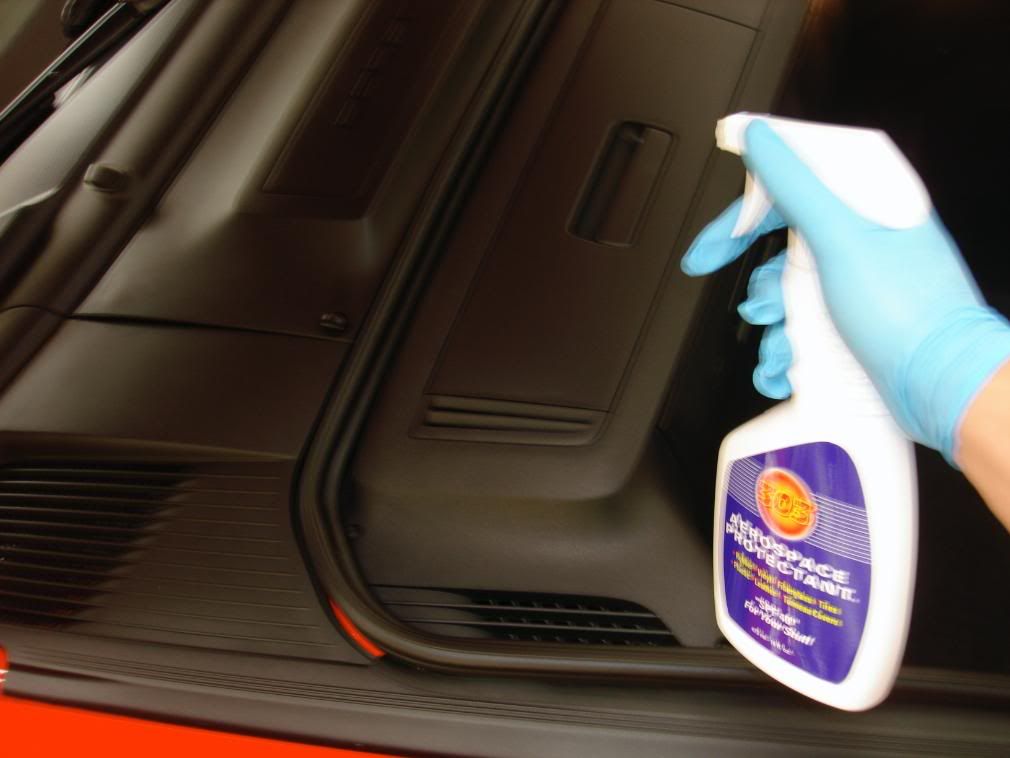
Before
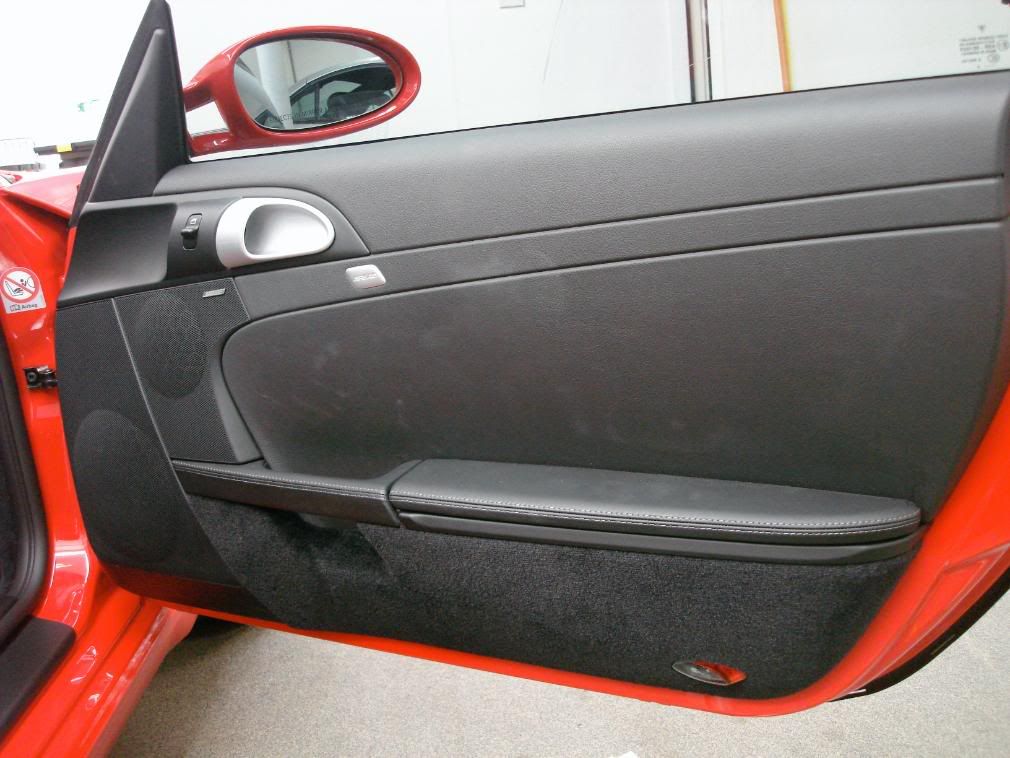
During
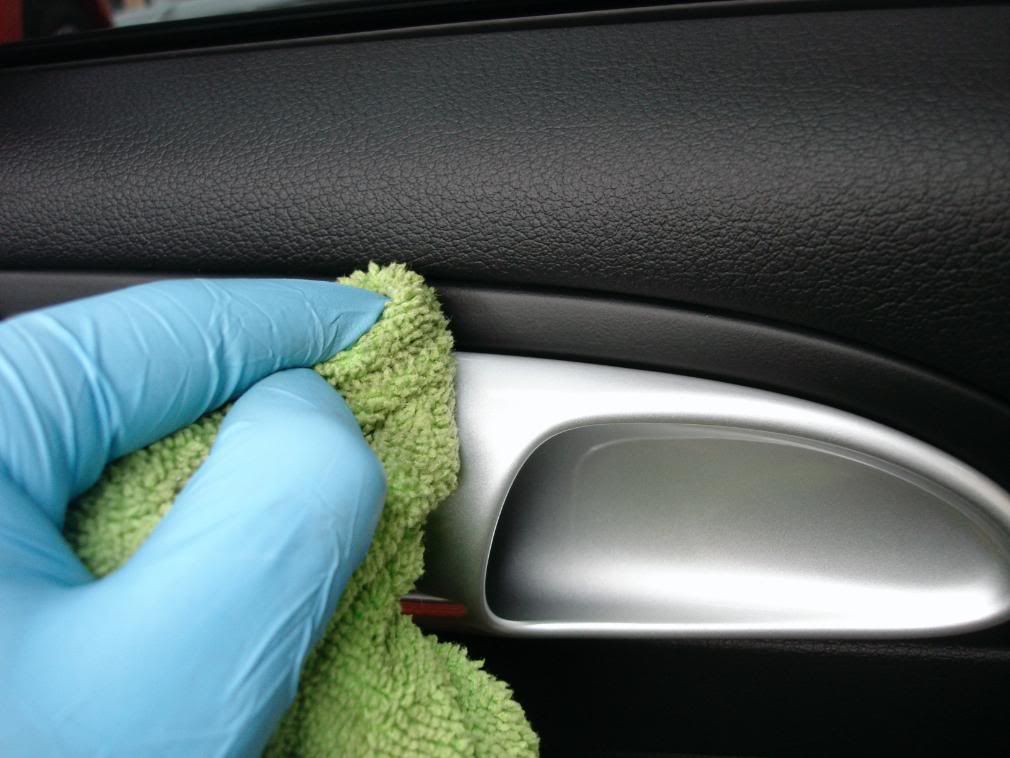
After
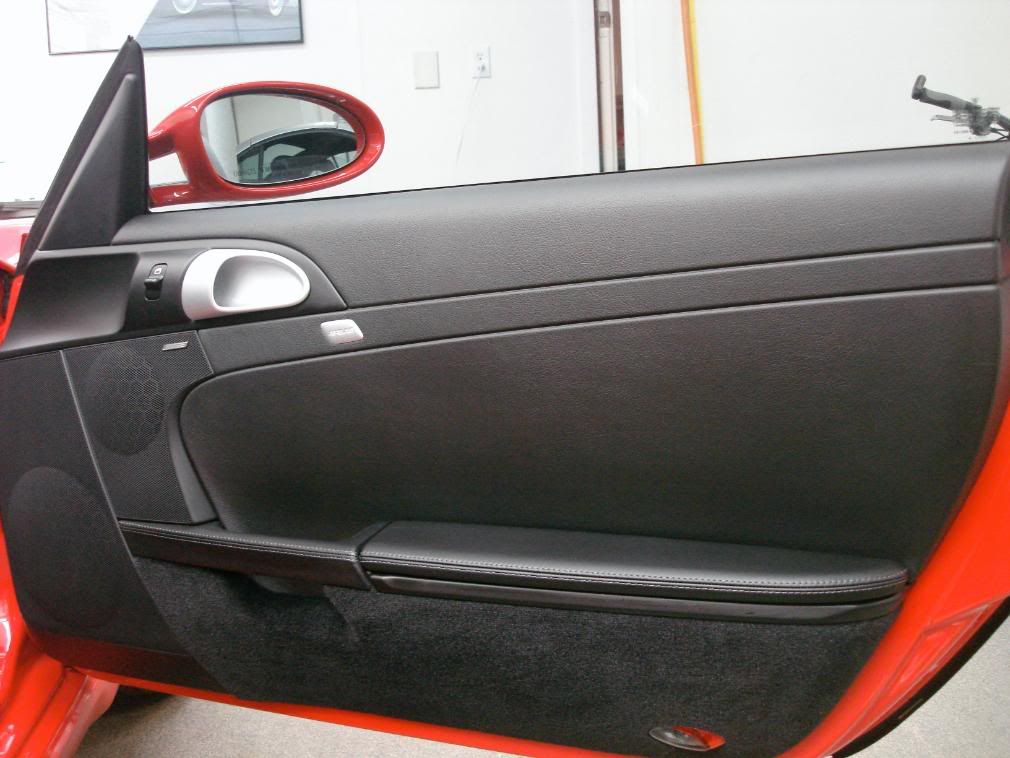
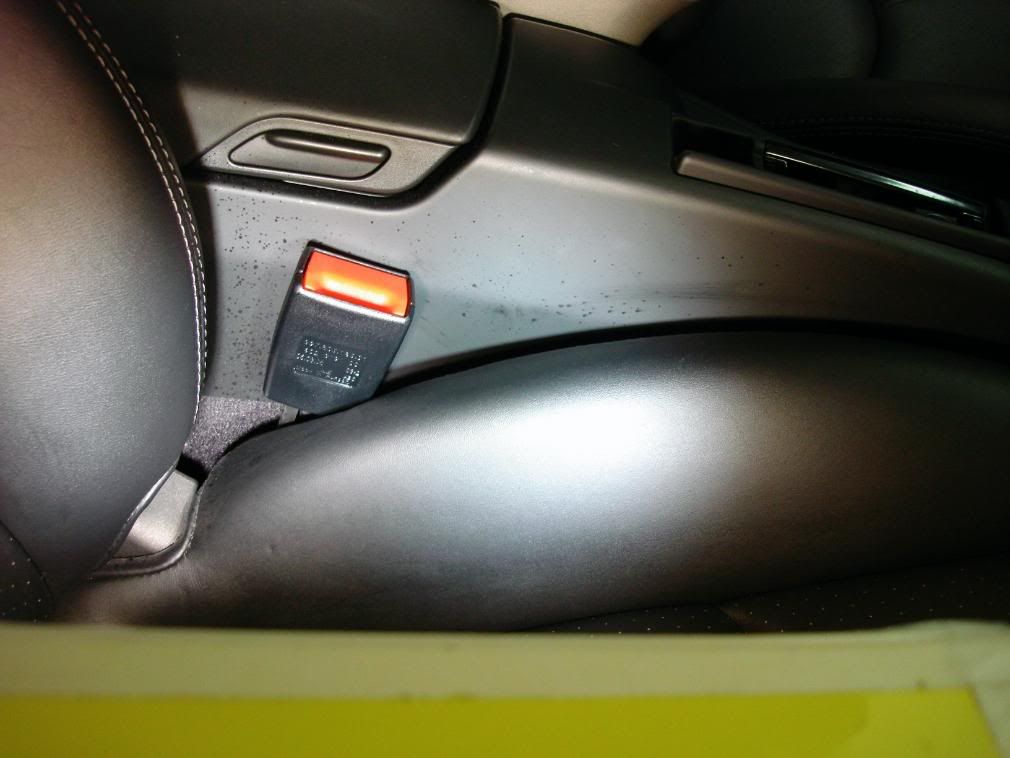
I cleaned the leather with Leather Masters and topped it with Optimum protectant
All plastic trim was wipedown using 1Z CP
I used the CM5300 to check for overspray...being a black interior with no sunroof it was tough to see much of anything

Trending Topics
#8
08-07-2008, 01:52 PM
Join Date: Jun 2008
Location: New Jersey
Posts: 272
Rep Power: 28
Ahh..
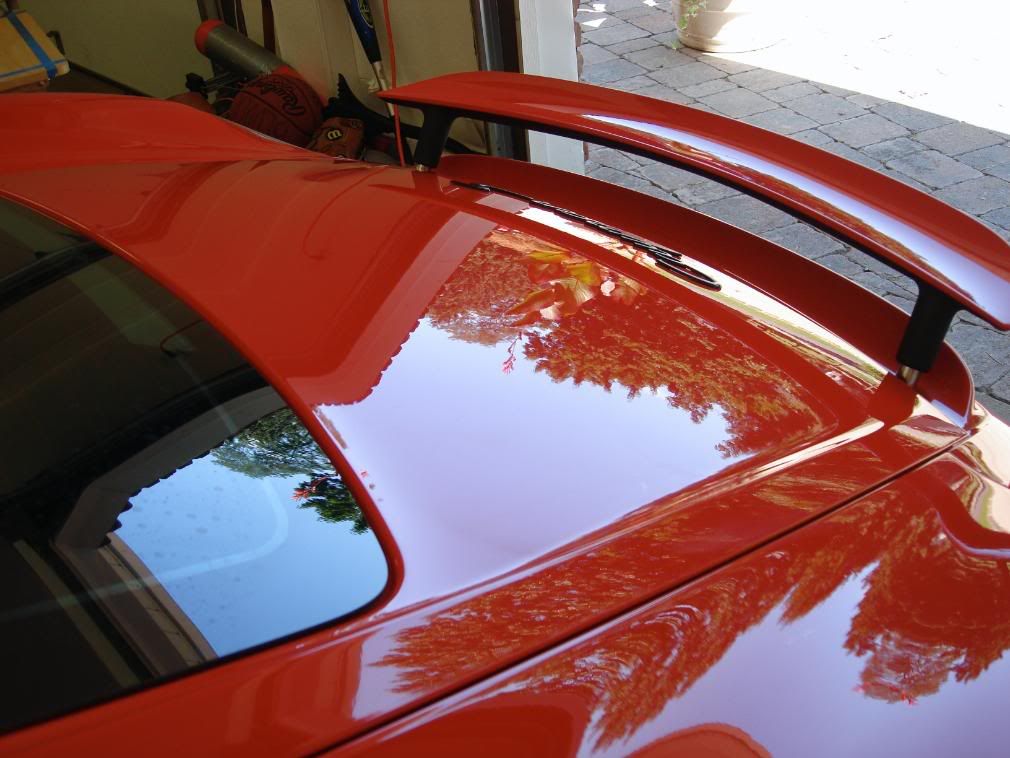
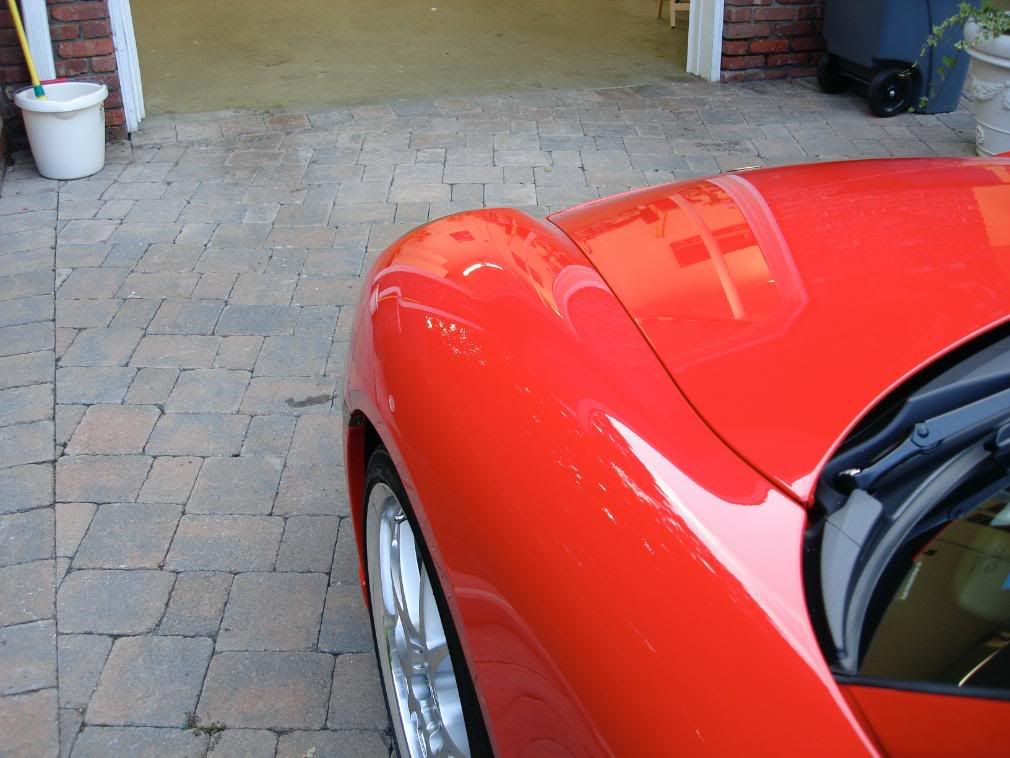
Just some garage reflection shots
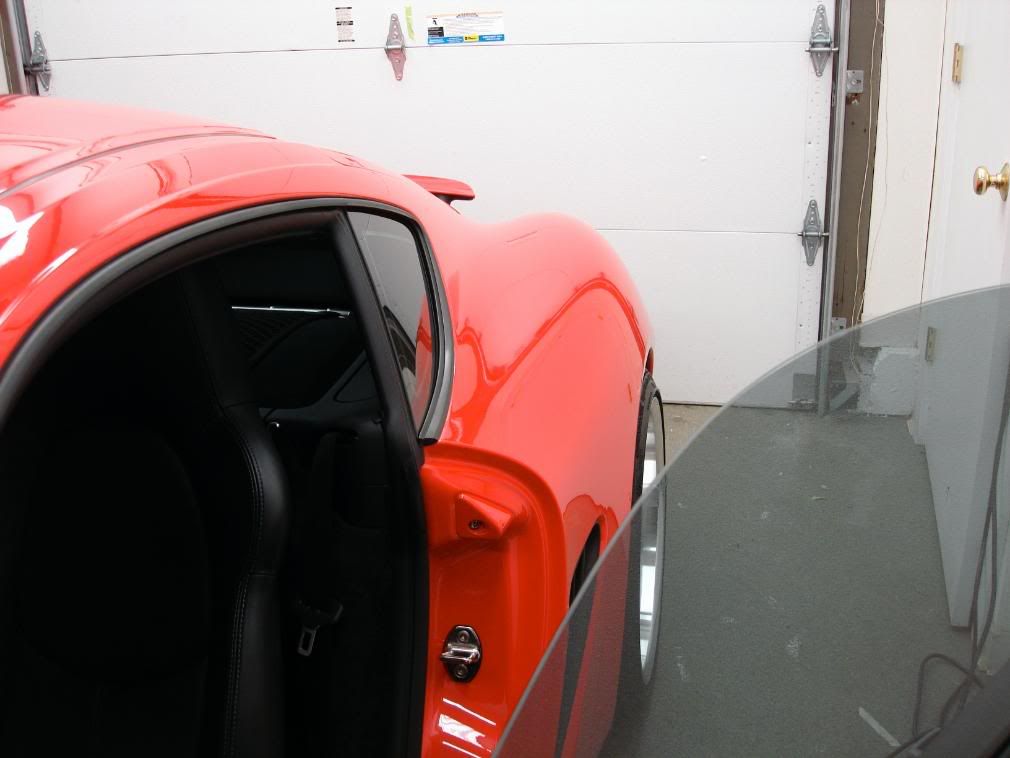
The car really had a deep glow to it and I was pleased with the outcome. I wish I could have done my complete 100% correction job instead of the 1 step but it still came out very nice.
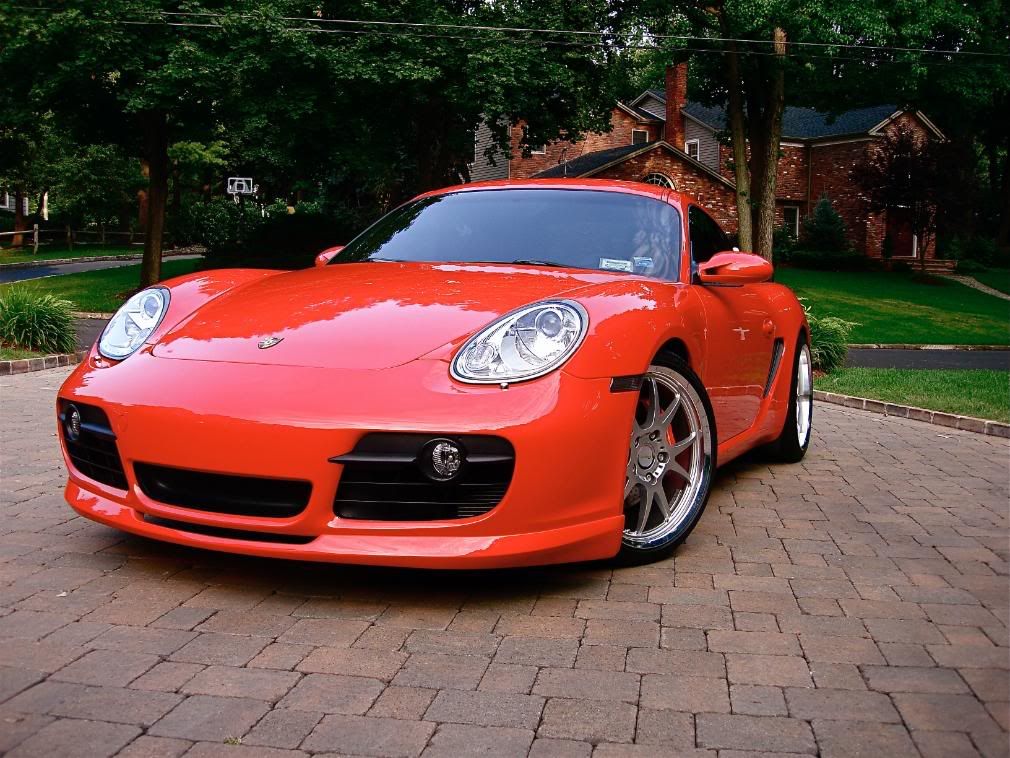
The last one is my personal favorite, the sun was on its way down and clouds were comming up but just enough sun was shinning through to get The perfect lighting
Heres a video for you guys as well, the first few seconds are a bit shaky but then it smooths out. Mind you half of the hood does have a clear bra.
I really enjoyed detailing this Cayman and it was very nice meeting Mike... in person!
Just some garage reflection shots
The car really had a deep glow to it and I was pleased with the outcome. I wish I could have done my complete 100% correction job instead of the 1 step but it still came out very nice.
The last one is my personal favorite, the sun was on its way down and clouds were comming up but just enough sun was shinning through to get The perfect lighting
Heres a video for you guys as well, the first few seconds are a bit shaky but then it smooths out. Mind you half of the hood does have a clear bra.
I really enjoyed detailing this Cayman and it was very nice meeting Mike... in person!
Last edited by Smoke7; 08-07-2008 at 01:55 PM.
#9
08-07-2008, 02:38 PM
Great write up and it was awesome dealing with you....I would recommend you to all my friends and to anyone that really do care about their car and just don't have the time to take care of it on their own! Thanks again and you will surely get my business from now on!
#10
08-07-2008, 07:07 PM

car looked even better in person, pics do no justice!!!
great work dan, i'll hit you up soon and maybe we can get my ZHP done
great work dan, i'll hit you up soon and maybe we can get my ZHP done

#12
08-09-2008, 11:14 AM
Join Date: Jun 2008
Location: New Jersey
Posts: 272
Rep Power: 28
Thanks! For the wheels I used the EZ detail brush for the inners and to get behind the spokes, for the face of the wheels I used the swissvax wheel brush. Both are the best wheel brushes I ever used together.


Thread
Thread Starter
Forum
Replies
Last Post
2lflat4
Automotive Parts & Accessories For Sale/Wanted
2
11-18-2019 05:05 PM
RallyBird
Automobiles For Sale
5
10-07-2015 01:20 PM
hacellular
Automobiles For Sale
0
08-31-2015 08:34 AM
vividracing
Boxster / Cayman
0
08-20-2015 12:17 PM