2006 Blk Spyker C-8 / Full Paint Correction
#1
2006 Blk Spyker C-8 / Full Paint Correction
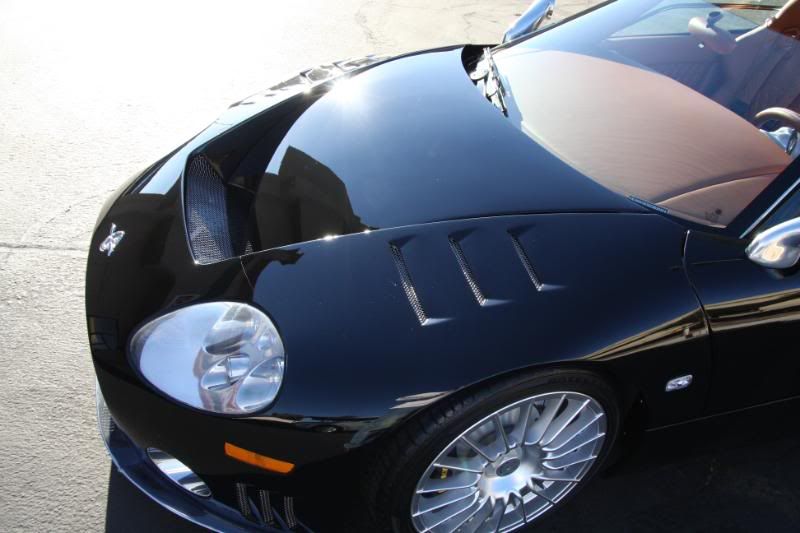
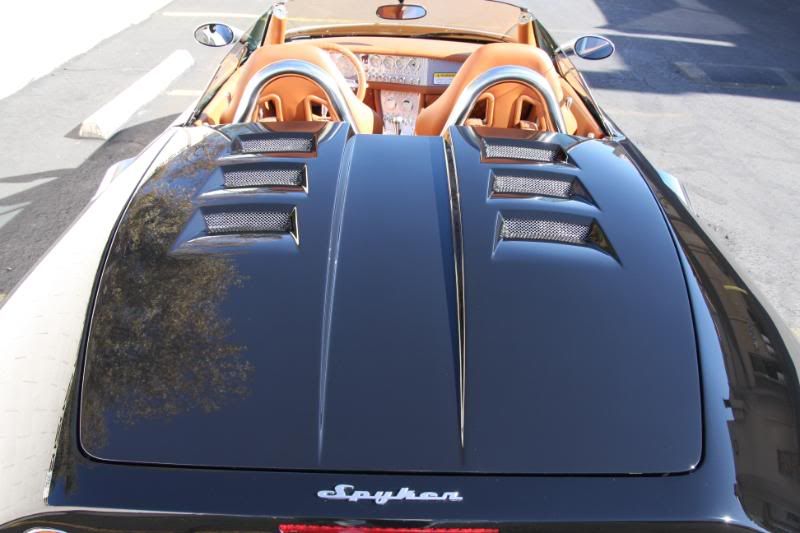
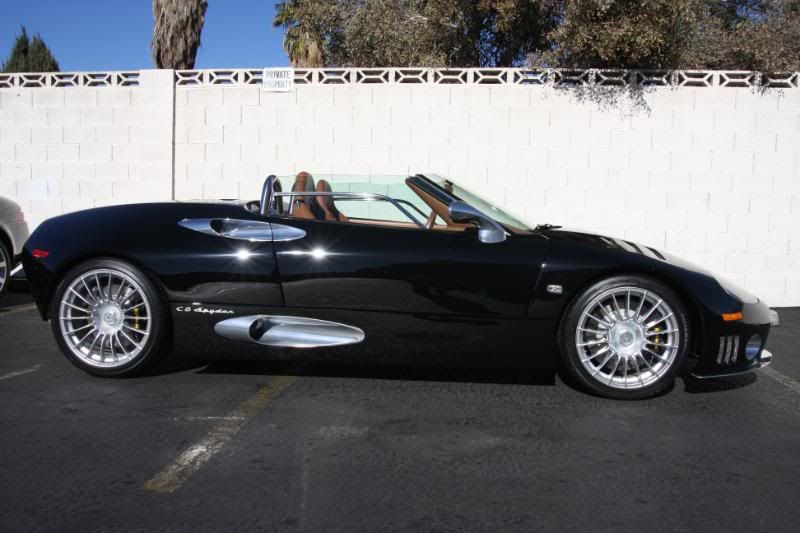
This is the latest paint correction project performed by the Gloss-It detail studio. This car is owned by a very good customer of the ours who has been bringing his car collection to our facility for the past 10 years.
Due to the current economy situation he has been forced to sell this beautiful Italian hand built and rare exotic master piece.
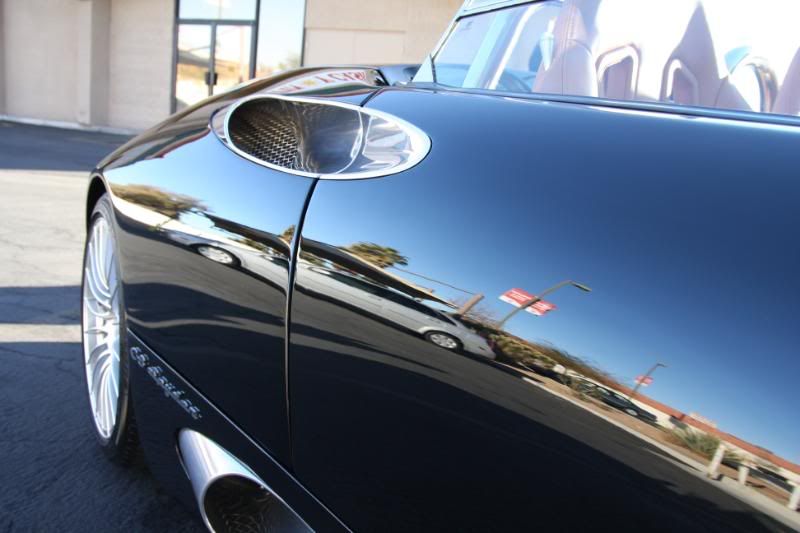
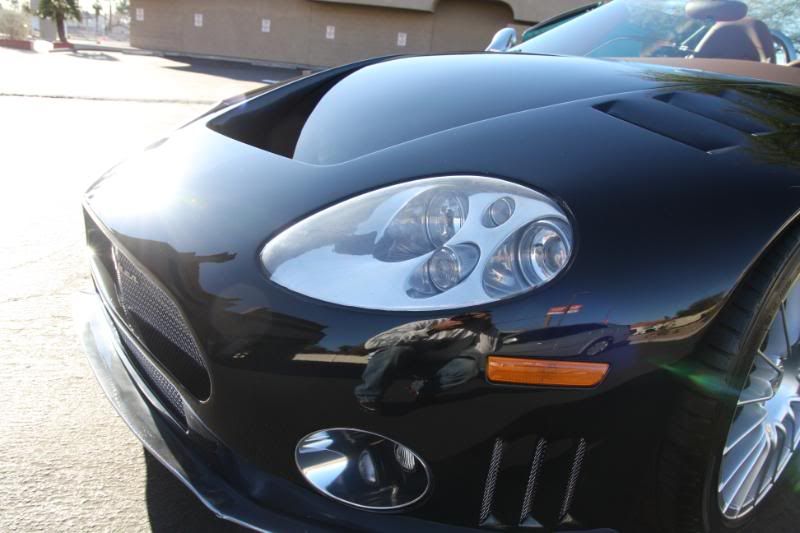
This car is a limited production vehicle. With a price tag close to $300 grand ($290,000 not including tax and license) Sporting all-aluminum construction, the C8 weighs in at just under 2,800 pounds, or about a few hundred pounds less than most new sport cars in its class. Using a mid mounted and tweaked version of Audi's 4.2-liter V8 for motivation, the Spyker has 400 horsepower at its disposal.
When this car was brought into our facility my crew and I were shocked to see the condition. The vehicle was badly damage. When the customer bought the car brand new in 2006 he requested us to install full nose wrap with the venture shield paint protection to prevent road debris damage. The clear-shield that we had installed almost 3 years ago was badly damage and needed to be repaired, almost need to be replaced.
This was not going to be an easy project by any means, but this was nothing our crew has not seen before or could not tackle! We were up for the challenge.
Here are some pictures of the car before we started. Yikes!
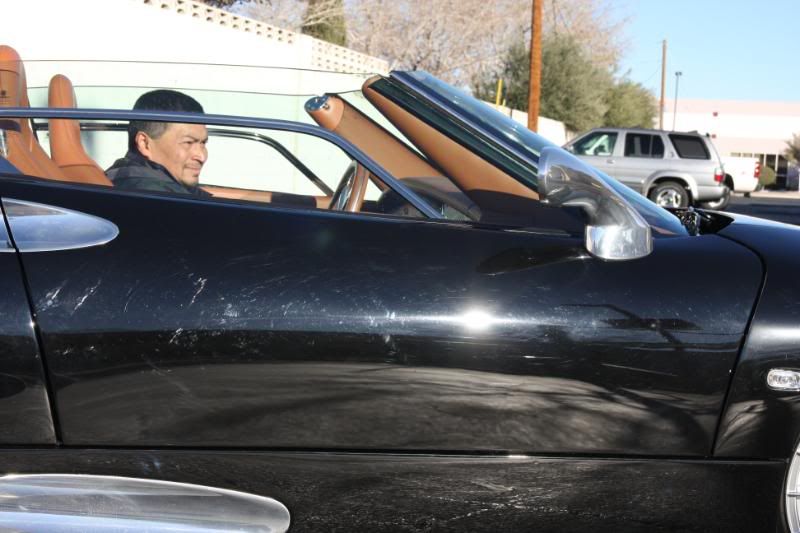
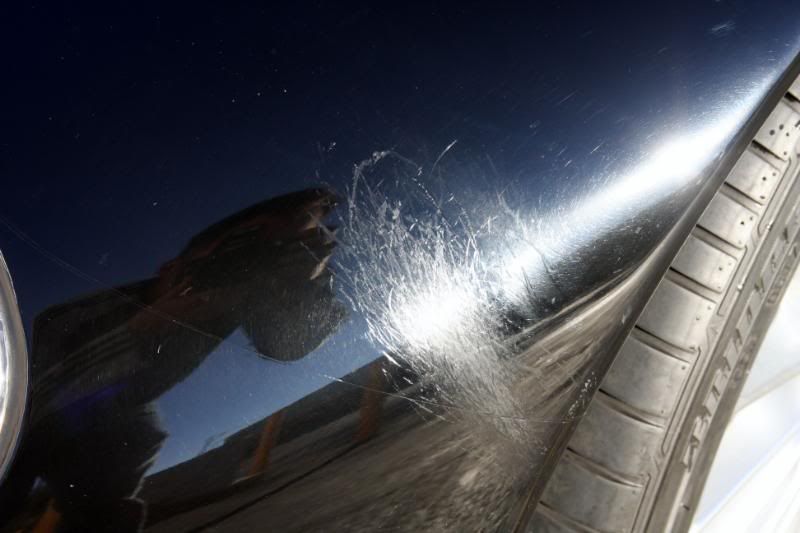
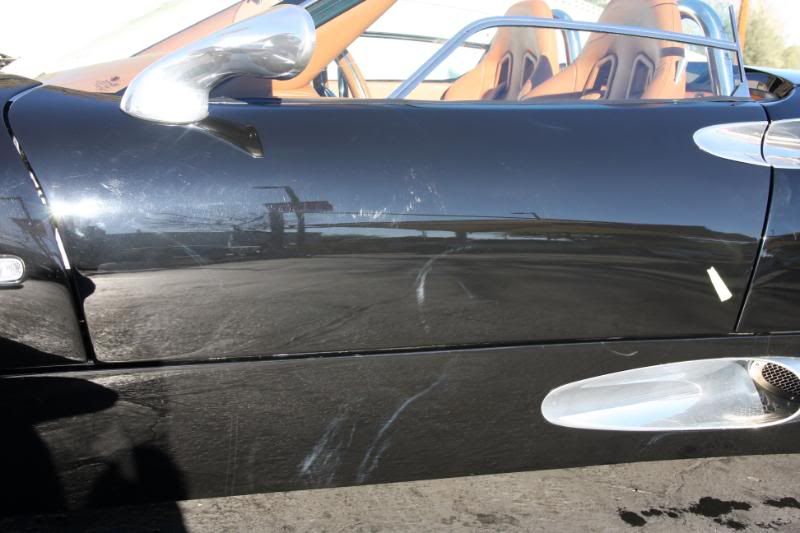
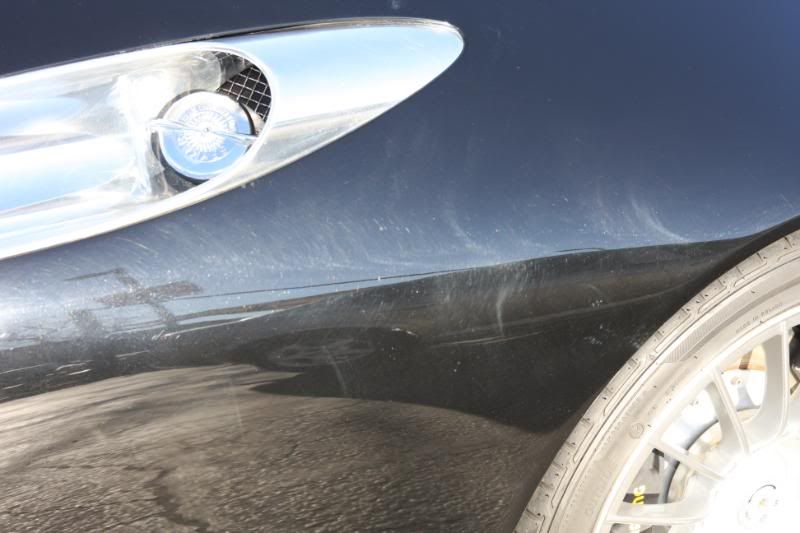
As you can see in the pictures this car had many paint issues ( deep rids, holograms, and some deeper imperfections ) that needed to be addressed.
After explaining to the customer about the damage on the car I was curious who had been washing and caring for the vehicle? He explain that he brought the car to his vacation home in southern California and had been using a well known mobile detailer to wash and maintain the car on a weekly basis. When he went to pick up the car and drive back to Vegas he realized how much damage had been done, i.e. the car was brought to us to repair the severe damage and prepare for sale.
We knew this job was going to require some heavy paint correction and to obtain the level of correction we aimed for, there was only one choice, rotary application.
This was going to be a great car for the beta testing of the new high speed finishing polish and the new 5.75 pads and 3.75 inch wool and foam pads.
Products used.
Exterior:
Gloss Shampoo
Green Clay bar
Beta Gel Wheel Cleaner
Beta 1
Extreme cut
EVP Pad Prime
Gloss Enhancer QD
Ultra Plush Micro Fibers
Gloss-it 5inch backing plate
Gloss-it 3 inch backing plate
5.75 & 3.75 Wool Pad Foam
5.75 & 3.75 Fast Cut White Foam
5.75 & 3.75 Blue Foam
Signature Gloss Finish / 2 coats
Concorso Gloss / 2 coats
Beta Metal Polish
Interior:
Satin Leather Cleaner
Satin Leather Polish
I will start with some before & after shots.
Before Passenger rear fender:
Before:
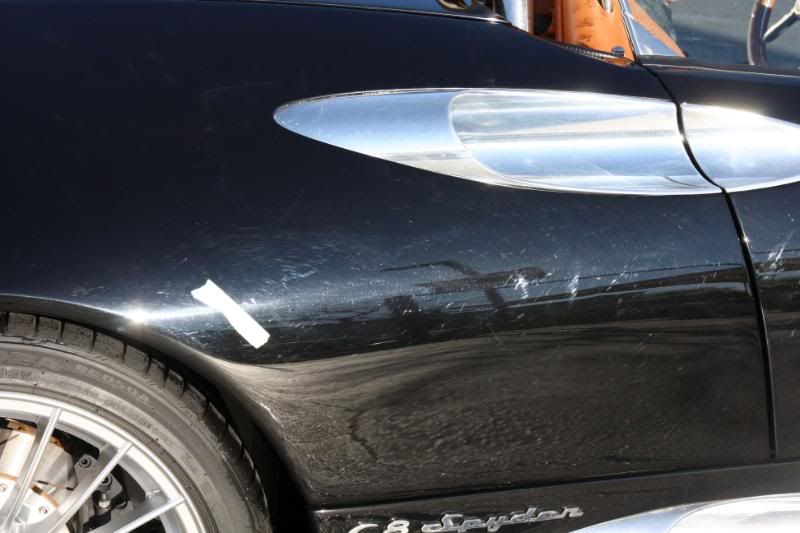
After:
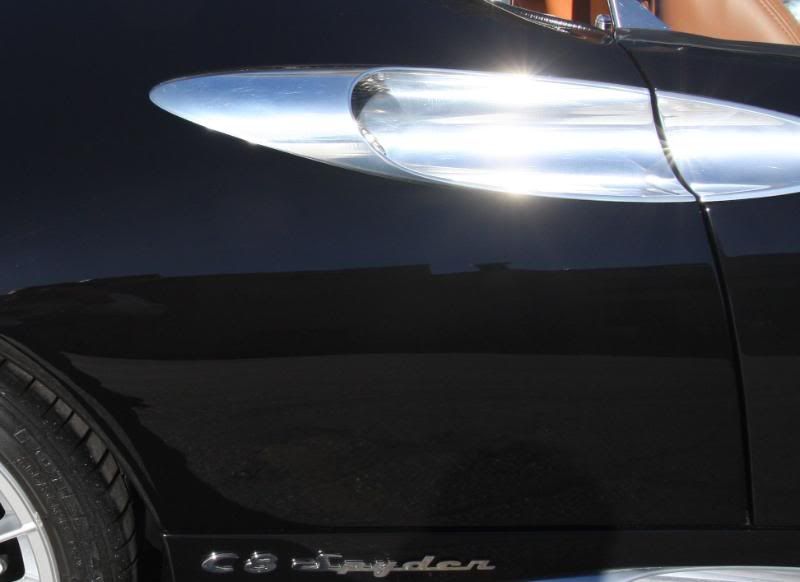
Passenger door:
Before:
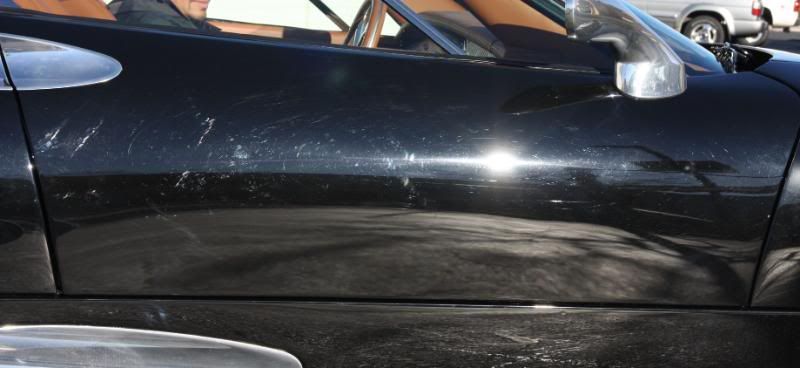
After:
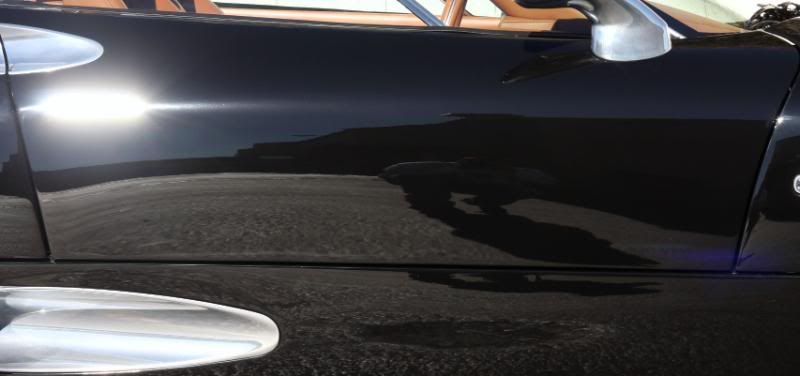
Damage to clear shield: We are able to fix the damage using a technique of heating the film to get the plastic hot and polishing out with extreme cut and sheep skin wool.
Due to the current economy situation he has been forced to sell this beautiful Italian hand built and rare exotic master piece.
This car is a limited production vehicle. With a price tag close to $300 grand ($290,000 not including tax and license) Sporting all-aluminum construction, the C8 weighs in at just under 2,800 pounds, or about a few hundred pounds less than most new sport cars in its class. Using a mid mounted and tweaked version of Audi's 4.2-liter V8 for motivation, the Spyker has 400 horsepower at its disposal.
When this car was brought into our facility my crew and I were shocked to see the condition. The vehicle was badly damage. When the customer bought the car brand new in 2006 he requested us to install full nose wrap with the venture shield paint protection to prevent road debris damage. The clear-shield that we had installed almost 3 years ago was badly damage and needed to be repaired, almost need to be replaced.
This was not going to be an easy project by any means, but this was nothing our crew has not seen before or could not tackle! We were up for the challenge.
Here are some pictures of the car before we started. Yikes!


As you can see in the pictures this car had many paint issues ( deep rids, holograms, and some deeper imperfections ) that needed to be addressed.
After explaining to the customer about the damage on the car I was curious who had been washing and caring for the vehicle? He explain that he brought the car to his vacation home in southern California and had been using a well known mobile detailer to wash and maintain the car on a weekly basis. When he went to pick up the car and drive back to Vegas he realized how much damage had been done, i.e. the car was brought to us to repair the severe damage and prepare for sale.
We knew this job was going to require some heavy paint correction and to obtain the level of correction we aimed for, there was only one choice, rotary application.
This was going to be a great car for the beta testing of the new high speed finishing polish and the new 5.75 pads and 3.75 inch wool and foam pads.
Products used.
Exterior:
Gloss Shampoo
Green Clay bar
Beta Gel Wheel Cleaner
Beta 1
Extreme cut
EVP Pad Prime
Gloss Enhancer QD
Ultra Plush Micro Fibers
Gloss-it 5inch backing plate
Gloss-it 3 inch backing plate
5.75 & 3.75 Wool Pad Foam
5.75 & 3.75 Fast Cut White Foam
5.75 & 3.75 Blue Foam
Signature Gloss Finish / 2 coats
Concorso Gloss / 2 coats
Beta Metal Polish
Interior:
Satin Leather Cleaner
Satin Leather Polish
I will start with some before & after shots.
Before Passenger rear fender:
Before:

After:

Passenger door:
Before:

After:

Damage to clear shield: We are able to fix the damage using a technique of heating the film to get the plastic hot and polishing out with extreme cut and sheep skin wool.
Last edited by Gloss-it; 01-26-2009 at 05:38 PM.
#2
Part 2
Before:

After:
Okay now for some inside before and after shots:
Before: LED light
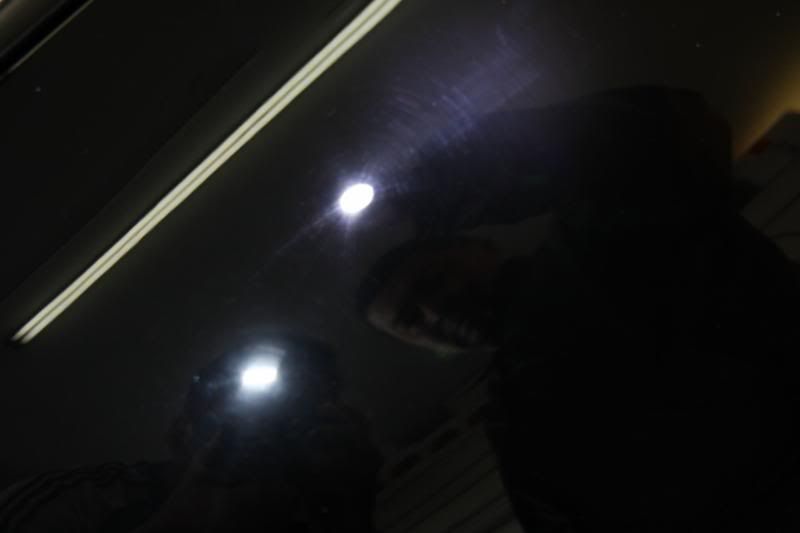
After:
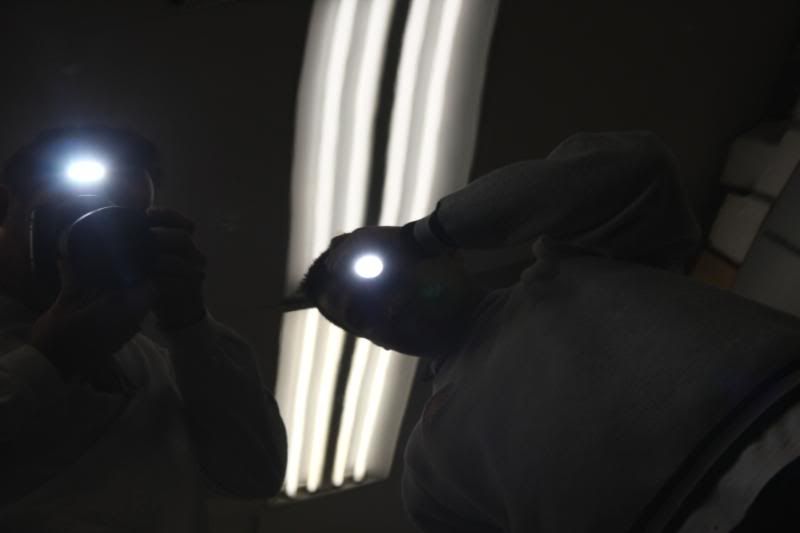
Infratech:
After:
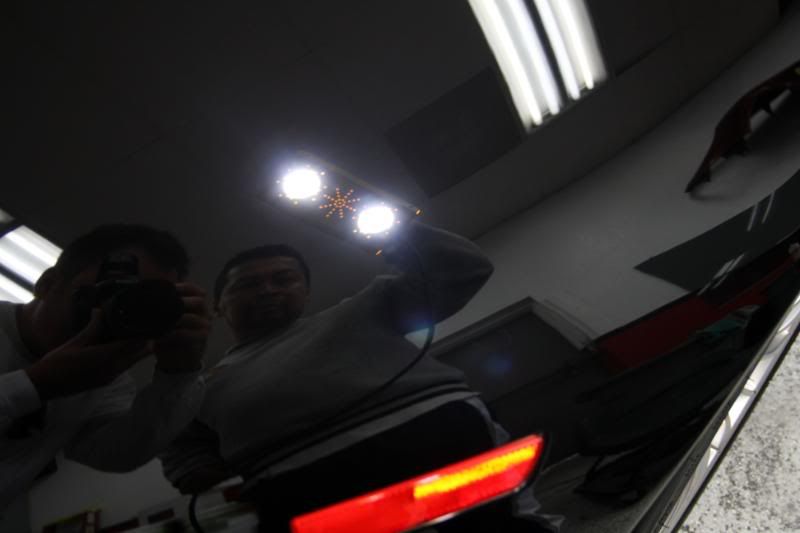
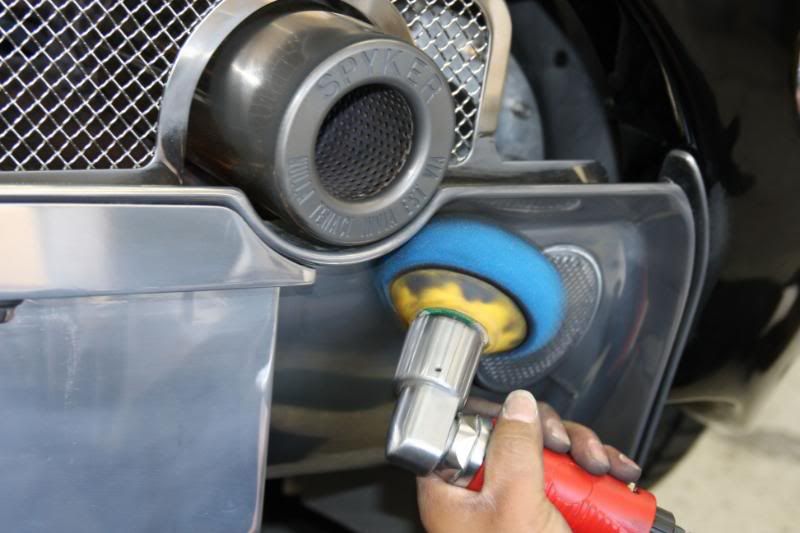
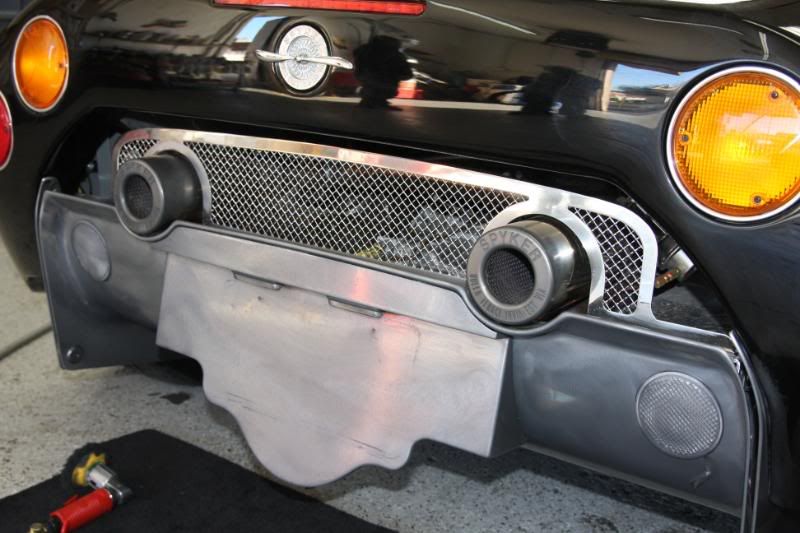
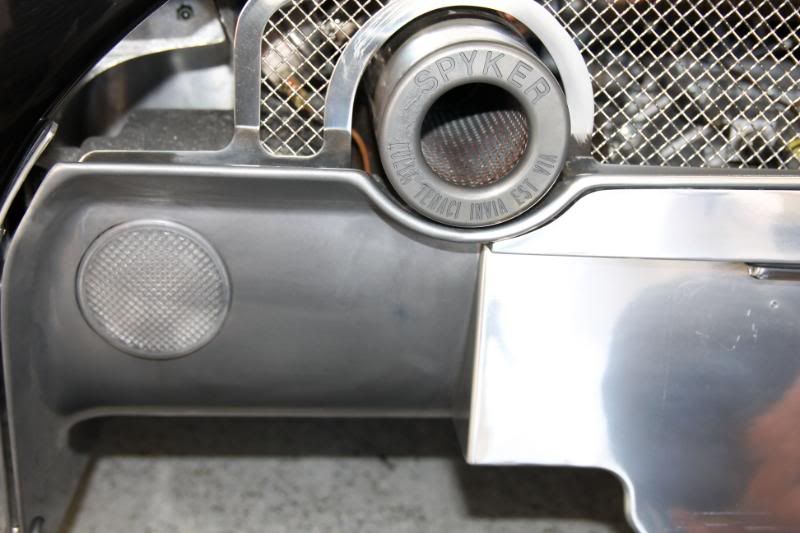
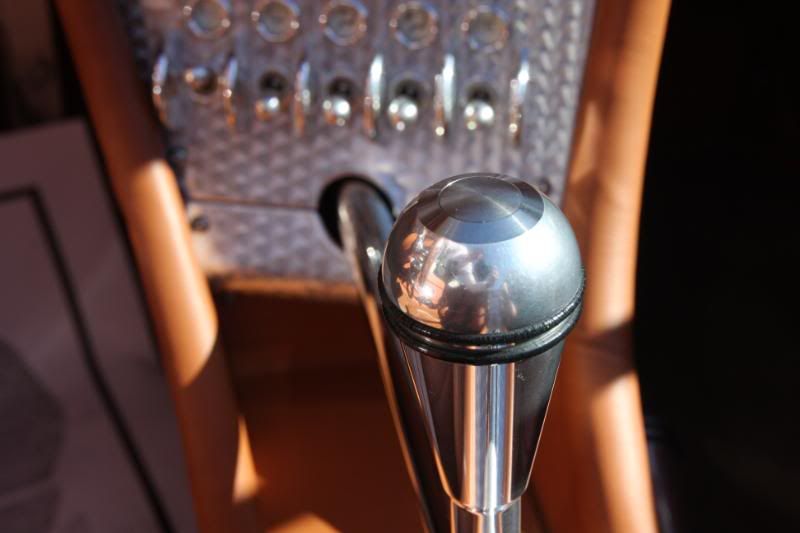
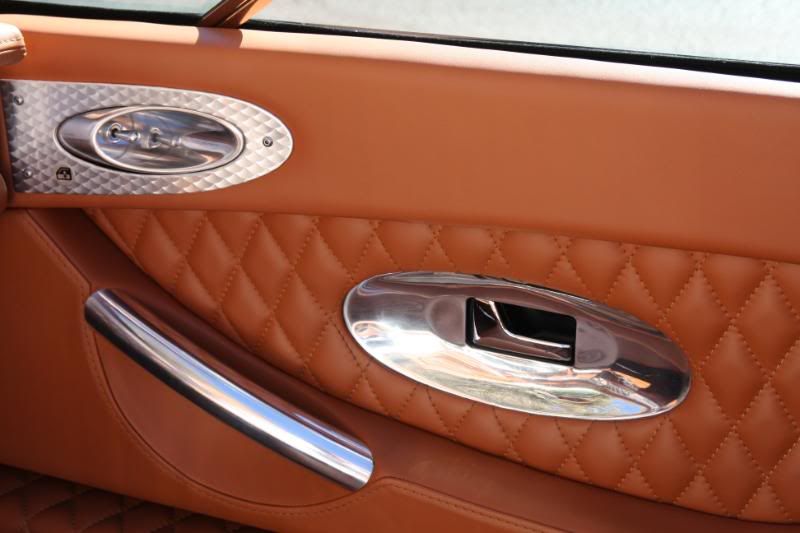
The car had many aluminum trim pieces on the exterior and interior of the car. The back of the car had an awesome rear valance and amazing exhaust. As you will see the exhaust was badly oxidized from neglect. We polished with a 4 inch pneumatic polisher and a blue 4 inch polishing pad to bring back the luster.
Before and after:

After:

Okay now for some inside before and after shots:
Before: LED light

After:

Infratech:
After:

The car had many aluminum trim pieces on the exterior and interior of the car. The back of the car had an awesome rear valance and amazing exhaust. As you will see the exhaust was badly oxidized from neglect. We polished with a 4 inch pneumatic polisher and a blue 4 inch polishing pad to bring back the luster.
Before and after:


Last edited by Gloss-it; 01-26-2009 at 05:40 PM.
#5
Spyker looks really good Rich. Whomever was the "detailer" on this one should hang up his/her hat. Good job on bringing her back to life.
#6
Hi Rich, Great job! Could you please explain in detail the process you followed for heating up the Venture shield and polishing out the scratches. For example, What type of heat gun and at what temp for how long? Technique? Thanks
#7
You need a pro level heat gun, and the temp needs to be at least 350 degrees but................ you need to feather the area very very carefully at about three to four inches or you will have much bigger problems such as film damage.
Watching Premier and Gloss-it(granite auto salon in vegas) do this repair will have you shaking your head in disbelief!! I have been lucky to repair some stuff the owner thought was unfixable.
Watching Premier and Gloss-it(granite auto salon in vegas) do this repair will have you shaking your head in disbelief!! I have been lucky to repair some stuff the owner thought was unfixable.


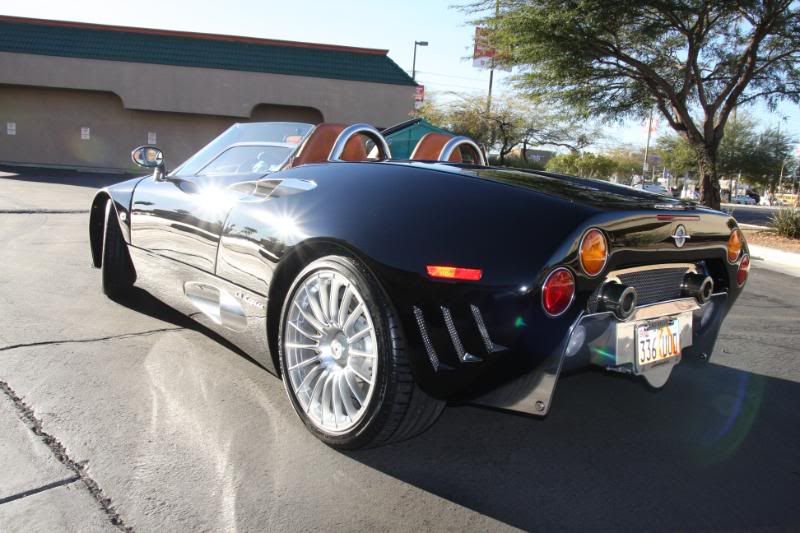


 ... they are from the nederlands!
