raclaim's 2000 BMW 528 Full Detail
#1
 06-05-2007, 04:57 PM


Join Date: Aug 2005
Location: New Jersey
Posts: 2,888
Rep Power: 0 

raclaim's 2000 BMW 528 Full Detail
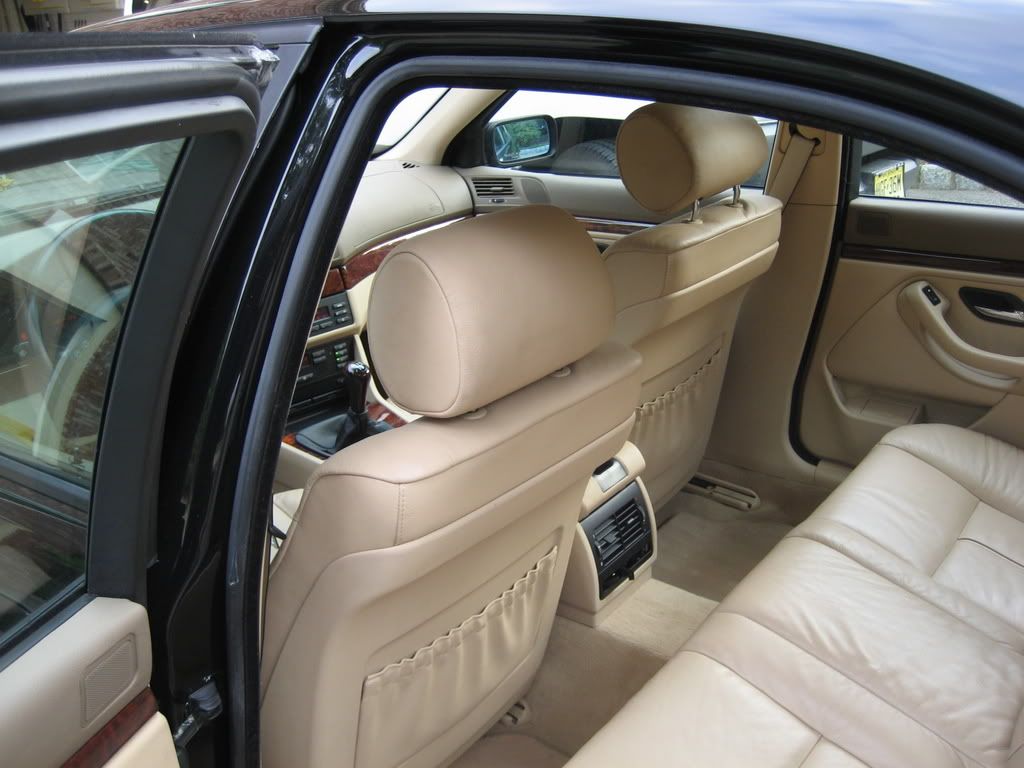
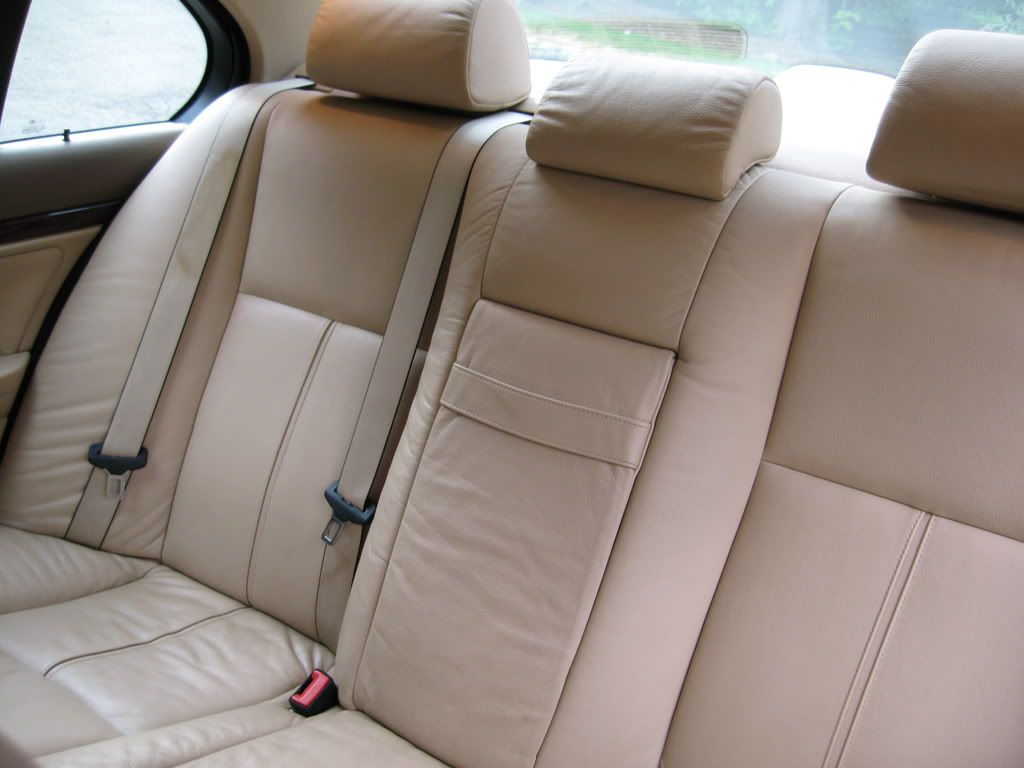
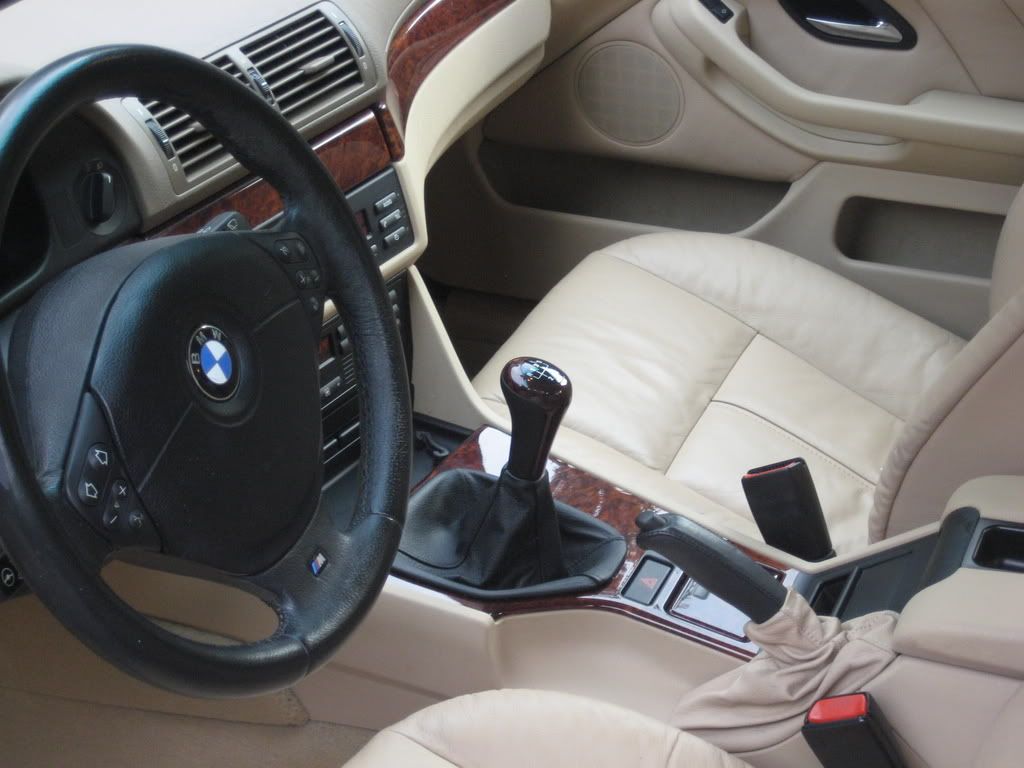
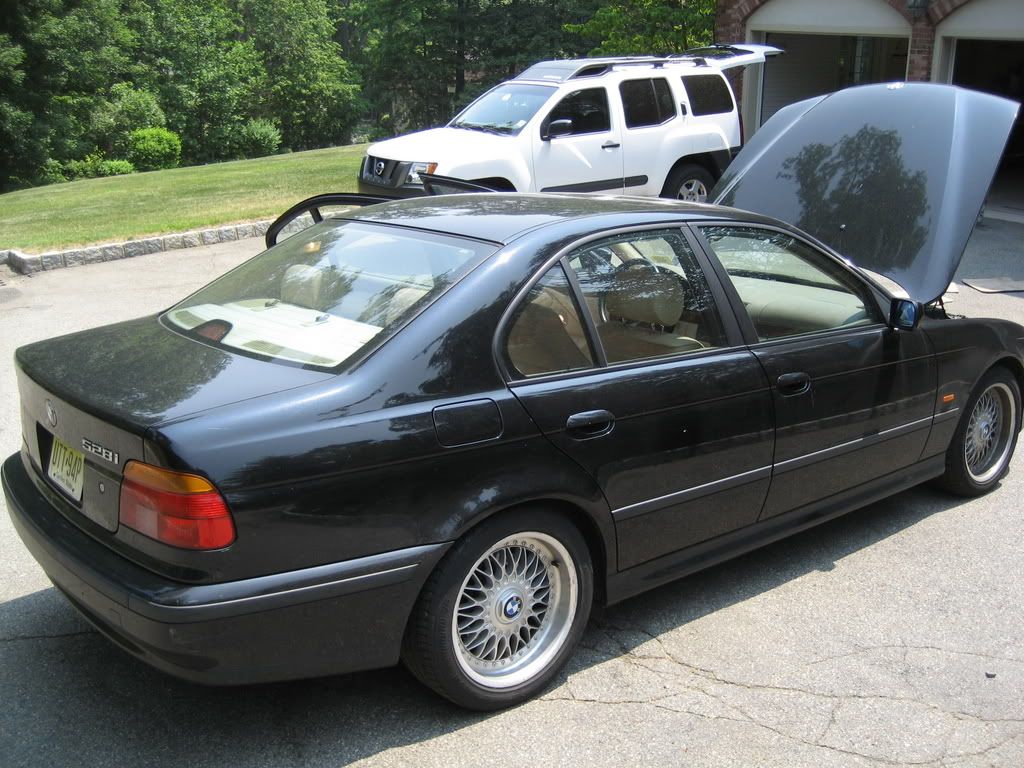
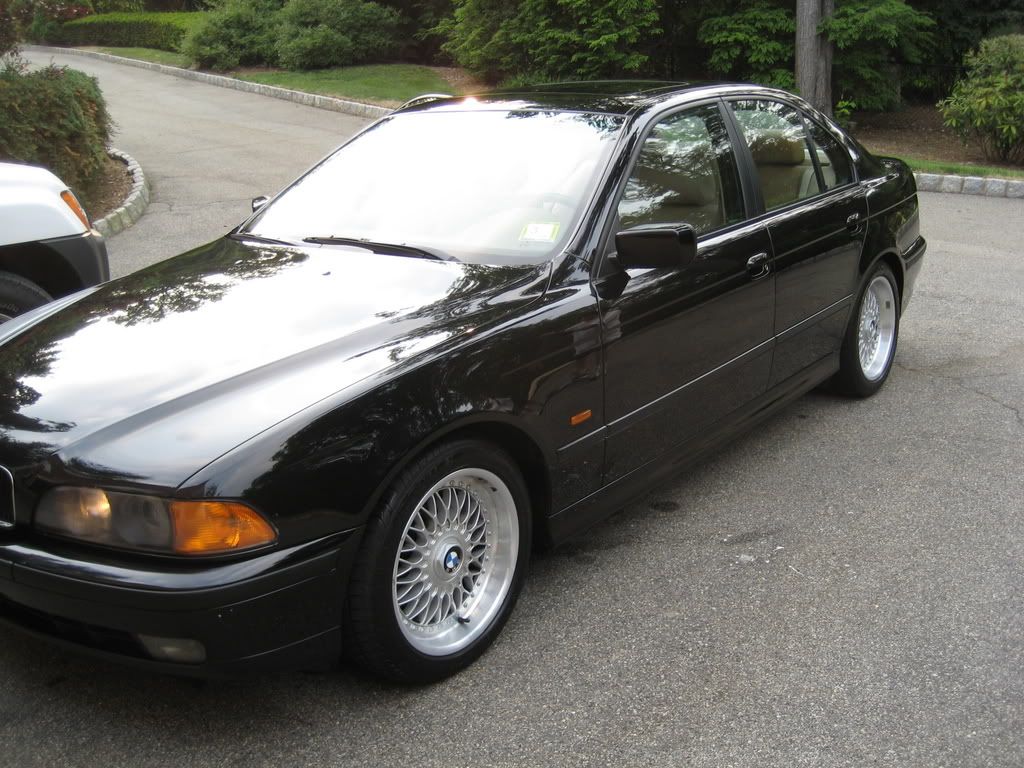
This is a 2000 BMW 528 Black/Tan with over 134k plus miles it's used as a daily driver.
Took about 6 hours (2 in the crew)
Full Detail.
Products used:
Adam's Car wash
Shmitt Wash mitt and Shmitt Wheel mitt
1 Bucket with grit guard
Jumbo Waffle Weave Drying Towel
Microfiber Buffing Towels (about 20-30 used)
Boar's Hair Brush
Spoke brush for the inner wheels
Adam's VRT
Adam's Glass Cleaner
Adam's Detail Spray
Adam's Clay Bar
Adam's Undercarriage Spray
Adam's In and out
Menzerna Super Intensive Polish
Menzerna 106FF
Menzerna FMJ
P21S Wheel Cleaner Gel
P21S Autowash
Metabo (hi speed rotary)
PC
Firehose Nozzle
Edge pad blue, green, yellow 6 inch
1Z Einszett Leather conditioner/cleaner
1Z Einszett Cockpit
1Z Einszett Detail Spray
1Z Einszett Plastik
Procedure:
1. Rinsed down the wheels (they were cool enough to touch)
2. Sprayed down the wheels with some P21S Wheel Cleaner Gel
3. Brush and cleaned the wheels with a Boar's Hair Brush
4. Rinsed down the wheels
5. Filled the bucket with water and soap
6. Used the Shmitt to wash the car, from top to hood to sides to rear.
cleaning the Shmitt after each panel was soaped up by dunking it in the bucket with the grit guard at the bottom, rinse and clean the pad and continue on to the next panel repeat till you finish washing each panel.
7. After you wash the car rinse car off throughly
8. Dried the car with a Waffle Weave Drying Towel.
9. Used Adam's Detail Spray and Adam's Clay bar to clay the entire car
10. Used the Metabo with the Menzerna SIP and the E2K green and yellow pads to polish out all the imperfections.
11. Used the Metabo with Menzerna 106FF with the E2K blue pad to polish out the car to a mirror finish.
12. Applied and removed Menzerna FMJ
13. Cleaned up the windows with Adam's Glass Cleaner (interior/exterior)
14. Dressed the tires with Adam's VRT (did one pass on the applicator and did a pass using the dry side as the customer prefers a matte finish)
15. Used 1Z Detail Spray to do a final wipe down on the wheels.
16. Used the 1Z Detail Spray for a final wipe down on the car.
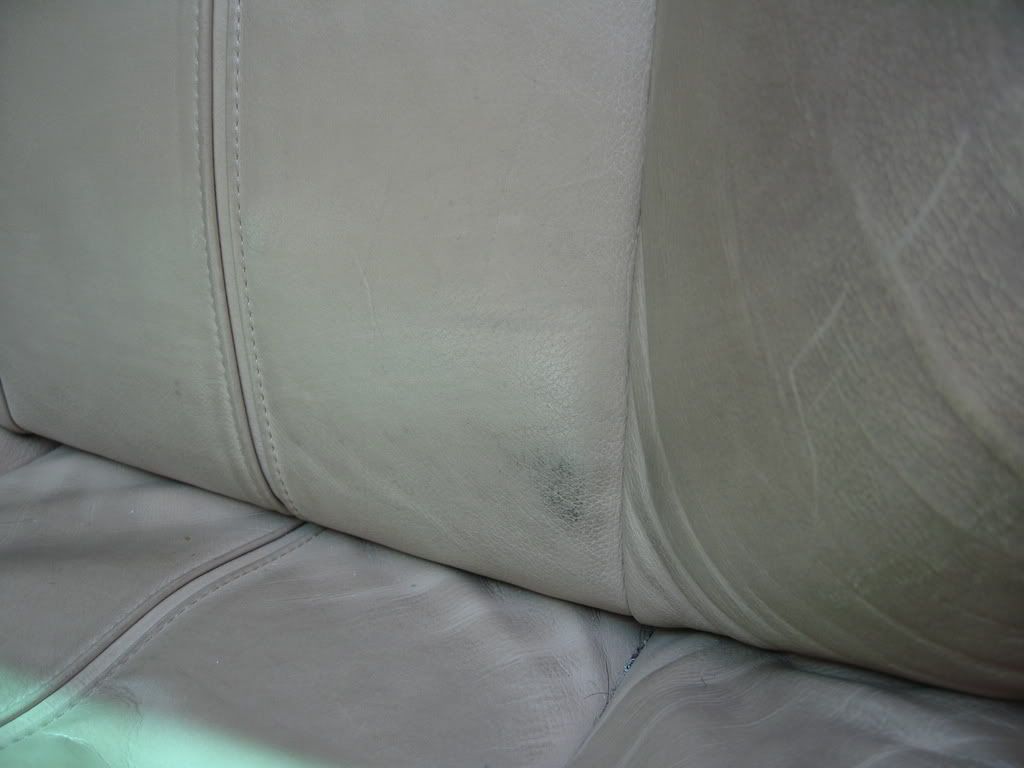
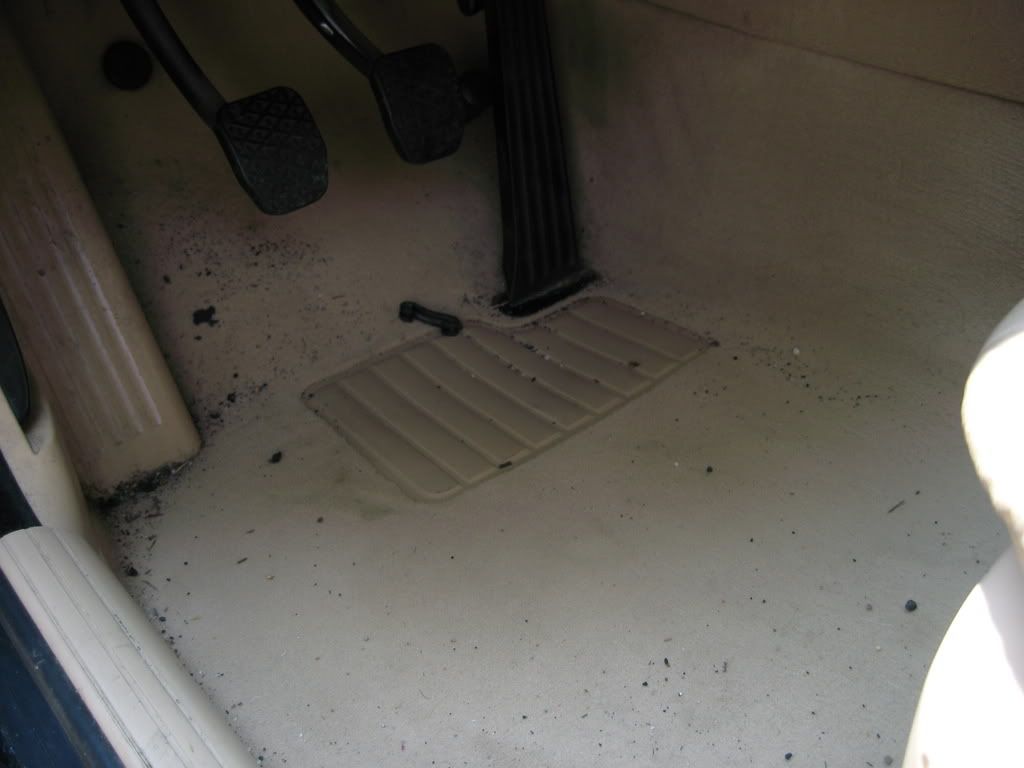
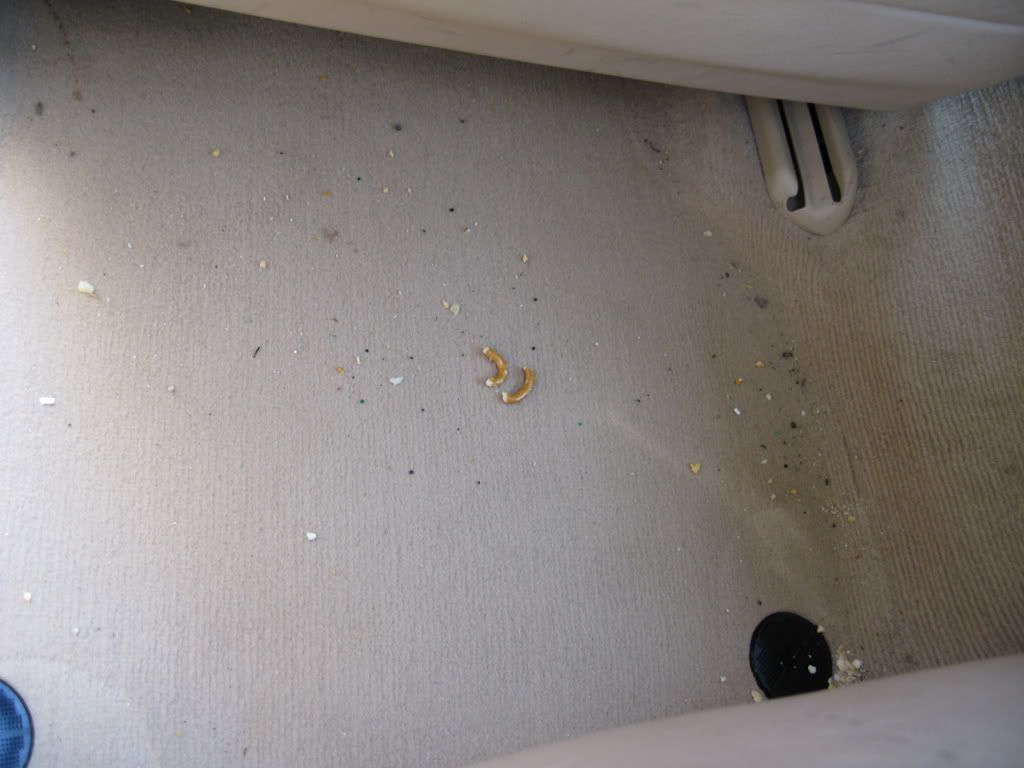
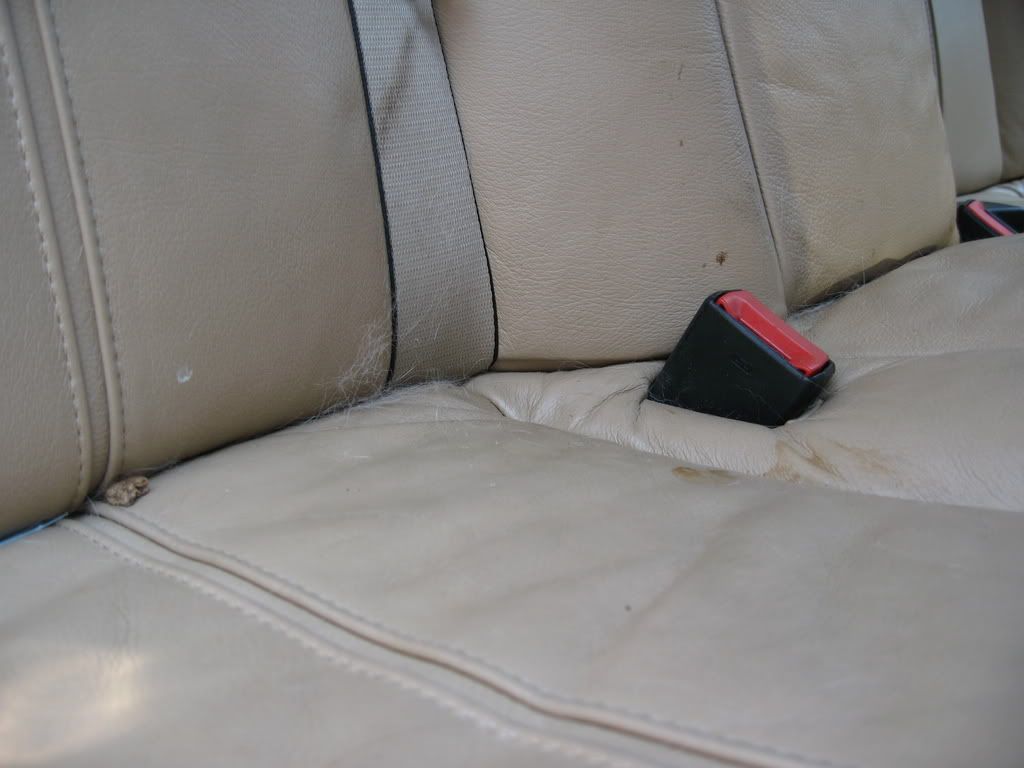
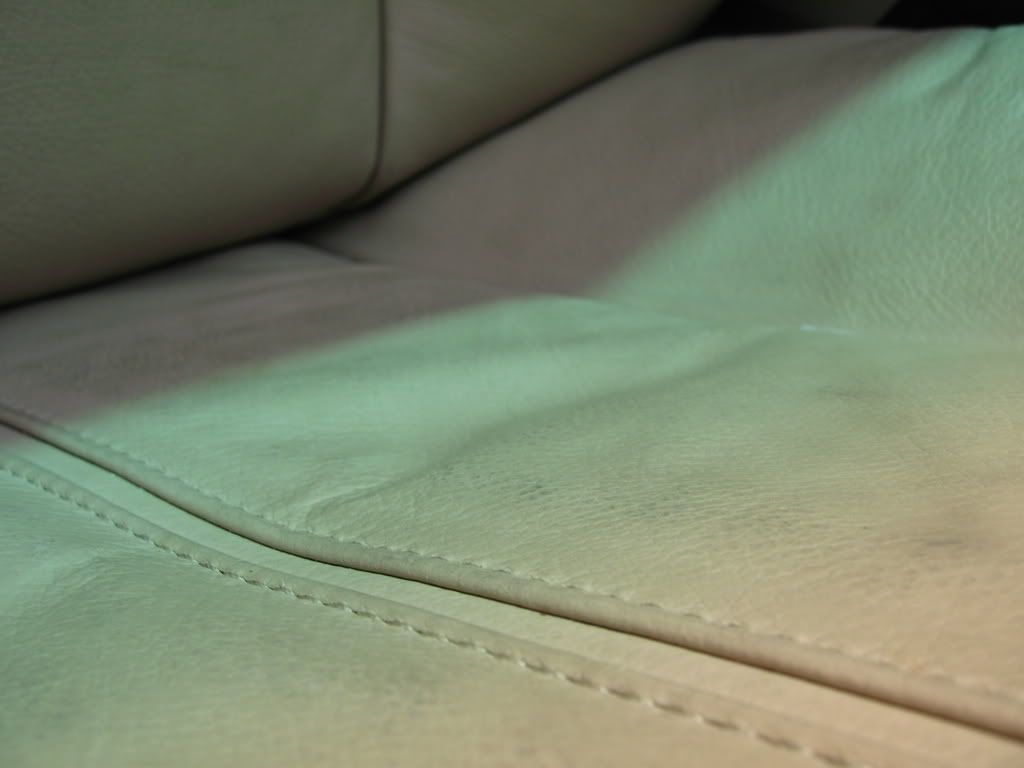
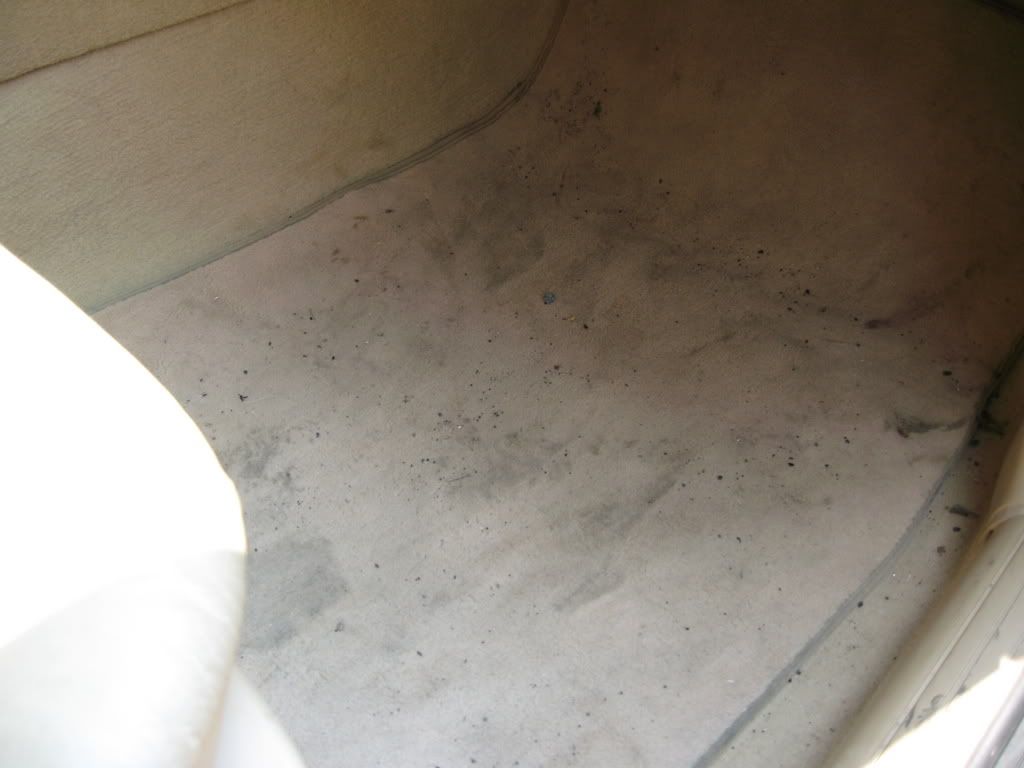
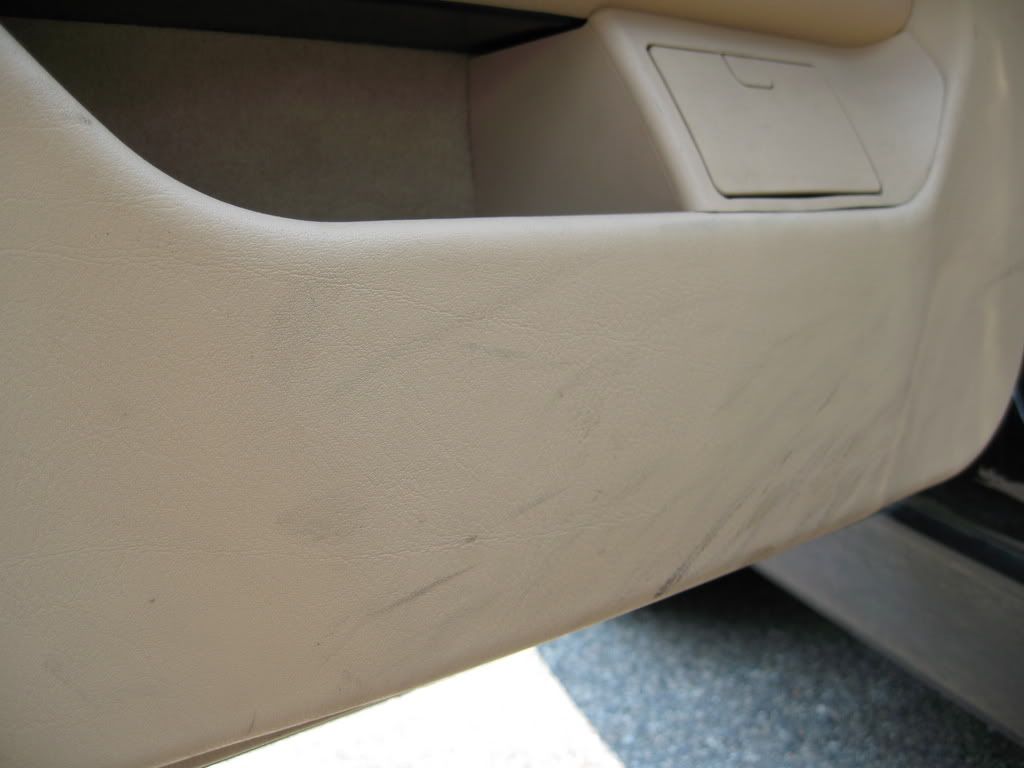
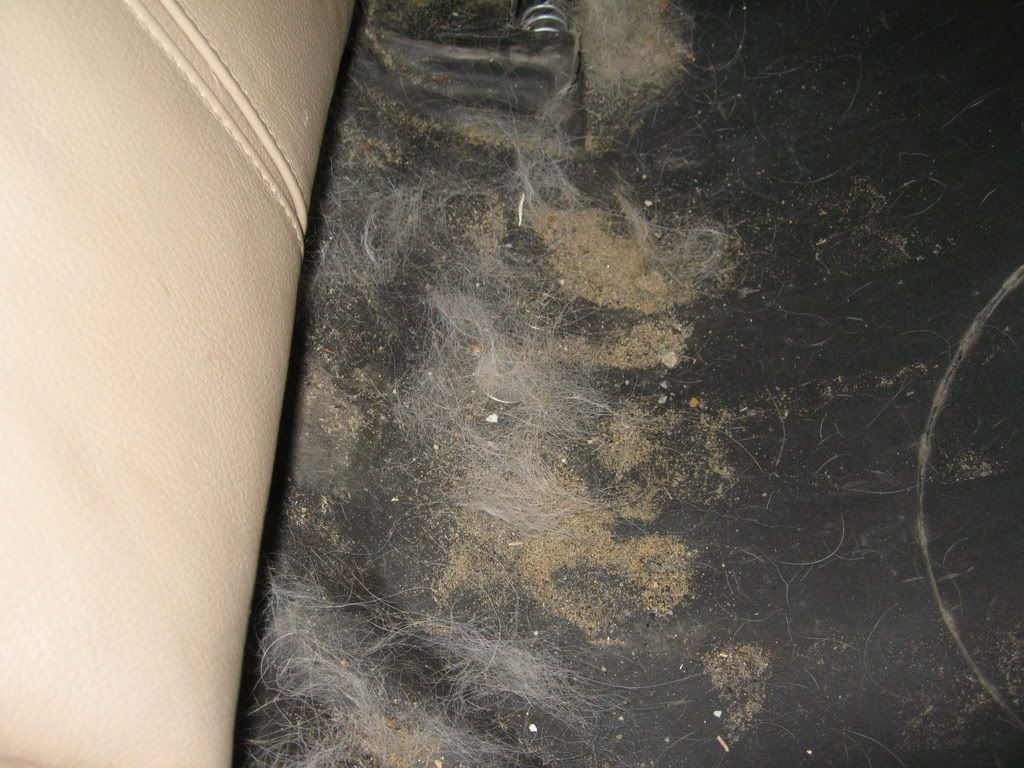
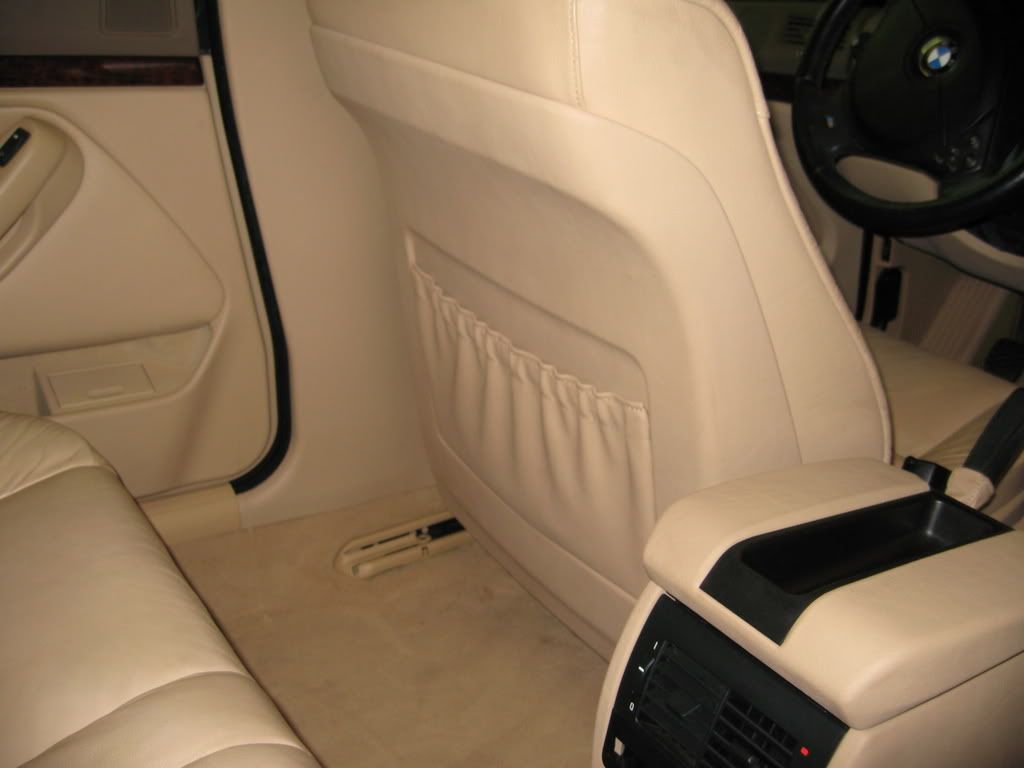
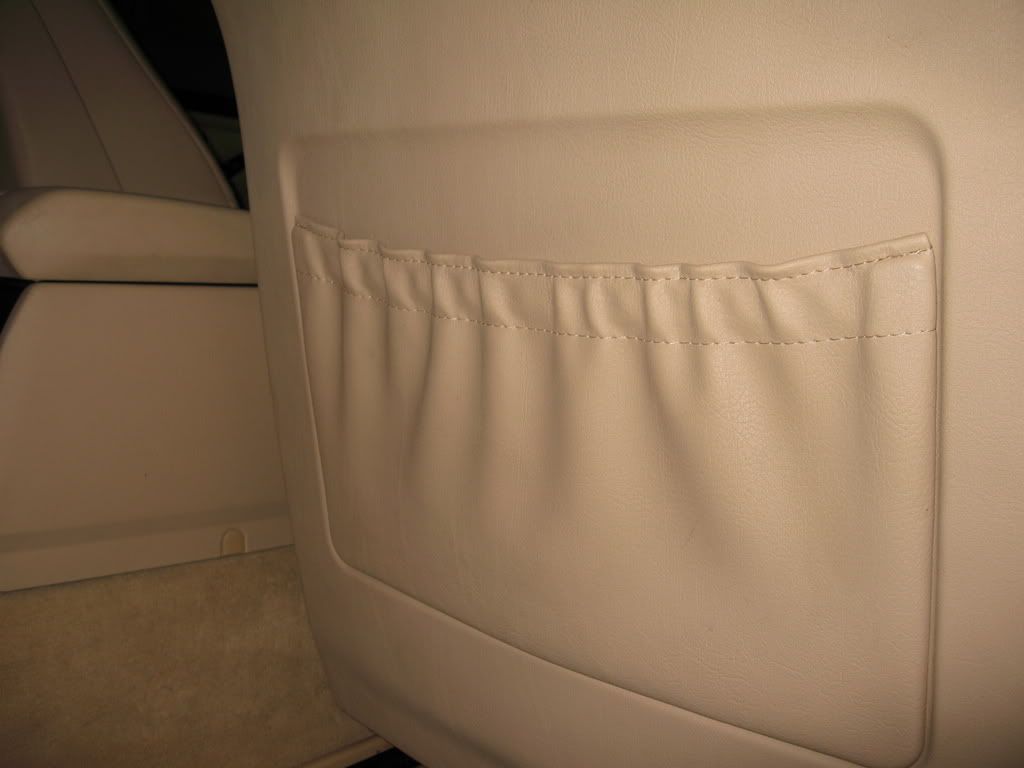
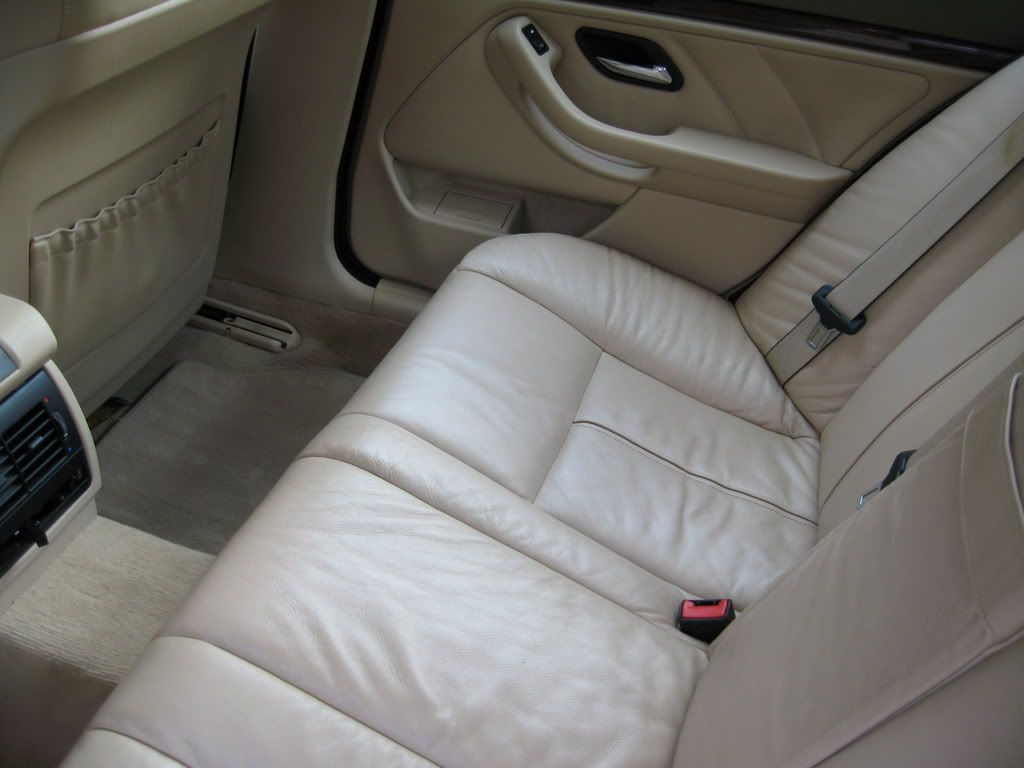
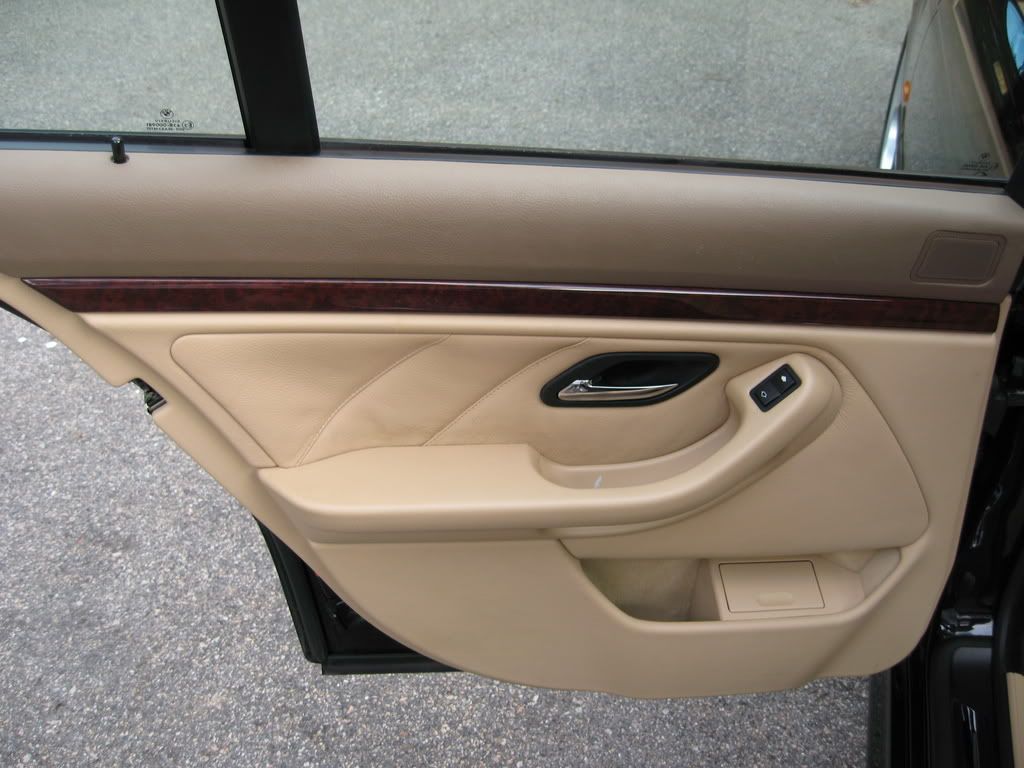
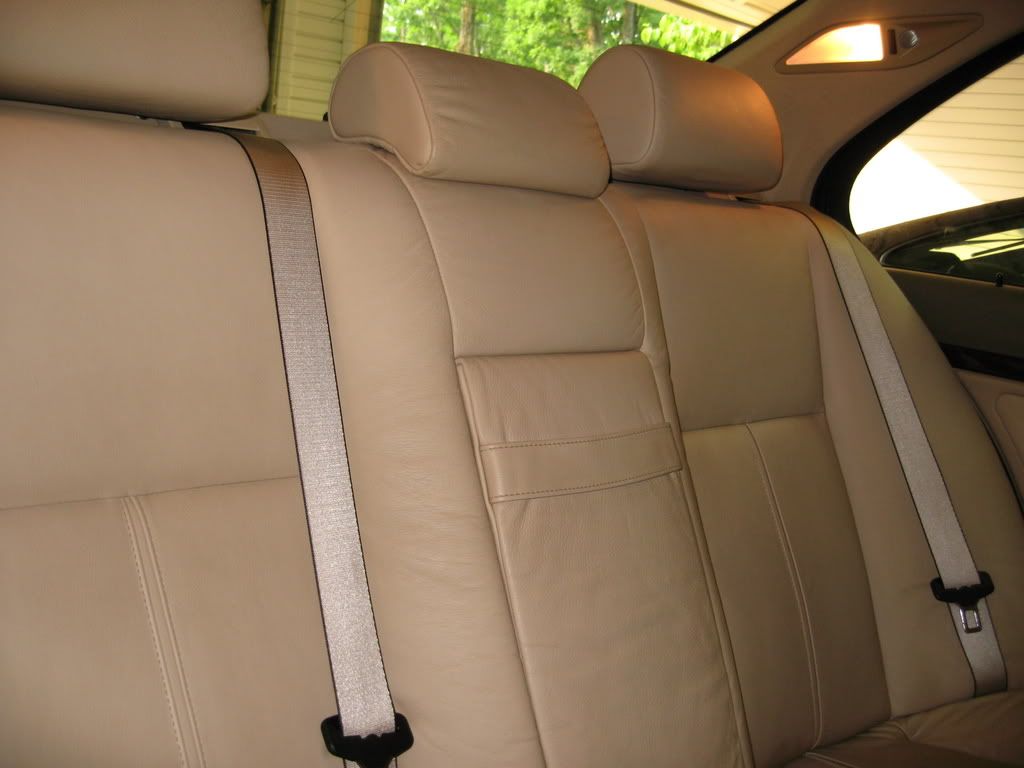
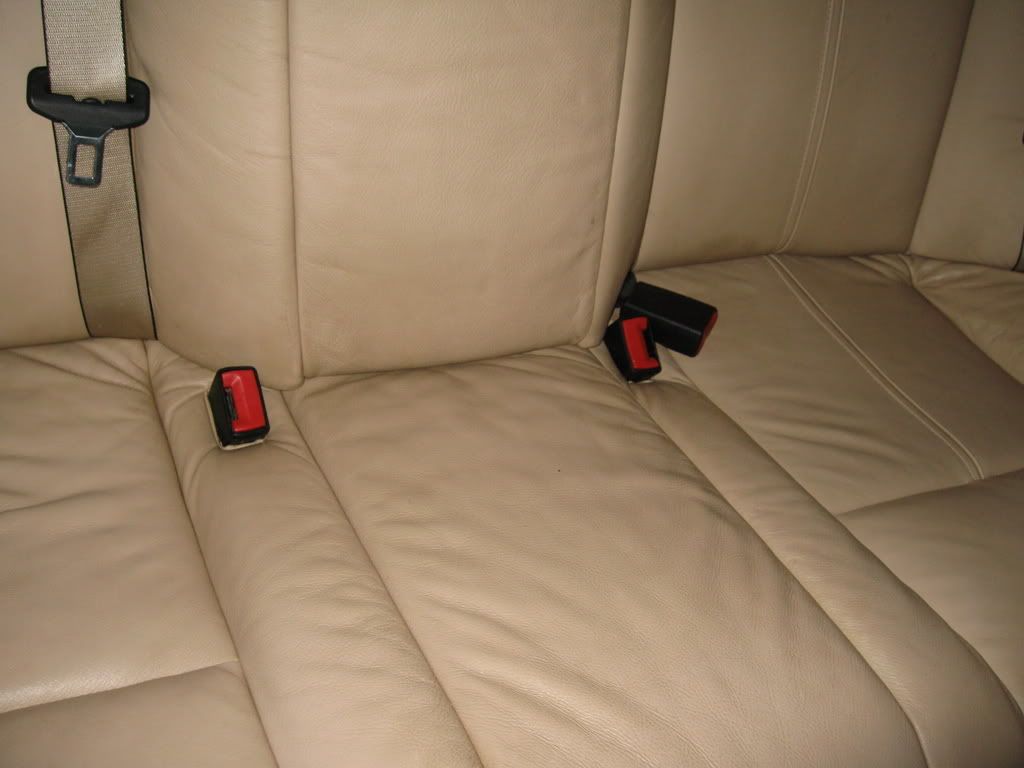
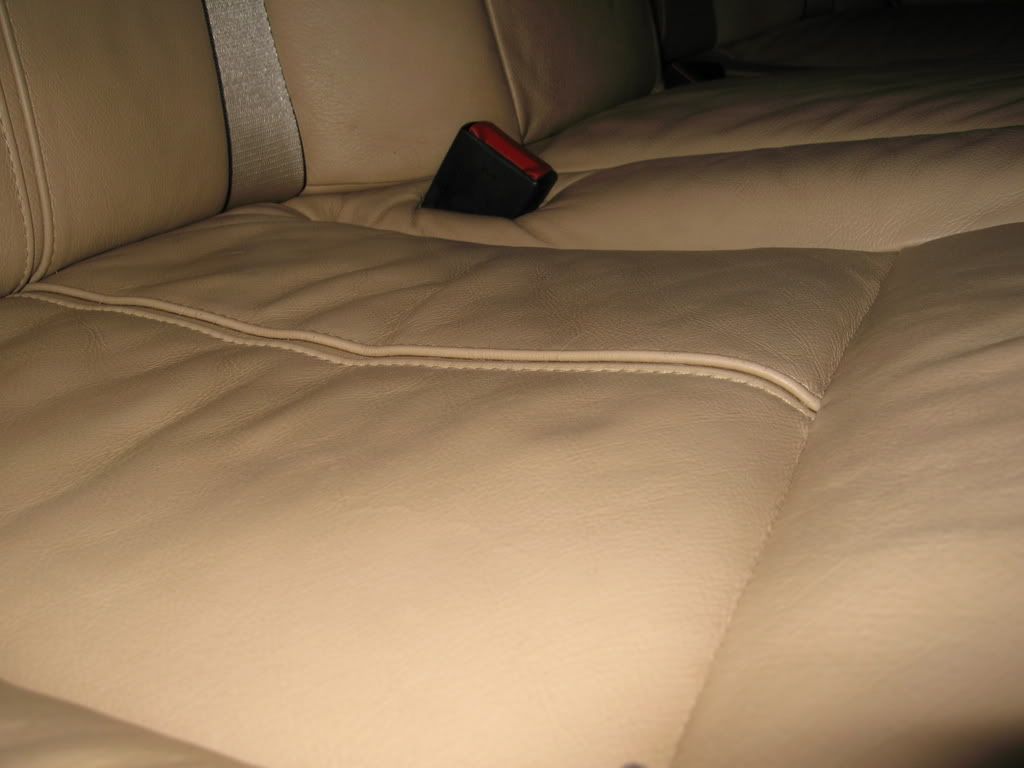
Interior: (this was one of the worst we have ever done!)
1. Wiped interior downwith 1Z Plastik (plastic cleaner amazing check the review) followed by 1Z Cockpit.
2. Vacuumed the mats, carpet, etc.
3. Wiped down and scrubbed the leather with Leather Master Strong and then conditioned with Leather Master Protectant. (typically we would use Adam's or 1Z Einszett but this one was so bad we have to use something much stronger)
4. Cleaned the glass with Adam's Glass Cleaner
5. Wiped down the jambs with 1Z einszett detail spray.
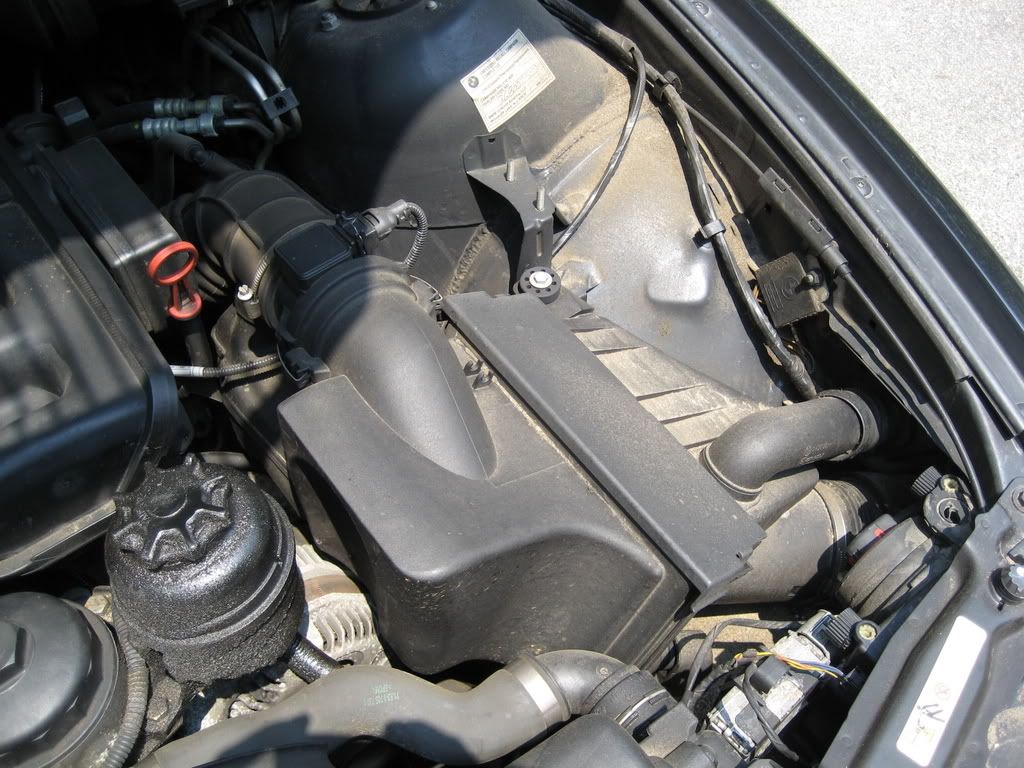
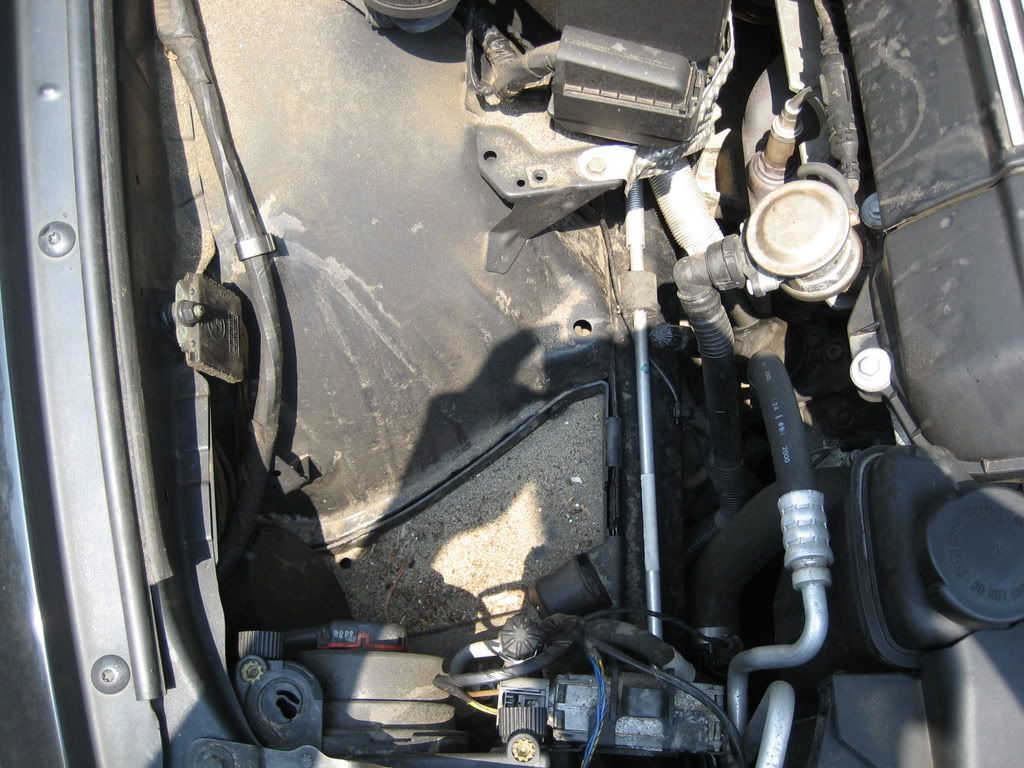
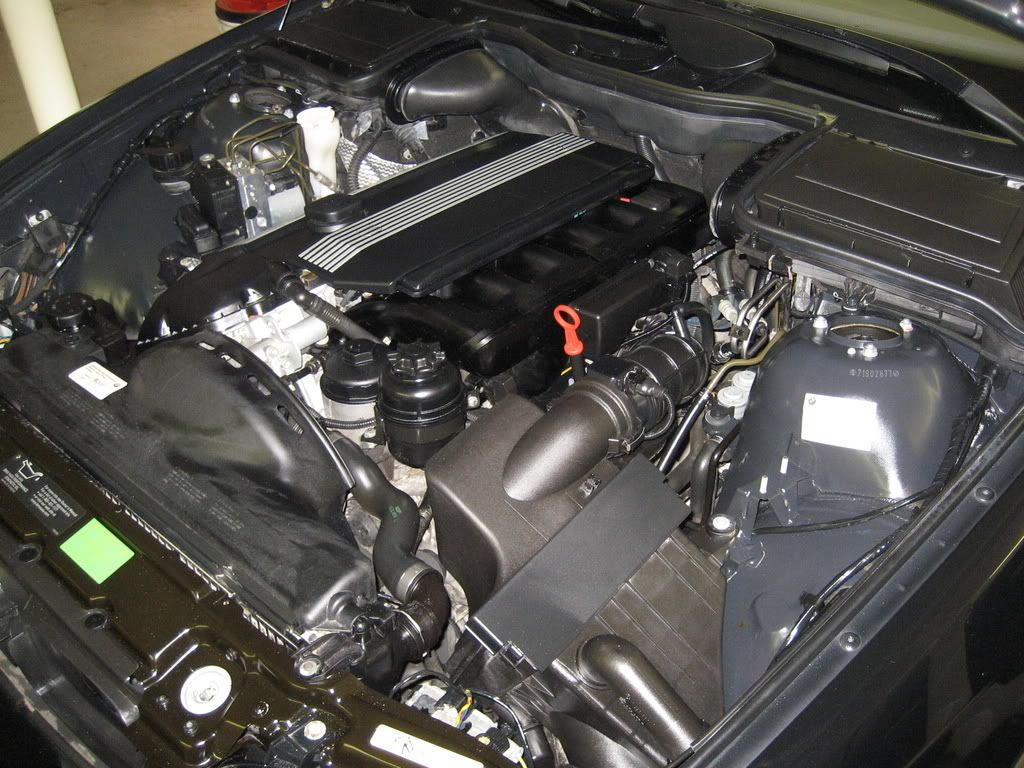
Engine:
Engine cleaning was done after the wheels, as the engine was still warm
1. Rinsed down the engine
2. Sprayed some P21S Autowash on the engine
3. Brushed the dirt and grime off the engine with a boar's hair brush
4. Sprayed down engine to rinse the P21S off
5. Closed the rear hatch and let it dry
6. Wiped down the jambs and the metal parts with 1Z einszett detail spray.
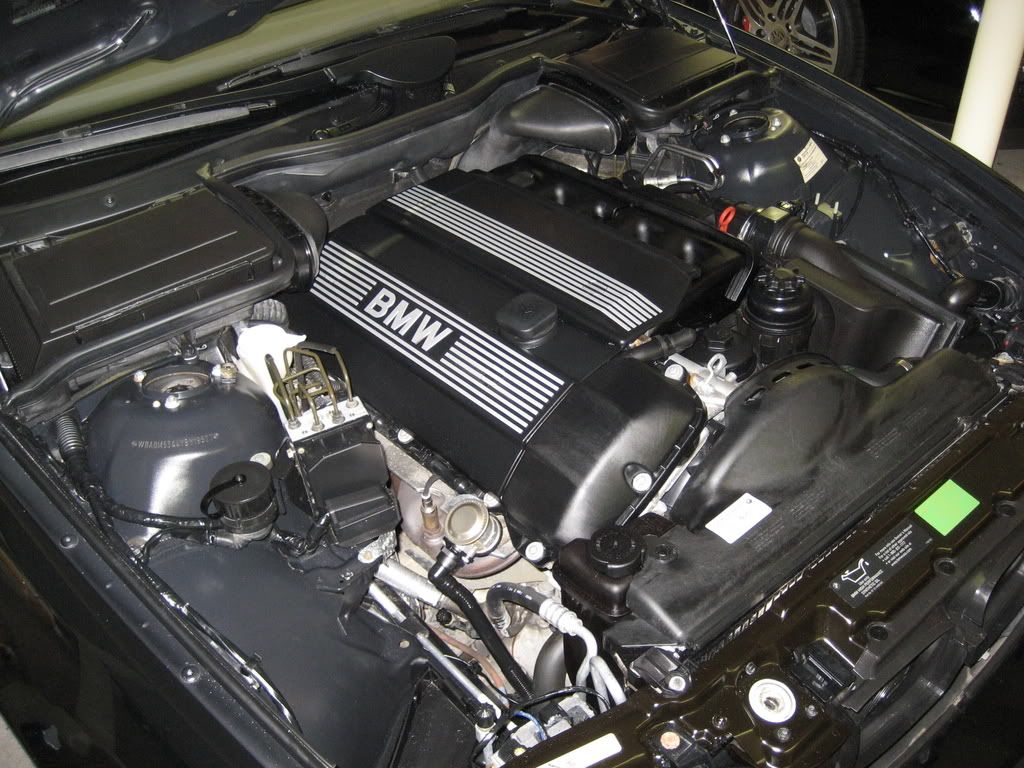
Let's start with the engine:
Before:
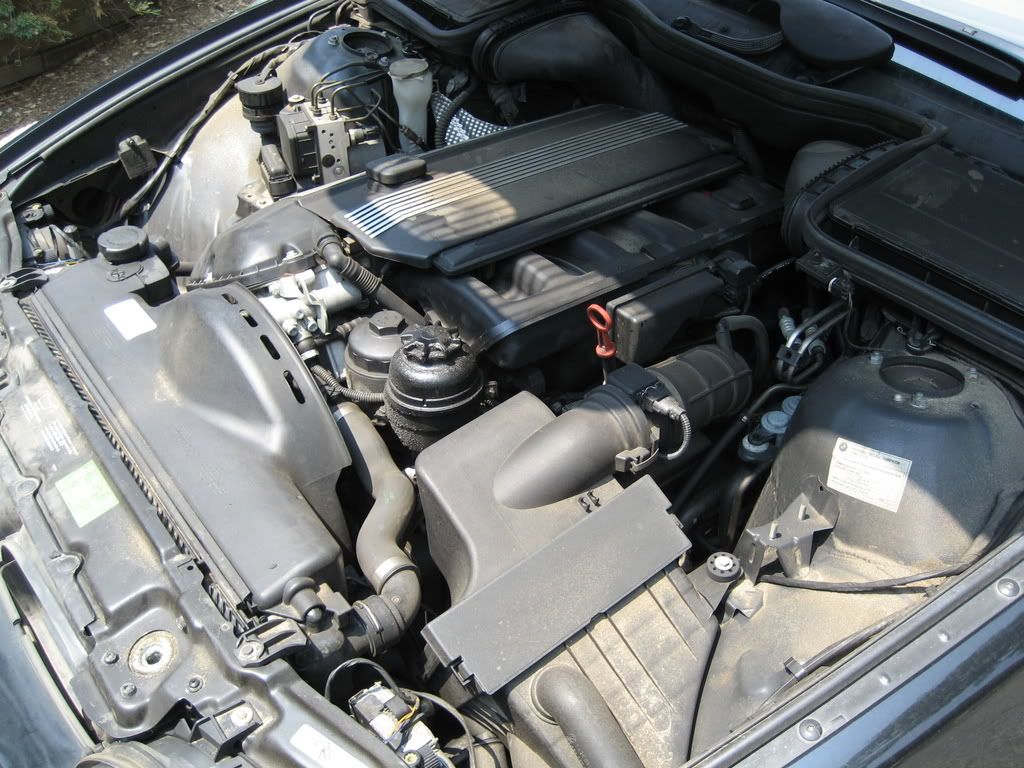
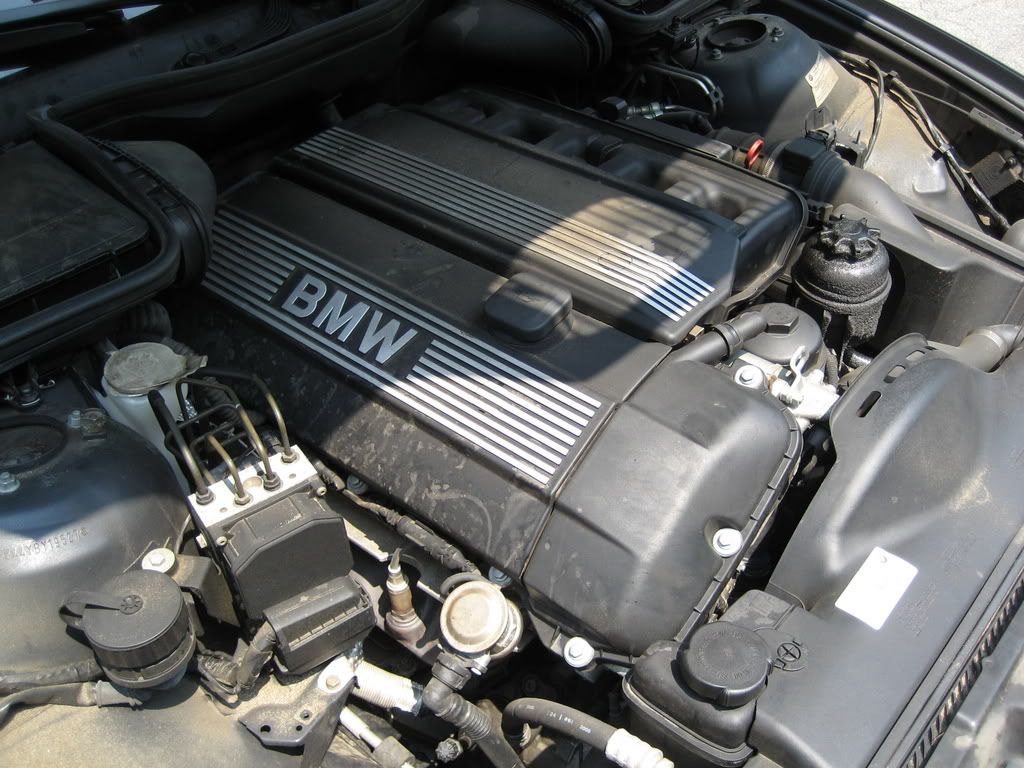
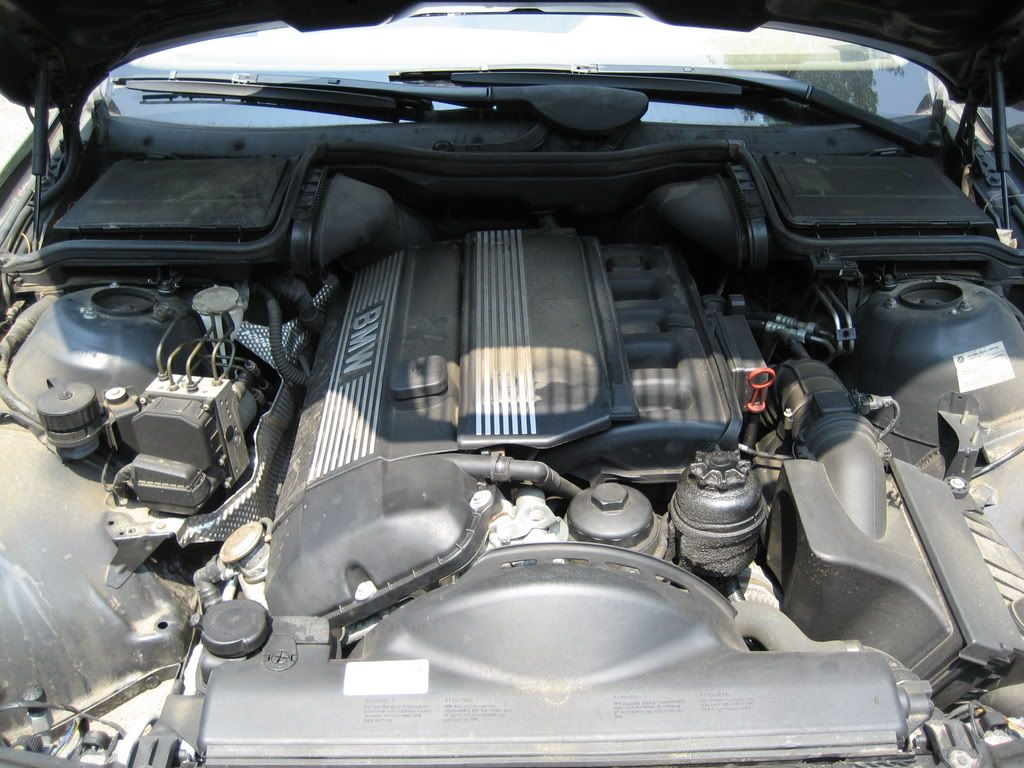
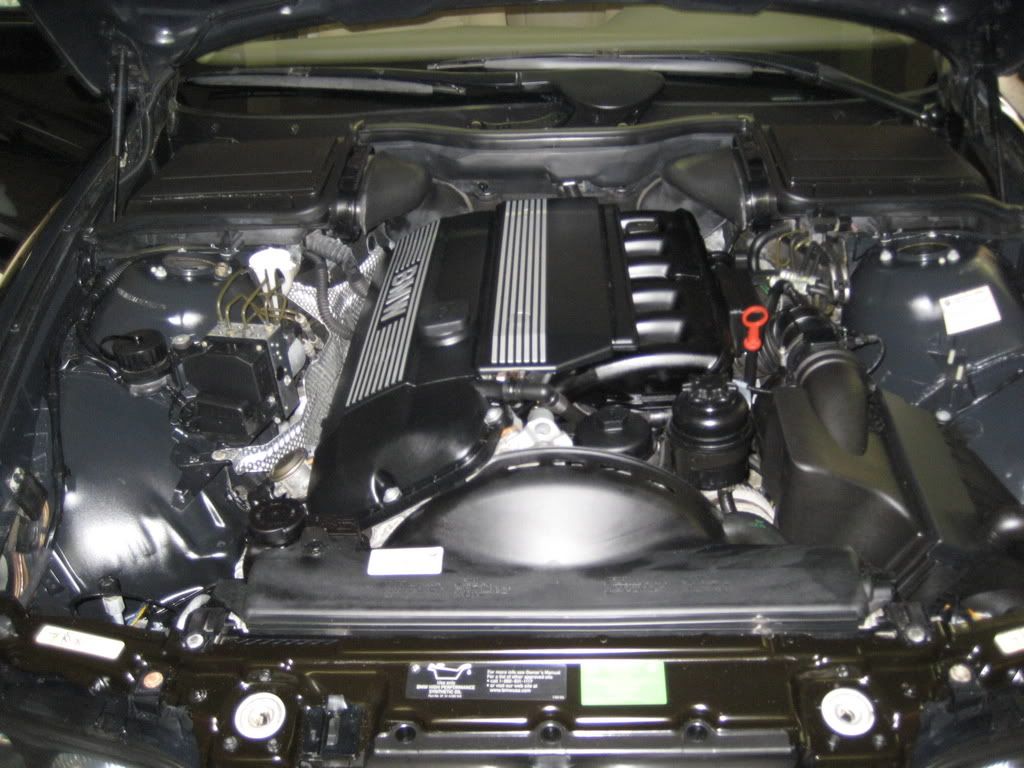
After:
Took about 6 hours (2 in the crew)
Full Detail.
Products used:
Adam's Car wash
Shmitt Wash mitt and Shmitt Wheel mitt
1 Bucket with grit guard
Jumbo Waffle Weave Drying Towel
Microfiber Buffing Towels (about 20-30 used)
Boar's Hair Brush
Spoke brush for the inner wheels
Adam's VRT
Adam's Glass Cleaner
Adam's Detail Spray
Adam's Clay Bar
Adam's Undercarriage Spray
Adam's In and out
Menzerna Super Intensive Polish
Menzerna 106FF
Menzerna FMJ
P21S Wheel Cleaner Gel
P21S Autowash
Metabo (hi speed rotary)
PC
Firehose Nozzle
Edge pad blue, green, yellow 6 inch
1Z Einszett Leather conditioner/cleaner
1Z Einszett Cockpit
1Z Einszett Detail Spray
1Z Einszett Plastik
Procedure:
1. Rinsed down the wheels (they were cool enough to touch)
2. Sprayed down the wheels with some P21S Wheel Cleaner Gel
3. Brush and cleaned the wheels with a Boar's Hair Brush
4. Rinsed down the wheels
5. Filled the bucket with water and soap
6. Used the Shmitt to wash the car, from top to hood to sides to rear.
cleaning the Shmitt after each panel was soaped up by dunking it in the bucket with the grit guard at the bottom, rinse and clean the pad and continue on to the next panel repeat till you finish washing each panel.
7. After you wash the car rinse car off throughly
8. Dried the car with a Waffle Weave Drying Towel.
9. Used Adam's Detail Spray and Adam's Clay bar to clay the entire car
10. Used the Metabo with the Menzerna SIP and the E2K green and yellow pads to polish out all the imperfections.
11. Used the Metabo with Menzerna 106FF with the E2K blue pad to polish out the car to a mirror finish.
12. Applied and removed Menzerna FMJ
13. Cleaned up the windows with Adam's Glass Cleaner (interior/exterior)
14. Dressed the tires with Adam's VRT (did one pass on the applicator and did a pass using the dry side as the customer prefers a matte finish)
15. Used 1Z Detail Spray to do a final wipe down on the wheels.
16. Used the 1Z Detail Spray for a final wipe down on the car.
Interior: (this was one of the worst we have ever done!)
1. Wiped interior downwith 1Z Plastik (plastic cleaner amazing check the review) followed by 1Z Cockpit.
2. Vacuumed the mats, carpet, etc.
3. Wiped down and scrubbed the leather with Leather Master Strong and then conditioned with Leather Master Protectant. (typically we would use Adam's or 1Z Einszett but this one was so bad we have to use something much stronger)
4. Cleaned the glass with Adam's Glass Cleaner
5. Wiped down the jambs with 1Z einszett detail spray.
Engine:
Engine cleaning was done after the wheels, as the engine was still warm
1. Rinsed down the engine
2. Sprayed some P21S Autowash on the engine
3. Brushed the dirt and grime off the engine with a boar's hair brush
4. Sprayed down engine to rinse the P21S off
5. Closed the rear hatch and let it dry
6. Wiped down the jambs and the metal parts with 1Z einszett detail spray.
Let's start with the engine:
Before:
After:


#4
06-05-2007, 04:59 PM
Join Date: Aug 2005
Location: New Jersey
Posts: 2,888
Rep Power: 0
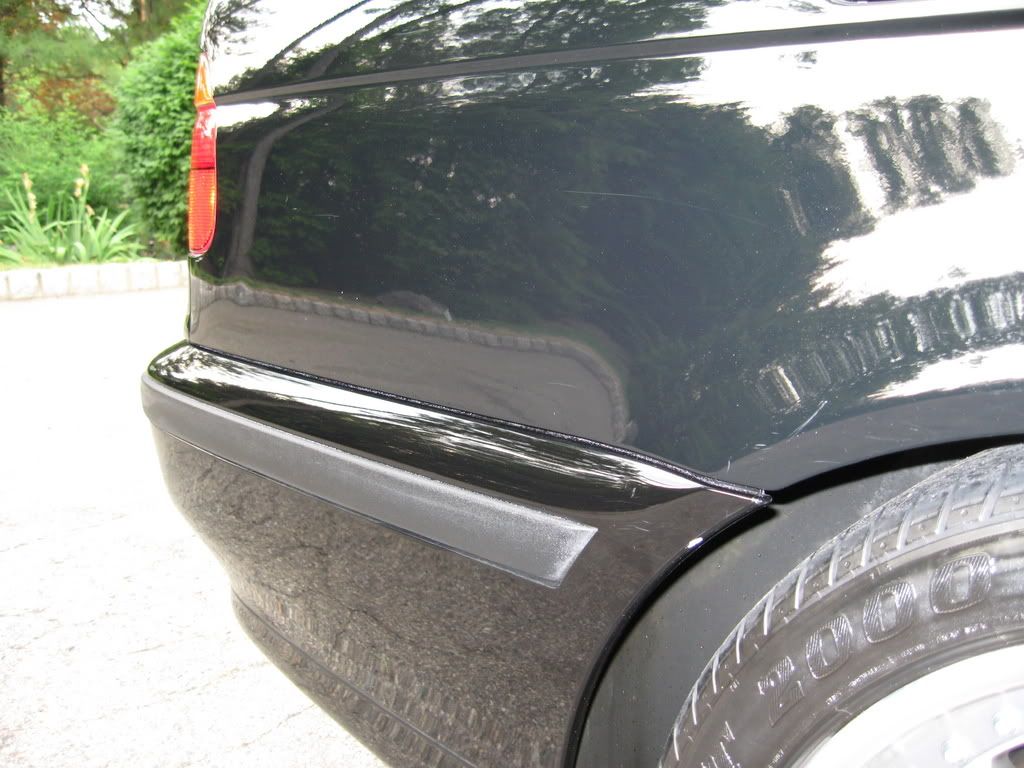
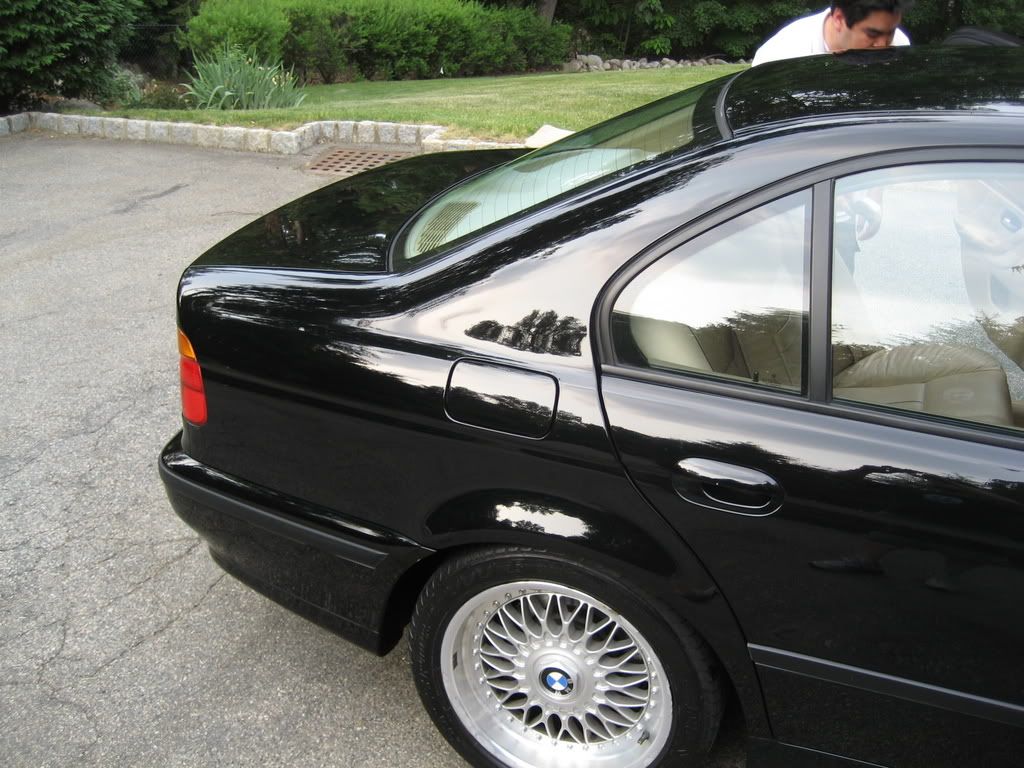
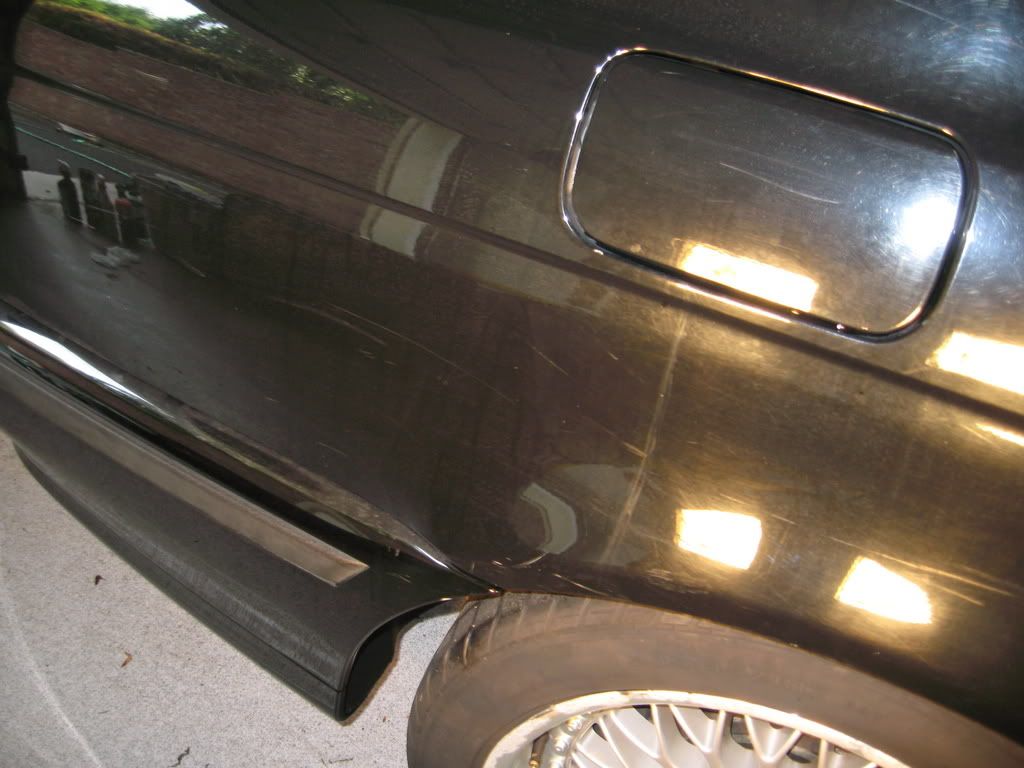
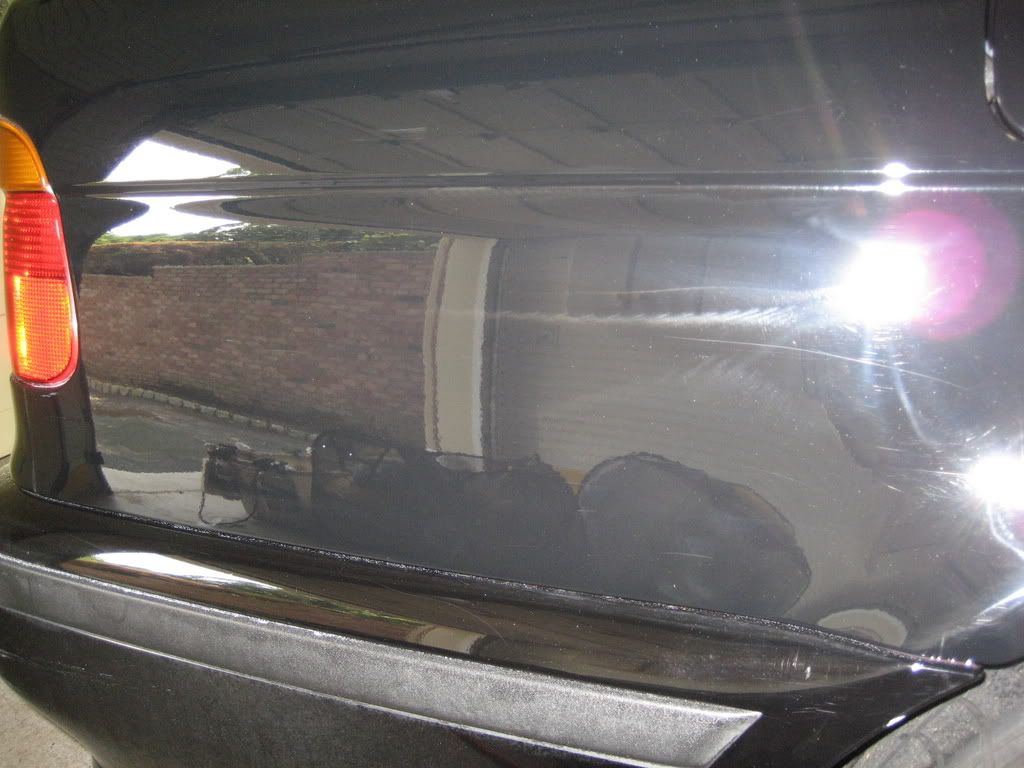
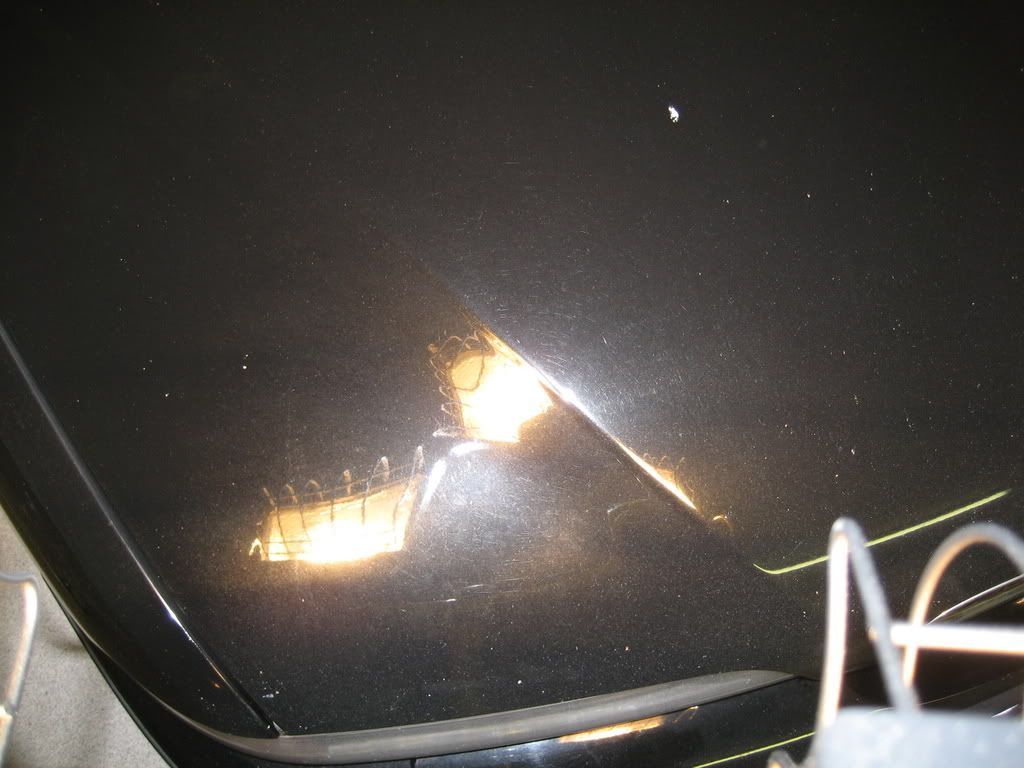
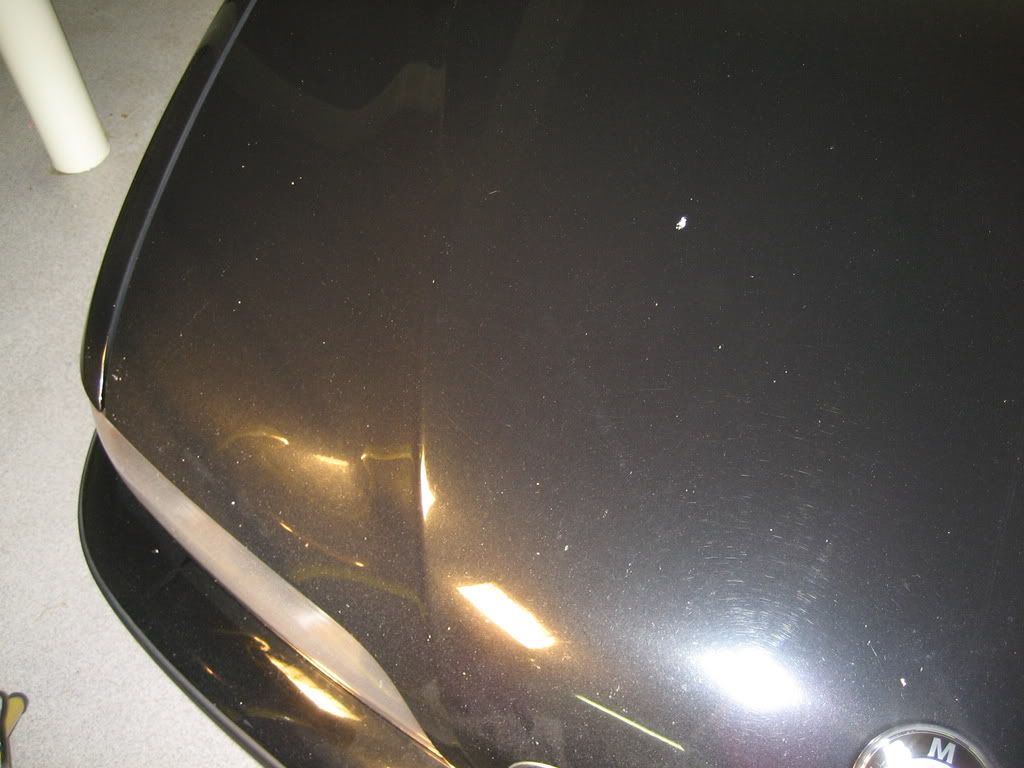
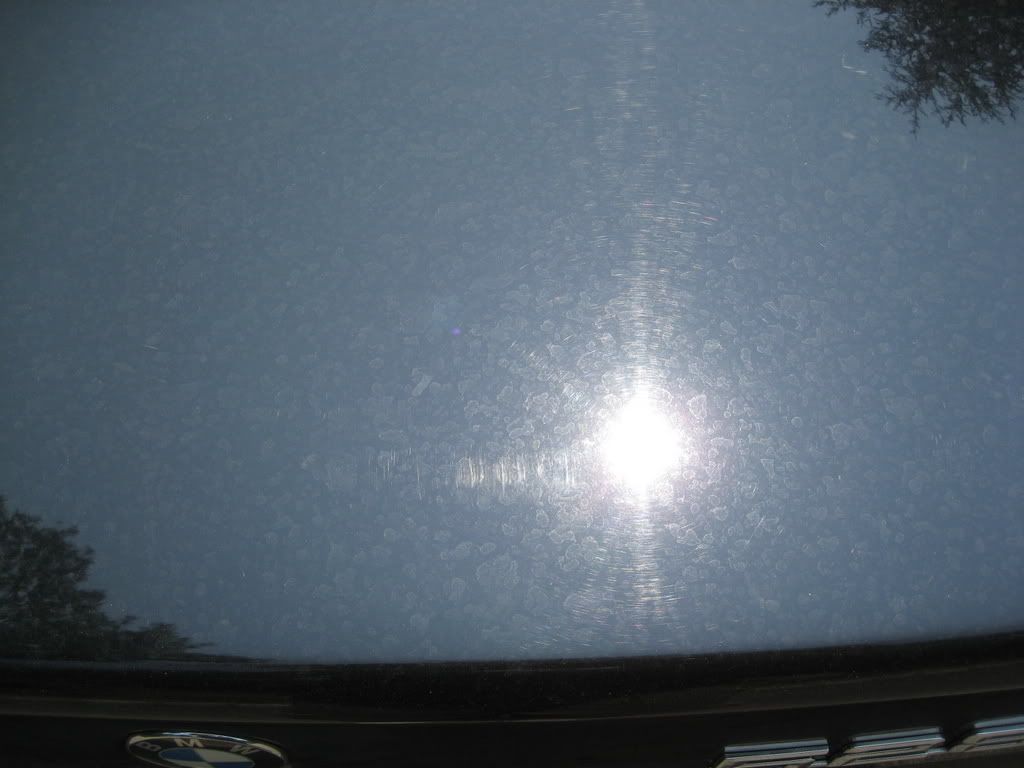
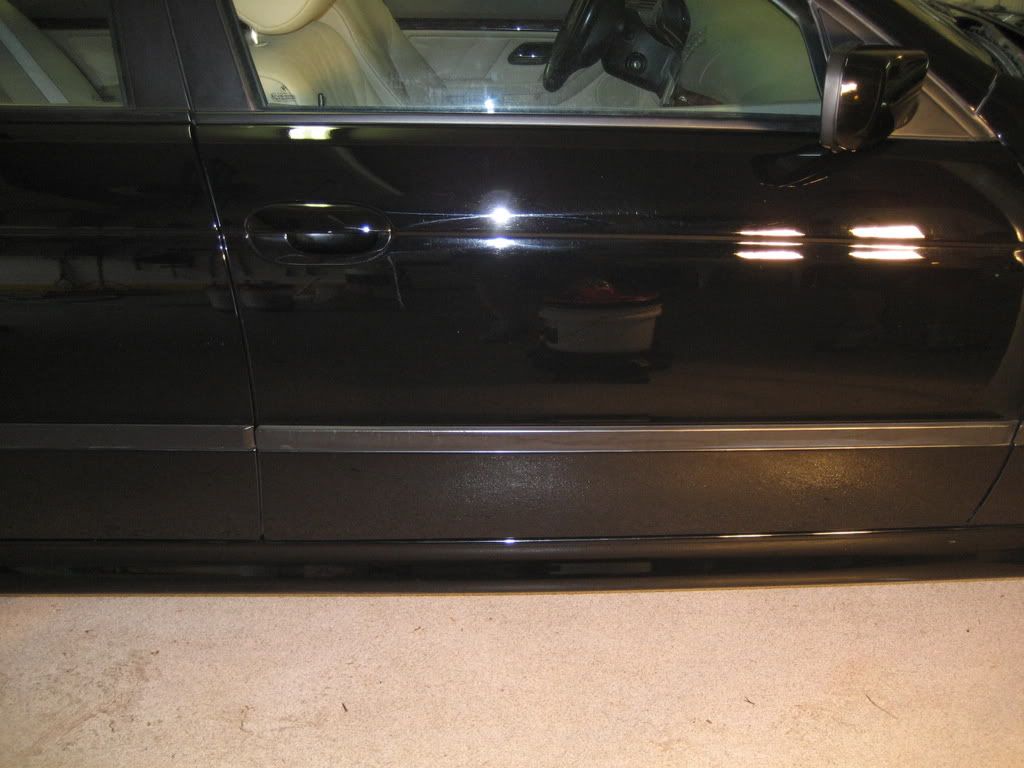
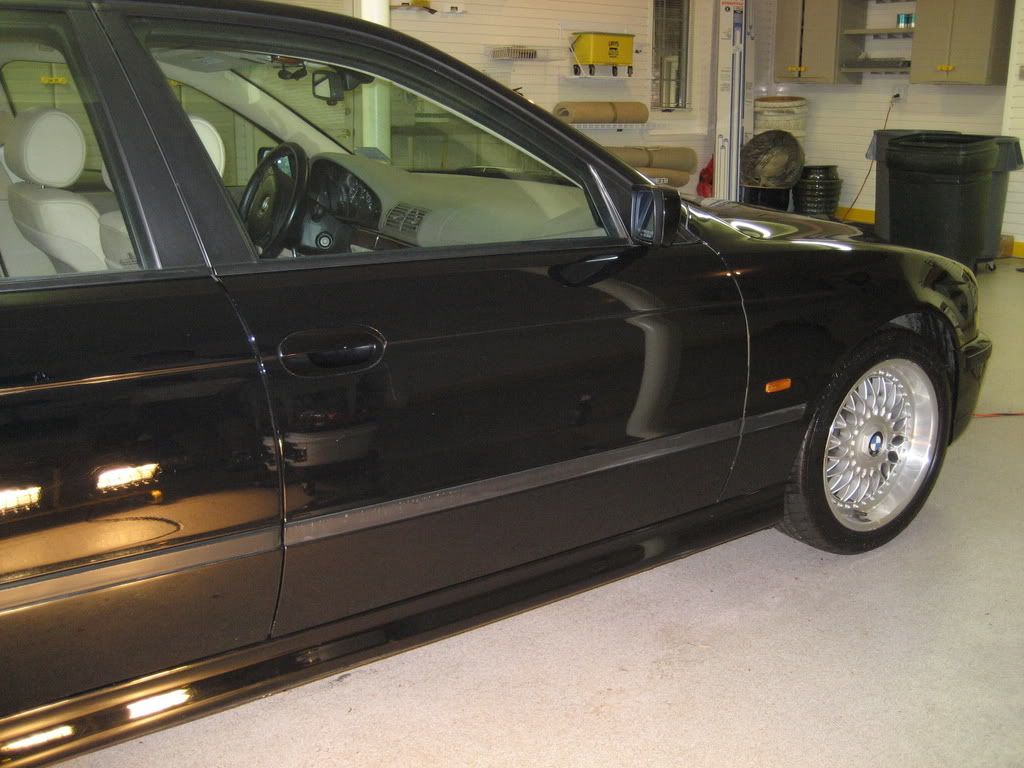
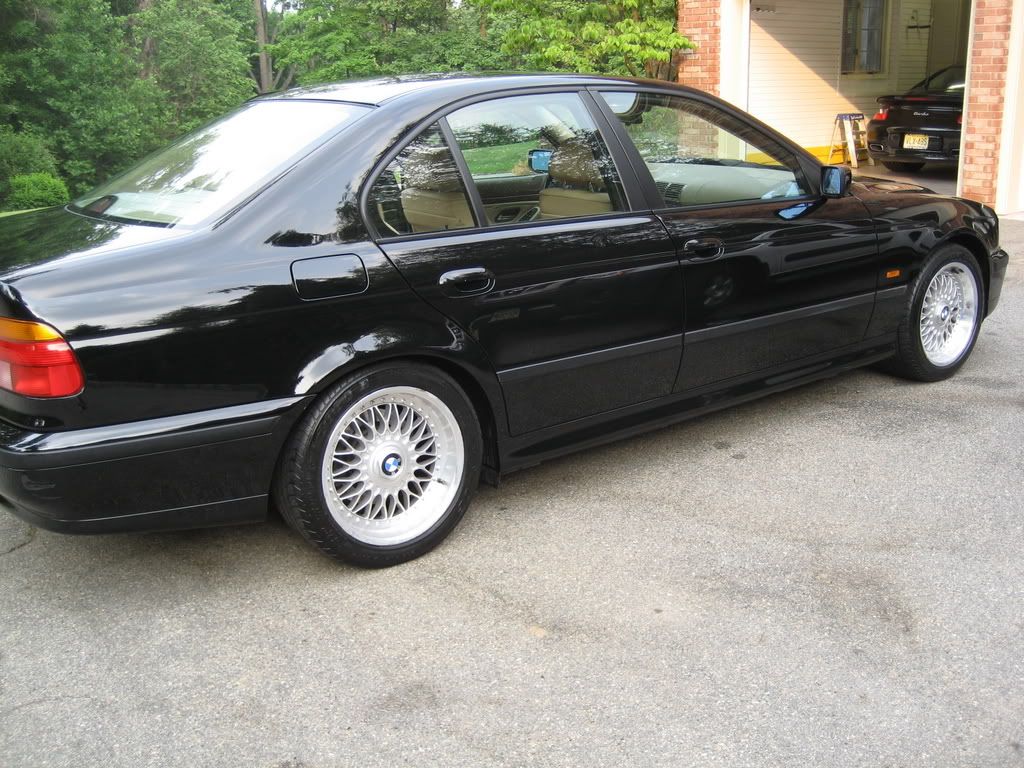
Rear fender before and after:
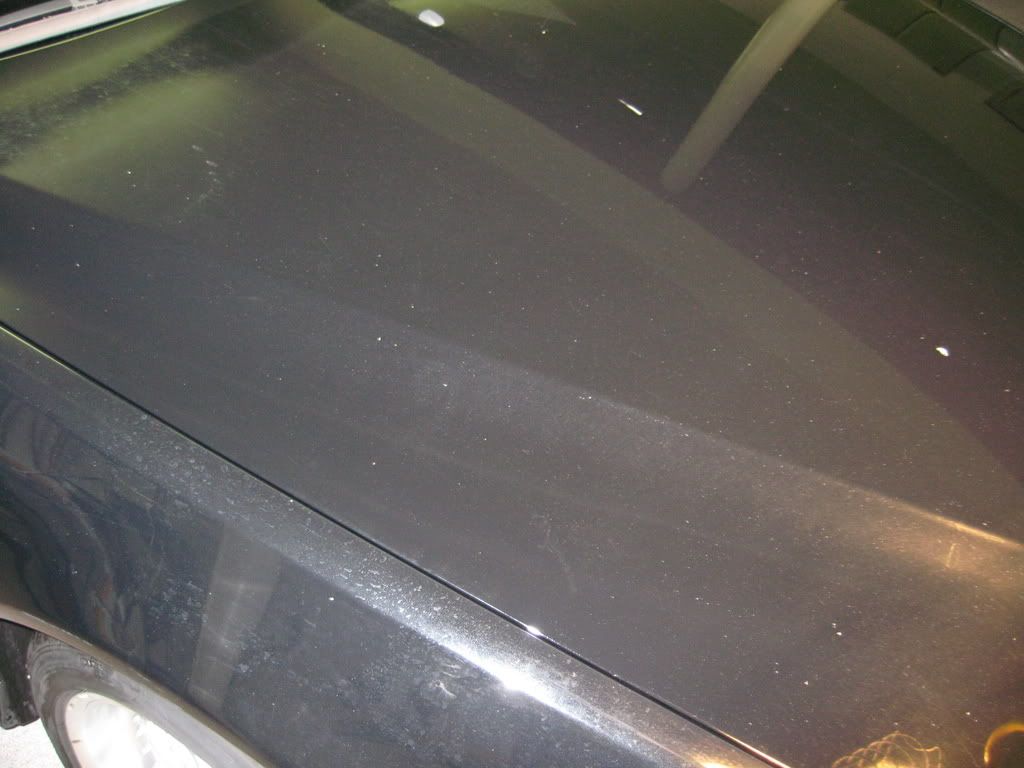
Rear fender before wash:
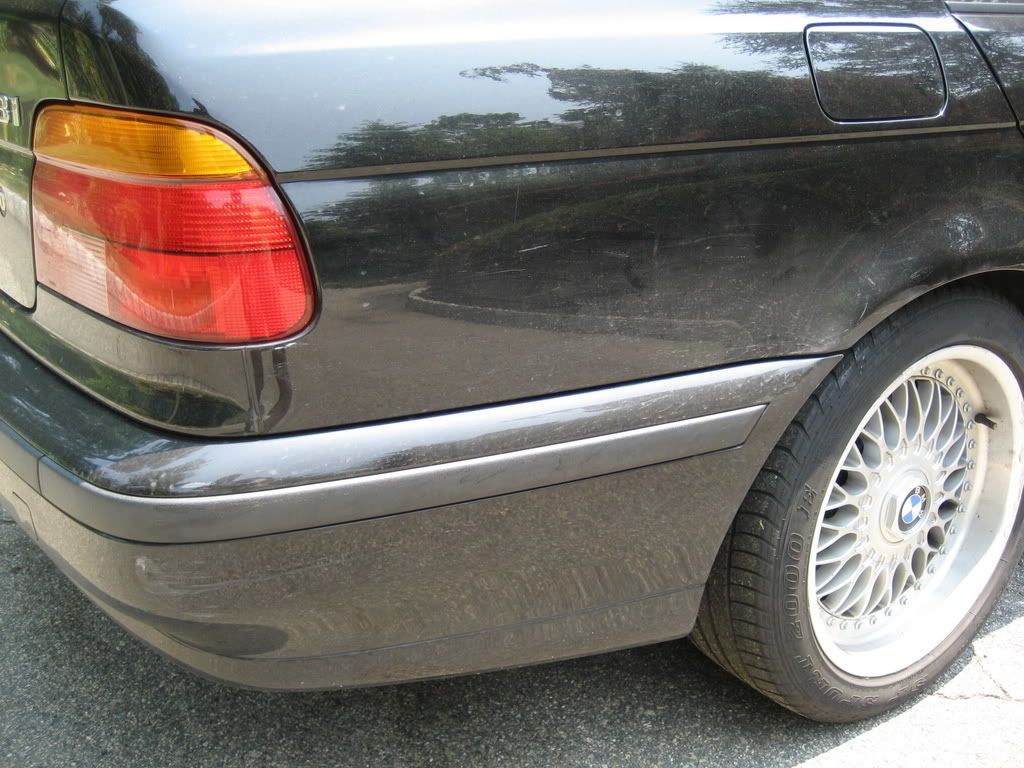
Rear fender after wash:
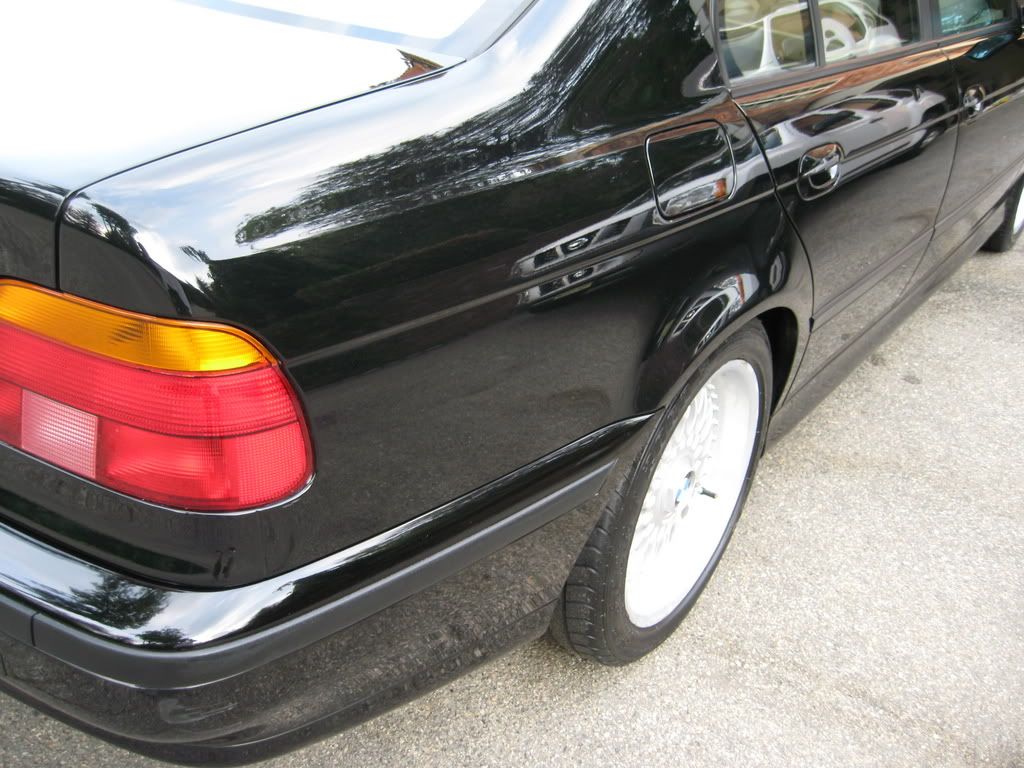
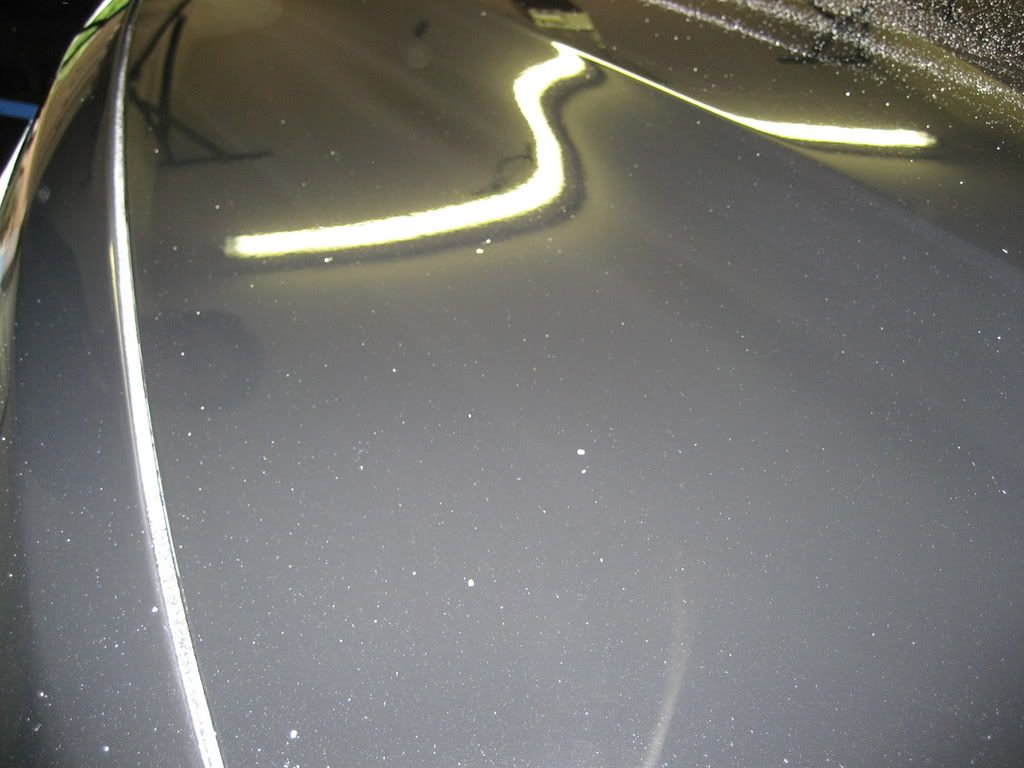
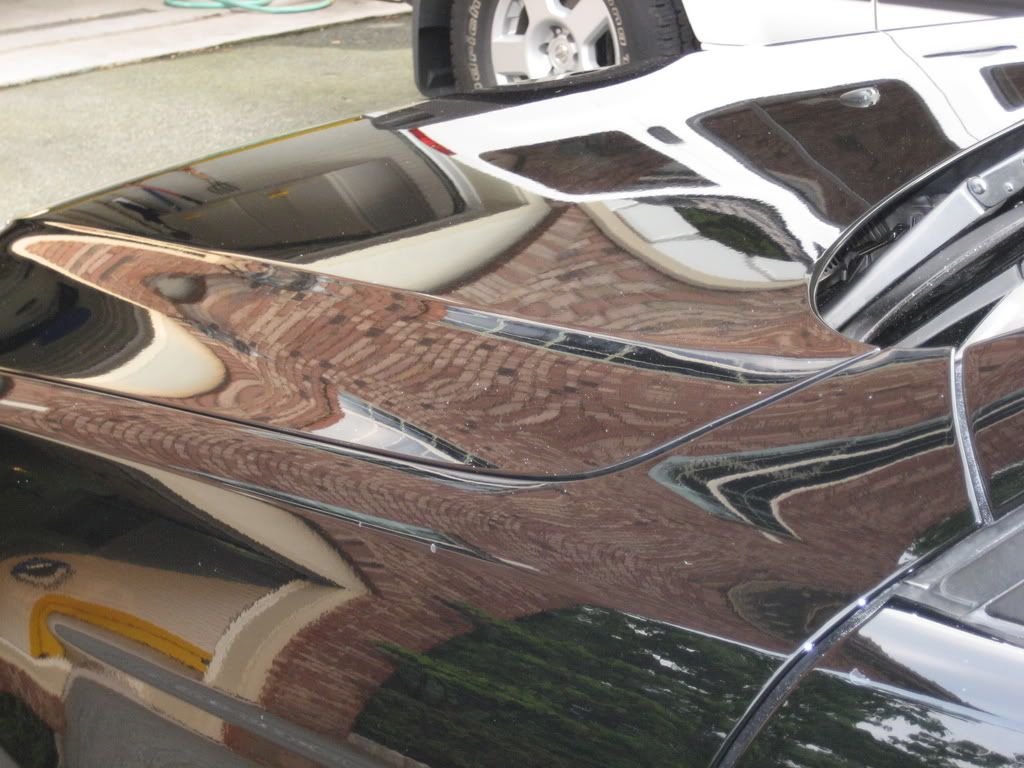
Rear after Menznera SIP and 106FF:
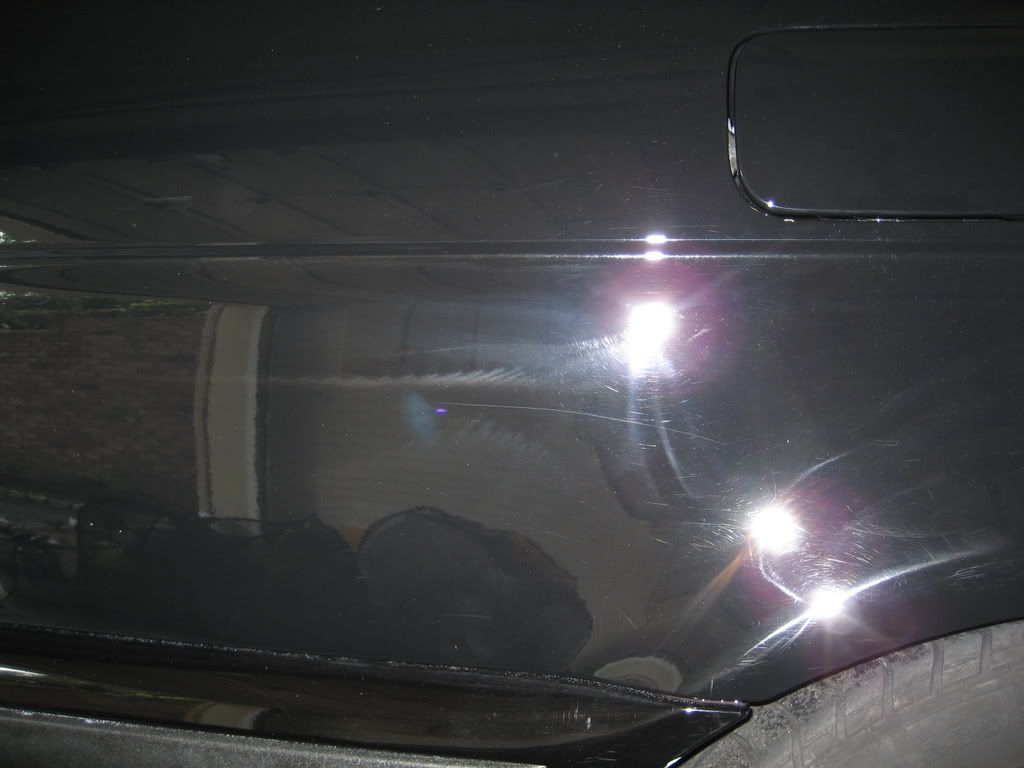
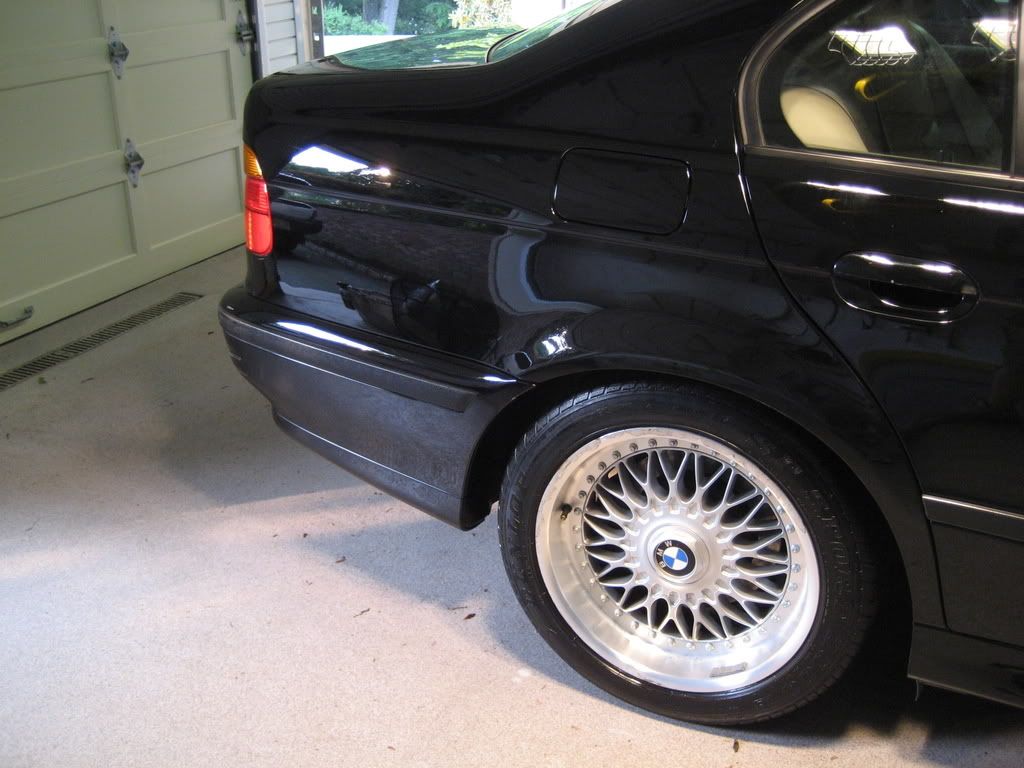
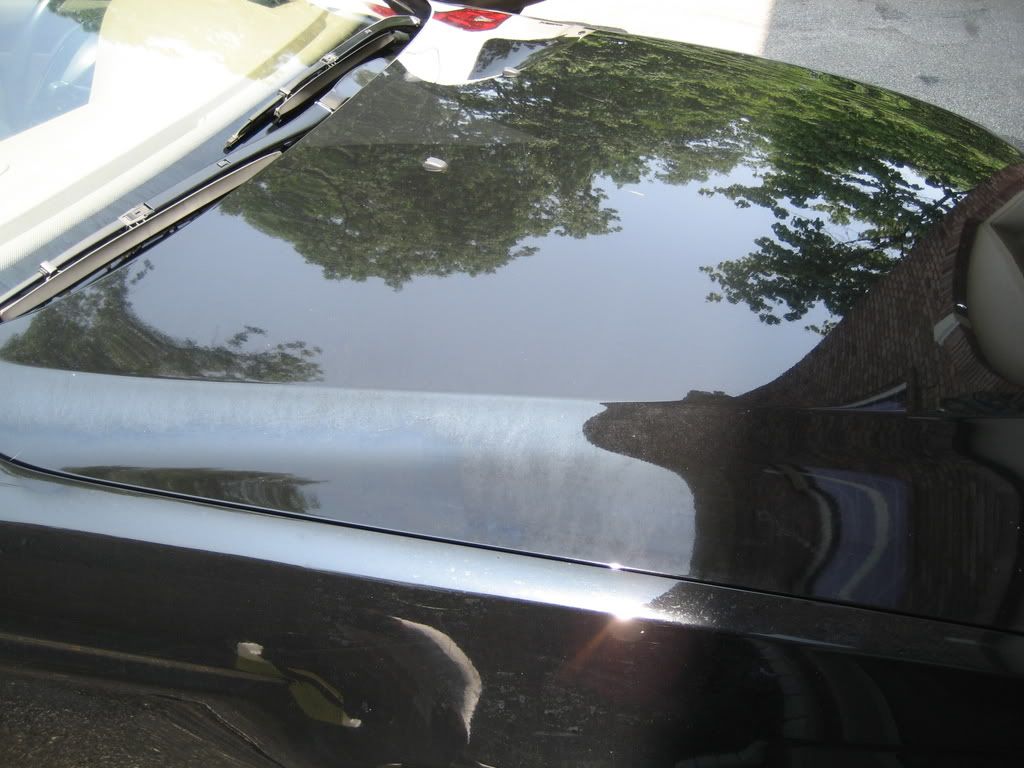
After:
Rear fender before wash:
Rear fender after wash:
Rear after Menznera SIP and 106FF:
After:


Trending Topics
#8
06-05-2007, 07:46 PM
Registered User
Join Date: Oct 2004
Location: New Jersey
Age: 53
Posts: 1,406
Rep Power: 84
Phil...thanks so much man...it's pretty amazing to see just how crappy my car was! 2 kids and a dog...what can I say??
Anyway...I was so impressed with the job he did...it was raining today and I drove the Porsche (which he also cleaned up) instead of the Bimmer as I didn't want to get it dirty!!
Anyway...I was so impressed with the job he did...it was raining today and I drove the Porsche (which he also cleaned up) instead of the Bimmer as I didn't want to get it dirty!!

#11
06-08-2007, 02:45 AM
Absolutely amazing job and huge transformation considering the starting point but I have to ask. Why don't you take the before and after shots using the same angle and same lighting conditions? Most of the before shots use direct lighting or harsh outdoor lighting on hard angles and creases to emphasize the starting point but most of the after shots are from angles that are more "flattering" and not so direct or harsh if you know what I mean. I'm sure that after 6 hours of detailing it's hard to achieve the same outdoor lighting conditions but you could use halogen lights or something before and after. Obviously you guys do some great work and use all the right products but some of those before and after shots are not really comparing apples to apples. It would be really cool to see some direct comparisons using the same angle and same lighting. Also curious, why didn't you color sand the car?
#12
06-08-2007, 05:52 AM
Join Date: Aug 2005
Location: New Jersey
Posts: 2,888
Rep Power: 0
RCNJ thanks!
2thfixr, I'm not the one holding the camera I'm also beat by the time we get to the pictures before and after no excuses but on the next few I'll let the guy know what pictures to take.
I may just do one shot of a panel being corrected completely and leave it at that, then move on to the next car I never really could get each step and remember the exact position. I'm thinking more how many hours I need to work on it and what to do next over did I take a shot over here or what angle should I take the pictures. I'm detailing first and then taking shots of the car
But yes I've got to get my guys to take better before during and after correction shots.
#13
06-08-2007, 05:58 AM
Join Date: Aug 2005
Location: New Jersey
Posts: 2,888
Rep Power: 0
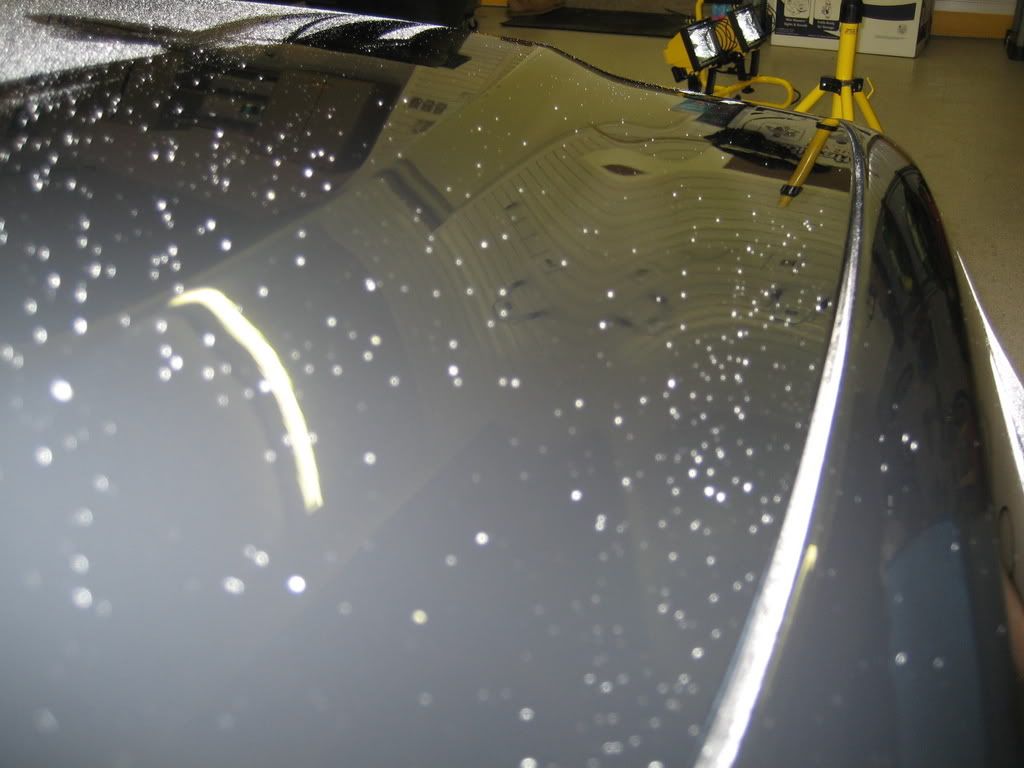
Here are some better before/during/after of the fender corrections. Of course the lighting is not so great but these better represent the correction.