2013 Maserati GranTurismo C Sport w/ Escort Passport 9500ci
#1
2013 Maserati GranTurismo C Sport w/ Escort Passport 9500ci
Maseratis are powerful, stunning, fast and everyone knows it. What they are not however is easily unnoticed. Not always the best when you're letting your Gran Turismo really stretch its muscles. That's where a radar comes in.
This customer came in to install that precautionary system on his Gran Turismo Sport. After all, there's no such thing as too much security when you drive something this attention-grabbing, right?

Parts Installed:
Escort Passport 9500ci

Now the most fun of radar installs for us is the challenge of using the car's own design to hide everything. We never want these systems to be obvious or distract from a single view of a vehicle. So we go to all lengths to figure out the best place before we even touch the car.
Mock ups
Option 1


Option 2


We get into the fuse panel to find a spot for the radar control module

and the center console to access the cigarette lighter wiring for a power source

We solder and cover with heat shrink to prevent having to cut any factory wiring

Reinstall the wiring and we're done with this part

GPS Antenna installed above the fuse panel

This bundle of wire is the excess from the GPS. Think they gave us enough?

Excess wire ended up being a repeat thing on this particular install. Since the speaker would only be a few inches from where it plugs in, we needed to trim a few feet of audio and power wire before installing the speaker.3


All installed

For the controller, we like installing these on the sides of the center console. It keeps it discreet but within easy access to the driver.

The rear shifter installed above the license plate

The wiring travels
Removing the carpet to feed it through the trunk and into the interior


Into the interior
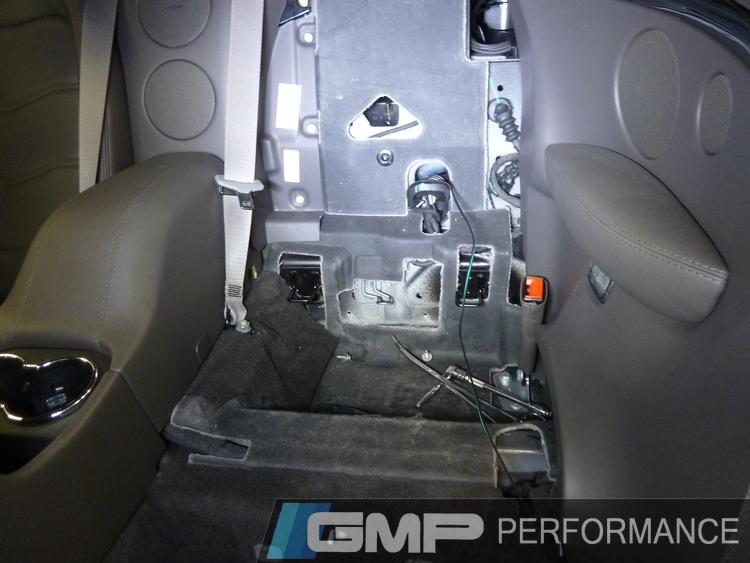
Reinstall the carpet
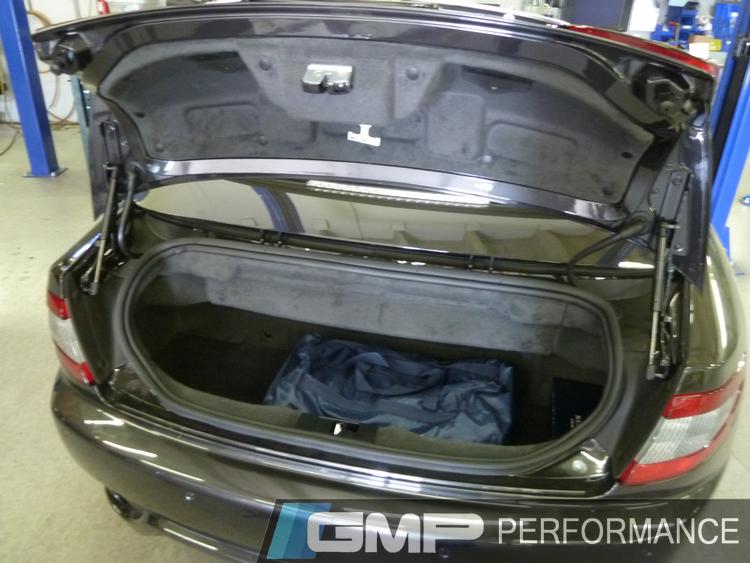
Once in, we use the carpet to hide it and run it all the way up the side
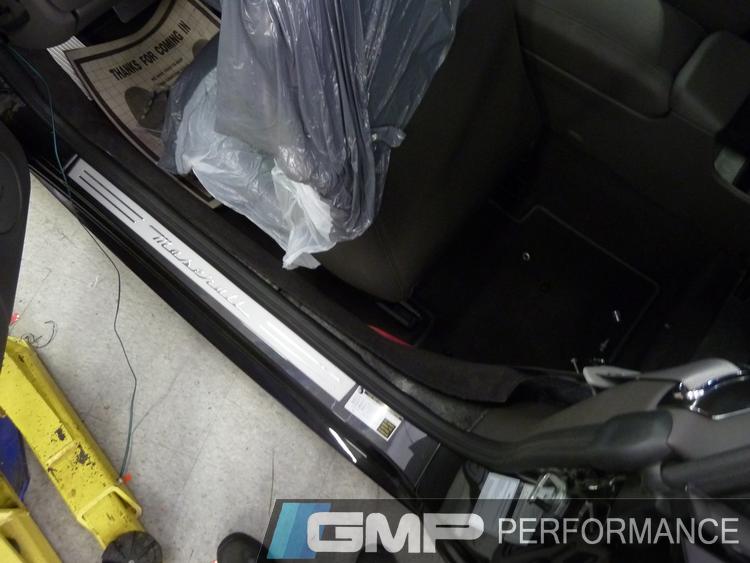
Recycling last years calendar to test "fit" the bracket


Test fitting the real bracket now

Clean the bracket up and the radar detector is installed.

Time to install the laser shifters
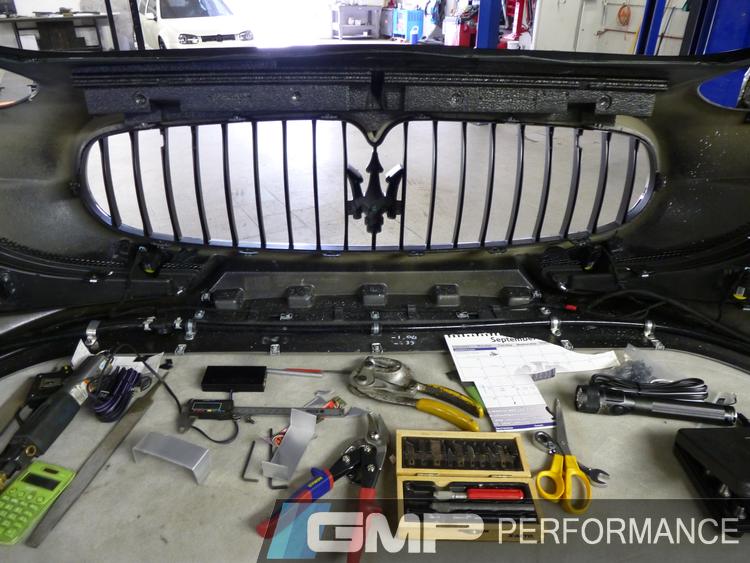
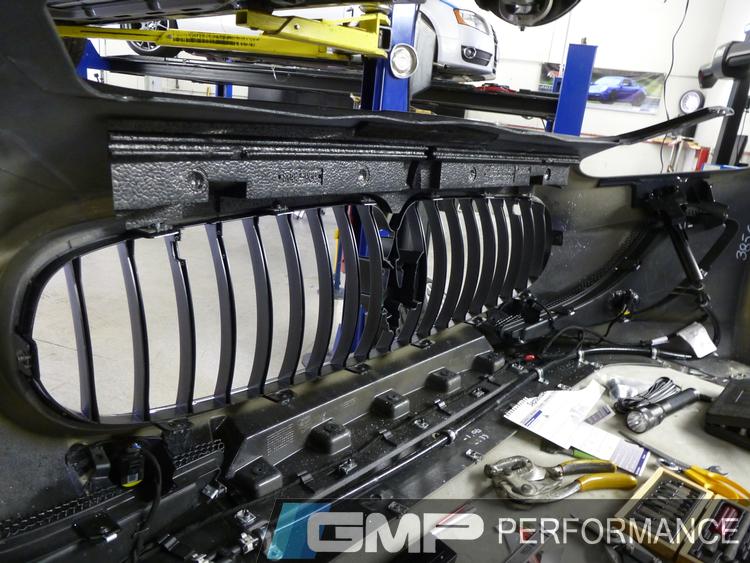
To show what part of the shifter would be behind the grill, we took it out of its case for a good visual. The metal rectangle to the right is the laser sensor, which will not be blocked in any way. Only one of the eight LED laser transmitters will be blocked.

The bumper with the shifters installed


The finalized display, ready to rock


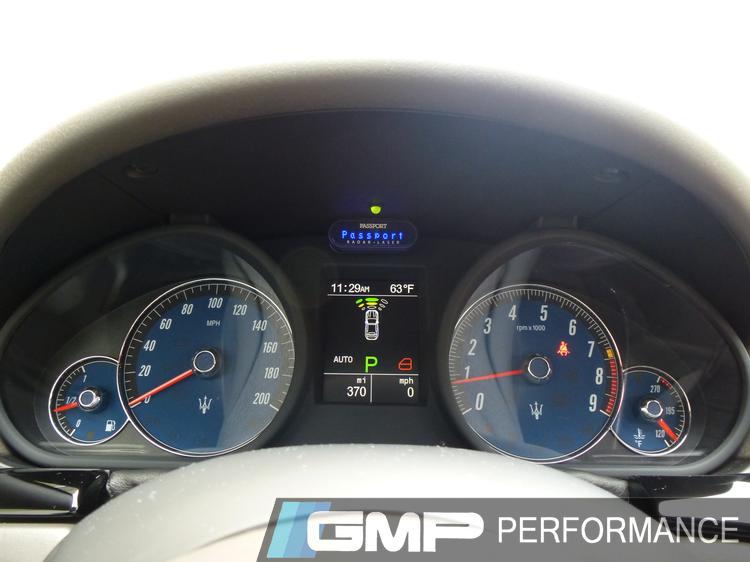
And with all that, this baby is done, ready to go back to owning the streets with style and now security too.

For more on this build, visit the gallery here!
This customer came in to install that precautionary system on his Gran Turismo Sport. After all, there's no such thing as too much security when you drive something this attention-grabbing, right?
Parts Installed:
Escort Passport 9500ci
Now the most fun of radar installs for us is the challenge of using the car's own design to hide everything. We never want these systems to be obvious or distract from a single view of a vehicle. So we go to all lengths to figure out the best place before we even touch the car.
Mock ups
Option 1
Option 2
We get into the fuse panel to find a spot for the radar control module
and the center console to access the cigarette lighter wiring for a power source
We solder and cover with heat shrink to prevent having to cut any factory wiring
Reinstall the wiring and we're done with this part
GPS Antenna installed above the fuse panel
This bundle of wire is the excess from the GPS. Think they gave us enough?

Excess wire ended up being a repeat thing on this particular install. Since the speaker would only be a few inches from where it plugs in, we needed to trim a few feet of audio and power wire before installing the speaker.3
All installed
For the controller, we like installing these on the sides of the center console. It keeps it discreet but within easy access to the driver.
The rear shifter installed above the license plate
The wiring travels
Removing the carpet to feed it through the trunk and into the interior
Into the interior
Reinstall the carpet
Once in, we use the carpet to hide it and run it all the way up the side
Recycling last years calendar to test "fit" the bracket
Test fitting the real bracket now
Clean the bracket up and the radar detector is installed.
Time to install the laser shifters
To show what part of the shifter would be behind the grill, we took it out of its case for a good visual. The metal rectangle to the right is the laser sensor, which will not be blocked in any way. Only one of the eight LED laser transmitters will be blocked.
The bumper with the shifters installed
The finalized display, ready to rock
And with all that, this baby is done, ready to go back to owning the streets with style and now security too.
For more on this build, visit the gallery here!
Thread
Thread Starter
Forum
Replies
Last Post
STAGGERED M3
Automobiles For Sale
1
09-11-2015 12:00 AM


