When you click on links to various merchants on this site and make a purchase, this can result in this site earning a commission. Affiliate programs and affiliations include, but are not limited to, the eBay Partner Network.
Great looking photos OP. The Vorsteiner's go so well with the car.
Originally Posted by dallinator
Please let me know if you ever want to change wheels, as I am in love with those Vorsteiners!
We have the Vorsteiner V-FF 107's for the Panamera in-stock and ready to ship. For under $3k for the complete set they are one of the best bang for the buck buys in the wheel industry.
Few things getting done today as I wait on the thermostat, gaskets, fluids etc. It's raining so doing inside stuff!
Removed the warning stickers on the sun visors. Much cleaner appearance and something I wanted to do for a long time but never got around to it. Most guides say to soak paper towel in 91% isopropyl alcohol but I had a 70% mix with distilled water from prepping for wrapping the car so used that... youre meant to hold it over the sticker for 1-2 mins but I did 3-4 and they came off with relative ease apart from a little knap removal down the center where I guess the alcohol didnt penetrate. I then soaked a microfiber towel in liquid car soap and warm water, washed the visors jn car by hand using the towel and dried with another clean microfiber.
There is still an outline so if any suede/alcantara experts know how to smooth that outline, that would be great!
Ok, so Im a Brit so cant do anything without a cuppa...
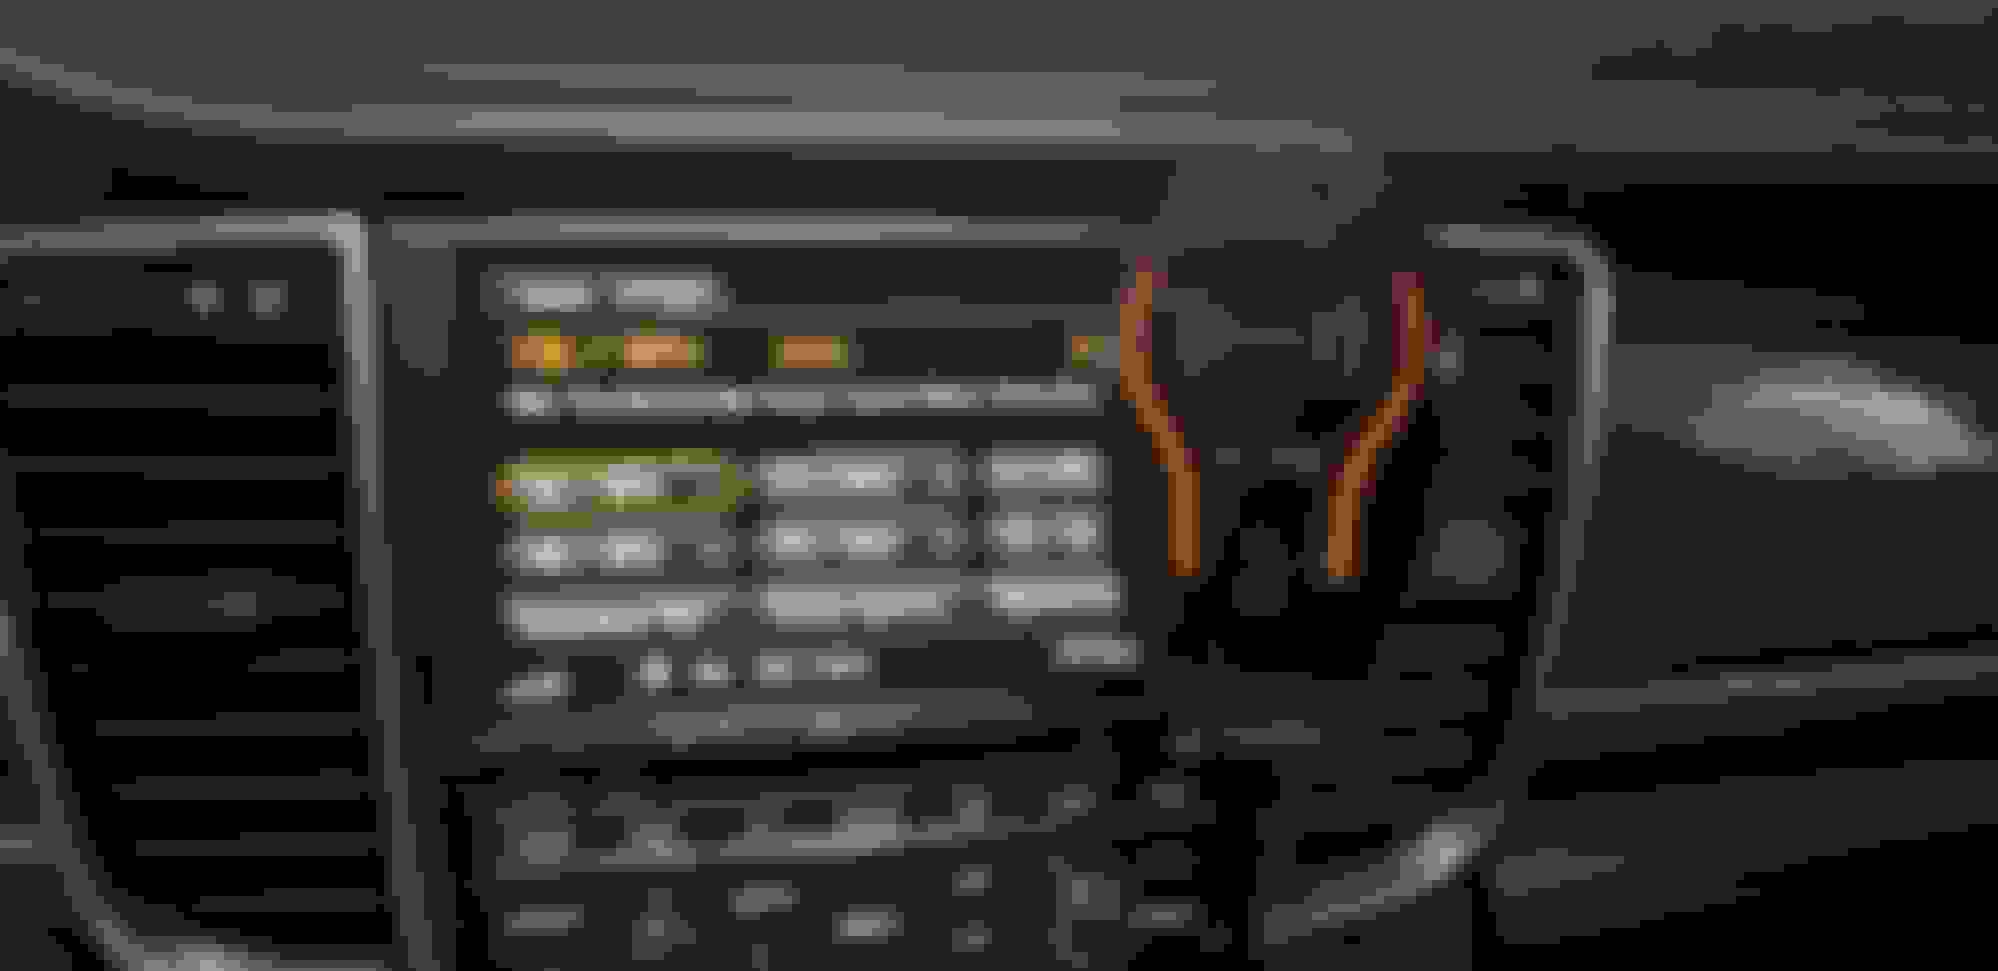
Once I had that set, the phone charger works off USB power, so have a USB to cigarette lighter converter, then a hard-wired cigarette lighter socket.
Sorted the power to get the right cable length, cable also has a fuse which made routing tricky. Upper drivers side kick panel removed, few holes for zip tied and wire placement, start to pull everything back together.
Routed wires up and underthe center console, under the PCM unit and out to a stickied (3M - strong and not moving!) phone holster. Turns blue when the phone is in the holsterand it opens when it senses fingers both sides of it, close to the bottom when putting in on charge or removing, but still able to use it as gps, spotify etc without it opening up. Great addition!! Well worth the time to install and I think it looks slick.
I know this sounds absolutely counterintuitive and against what you might think regarding care for alcantara, but YouTube search "sanding" alcantara. Specifically Obsessed Garage by Matt Moorman (spelling). It's crazy to see how durable it really is, but actually works cleaning and refreshing the fibers.
Granted there may be PLENTY of people who disagree and feel it's overkill, but I think it's worth a try for an area that had a giant sticker on it.
By the way, it's awesome to see the small but good improvements you're making.
Really interesting video! I have a bunch of different grit sandpaper so might give it a shot later and post results... they don't publish what grit it is though and as I already have sandpaper to hand, I don't want to spend money just to get their "special" kind lol
Tried the sanding and nothing worked - I actually think its discoloration from the sun but I will get a detailer to hit it with some cleaning stuff down the line to see. Sanding lightly did help remove some nibs though!
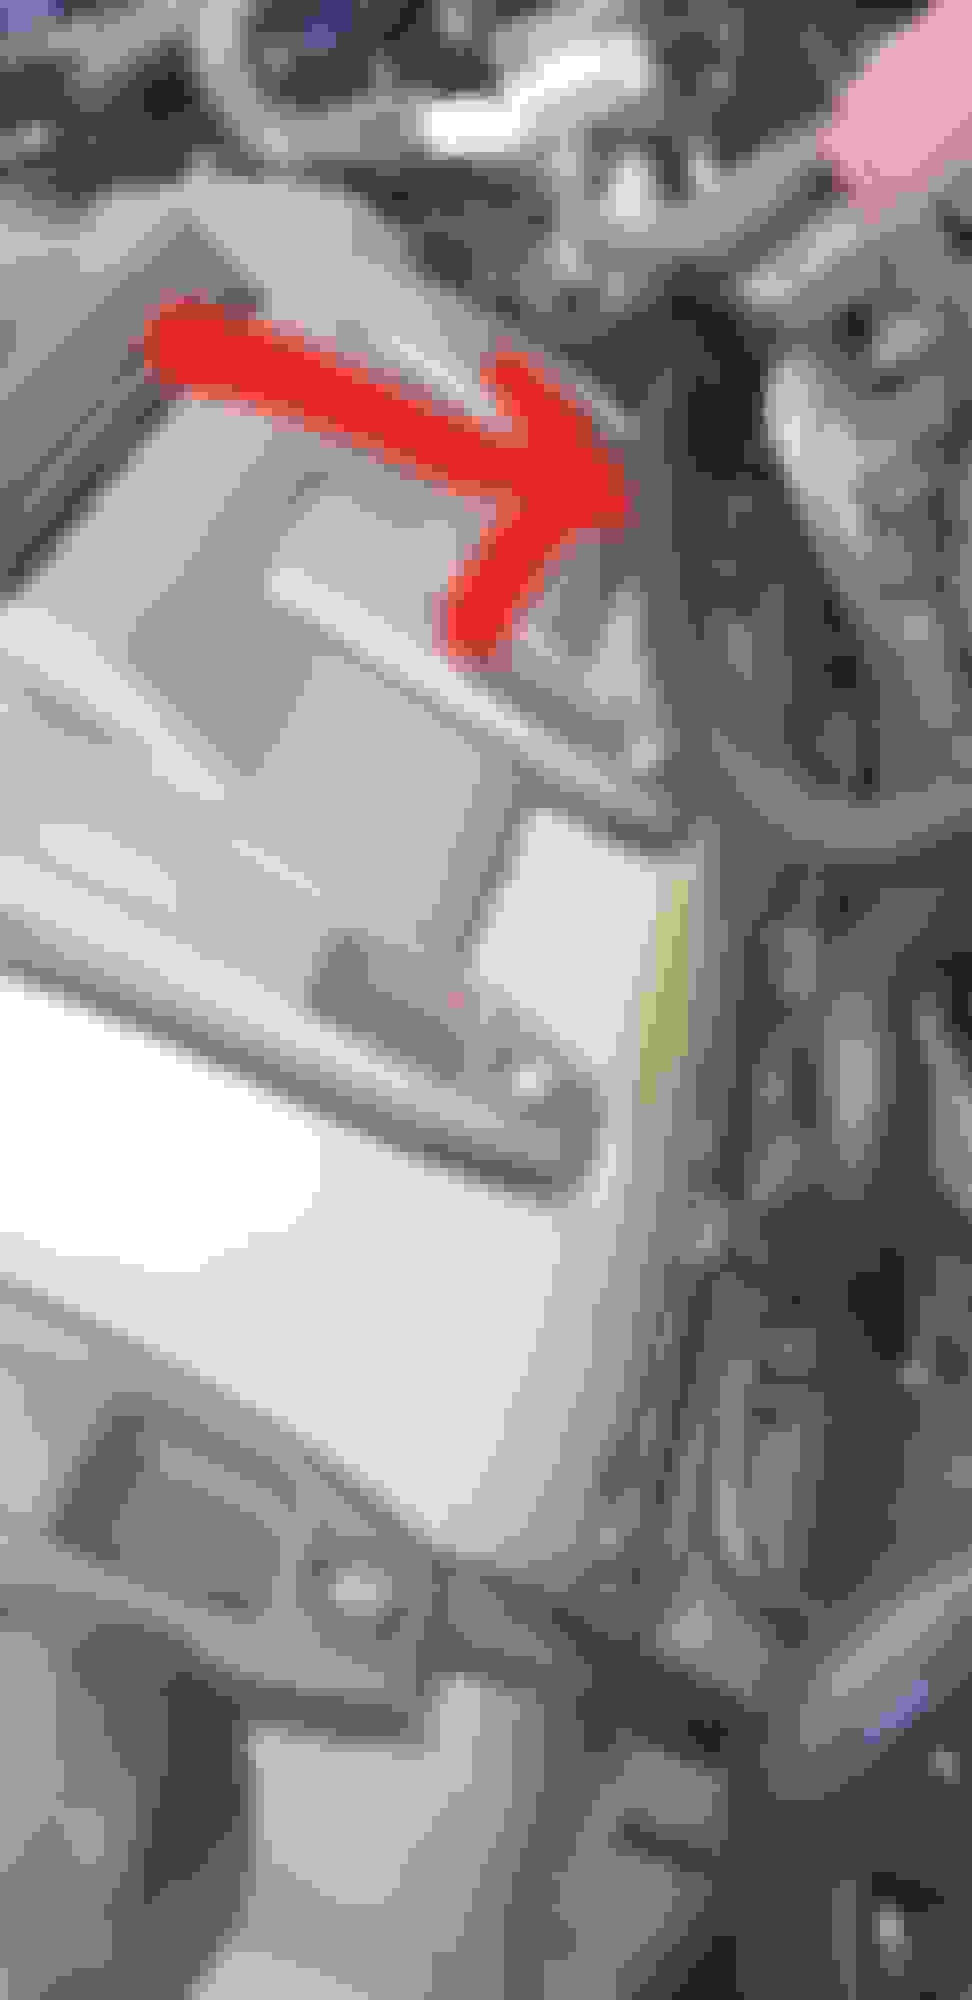
I then started cleaning the little cover that sits on top of the plenum, removed it and the rubber grommet dropped down into the engine compartment and landed on the undertray. So, screw it - car is now up in the air and Im getting it prepped for the big service lol
Just noticed that I have a bolt missing, too! Does anyone know the part number for these bolts and gaskets? Lucky Im doing sparks and coil packs or I wouldnt have known to check...
Also, while we're at it - anyone know the part numbers for both male and female parts of these bolts, too?
Top side engine cover screws:
#WHT-003-425 or WHT003425
Top bumper screws:
#99907344801
I'm not finding the other end or the individual nuts. Might be that entire piece, not even sure what it's called....mount plate/bracket maybe?
Those are exactly what I found too, thanks dude! I ordered the valve cover ones with sleeves etc, but not the bumper ones as they dont look right and I need both male and female. 2 of the 4 originals have been snapped off in situ.
Found that one of the braces under the engine was completely loose (dangling bolts by a few threads), so taken that off to allow me to change diverter valves and will torque back up afterward.
Started changing out the coil packs and such today... just taking my time to do things right. Lucky I did as Im finding cracks...
Still waiting on soark plugs to arrive, so put the coil packs in and will stop working on that stuff until I have all the plugs, torque damper bolts, valve cover bolts.


 05-21-2020, 06:55 AM