When you click on links to various merchants on this site and make a purchase, this can result in this site earning a commission. Affiliate programs and affiliations include, but are not limited to, the eBay Partner Network.
Recently was able to determine the clunk rattle is caused by the spoiler when retracted . I was literally going to trade in the car due to the annoyance and made this last attempt to find the issue . What a relief , I really love the car . I could not deal with the noise ? I wasn't going to let the dealer spend a week trying to duplicate the problem .
Really thought it was a suspension issue . I did all kinds of things over winter to sort it out with n success . Now I need to figure out how to adjust the spoiler mechanism, there must be a way to stop it from shaking when retracted ?
Purpose of this document is to share DIY procedures to replace both the sway bar bushings and links on the first gen Panamera (970 series).
As with any of the DIYs on this website, bite only what you can chew. The process as outlined below worked for me on a 2012 Turbo S and Dogwood�s Pannie 4S, however, I will not assume any responsibility in case said procedure does not work for you. To make matters worse, English is my third language, I�m not really that smart, �so you are really on your own (joke, well kind of)
Symptoms : creaking and clunking while going over a bump or taking a sharp turn. Unfortunately there could be several issues going on with the car :
1. Upper control arms
2. Lower control arms (more specifically, the front forward bushing)
3. Sway bar bushings and links
This DIY only applies to the latter issue, however, in both cases I performed it as the last step during a major maintenance in which all 3 issues were addressed.
Parts : let me list all the parts that were used during the <entire> process. As it pertains to the sway bar parts (both the bushings and the links), it is critical that you understand which type of suspension you have, regular or active suspension (PDCC). The type of suspension both determines the replacement parts you have to order and some of the specific torque settings.
If your car is a bit older and you want peace of mind, order and install following parts :
A] 2 new upper control arms (Lemforder 3568201KT)
B] While the lower control arms each have 3 bushings in them, only 1 of them needs to be replaced on each side (Lemforder 3572901). This is an expensive bushing which runs about 80$, but the alternative is to replace the entire control arm, which will set you back over 300$. Replacing the bushing will require you to find a local shop with a special bushing press, or you will have to build your own homemade contraption.
C] Swaybar
C1. Cars equipped with PDCC :
upper bushings (Porsche 97034379207)
lower bushings (Porsche 97034379307)
links : Lemforder LEM-3568002 ; OR Porsche 97034306921, 97034306923, 97034306922
C2. Standard suspension :
upper bushings (Porsche 97034379205)
lower bushings (Porsche 97034379305)
links : Lemforder LEM-3567902 ; OR Porsche 97034306903, 97034306902
Parts can be sourced at your dealership or at �cost plus� on-line resources such as Suncoast, Sunset, Pelican parts. In my case I ordered most suspension parts from FCP. They carry both Porsche OEM and Lemforder (the latter being the OEM supplier). In this case it is a no-brainer to opt for the cheaper (but identical) Lemforder part, unless you really want to receive your parts in Porsche packaging.
Tools needed :
� 18 mm wrench
� Torque wrench
� Rachet + 16 & 18mm sockets
� T40 socket
� Grease for bushings (white lithium or something similar)
OK, we�re ready now, lets do it.
It is critical to understand that I engaged in this project while my car was already on a 2-post lift and the upper and lower control arm issues had been addressed. I will try to write the DIY as if this had not happened.
Step1 : Get the car ready
a. Set suspension to highest level
b. Disable level control (push high level button for 10 seconds till you get the �level control off� message). Failure to do so will cause permanent suspension damage !
c. Get car 2 to 3 feet off the ground. I used a 2 post lift, but I guess jacks would also work
d. Remove the wheels
Step 2 : Remove the links
The links are attached between the top of the sway bar and the air strut. My PTTS had links with 2 �spinning� bolts, which meant that the only way to remove it is to use an 18mm wrench on the nut while at the same time locking down the end of the bolt with a T40 socket (see picture). On the Doug�s Pannie 4S the link had a spinning bolt on one side and a regular bolt on the other.
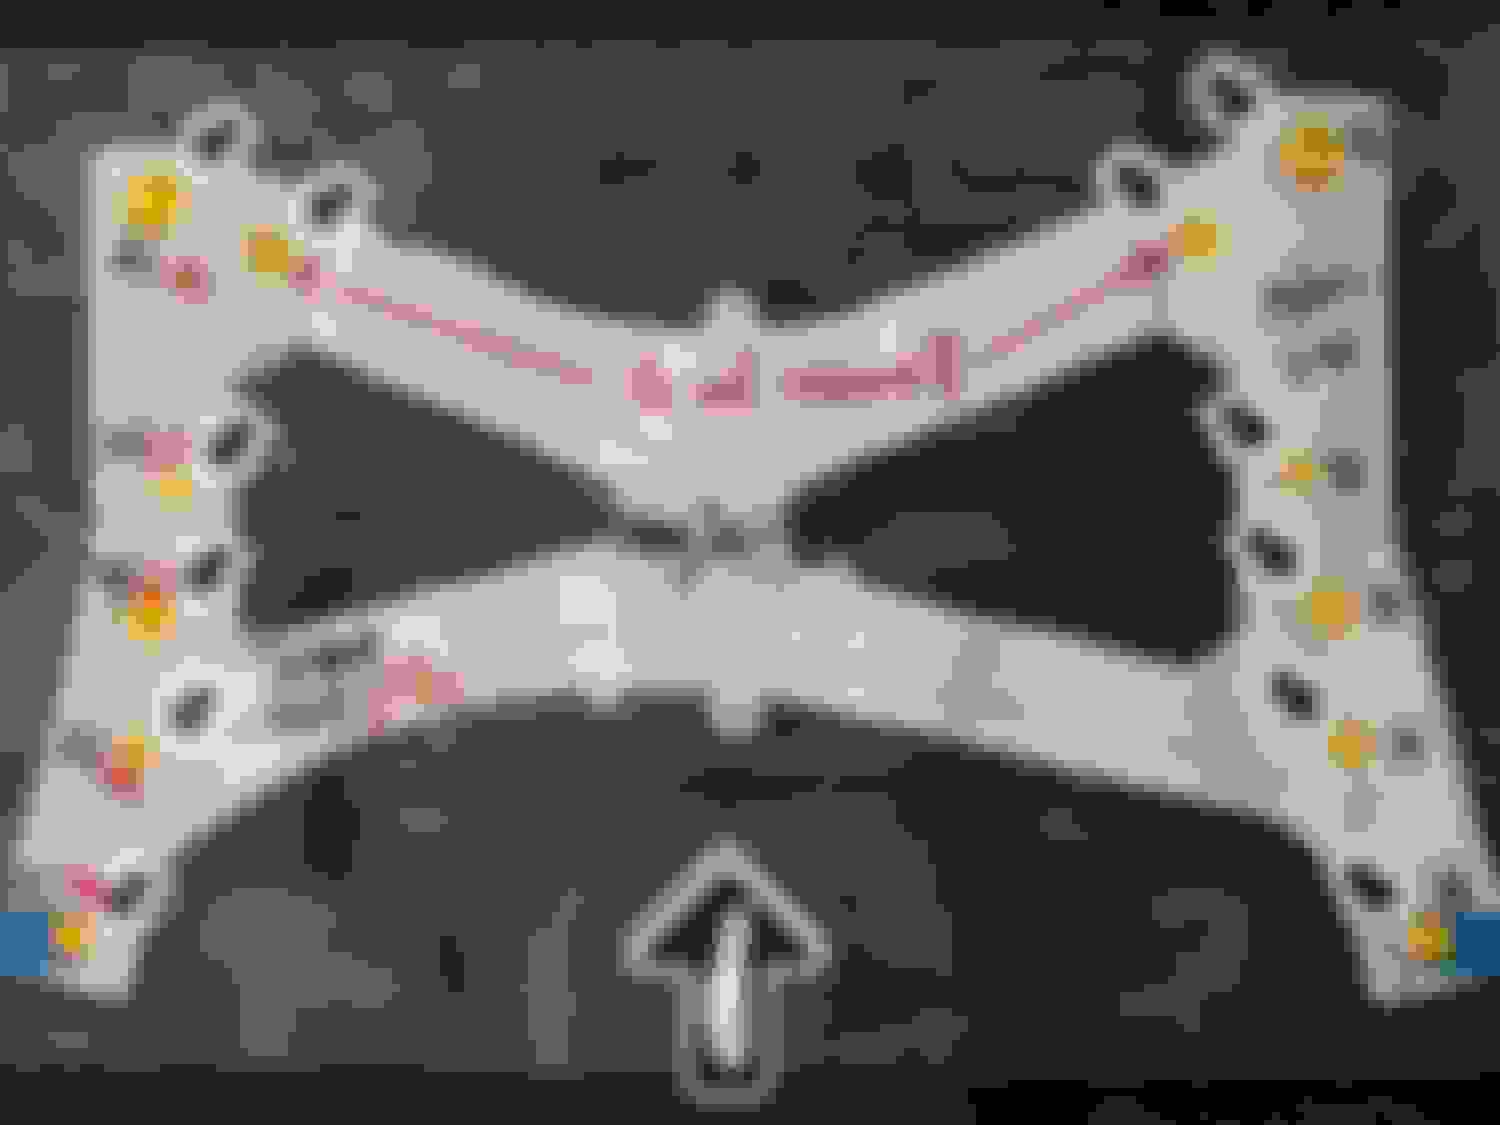
Step 3 : Check positioning of the sway bar and make the appropriate markings which will help you during re-install
The Porsche mechanics manual advises on following specs :
However, in practice I was not able to verify this since there were lines in the way or the chassis structure simply did not conform to what was depicted in the mechanic�s manual.
As a workaround I ended up making 4 marks on both the sway bar and the surrounding brackets. Please note that this is not �exact� science, but later on you want to bolt down the sway bar in a fashion which easily allows you to re-install the new links (step 9).
Step 4 : tie down your sway bar so it cannot drop after removing the brace that supports it
This is extremely critical on PDCC equipped cars. These cars have an electric motor in the middle of the sway bar which has all kinds of cables running back to the car�s control unit. Trust me, you don�t want to try to detach the electronics, nor do you want to break the connections. So�I supported it with 2 pieces of climbing rope (e.g. hang it to the exhaust which runs somewhere in this vicinity). For the Pannie 4S which did not have PDCC we ended up doing the same, just to be cautious. However, no big drama if you 'drop' a non-PDCC car's sway bar.
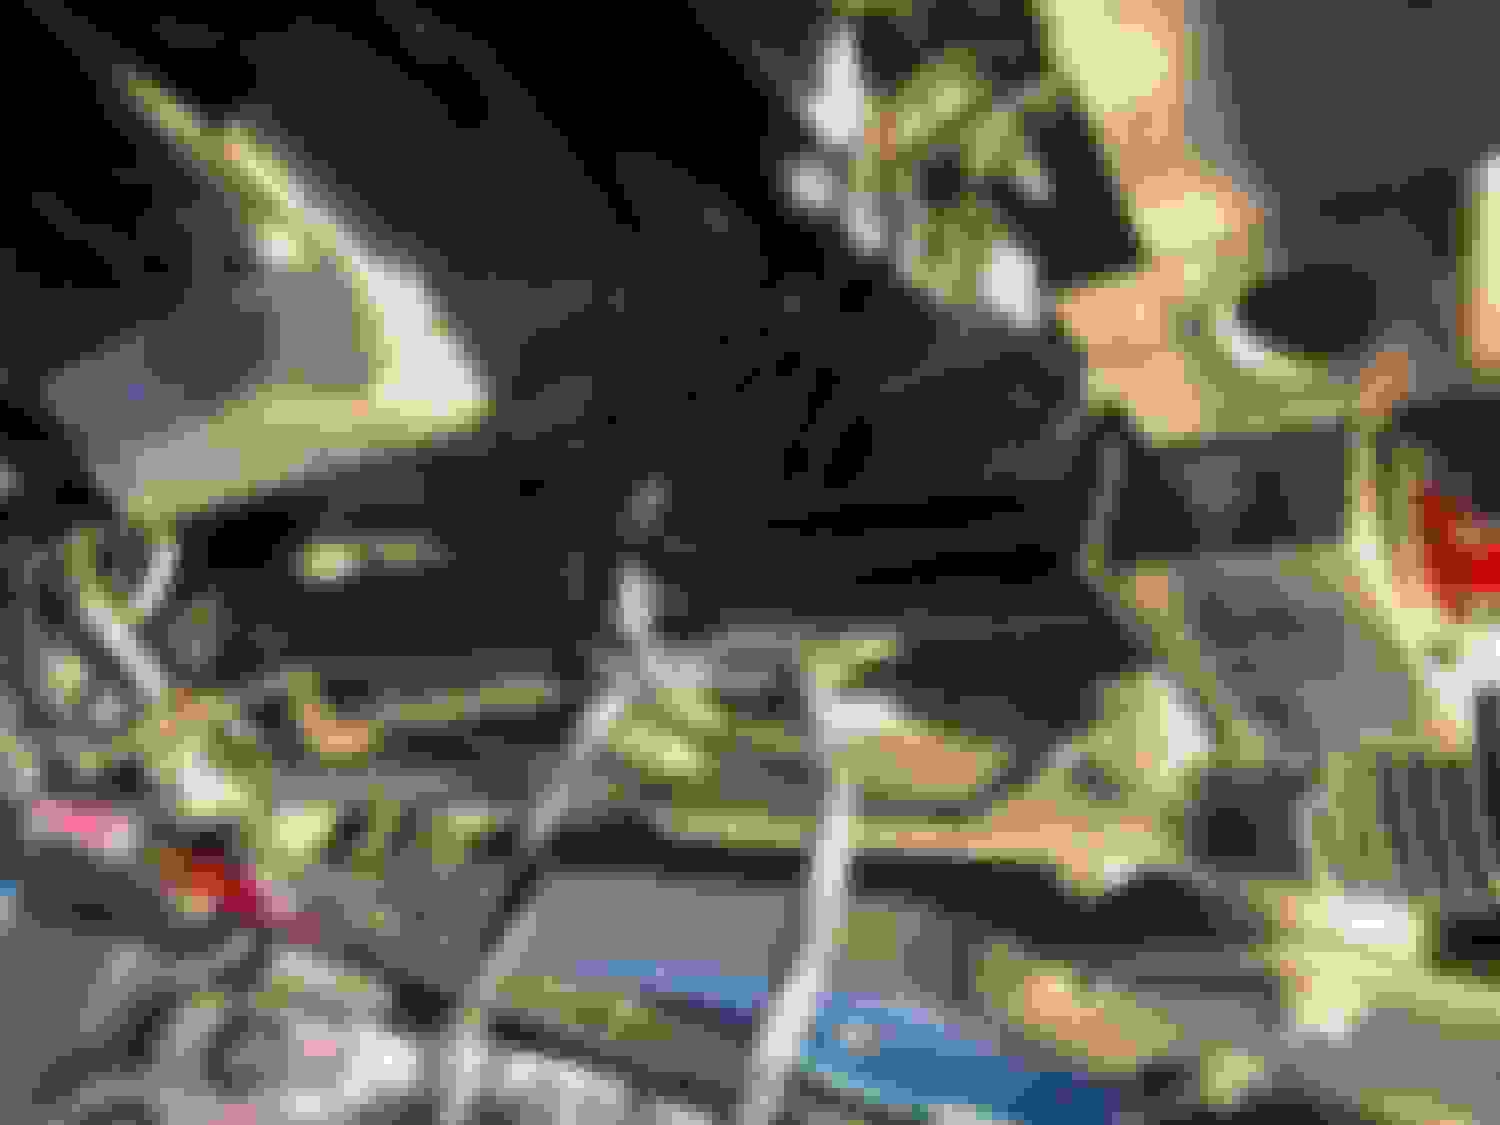
Step 5 : Remove support brace.
Please check picture below. There are 6 bolts on each side, but only 5 on each side need to be removed. There are three 16mm bolts and two 18mm bolts subject to removal (each side)
All bolts have different lengths, so I ended up numbering them with a permanent marker before removal. Additionally, I lined them up in sequence of removal, just to be sure everything went back into the right place.
I put a jack underneath the brace so I could guide it on it�s way down. Please note that the brace is partially supported by a bracket (on each side where the last bolt goes through the brace, toward the rear of the car), so you will first have to slide it slightly forward in order to be able to lower it.
PDCC equipped sway bar after removal of the brace. Supported by Black Diamond climbing rope.
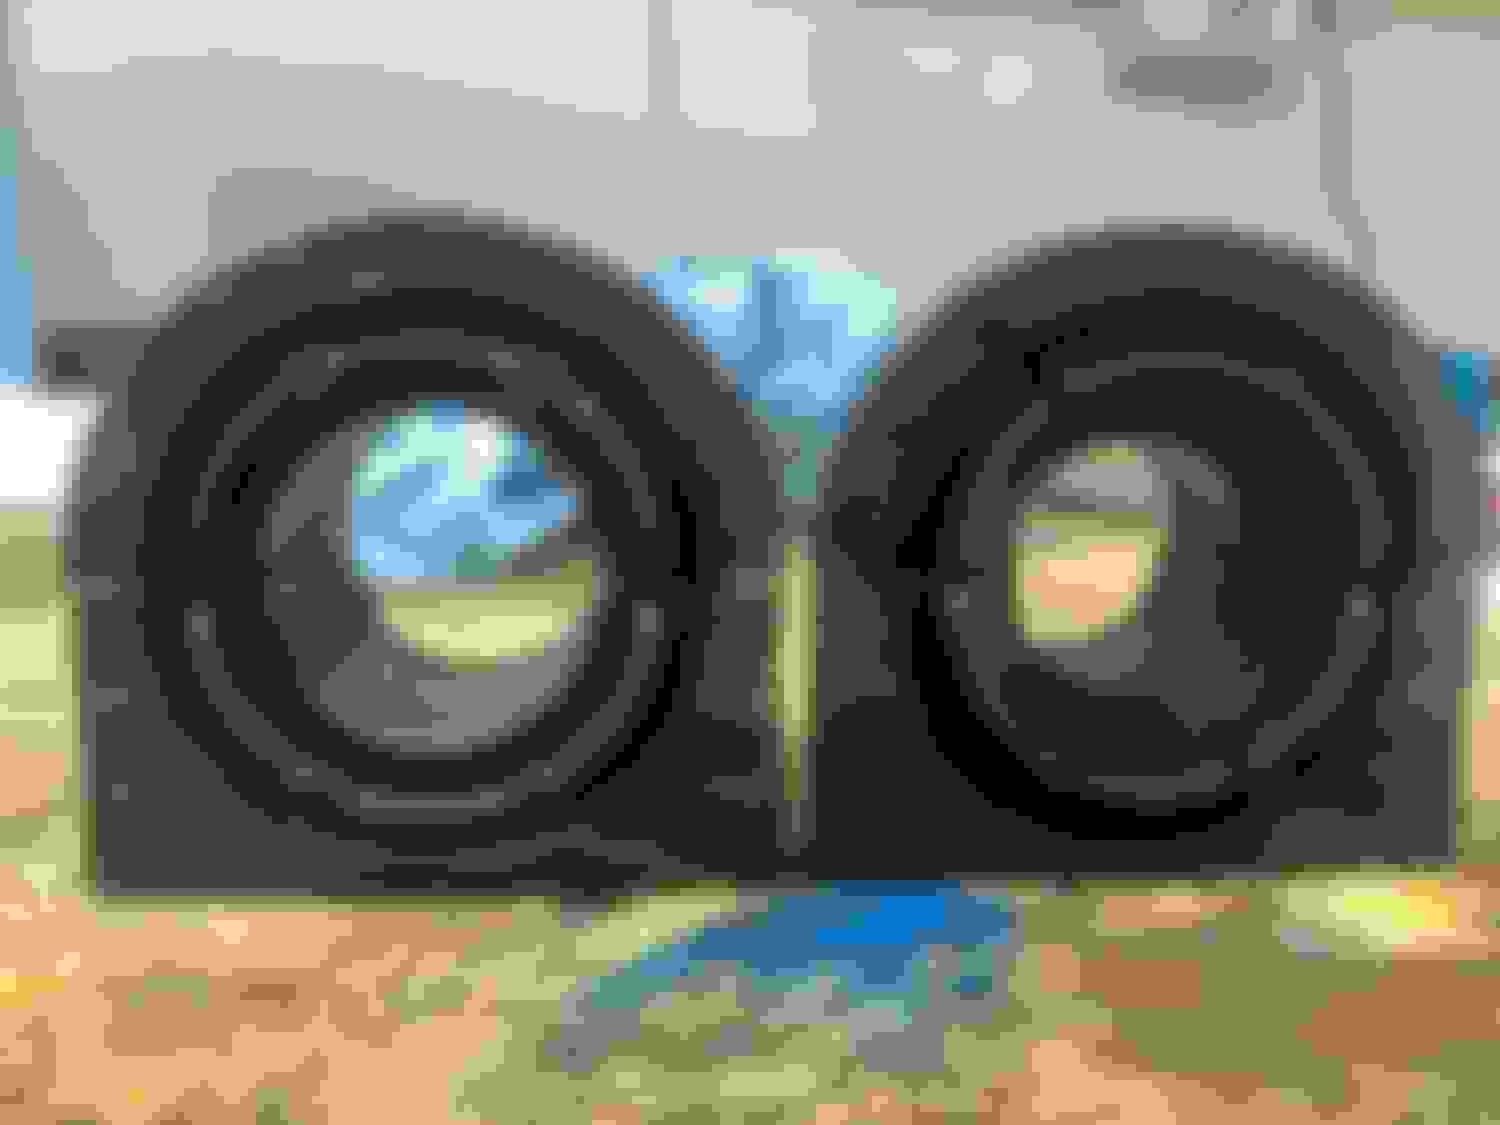
Step 6 : remove old bushings
The bushings are two half moons (on each side) which can be slid to the side, even with the sway bar still hanging up. Attached a picture of the new bushing next to the old worn out one. The difference is dramatic.
Step 7 : clean up the support brace
Before re-installation you need to make 100% sure that all surfaces are smooth since it is the brace which will hold sway bar and bushings in place. I used a sanding pad and some Simple Green for Doug�s car. For my own car I simply tossed it in my pond, which performs double duty as a parts cleaner 😊
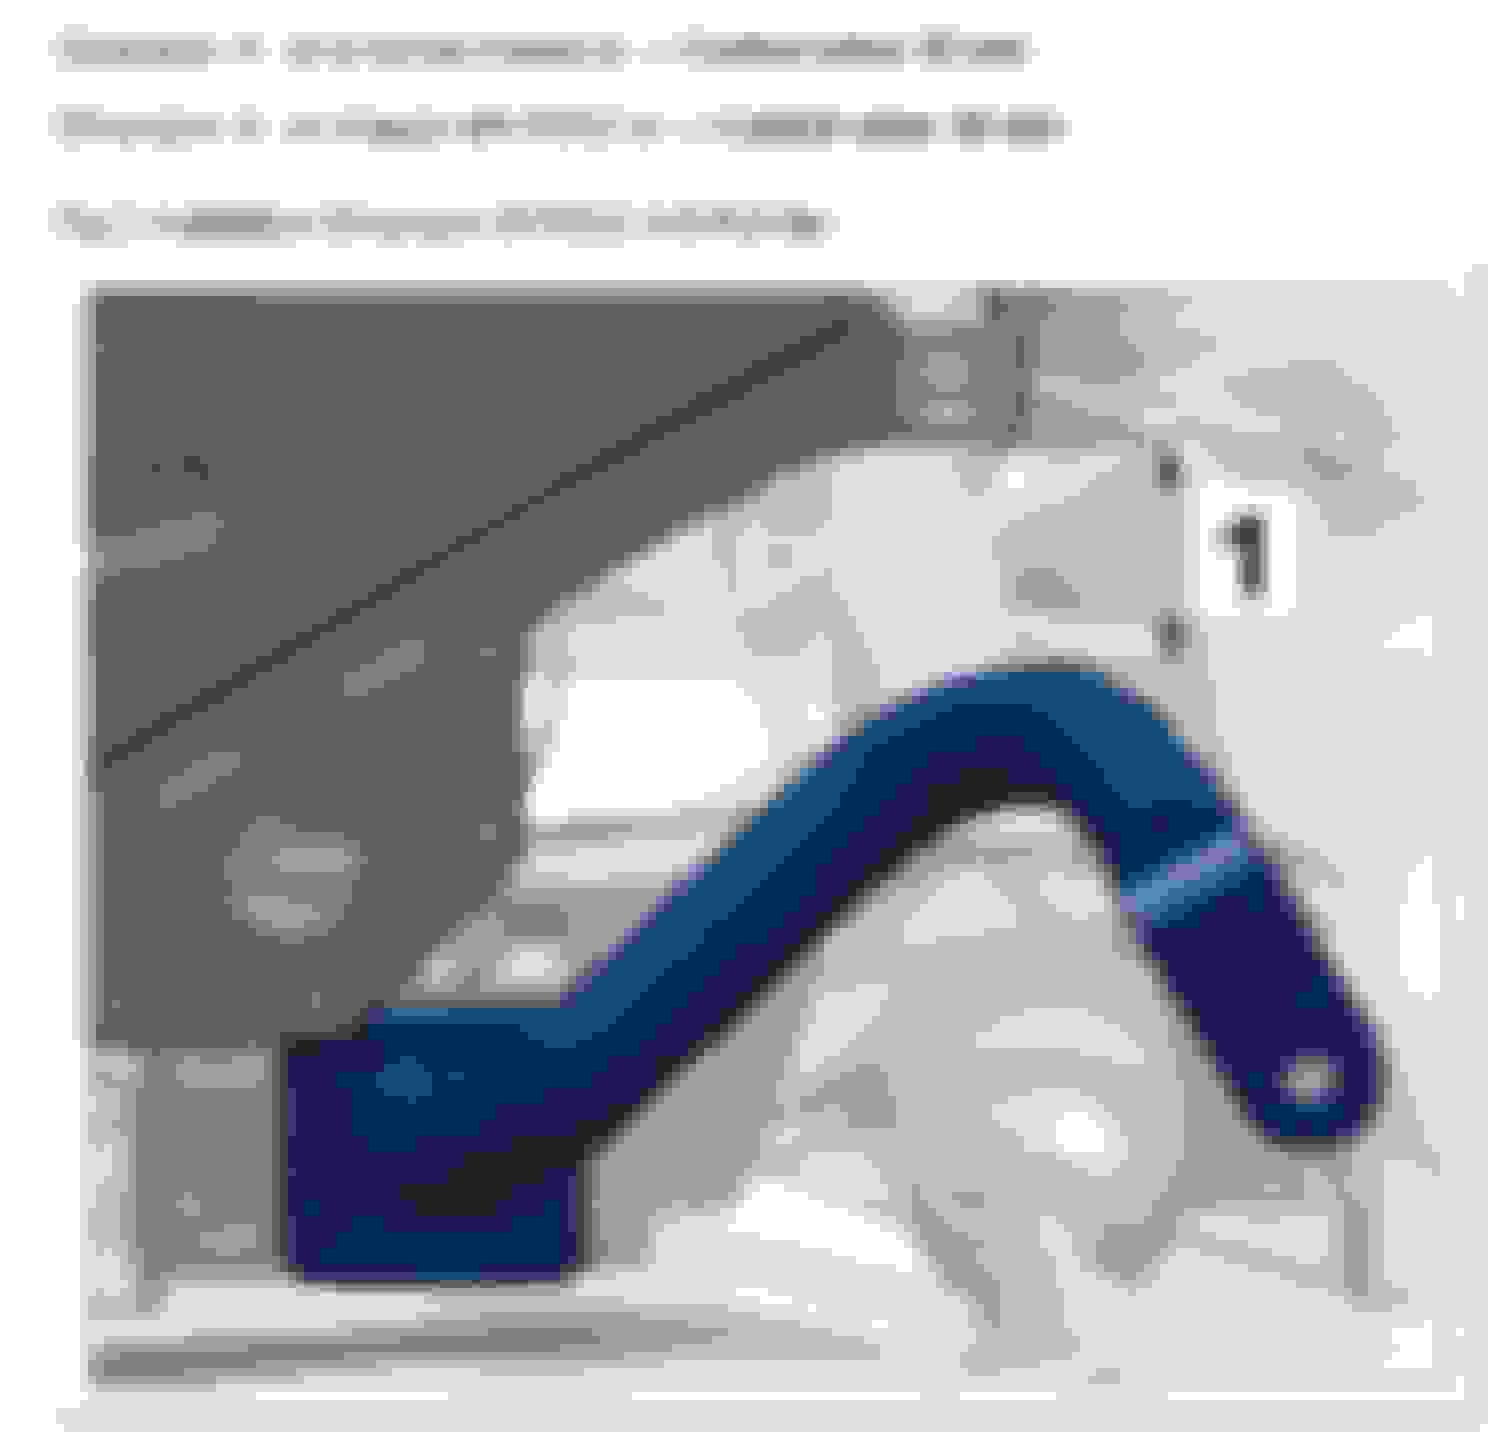
Step 8 : re-install the bushings
Before installation make sure to grease them up. You can just slide them in from the side. Important : the bushings have a �lip� on one side. This lip faces the inside of the car (toward the transmission)
This is a picture of the driver's side bushing installation, looking toward the front of the car :
Step 9 : re-install brace
Important : check your sway bar alignment before you start torquing down (the markings you made in step 3) !
First slide the brace beneath the two brackets in the rear. Support the middle of the brace with a hydraulic jack. The bolts in the back are easy to insert, but it gets complicated once you move toward the front. However, you can create some upward pressure with the jack in order to bring the brace closer to the undercarriage of the car. This will also start putting pressure on your new bushing. As you notice from the pictures above, their inside diameter is way smaller than the used ones, so it takes quite some pressure to torque everything down. Once you have all bolts back into the frame, you can start gradually torquing down. The most important ones are the 2 bolts on each side of the sway bar (90Nm torque spec), the others require 65Nm.
Step 10 : re-install the links
This is the reverse procedure of what was explained above : depending on your type of suspension you have one or two swivel bolts. Tighten up the nut with an 18mm wrench + T40 on a ratchet to prevent the bolt from spinning. Once tight, use a torque wrench to set to following specs :
� 40Nm for both ends on regular suspension
� 50Nm for both ends on PDCC cars
Et voila, you�re done ! Enjoy a squeak free car 😊
Hello, i want to change the bushes of swaybar, Porsche panamera 2013 with PASM, i buy new bushes, and when we try to changes, we cannot beacuse is not same, you can see the hole, what a difference it is, Do you have any idea where the problem is?
Hello, i want to change the bushes of swaybar, Porsche panamera 2013 with PASM, i buy new bushes, and when we try to changes, we cannot beacuse is not same, you can see the hole, what a difference it is, Do you have any idea where the problem is?
It looks like your car has PDCC (larger diameter hydraulic swaybar), but you bought bushings for the standard swaybar.


 06-10-2022, 05:50 AM